How to Paint Wood Signs with Vinyl Stencils
One of the most popular trends over the past several years has been painted wood signs. You’ve no doubt seen them on Pinterest. From farmhouse, to rustic, to modern there’s something you’ll fall in love with. Today I’m going to be talking about painting your own wood signs with vinyl stencils made using your cutting machine such as your Silhouette Cameo or your Cricut.
This post contains affiliate links. As an Amazon Associate, I earn from qualifying purchases. I only recommend products that I have used and have full confidence in.
How to Stencil on Wood Without Paint Bleed
One of the challenges and probably the most frustrating with stenciling wood signs is paint bleeding under the stencil. It happens with mylar stencils that you buy at the hobby shop. It also happens with vinyl stencils.
There have been many people who have written about how to stop the bleed when stenciling wood signs. I’ve seen the question asked over and over again in some of the groups that I participate in.
Some of the most common solutions suggested are better sanding and wood prep, the use of Mod Podge, doing a first coat of the base color, and using various types of vinyl.
This post isn’t meant to be a complete sign painting tutorial. It’s also not meant for the seasoned crafter who has found the tried and true method that works for them.
I hope to share more information about my process in future posts. But since it is the most common problem, I wanted to share just a couple of quick tips on how to stop the bleed under your vinyl stencils.
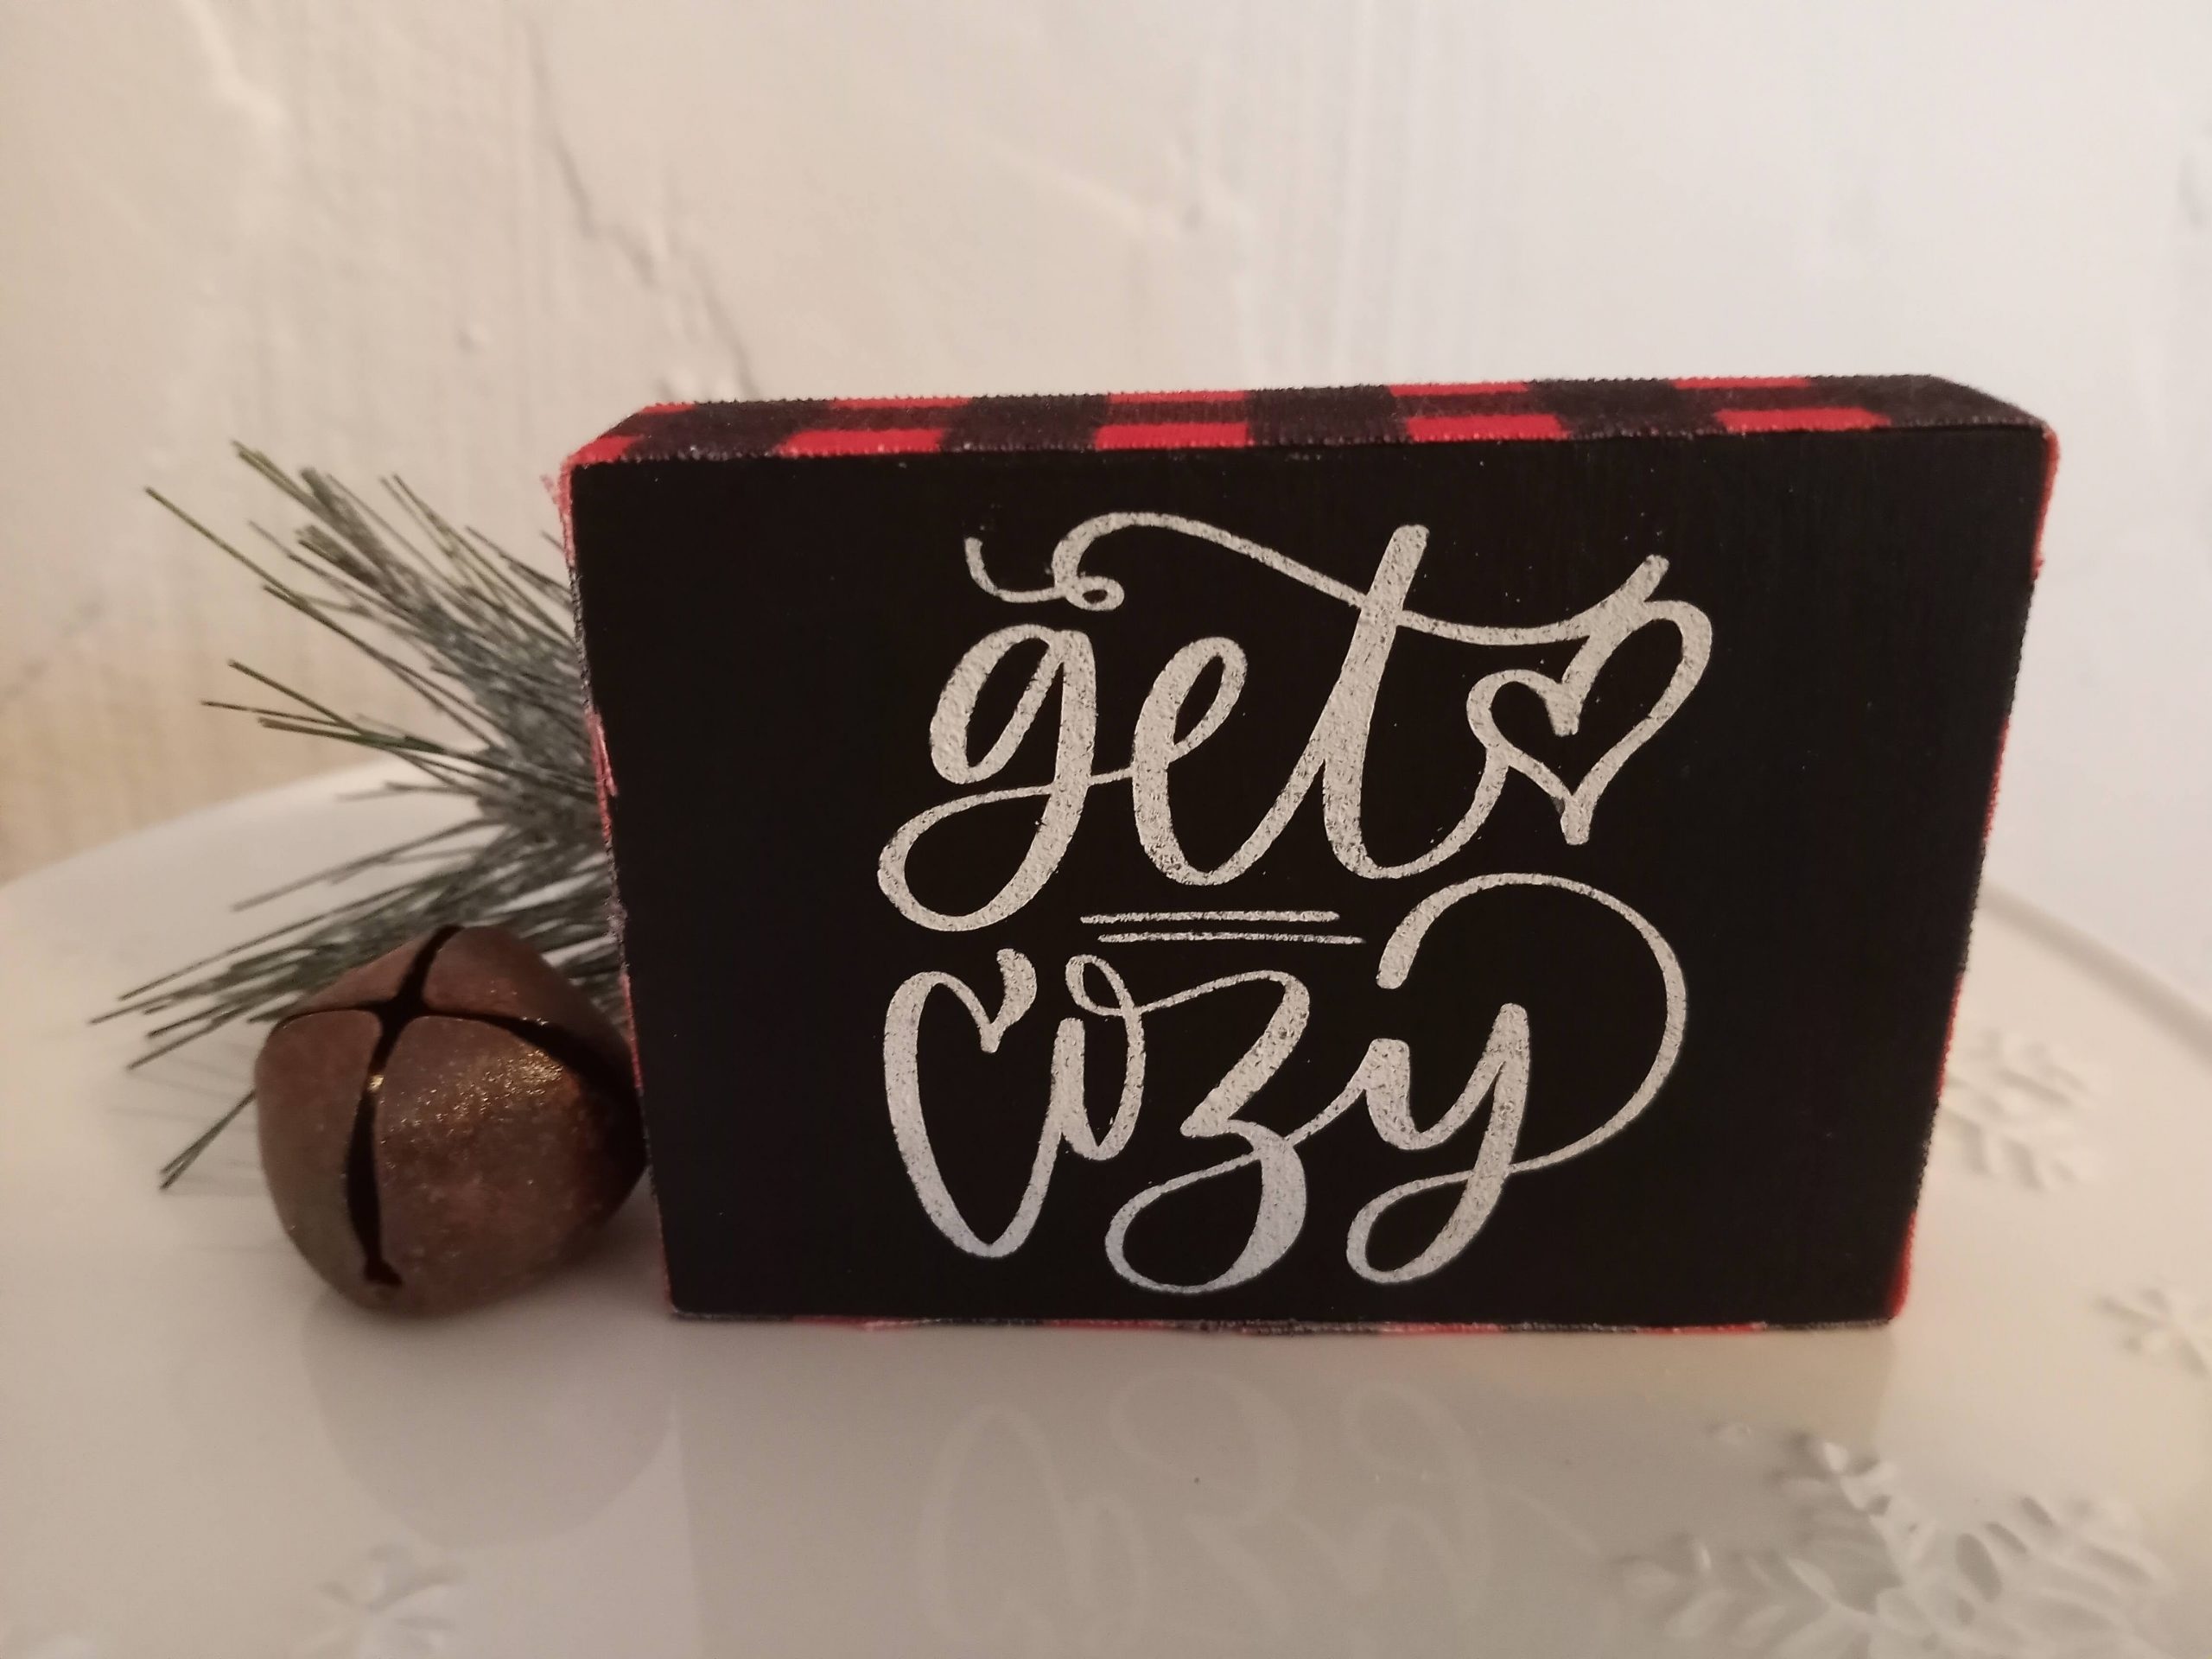
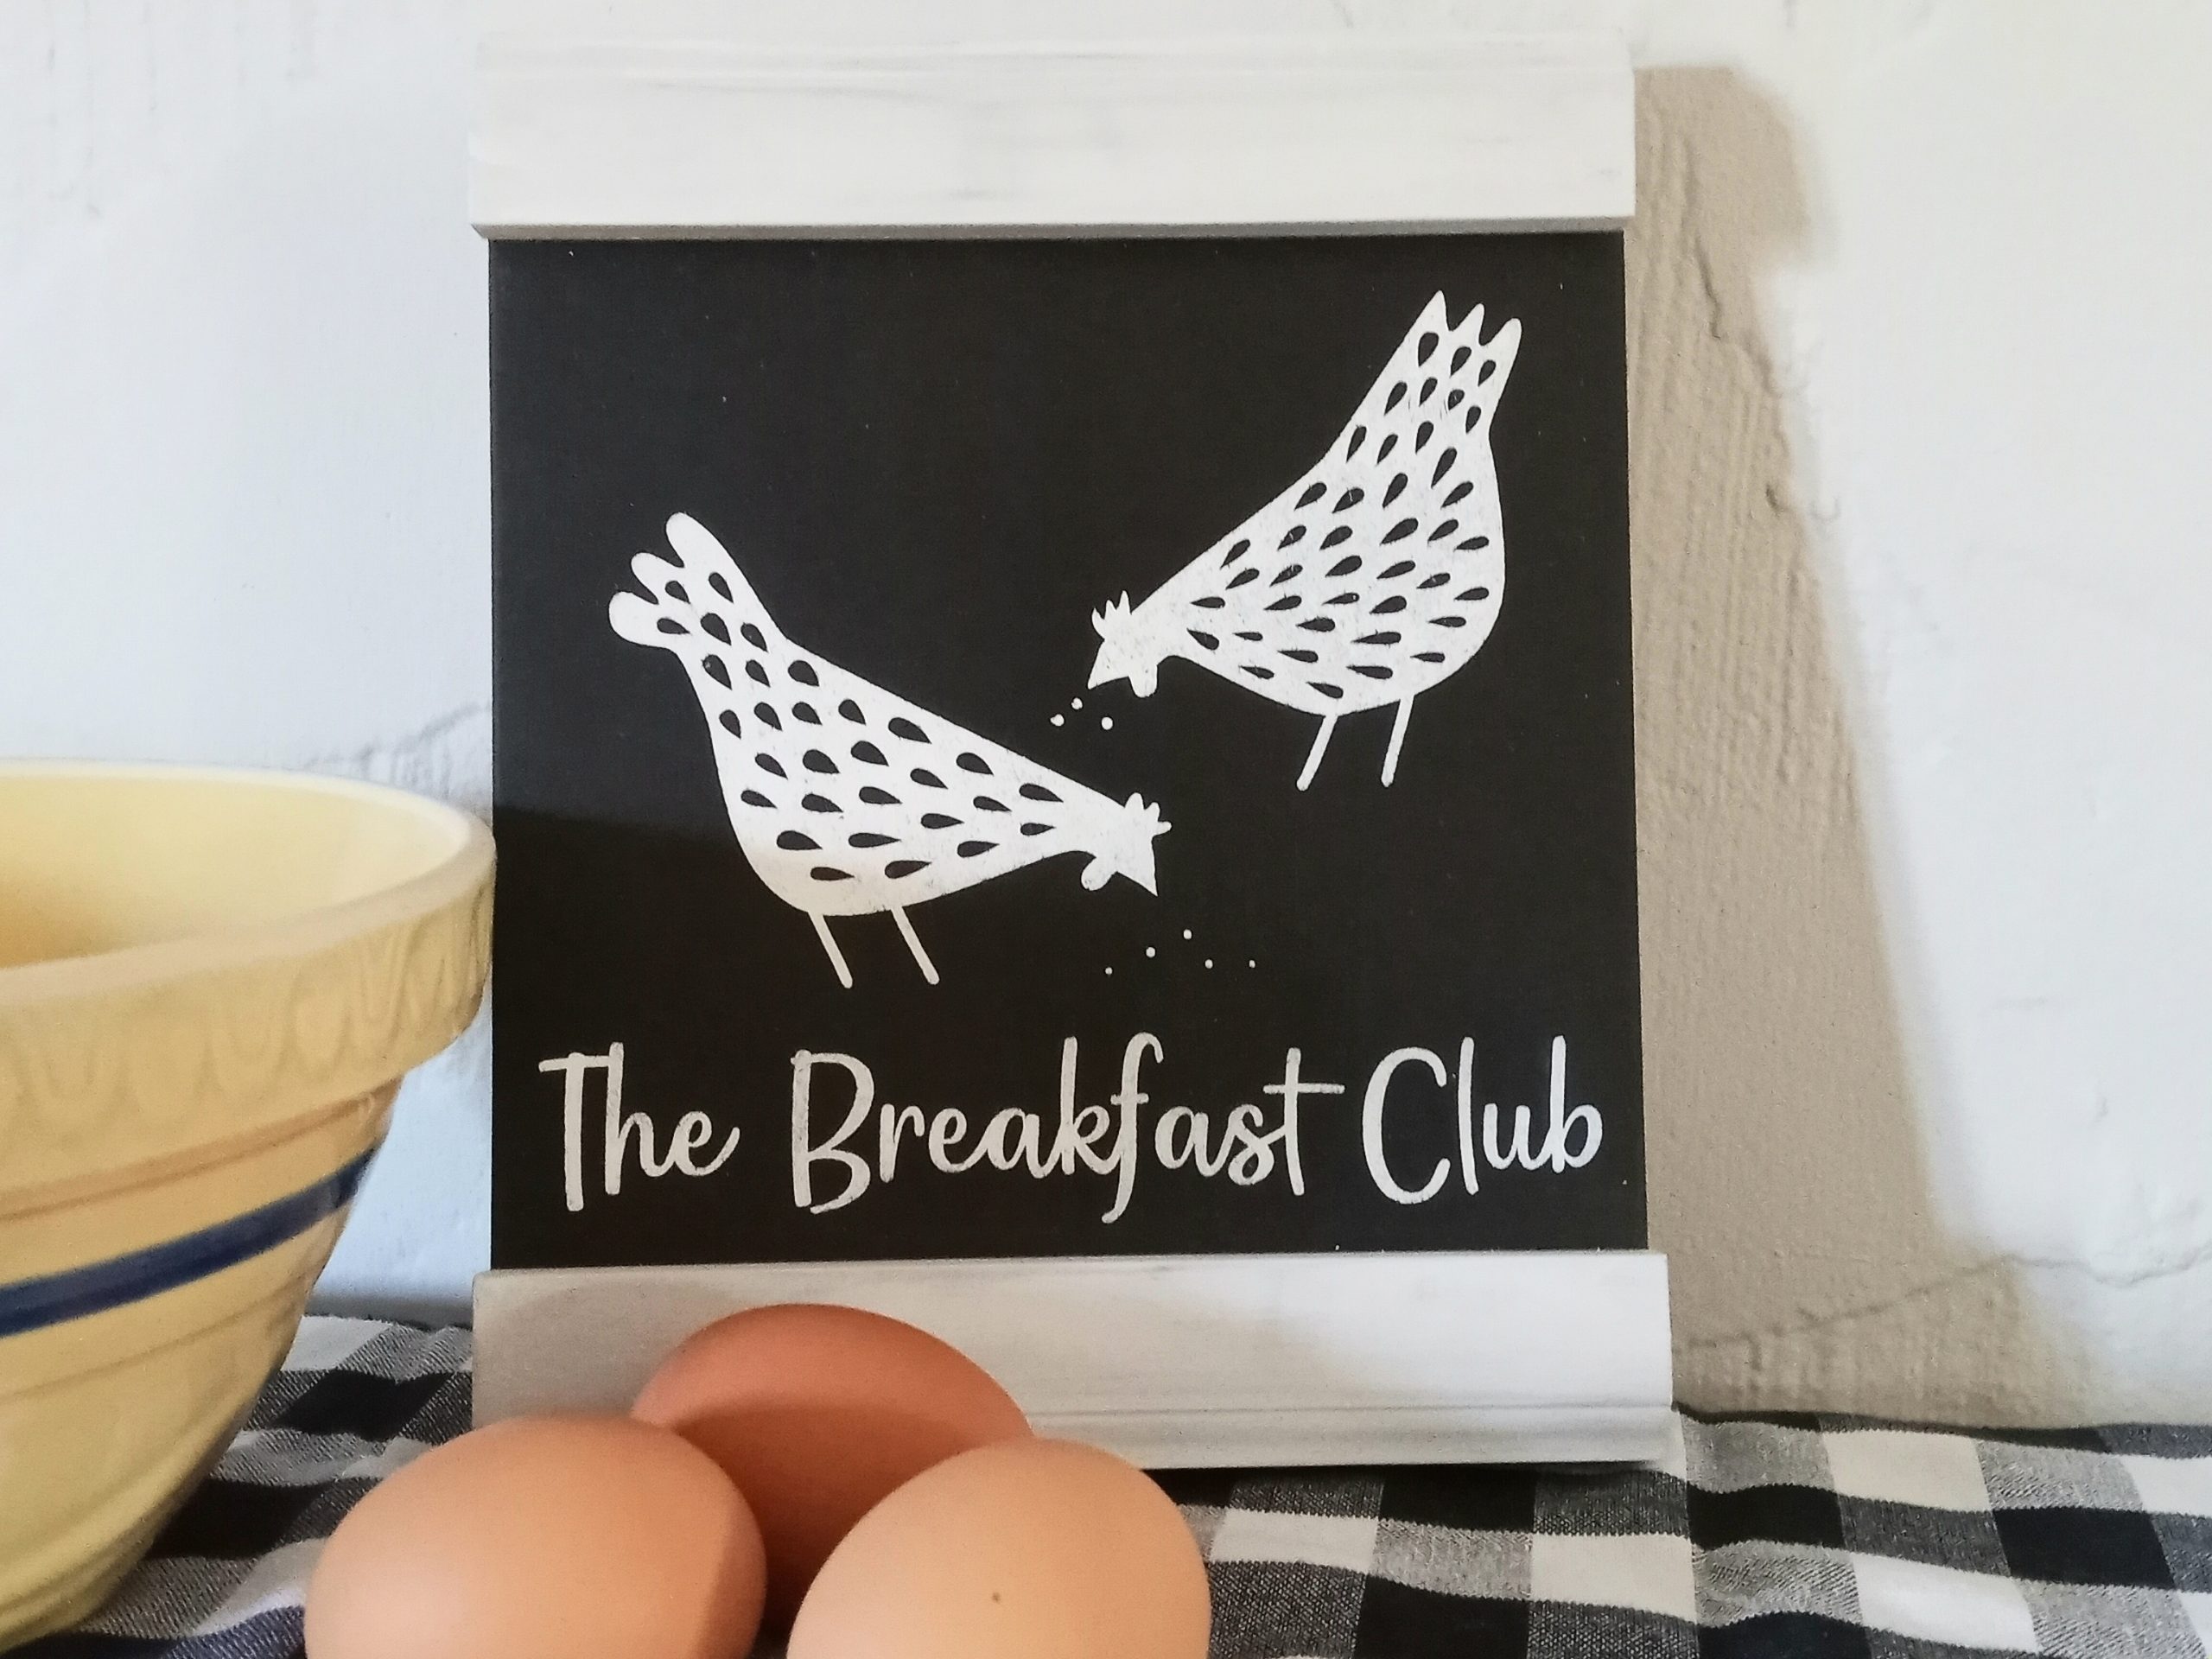
You Can Get Crisp Stencil Lines!
One of the things I wanted to share with you in this post is some encouragement. If you want nice crisp stenciled lines on your painted signs it is possible.
One of the questions you might ask is, “Do you need to go through all the extra steps of using Mod Podge, or applying a base coat?”
Another might be, “Is there a super secret vinyl or secret technique that I don’t know about that will help stop the bleed?”
I think these are good questions to ask! Let’s take a look at a little experiment that I did using a vinyl stencil on rough wood! Really rough wood!!
Maybe in the end you’ll come to your own conclusion.
A Little Bit About Vinyl
I cut a Vinyl Stencil out of Oracal 631 from Expressions Vinyl.
Now my preferred stencil vinyl is the Yellow Paint Mask Stencil Film from MI Vinyl World, but I was out and had just placed an order. I think the one thing I like about that product is how easily it weeds and how easily it releases from the wood once I’m finished. You can see a sign that I made with that stencil film HERE.
But I’ve used the Oracal 631 again and again and it works great.
I’ve seen some suggest using permanent adhesive vinyl. In my personal opinion, I think people find what works for them, but it isn’t really necessary.
Premium Vinyl or Oracal 651 has a tighter bond and I feel it’s a little bit risky as far as possibly peeling up your paint.
The brand can also make a huge difference. Say for instance you did decide to use Cricut Premium Vinyl. The regular price of premium Cricut vinyl is about $2.00 per foot. You might find it on sale for half of that from time to time.
The stencil material that I get from MI Vinyl World is $0.70 per foot. Oracal 631 from Expressions Vinyl is $0.77 per foot and can sometimes be on sale for just under $0.60 per foot. It really pays to research your choices and both Expressions Vinyl and MI Vinyl World have rewards programs that save you money if you do lots of crafting.
Links to More Signs on Say It With Simplicity
DIY PAINTED QUILT SQUARE BLOCK
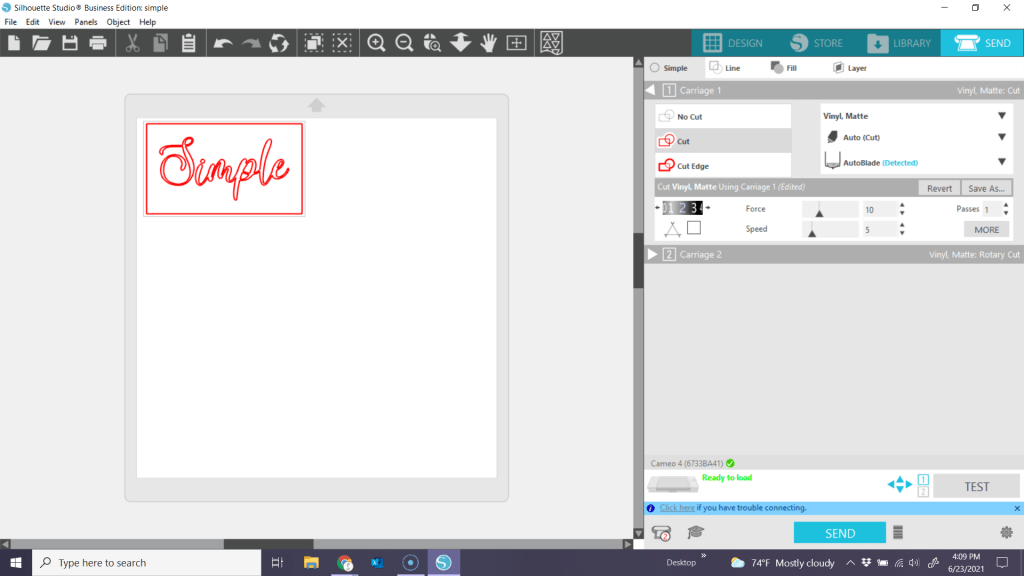
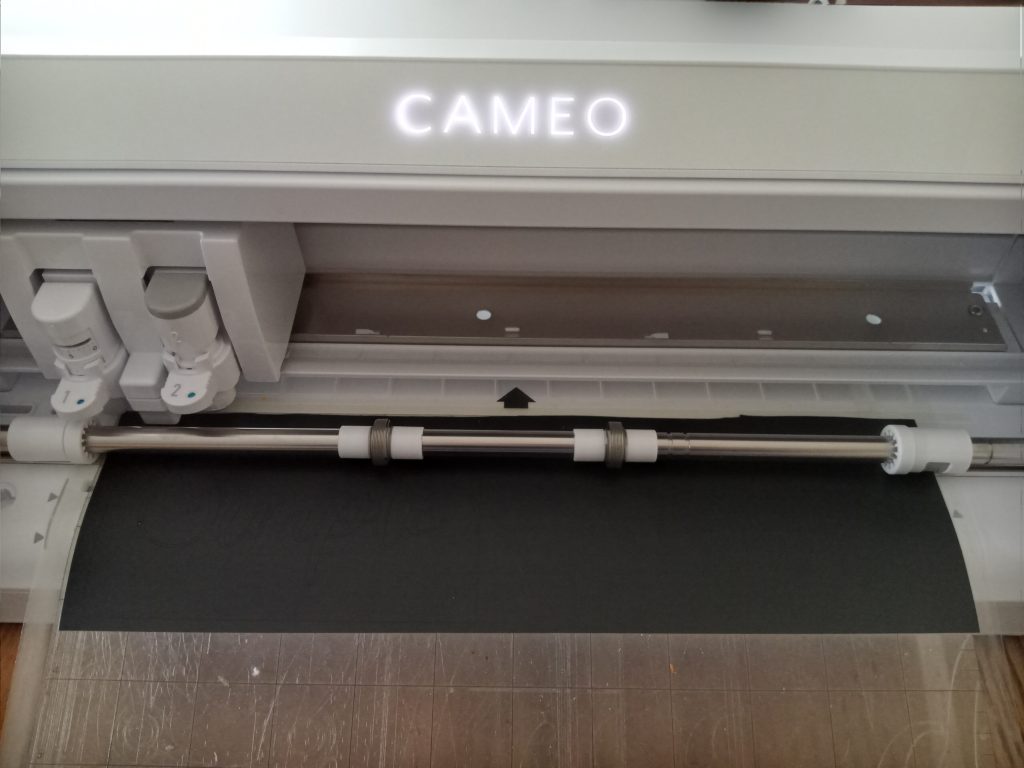
Cutting the Vinyl Stencil with the Cameo 4
I’m using my Cameo 4 for this. I used the Auto Blade and for the Material I selected Vinyl, Matte. Instead of the defaults I used cut settings Blade 2, Force 10, Speed 5.
The font that I used for the test was called Easy November from Creative Fabrica which I typed and welded in Silhouette Studio.
Here I’m just weeding the Oracal 631 stencil. Weeding is simply removing the vinyl where you want your paint to appear on your wood sign.
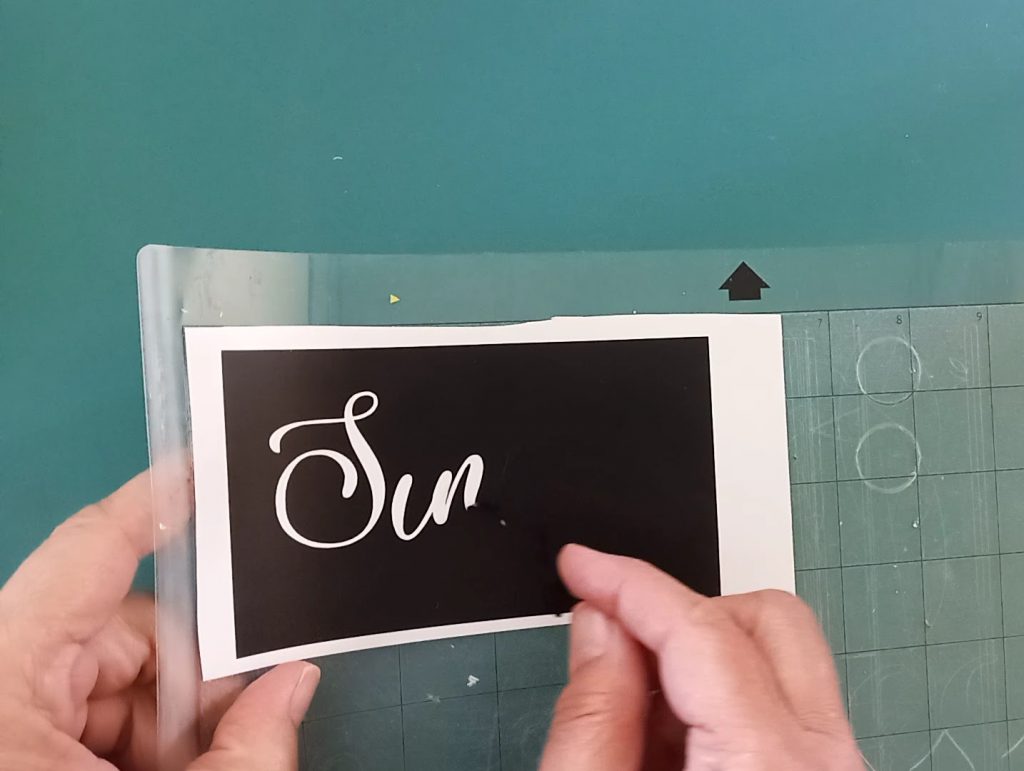
Next, you’ll apply transfer tape to your vinyl stencil so that you can transfer it to your sign. You can burnish this down with a scraper. I left it on the mat here. Generally speaking, remove it from the mat by removing the mat from the back of the paper backing.
One quick tip about transfer tape: I tend to use the same piece over and over again. You can remove some of the sticky by using a dishtowel to the backside of it and lifting it off. It’s much easier to transfer your vinyl your transfer material is less sticky. Doing this step doesn’t affect the product. You can see mine has little bits of lint on it. Not a problem!
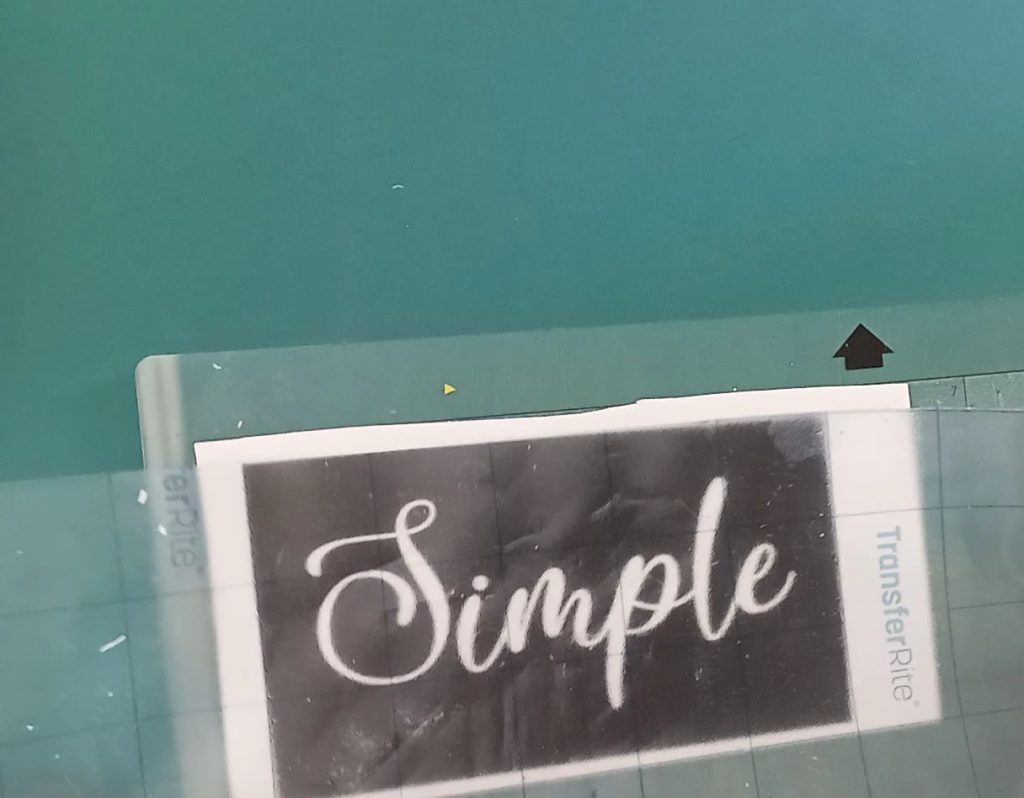
Remove the backing from the from the vinyl stencil.

Now line it up on your wood and burnish it down with your scraper or tool. An old gift card would even work for this if you don’t have one of the scraper tools. If you have a nice painted sign, be careful not to scrape too hard and damage your wood.
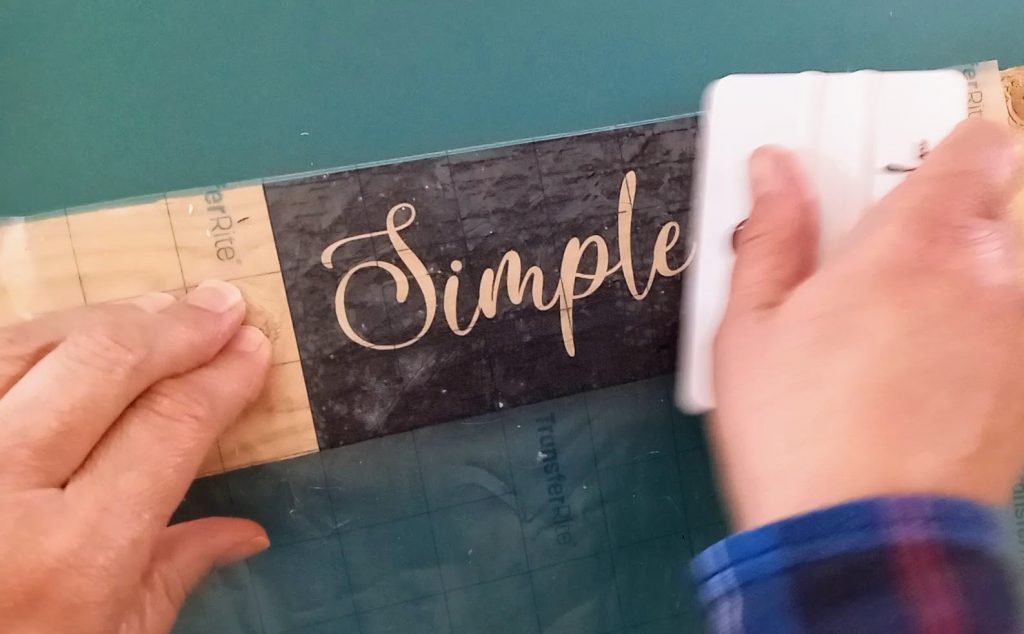
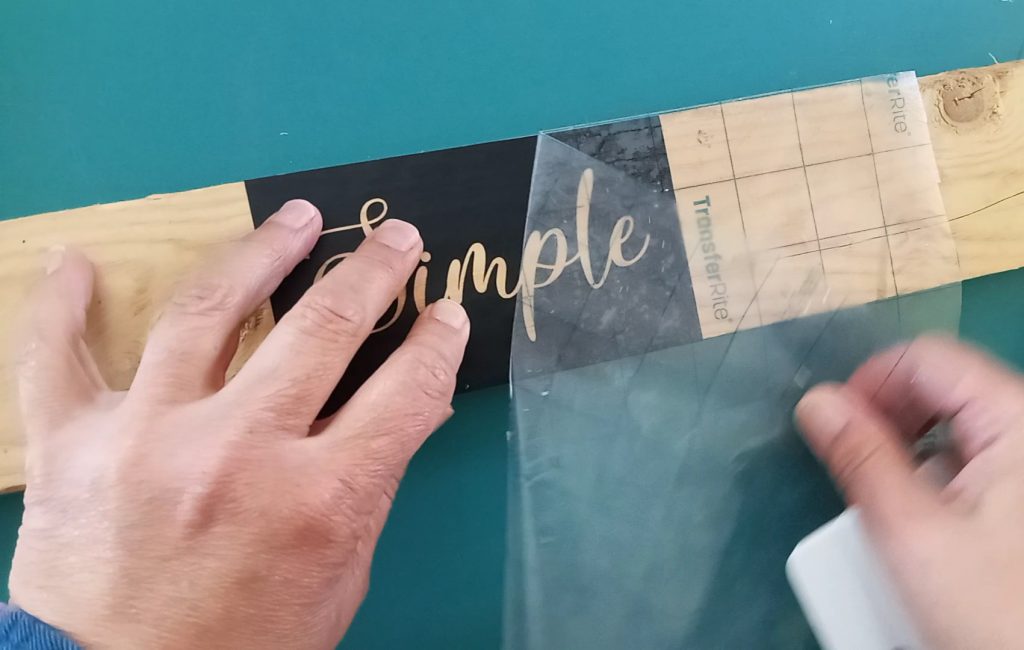
Lastly, remove your transfer tape.
Get Ready to Paint
Now that you have your stencil applied, you can get ready to paint. You can use all sorts of things for a paint tray. Use what you have.
- Paper Plates
- Plastic Produce Trays
- Foil
- Butcher Paper
- Back of previously printed paper
- Plexiglass (can be washed and reused)
- Dollar Tree Paint Pallet
The one trick I do want to share is that whatever you use, you want to have an area where you can tap off or blot off some of your paint before you lay your brush to your stencil. This is very important because the main cause of bleeding in painting wood signs is too much paint!
Paint Bleed and Vinyl Stencils
As I see it the main problems with paint bleed under the stencil is as mentioned above, too much paint!
You want to be sure that you are removing some paint before laying the tool you are using on the stencil. That may mean blotting some off on your pallet or a paper towel after loading your brush. Not just once but a few times until you have the excess paint off.
Making sure the edges of the stencil are secure can certainly help, but it isn’t the main problem. While taking your finger and going around each letter or area is helpful, the other main problem though has to do with the painting technique.
You don’t want to brush on the paint. You want to dab on and use a light touch as well as a slight up and down motion to tap on the paint with your loaded brush.
If you brush, or slide your brush across the stencil, you increase the risk of getting paint in and under the edges of the stencil. When I see someone do this in a teaching video, it makes me cringe. Really!!
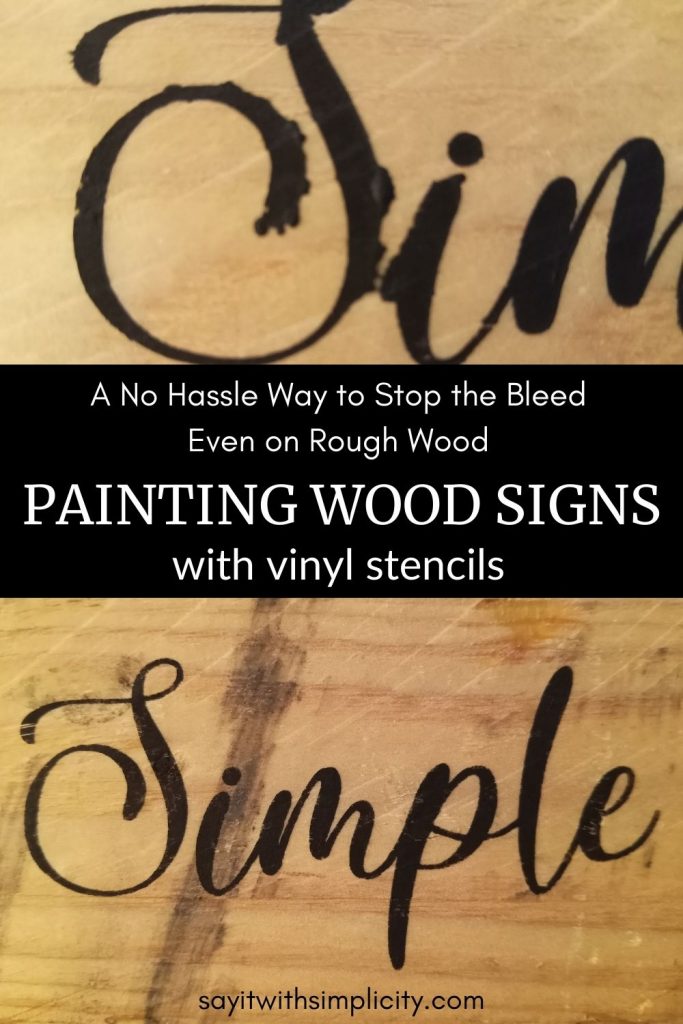
Just so you know that I’m not making stuff up, I actually decided to brush on paint with a foam brush and this is the result.
For that reason, my favorite tool is a stencil brush. I have a couple of different sets, and they are nothing fancy.
How to Use the Stencil Brush
Load your brush with the paint. Tap several times to off-load paint and then use a light tapping motion starting off the letters, moving toward them to fill in. It takes some practice, but if you do this consistently, then you should reduce the bleeding when you paint wood signs.
Now to be clear, if you don’t want to use a stencil brush, it’s okay.
Make-up wedges also work and I’ve had a huge success with them. I pick up the ones from Walmart and they work just fine. I once taught a class on stenciling and had stencil brushes on hand, so I started using them more and more. During 2020 I decided to use them since I could clean them up and didn’t need to toss them.
Using a stencil brush for painting wood signs with vinyl stencils saves money in the long run and nothing additional is added to the landfill.
I’ve created a video showing how I’ve used the stencil brush without bleed. This video is played back at 2x the speed and I’m using Waverly Chalk Paint in the color “Ink.”
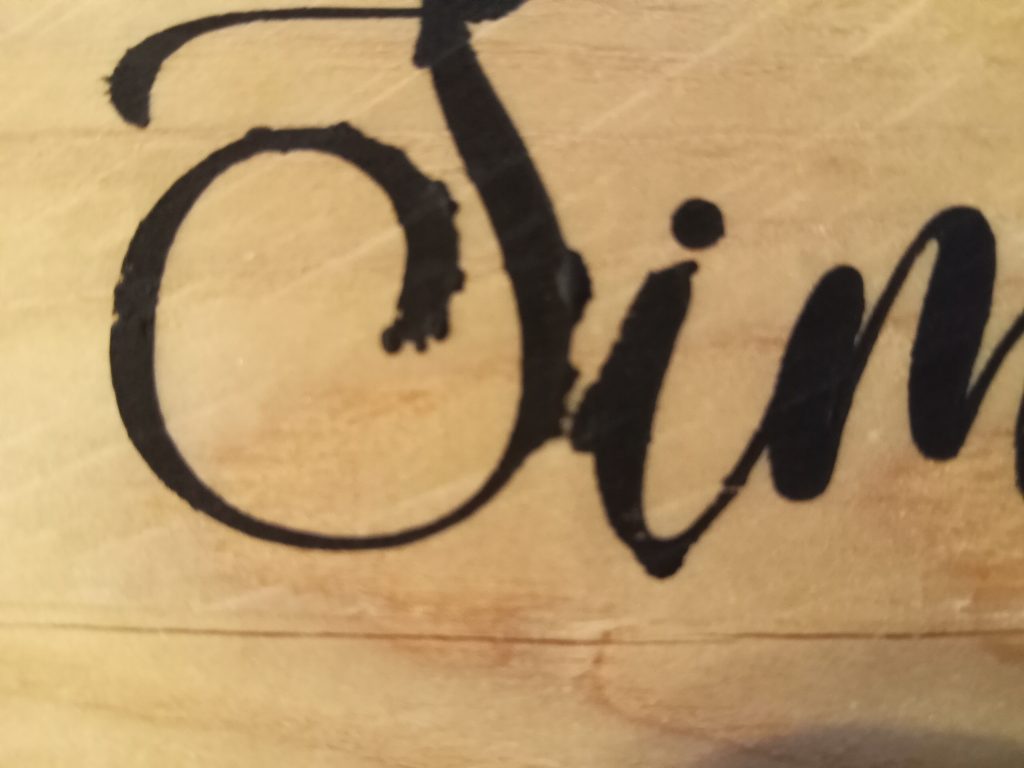
You can see how rough this wood is. It’s just a piece of pallet wood pulled from the pile. I did zero prep or sanding on this piece. I didn’t apply Mod Podge before stenciling. You can see that even on roughest wood, there is no need to worry about paint bleed.
I wish I had a little better camera angle for you, but I hope this helps to see the tapping motion that I’m talking about.
What Problems Do You Experience When Painting Wood Signs?
Have you tried techniques that were recommended that didn’t work? Are you ready to change your techniques when painting wood signs using vinyl stencils? My best advice is to practice. Try a different technique for a while. Grab some pieces of scrap wood, even old pieces of trim or garage sale finds. Do some simple text and images and make your success repeatable.
Some small bleeds can be corrected by waiting for the paint to dry and then scraping very gently with an X-Acto knife.
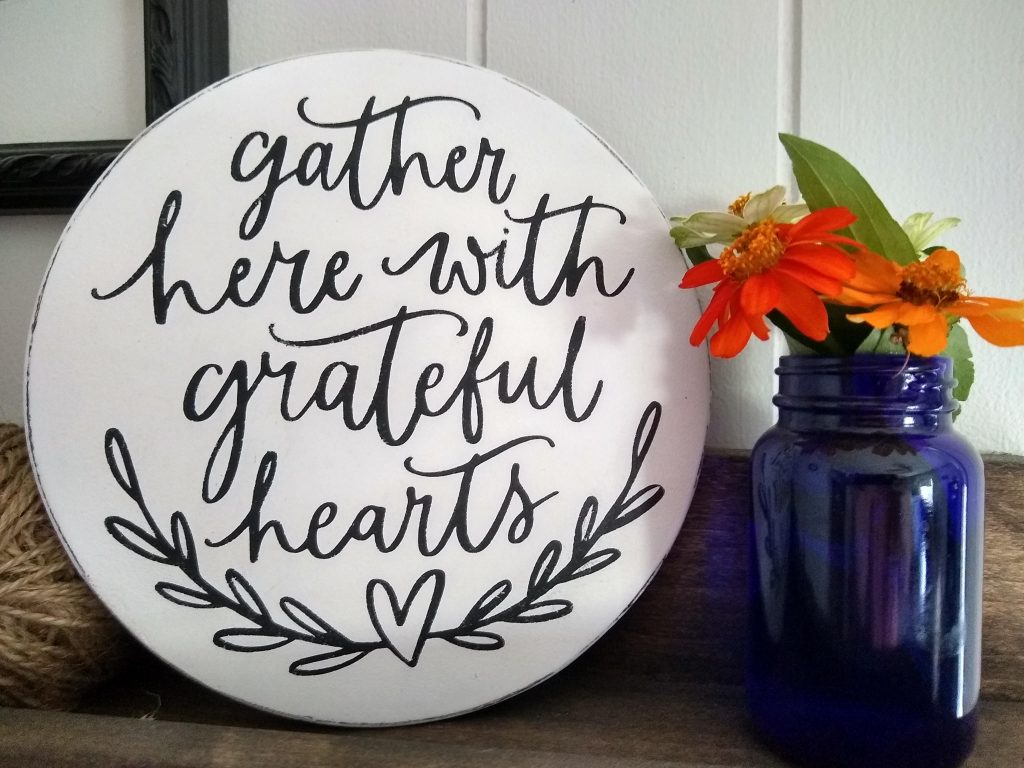
Often times a little bit of a distressed look is okay like I did with this sign. Sand lightly close the edge of the letters after the paint has completely dried.
The other piece of advice is don’t be too critical of your mistakes. Each new experience is a learning experience. Sometimes we are the only ones that can see a tiny “mistake” while everyone around us sees only the beautiful.
I hope this was helpful in your journey to paint crisp lines on your wood signs with vinyl stencils. If you have questions, feel free to drop them in the comments below. Thanks for stopping by today and have a great day.