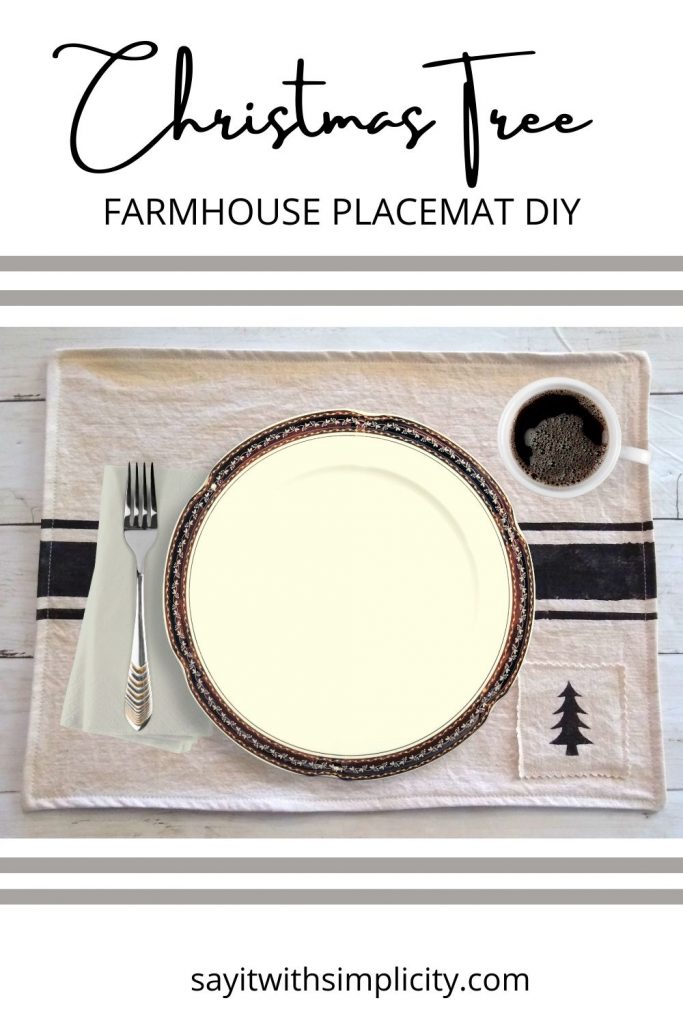
Farmhouse Grain Sack Stripe Placemat DIY
Today we’ll be working on some great home decor with this DIY Farmhouse Grainsack Stripe Placemat. This is a quick sewing project making it easy to create a festive farmhouse tablescape for your holiday dinner. What’s really great is that they have a high-end look, but are inexpensive to make
I’m linking a YouTube video that I did for this project. I hope it will inspire you to make one or a bunch of these for your Farmhouse Christmas table.
I made it super fun by including a little stenciling project that you can do with your Silhouette Cameo.
This placemat was made from a medium weight, off-white muslin that you can pick up at your favorite craft or fabric store. If you’re out thrift store shopping, be sure to check if your store has a fabric bin. You never know what you might find.
I picked up enough of this muslin at a thrift store for this placemat and several more. What’s really cool is it only cost me a couple of bucks. I figure I had less than a dollar in one of these placemats and you can’t beat that! I’ve seen grain sack stripe placemats going for almost $20. These farmhouse grain sack stripe placemats are truly a “Look-for-Less” project.
This post contains affiliate links. As an Amazon Associate, I earn from qualifying purchases.
What You’ll Need
- 100% Cotton Muslin in a Medium Weight
- Scissors or Rotary Cutter
- Masking Tape or Painters Tape
- Black (or another color) Craft Paint like Apple Barrel or Deco Art
- Stencil Brush and/or Makeup Sponge
- Sewing Machine
- Pins and other sewing supplies
- Transparency film, mylar, or other stencil material.
If you purchase transparency film for stencils a package will last you a LONG time. I used transparency film stencils for my Farm Fresh Pumpkins Stenciled Signs. I have one of those old overhead projectors so I have some transparency film that was a thrift store purchase. It works great for making re-usable stencils. I use the heavy cardstock setting on my Cameo 3 and it cuts through with one pass.
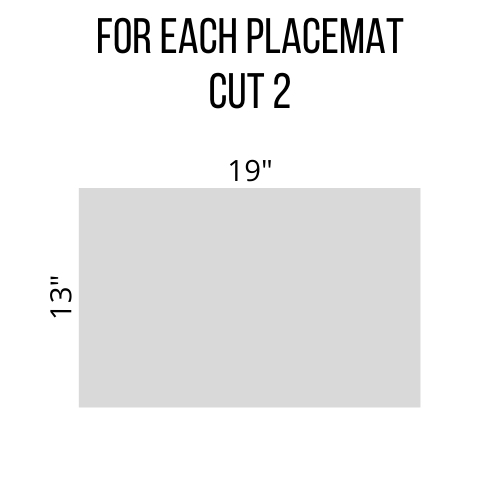
Cutting Your Fabric
Cut two pieces of fabric that are 19 inches wide and 13 inches long. Your finished size will be 18″ wide and 12″ long. This allows for 1/2 inch seam allowances when you sew the front to the back.
You can use a scissors or rotary cutter for cutting your fabric. In my opinion the rotary cutter makes it so much easier. But use what you have because this is very quick and easy to cut out no matter what you use.
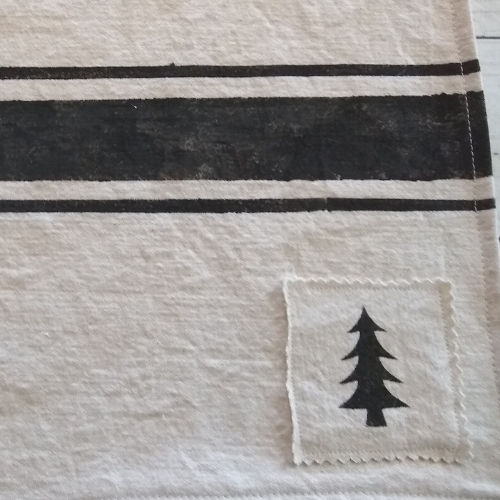
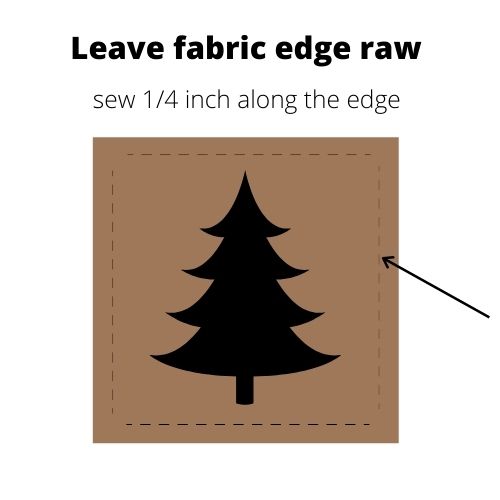
You will also need one square piece of fabric at 3″x3″ for the little Christmas Tree patch in the lower right-hand corner of your placemat. I used pinking sheers to make a decorative raw edge on my small patch. This is optional, but I love the way it gave a little old-fashioned flair to this piece. Not everyone has pinking sheers, so a raw edge will do. You could even fray it around the stitching line.
Painting Your Grain Sack Stripe
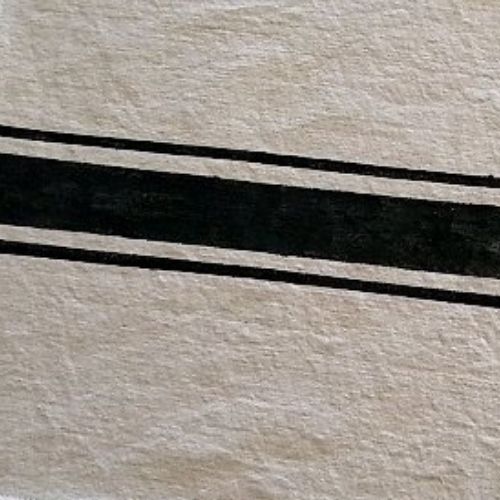
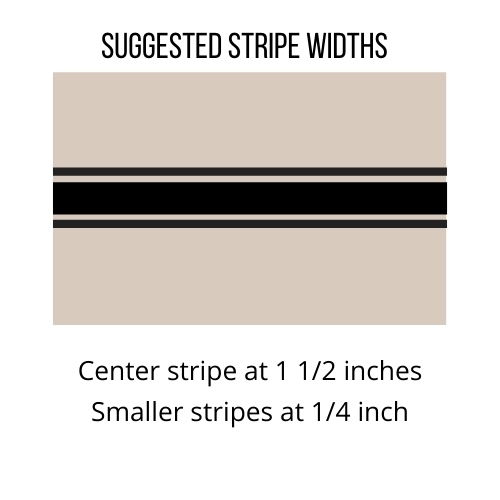
Painting is simple. You’ll use painters tape or masking tape to mask off your stripes. I’ve included a diagram below with the width of my stripes, but this is only a suggestion. Grain sack stripes can vary in width or even in the number of stripes. You can create your own unique look for your placemats.
You’ll paint your stripes on just one of the two fabric pieces that you cut out for your placemat. Leave the other piece blank. You will be the back of your placemat when you sew the pieces together.
Use masking tape or painters tape to mask off your grain sack stripes. Then use a stencil brush or makeup sponge to paint them.
Next Paint the Small Patch
Making your stencil in Silhouette Studio
I created a little tree cut file with the Flexishapes in Silhouette Studio. Flexishapes are available in Silhouette Studio upgrades Designer Plus Edition and Business Edition. Point editing is your friend here when it comes to making your tree unique. After I was happy with my image, I cut a stencil using transparency film as my stencil material.
In the video, I included a tutorial on how I set up making my stencil in Silhouette Studio. You’ll find this at point 8:13 if you would just like that part of the tutorial.
For a small stencil project like this, you may even be able to use cardstock. Whatever you choose, test it out with your cutting machine and also on a scrap piece of fabric. I love the transparency film. I used them to stencil my scrap wood hearts.
When you stencil, load your stencil brush with paint. Then dab off on a paper towel or paper plate before stenciling. You’ll achieve a more crisp image if you use less paint for each pass. Use a short up and down tapping motion rather than a brushing motion.
The order in which to paint your fabric isn’t all that important, but if you paint your grain sack stripe first, you’ll have time to let it dry before assembly. Most craft paints dry quickly.
When you are finished painting and your fabric is dry, give it a good press to set the paint. Use parchment paper to protect your iron, unless you have an iron set aside for crafts.
Sew The Christmas Tree Patch to the Front of the Placemat
Using your dinner plates as a guide, figure out where you want to put your patch on the placemat.
If you need to pin it in place, try to avoid your painted area. Take your placemat to the sewing machine and sew 1/4 inch away from the edge of the patch all the way around. Be sure to backstitch at the beginning and end.

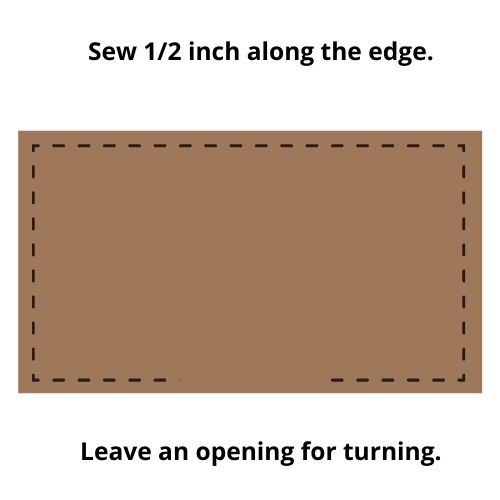
Sew Your Grain Sack Stripe Placemat Together-Front and Back
With right sides together sew your placemat front to placemat back. Leave an opening about the size of your hand for turning.
Trim and Turn
Trim your corners at an angle before turning right side out. You may also want to trim your seam allowances.
Turn your placemat with the right sides out. Pull out your corners for a neat finish. Press your placemat. Be sure that the opening you used for turning is neatly tucked in.
Topstitch
The topstitching will make your placemat look neater and lay flatter. Topstitch close to the edge so that you catch your turning opening in the stitching.
Give your placemat one last press and voila! You are finished with a beautiful farmhouse placemat with a grain sack stripe. Make a bunch and set your table for your Thanksgiving or Christmas festivities. These would look amazing throughout the winter season!
I’d love to hear what you think of this project. Will you be making some for your holiday table? If you have any questions or comments about this tutorial, don’t be afraid to leave them in the comments section.
Don’t forget to share!
Have a wonderful and crafty holiday season!