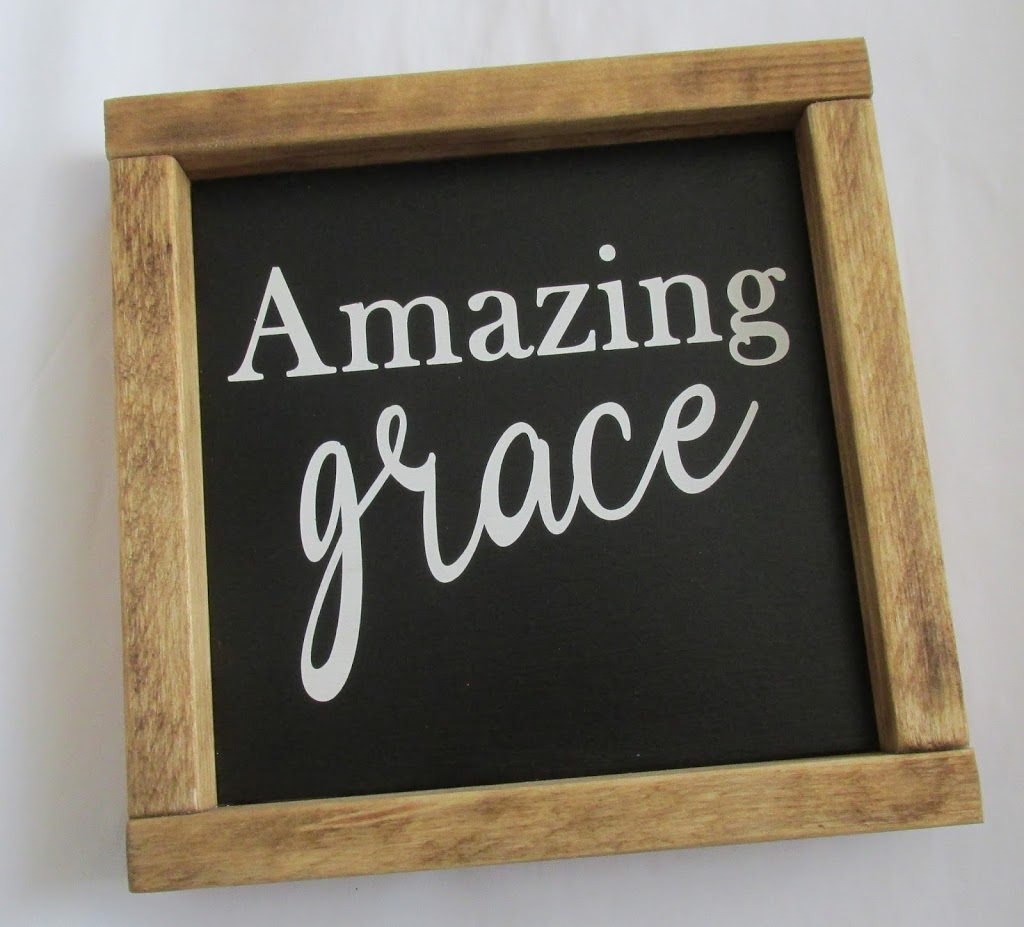
Farmhouse Decor Sign: Amazing Grace
Farmhouse decor signs are so trendy, and I love making them. I’ve owned a Silhouette Cameo for some time, and I find that vinyl stencils are the fastest and easiest way to create your own farmhouse decor signs.
I have to admit that my first signs were pretty unprofessional as I originally cut my sign stencils from file folders. It worked, but it really wasn’t the easiest way. I didn’t really know too much about using vinyl as a stencil or even using other fonts.
My sign making has come a long way and I’ve learned so much from some Facebook groups that I participate in, plus numerous video tutorials. I’m still learning!
Font Bundles is a great place to get a variety of fonts for your projects. I use the monthly membership which allows me access to a number of new fonts and designs every month. There are also some great fonts that can be purchased through Silhouette, many with commercial use license.
This sign was made using what is referred to as the PVPP (paint, vinyl, paint, peel) method and while I have not used this method very much, I’m really starting to like it and will probably be using it more often.
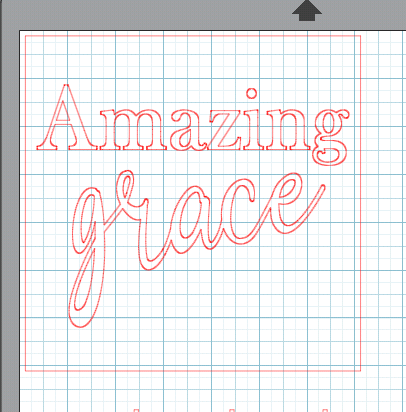
For this sign, I created my design in my Silhouette Studio designer edition.
I used an 8-inch select aspen board that I get at a local store. In reality, it is about 7 1/4 inches, and so I cut it to 7 1/4 inches long, giving me a square sign.
To make my vinyl stencil, I created a box at 7″x7″ in Silhouette studio and used a serif font for “Amazing” and the “Handmade Card Script” font, which can be found in the Silhouette store.
To thicken the lines I used an offset in Silhouette Cameo. It probably was an unnecessary step, but I do like that in doing so, the little flip at the bottom of the lowercase g was all welded together.
Since my board was already painted using Waverly Chalk Paint in white, I decided to try the PVPP method and see how it would turn out. In case you’re unfamiliar with this method, it stands for paint, vinyl, paint, peel.
I used some Cricut stencil vinyl that I had on hand.
It adheres well and is easy to remove. I used my Transfer Rite Ultra to transfer the vinyl lettering to the sign.
Painting
I used Rust-Oleum Painter’s Touch Ultra in Flat Black, using about 3 light coats and letting it dry in between. When using spray paints you’ll want to use light coats so that no paint seeps under the vinyl and causes bleeds.
When I removed the lettering, there were nice crisp lines.
Adding a Finish
I’ve found that Rust-Oleum Painter’s Touch Ultra Cover in Matte Clear works really well to protect indoor signs and I gave it a couple of quick coats.
Framing
For the Frame, I used 1″x2″ lumber that and stained it with a light walnut color. I cut all my pieces on an older Sears miter saw that I purchased last fall at Habitat for Humanity.
Gorilla Wood Glue was used to glue the frame pieces. An electric brad nailer was used to nail the 1×2’s to the sides.
There you have it! A brand new farmhouse decor sign for your home, and all finished and ready to hang on the wall.
If you’re interested in creating signs with your Silhouette Cameo, they make awesome home decor and great gifts.
It takes time to figure out the process that works best for you, but well worth it when you see the finished product.
Hope you enjoyed this little tutorial and we’ll see you again next time.