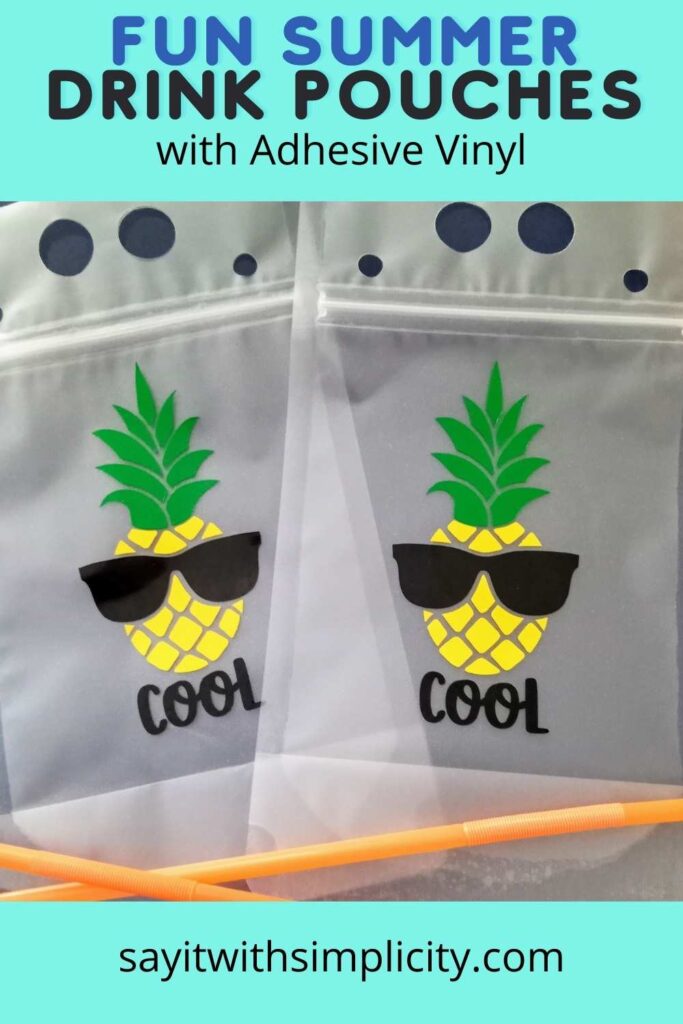
Stay Cool with Summer Drink Pouches
Nothing says summer like an ice-cold drink. It’s not summer yet on my calendar but it’s sure sizzling outside. Today I’m using my Adhesive Vinyl and my Silhouette Cameo to whip up some fun Summer Drink Pouches that you can use for those warm summer days.
The design I chose for my first drink pouches came from Creative Fabrica. I thought the pineapple with sunglasses by Minty Marshmallows was so darn cute! Such fun for the grandkids. I’ll be using this design for this tutorial.
You can totally create your own pouches for kids or adults with whatever theme you choose. Create for summer parties, 4th of July, Father’s Day, birthdays, or any occasion.
*This post contains affiliate links. I may earn a small commission if a qualifying purchase is made through one of these links.
What You’ll Need:
- Re-usable Drink Pouches. I purchased a 50 pack from Amazon.
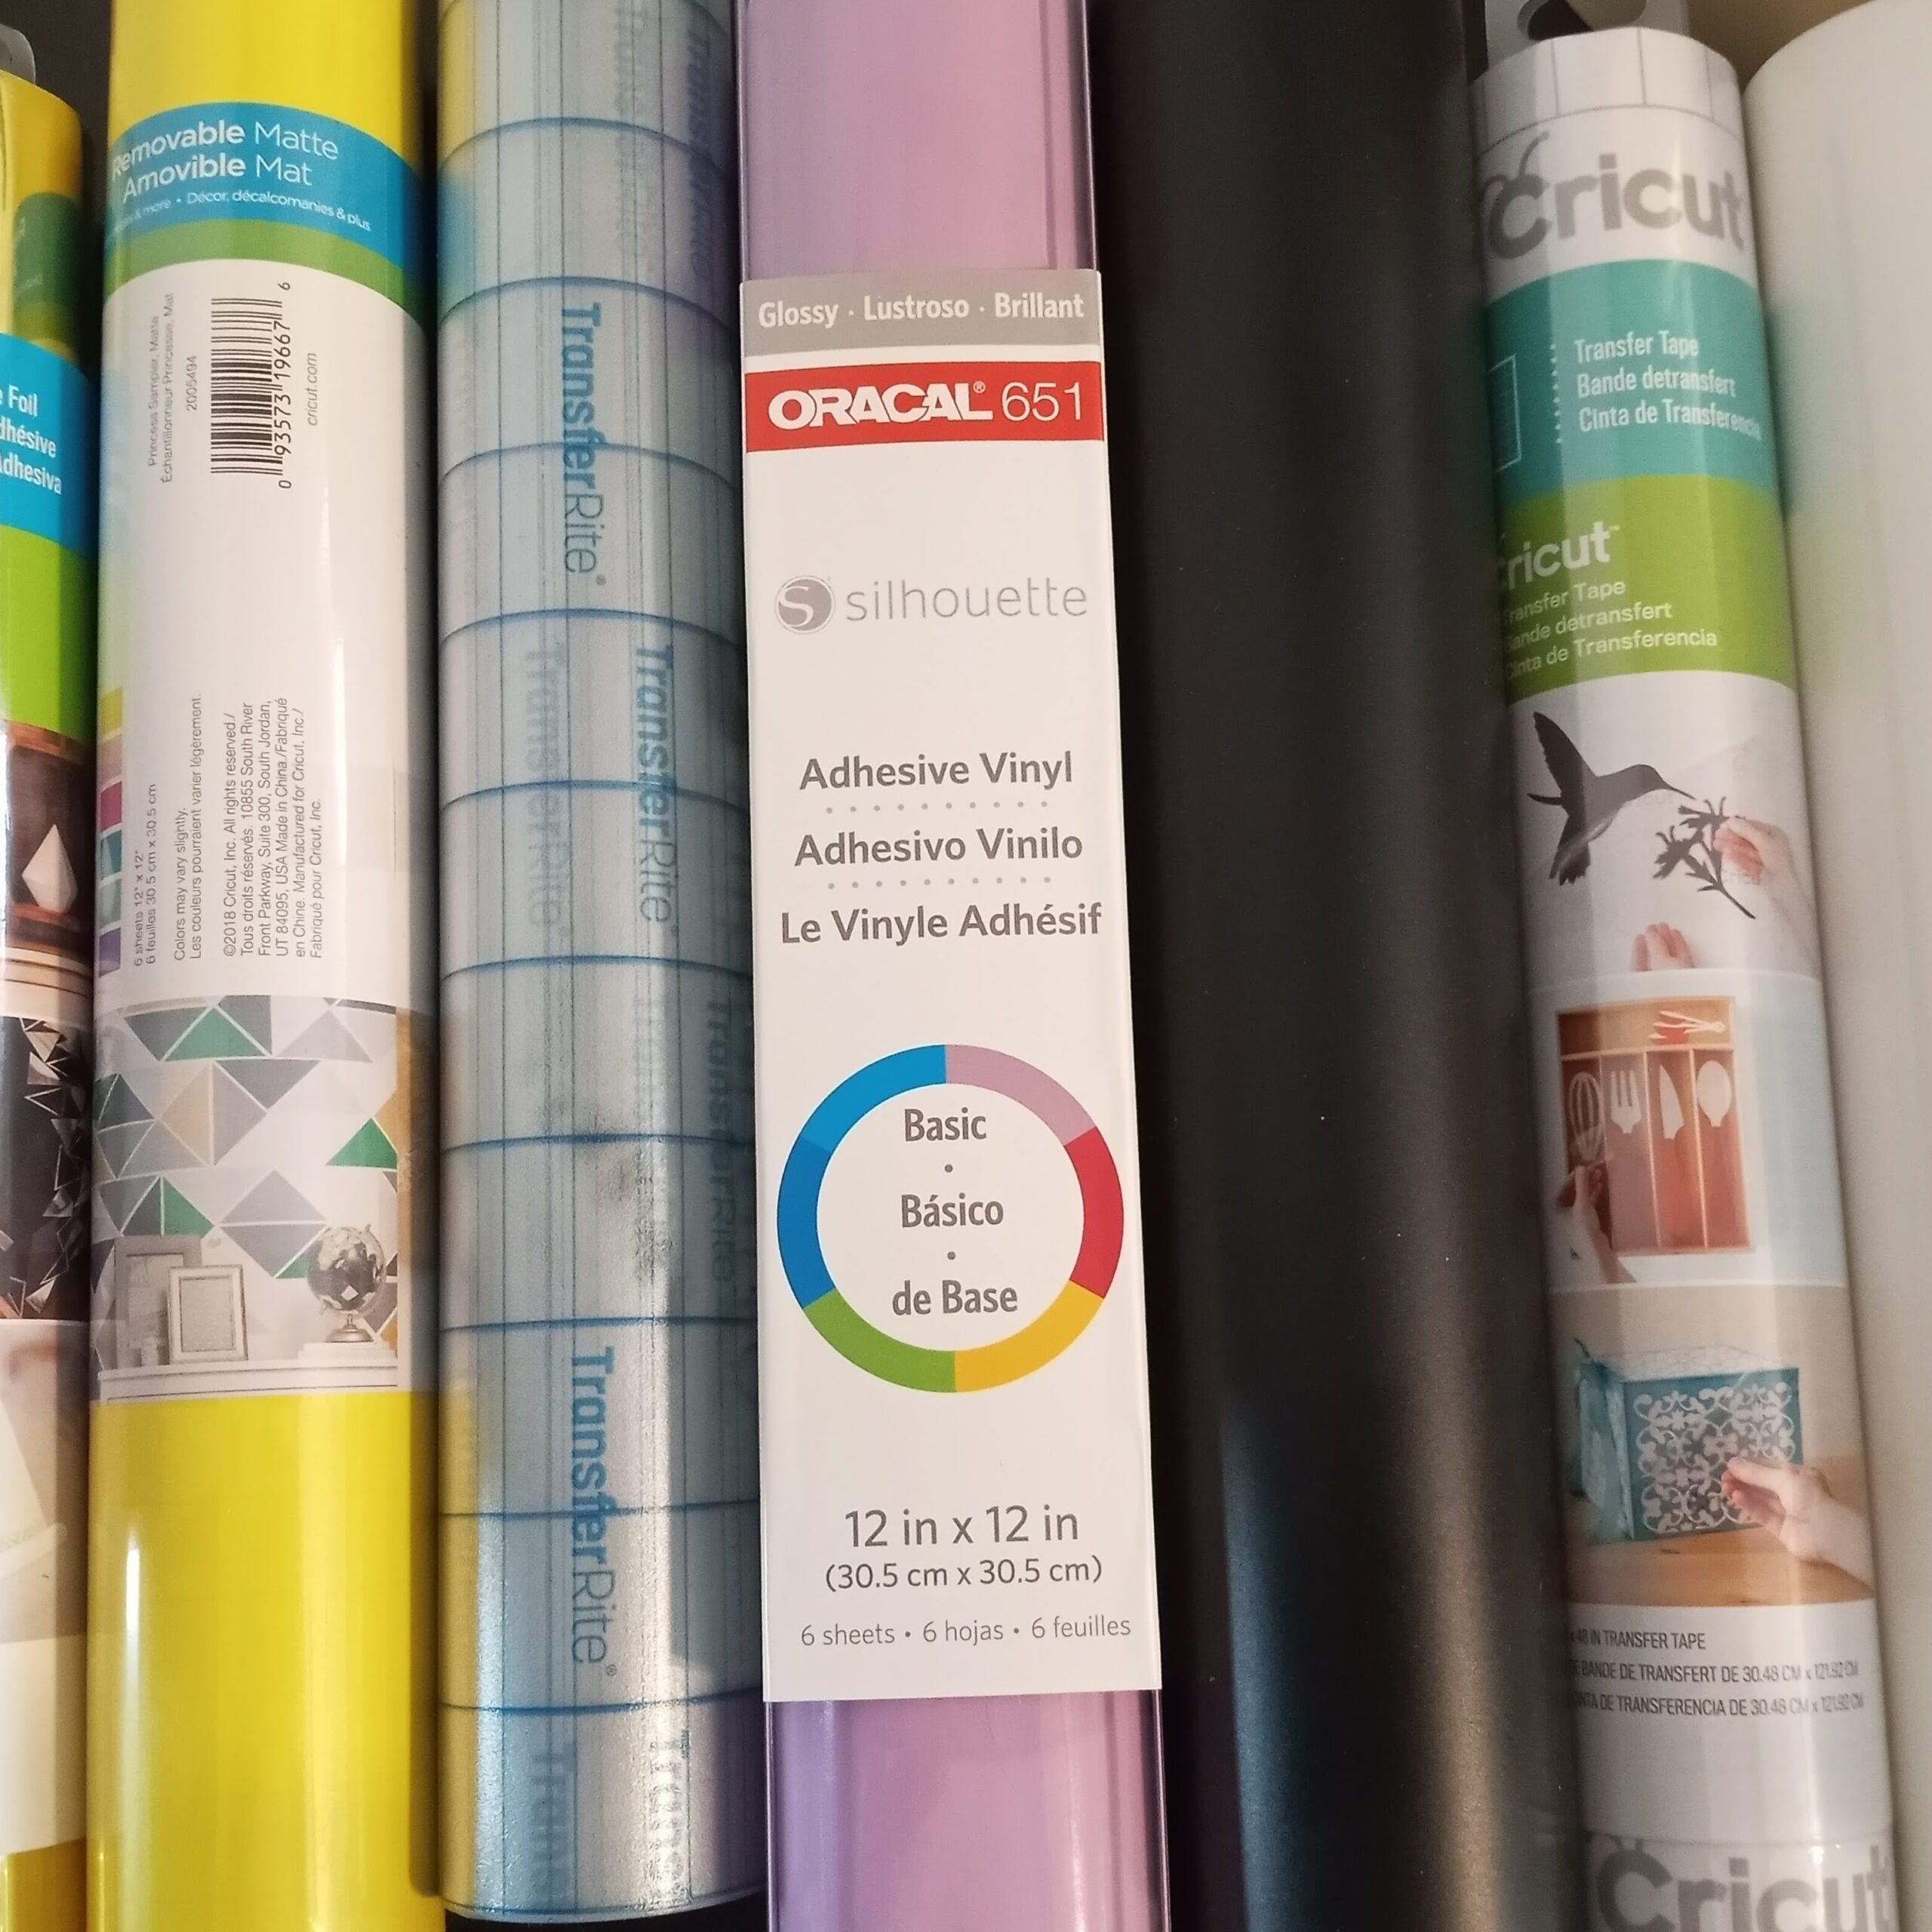
- Oracal 651 or your choice of permanent Adhesive Vinyl. I most often purchase from Expressions Vinyl or MI VINYL WORLD
- Transfer Material
- Scraper or tool to burnish your design Get this set Free with a $30 purchase from Expressions Vinyl.
- Weeding Tools. I have tools from Cricut, but a pin works in a pinch if you don’t have weeding tools.
- Cutting Mats
- Silhouette Cameo (or another cutting machine)
- Your favorite Slushie or Cooler recipes to fill your Summer Drink Pouches
For more summer SVG files check out my Free SVG Library
Cutting Your Design In Silhouette Studio
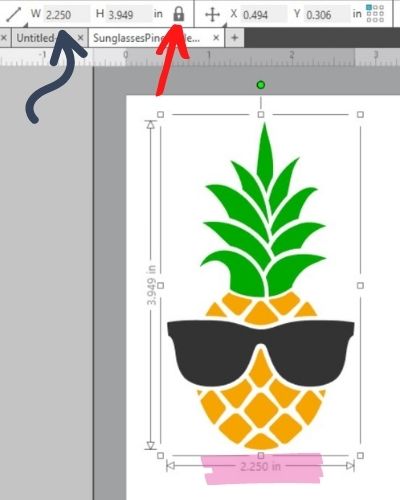
After downloading my file from Creative Fabrica, I extracted the images and opened the SVG file in Silhouette Studio. If you have the Basic Edition of Silhouette Studio, there is a DXF version of the design.
After measuring to see where I wanted to place the design on my drink pouch, I locked the aspect ratio (red arrow) and then set the width to 2.25 (blue arrow). Leave the images grouped for this so that they all scale together. You can see with the pink highlighter that I’m at width 2.25 inches.
Modifying the Design
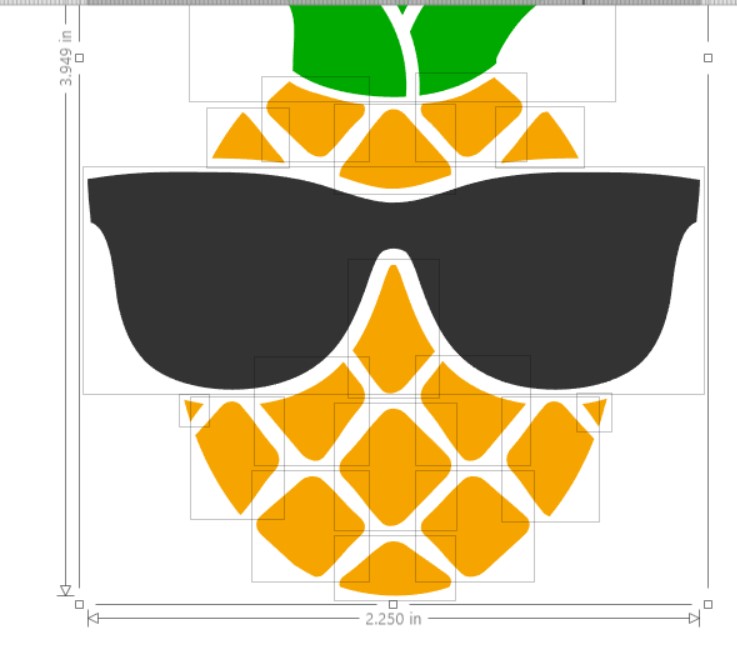
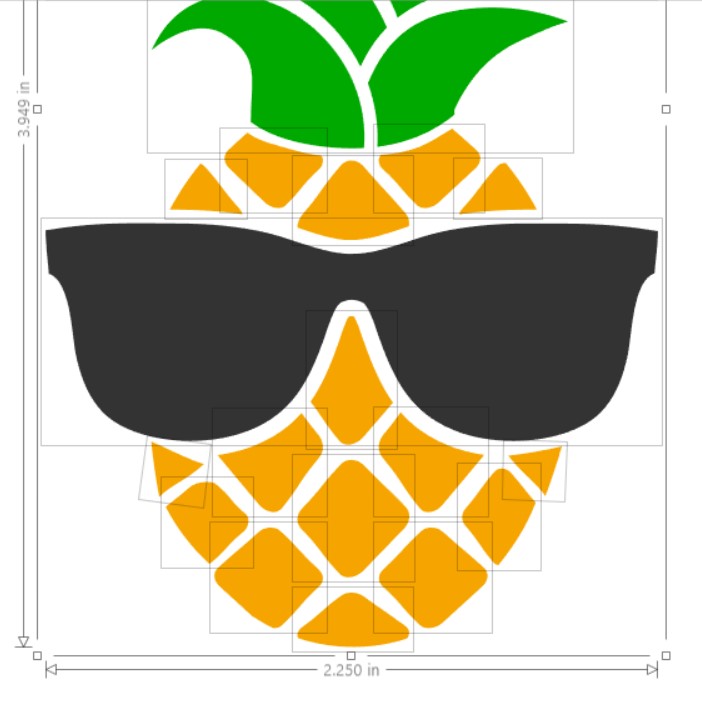
This is really an optional step, but it also shows the power of the Silhouette Studio program when it comes to modifying designs. You can see that I’ve ungrouped the entire lower part of the pineapple. Now all these little bits can be resized individually.
My reason for doing this was because the two little bits under the sunglasses were going to cut so small, that they were going to be a pain to apply. Plus the likelihood that they would stay on the drink pouch for any length of time was questionable. So I went to work to modify those little pieces by making the ones underneath smaller and then making the tiny ones larger.
The picture on the left is before modifying the file, the picture on the right is after modifying the file. And believe me when I say this makes things SO much easier!
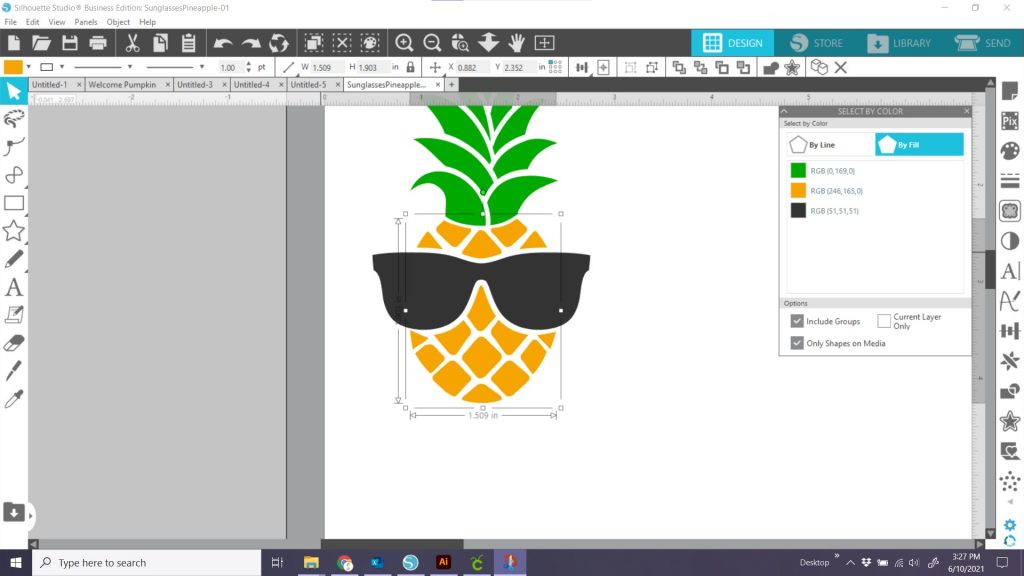
Select by Color to Regroup
Now when you want to regroup your pineapple bits in Silhouette Studio just tap the little “Select by Color” paint pallet in the bar at the top of your screen. (Gold Arrow)
It will open up a selection panel. Open up the “By Fill” color side. (Pink Arrow) Tap the color you want to select.
Then hit the group button (black arrow) and your images will be regrouped and you can move them around in your work area together.

Pineapple Image After Regrouping
Now the gold part of the image is regrouped and you can get your vinyl ready on the mat. If you are just doing a few images or using up scraps of vinyl you could use different areas of the mat and cut all at once. I laid out my vinyl like the photo below.
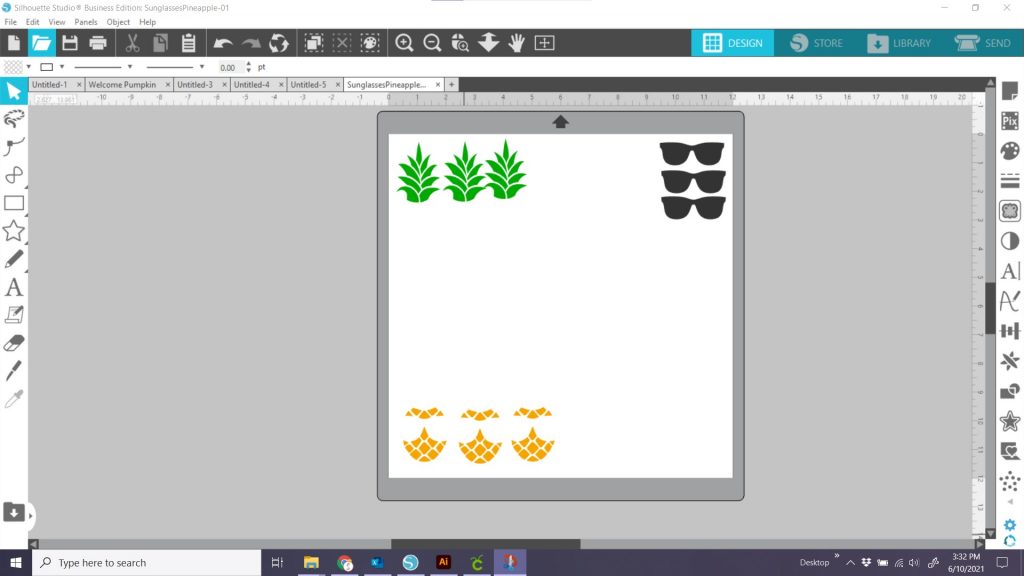
You could also send the parts of the image separately by color. This works really well when you have extra mats and can load each color separately.
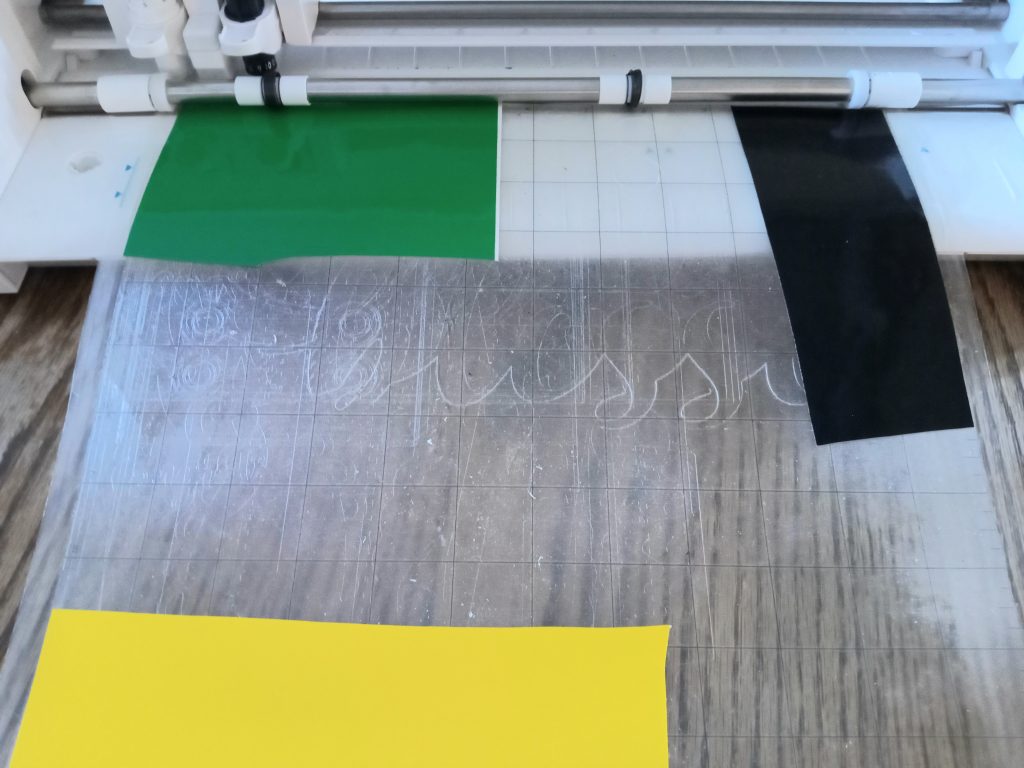
Cutting Your Summer Drink Pouch Images
The default cut settings for matte, glossy, or Oracal 651 vinyl were the same in Silhouette Studio. The best thing to do before cutting any vinyl is to do a test cut from your send panel. You certainly don’t want to guess and ruin a piece of vinyl. A small test cut can save you that headache.
Since I know my machine, I cut the vinyl for my drink pouches at Blade 2, Force 10, Speed 5. But by all means, do that test cut on your machine with your vinyl. There are differences between my Cameo 3 and Cameo 4 when it comes to the settings.
If you are new to cutting vinyl, your adhesive vinyl should be colored side up on the mat and you do not need to reverse your text or images with the adhesive vinyl for this project.
Weeding and Transferring Images
When I was finished cutting my vinyl, I removed the pieces from the mat and used a scissors to cut apart the images.
Next I, weeded away the vinyl that wasn’t part of the design that was going on my drink pouch.
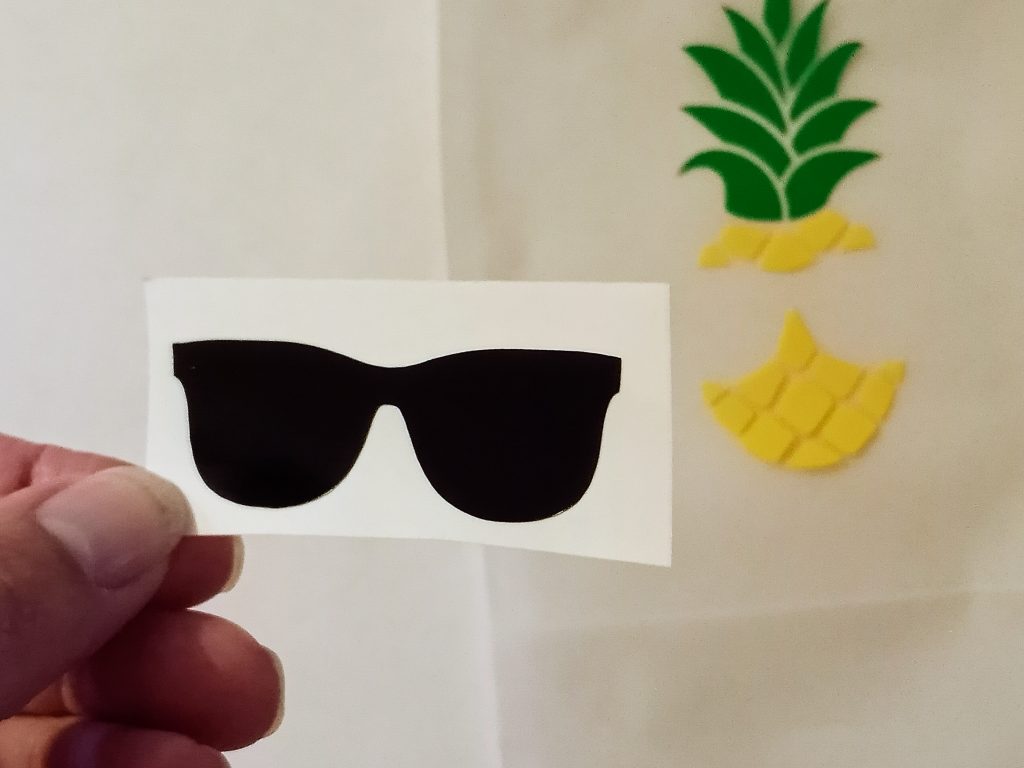
Using my little sunglasses image as an example, you can see that I’ve removed the vinyl from around the image but the backing remains. I’m planning to add those to my pineapple last.
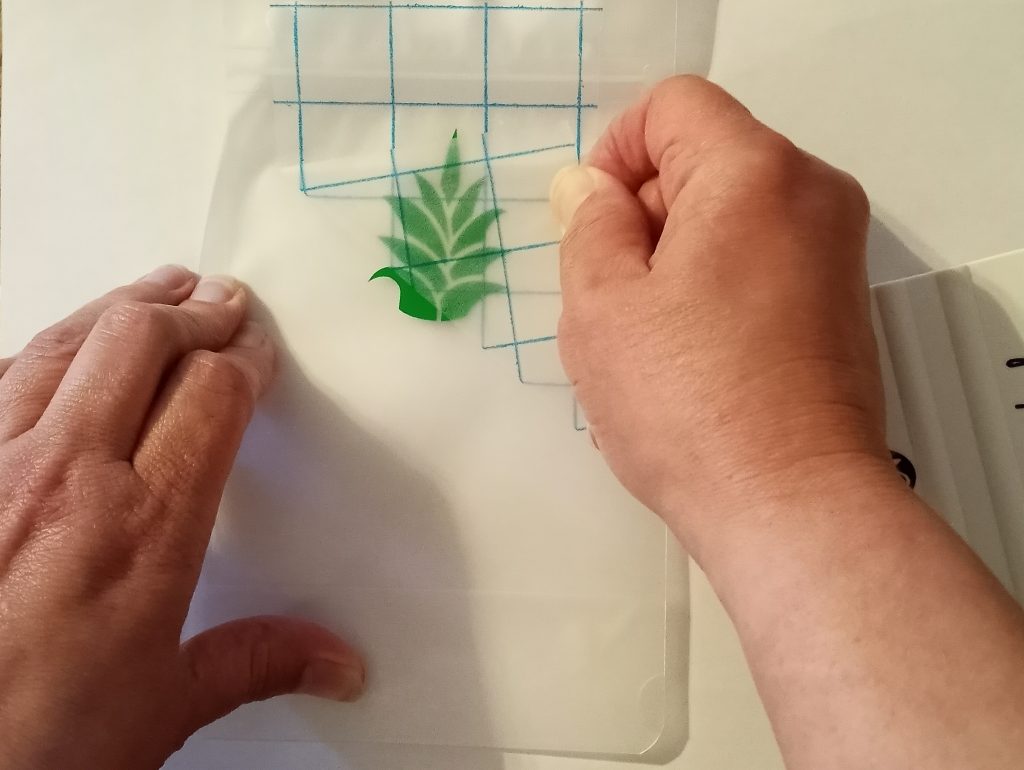
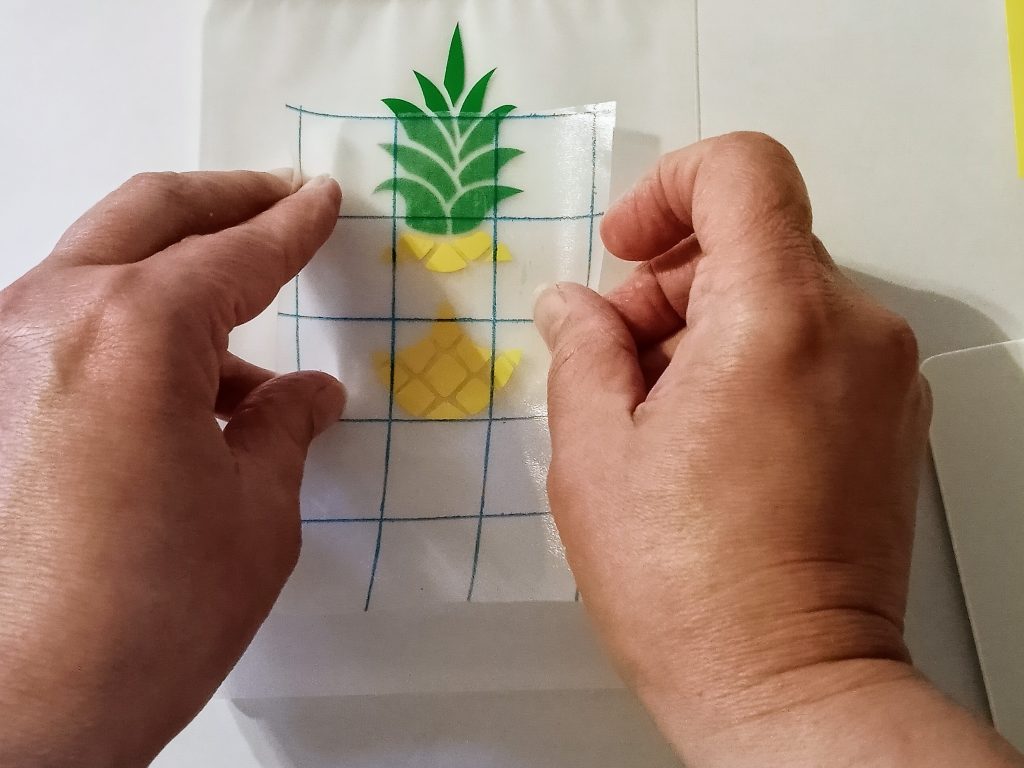
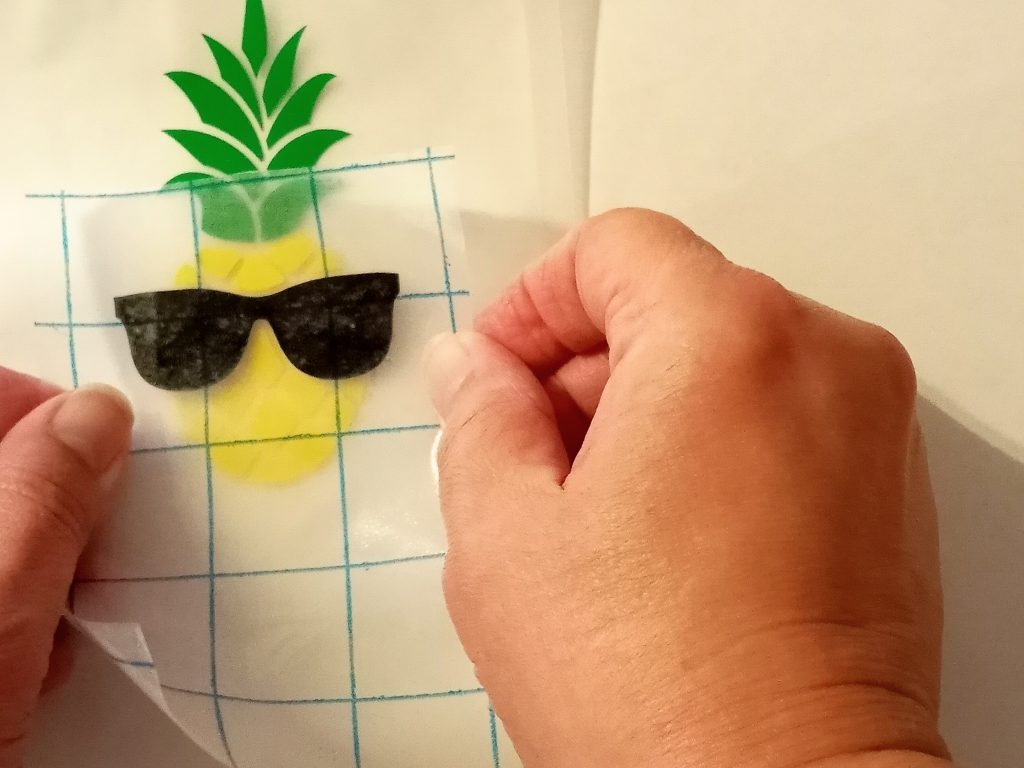
So I started with the leaves of my pineapple, applied transfer tape and transferred each image.
Next came the yellow vinyl.
Then I added transfer tape to my little sunglasses.
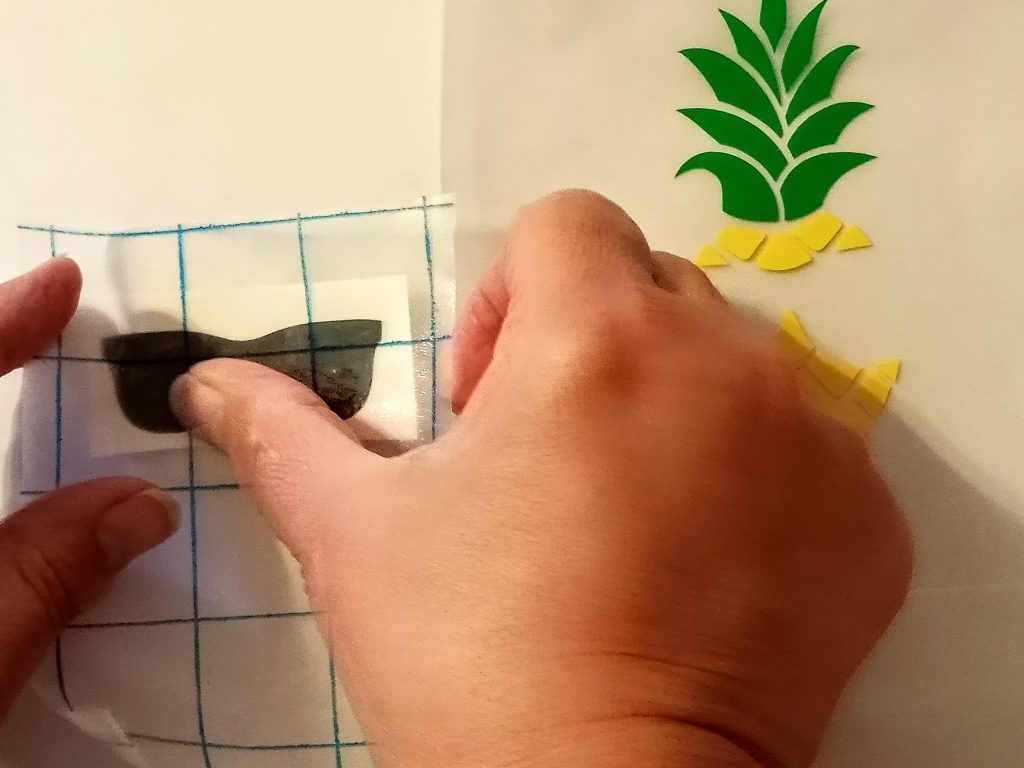
removed the backing,
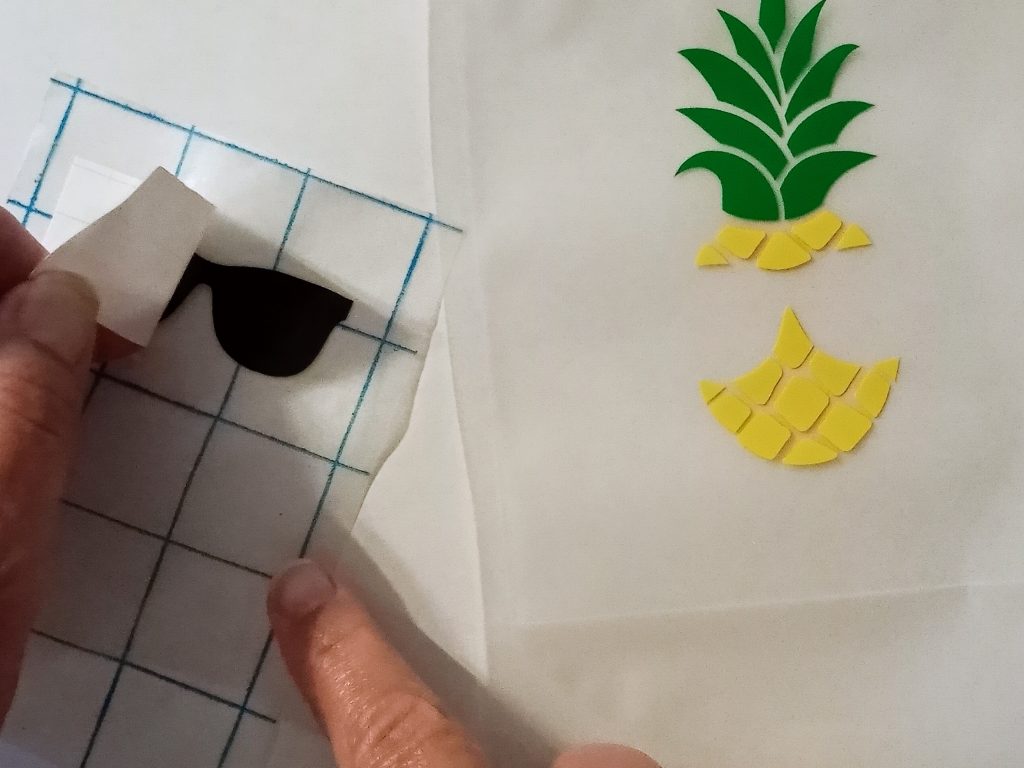
and transferred them into the space on the pineapple.
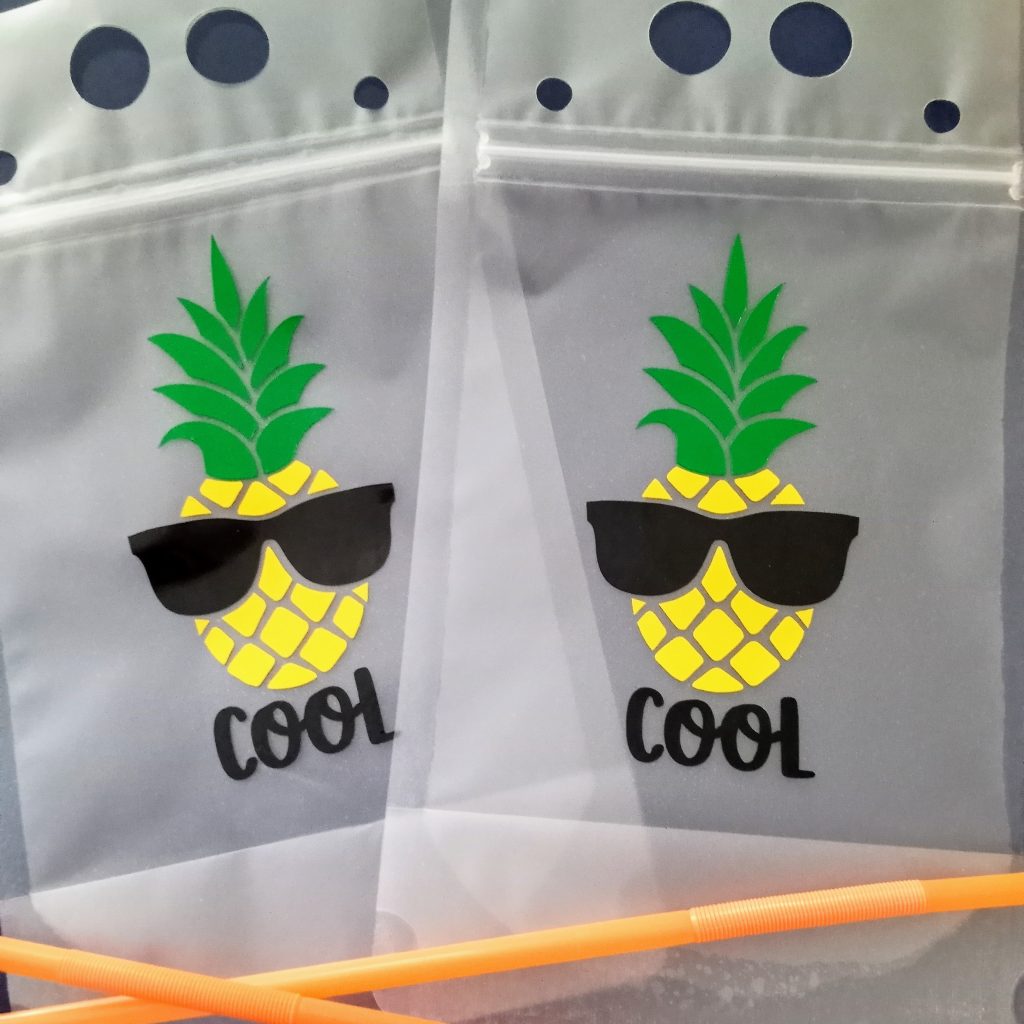
Adding Text
Adding text is much the same as adding the other elements. I added the word “COOL” which is what I hope my drink is on a sizzling summer day. I used the font “Liontin Heart” that I downloaded from Creative Fabrica.
Here is what two of my pouches looked like when I finished them. I’ve already found a few recipes with Pineapple that I think would be delicious on a hot summer day.
What’s Your Favorite Summer Flavor?
I think there may be a watermelon cooler or something with strawberry in my future. Matching up a watermelon or strawberry design would be fun!
You wouldn’t need to theme it up with fruity flavors either but maybe a sunshine or summer vibes design. What would you create?
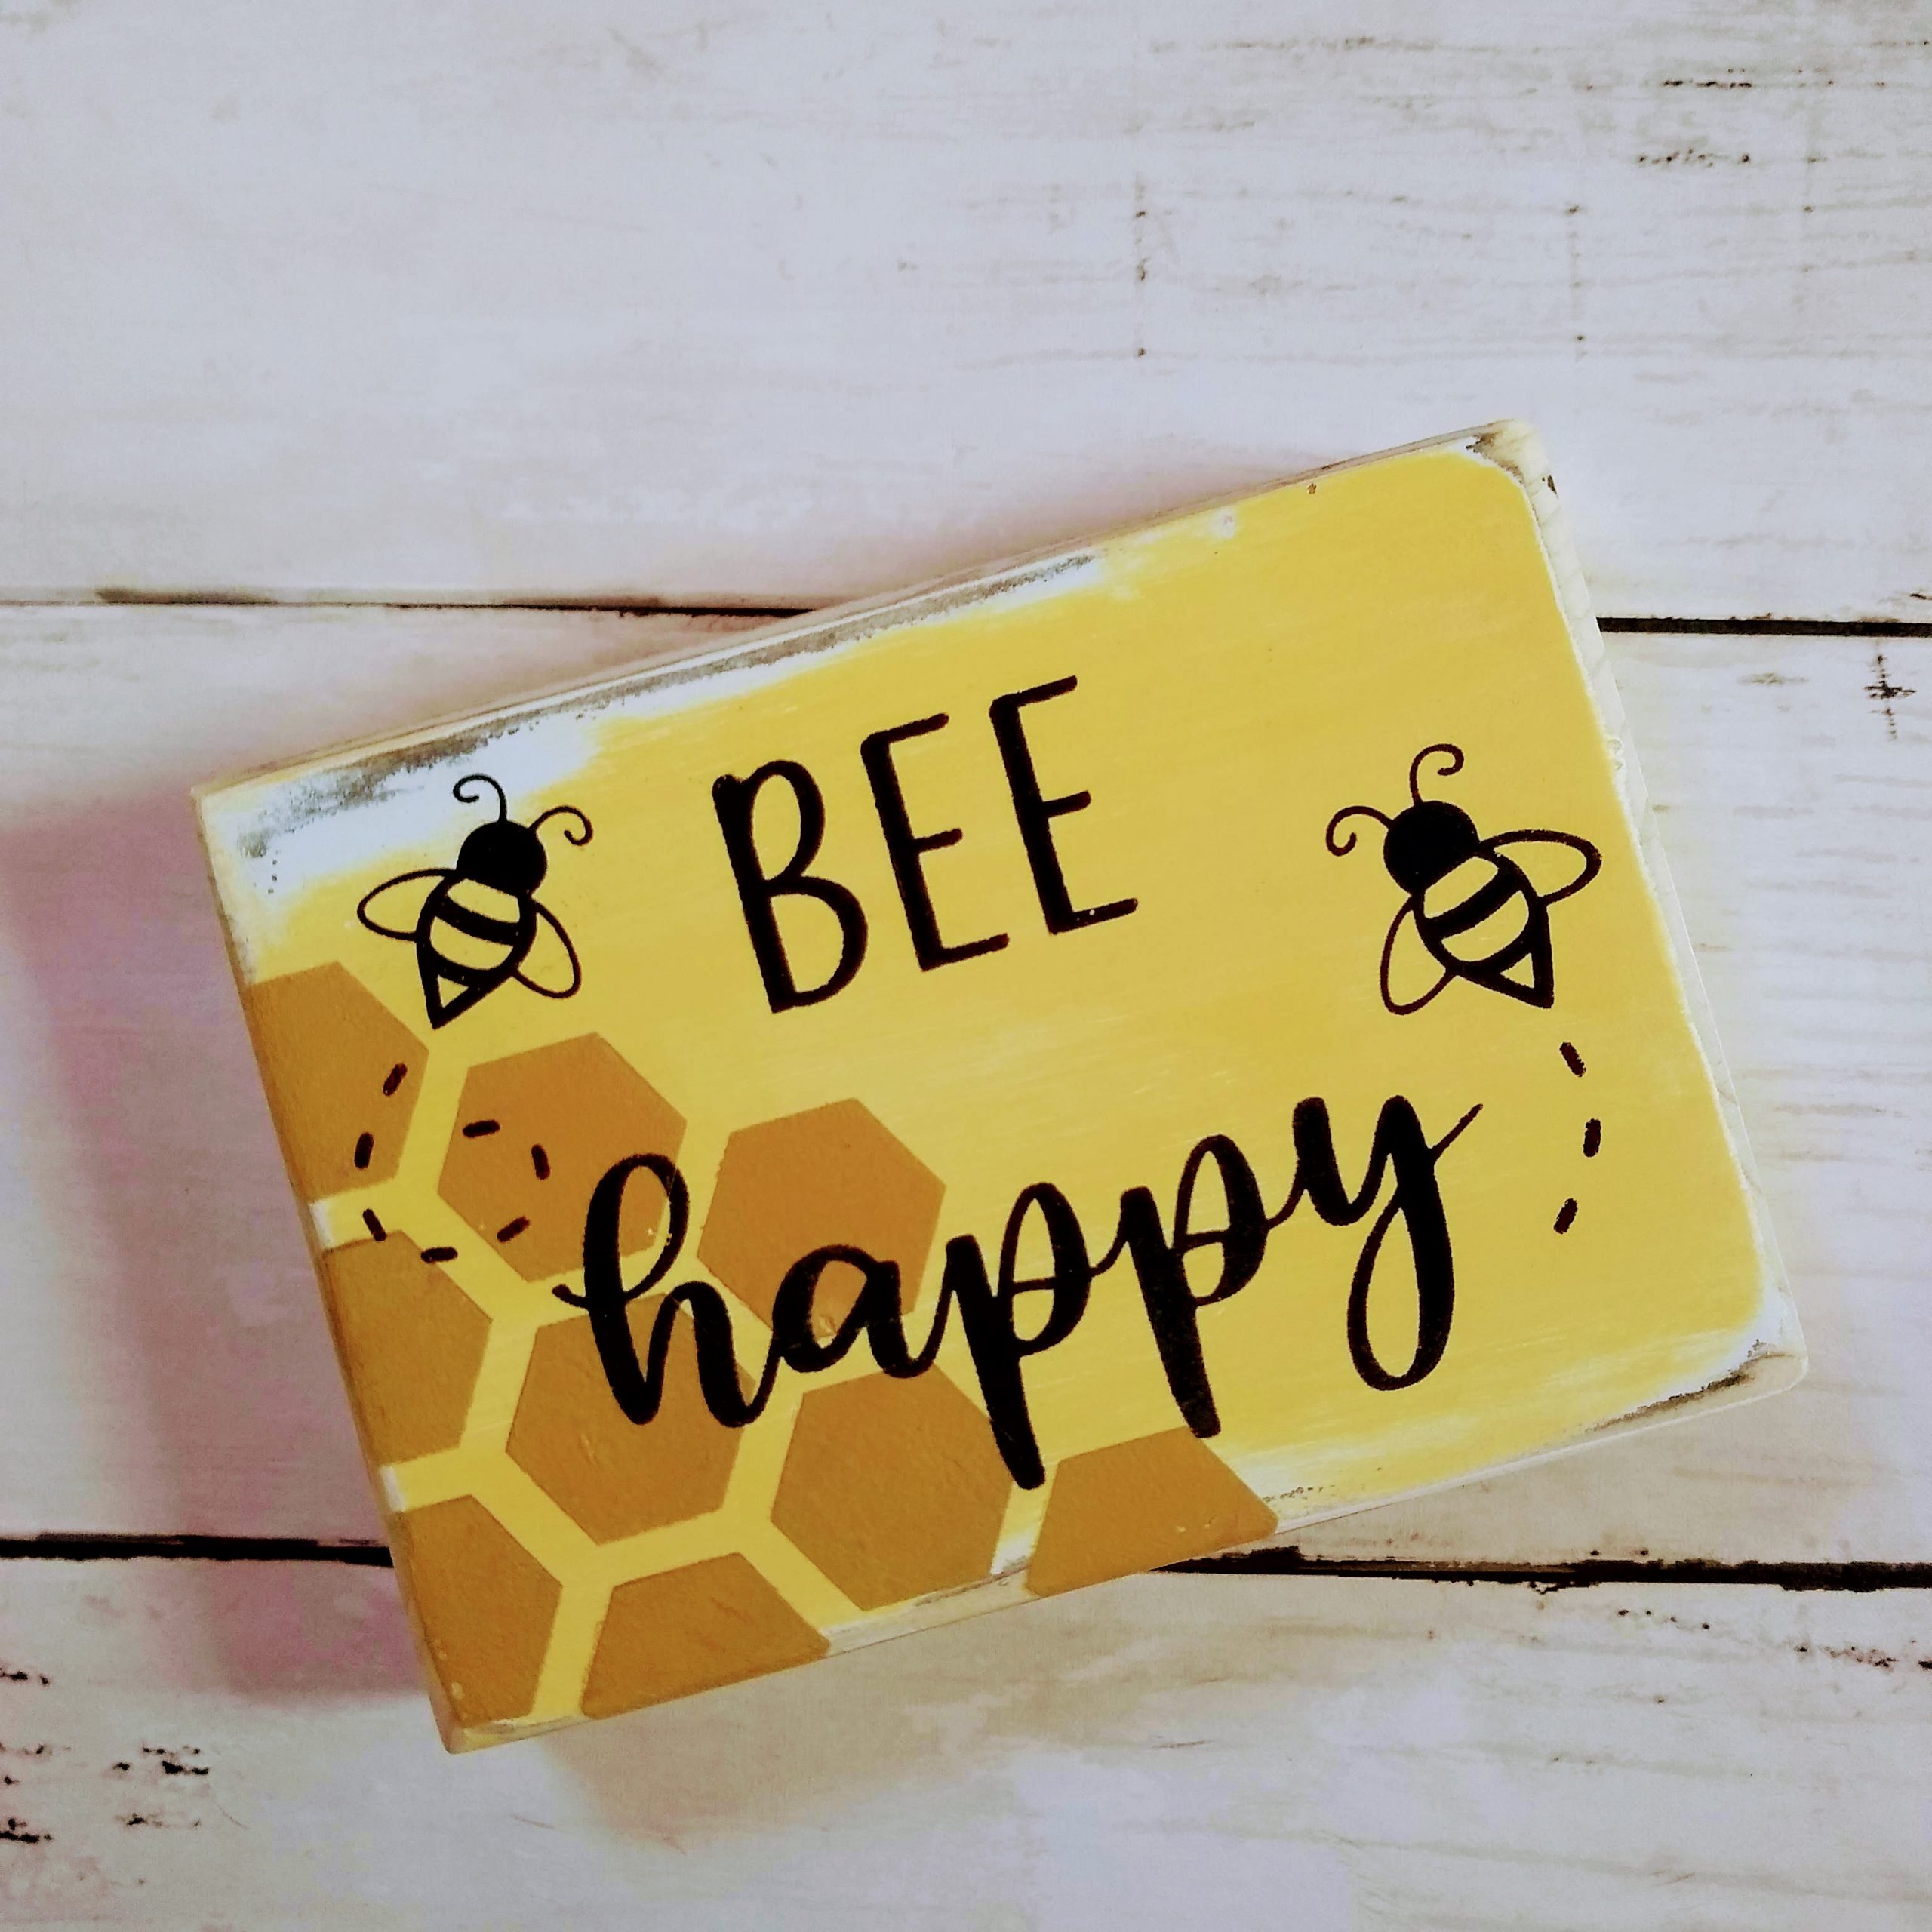
Be sure to check out these pouches by my fellow crafter Heather on her blog. She used a bee theme and her Cricut to create her pouches.
I’d love to hear your thoughts on this project! If you have questions or comments please feel free to drop them below the post. Have a great and crafty day and we’ll see you next time.