3D Christmas Ornament SVG
Need a quick and easy craft for a gift topper or ornament? How about cutting this 3D Christmas ornament with your Silhouette Cameo or Cricut?
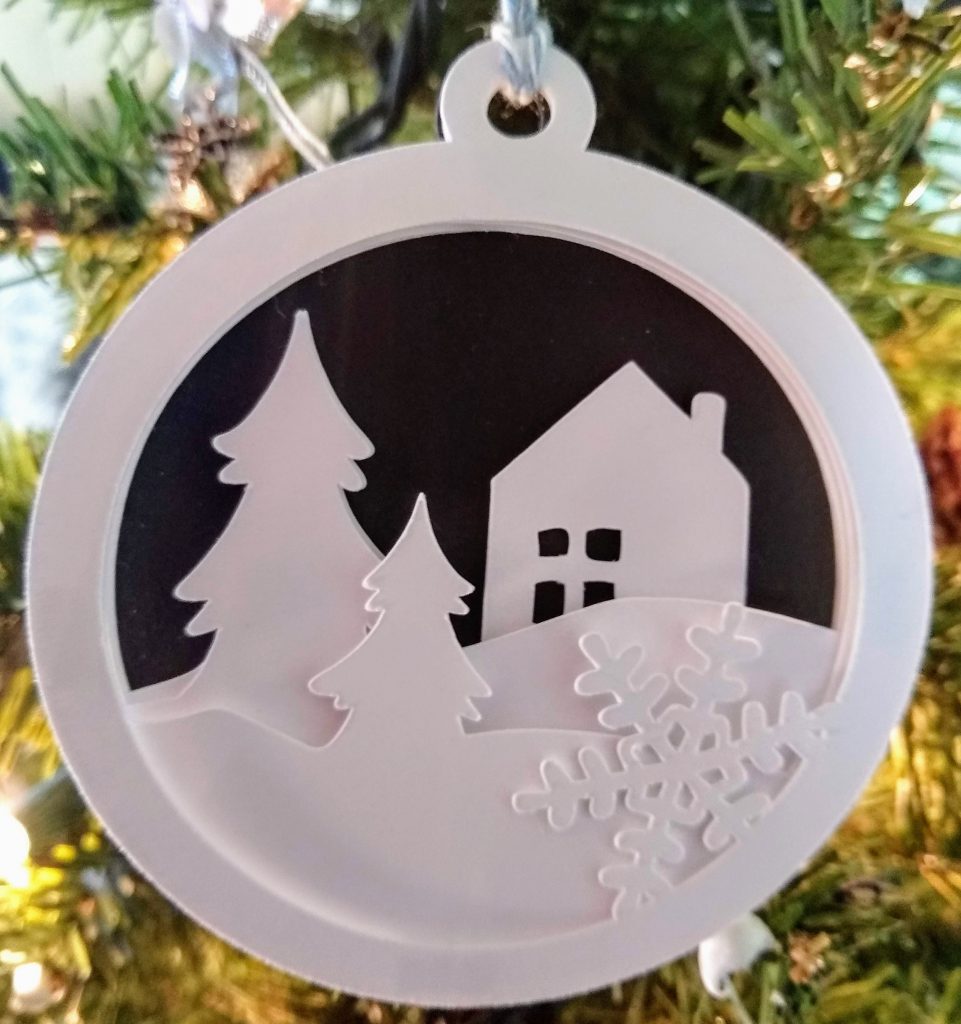
This simple layered ornament depicts a snowy little hillside scene, perfect for Christmas!
I’ve included the SVG link for making your own 3D Christmas ornament below the post. It uploads perfectly in Silhouette Studio or Cricut Design Space. The layers are color-coded and there is an assembly PDF to accompany this file in the Downloads folder.
I created a similar project which I shared on my YouTube channel. In the video, I used images from Cricut Access.
To make an ornament like the one shown here, you’ll only need a few simple supplies:
This post contains affiliate links. As an Amazon Associate, I earn from qualifying purchases.
Supply List
- Black cardstock (or color of choice)
- White Cardstock. I like to use the Georgia Pacific 100 pound cardstock.
- Adhesive. Art Glitter Glue is my favorite adhesive for cardstock projects.
- Dimensional foam squares, dots, or tape cut into small pieces. You could also use glue dots.
- String or twine for hanging your ornament.
- Embellishments like Stardust Stickles if you like a little sparkle.
This is a simple project. Fill a page with each layer then streamline your assembly process. These go together quickly.
Making the Ornaments
Cut two of the black background and adhere them together. I used plain cardstock for this project. You could use whatever you like or have in your stash. I used my Art Glitter Glue for adhesive. I love this product because it doesn’t warp your cardstock.
Give added dimension to the remaining layers by using dimensional adhesive tape between layers. You want enough of these to anchor and stabilize the layers, but don’t need to be on every square inch of the design. Most of them were used on the outer frame.

As mentioned above, I’ve created a PDF with the layers using various shading so that you can see in what order to assemble the layers. It will be included in the download folder for the ornament SVG.
Once your ornament is assembled, all you need to do is tie a piece of string, twine or cord to the top of your ornament and it is ready for the tree.
You could also add embellishments like Stardust Stickles or Nuvo Glitter drops. A little sparkle would add some sparkle and texture.
Another idea would be to try a little splatter technique with some acrylic paint on your background to give your ornament a starry sky. Definitely experiment to make it our own!
Have you seen the Heat Transfer Vinyl Ornament Tutorial?
3D Christmas Ornament SVG
You can download the SVG for making your own 3D ornament project using the button below. While you’re here, be sure to check out my Free SVG library where you can browse through the other blog freebies. Don’t forget to check for more of my designs on Creative Fabrica and Etsy.