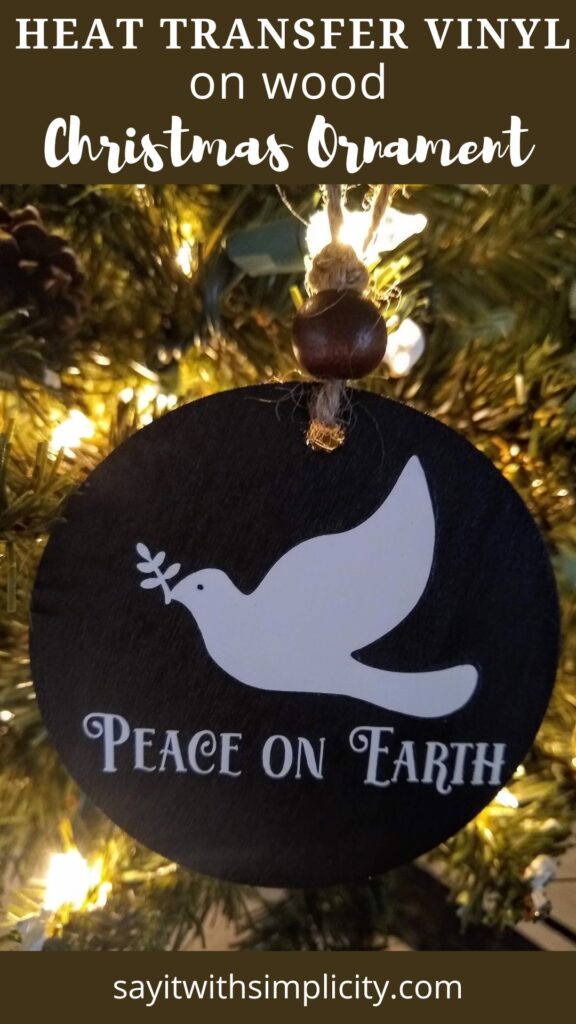
How to Apply Heat Transfer Vinyl on Wood
These ornaments are super easy to make, especially with heat transfer vinyl. If you’re like me, and you’ve never tried heat transfer vinyl on wood, you’ll wonder why you never tried it before! I was very excited to try this technique and was super happy with the way my ornaments turned out.
I love making Christmas ornaments, don’t you? This time of year they are wonderful to have on hand if you need a small gift or a package topper. In my opinion, you can never have enough ornaments ready for gift giving.
Why Heat Transfer Vinyl?
First of all, I want to talk about why I chose heat transfer vinyl instead of adhesive vinyl. While you certainly can use adhesive vinyl for these ornaments, a few things stood out to me why heat transfer is the easier choice:
Ease of Weeding
I find that heat transfer vinyl is so much easier with small text and intricate fonts. I think I would have been totally frustrated trying to prepare this design for an ornament with the choice of font that I used.
Ease of Placement
When using permanent vinyl, once you stick it down, it’s difficult to lift it off again. With the heat transfer vinyl, you can lift off your design and reposition it if you have to. It’s not going to stick until you iron it into place.
No Transfer Tape Needed
I think this is huge when it comes to transferring small designs. You just weed and everything else stays on your carrier sheet. You are ready to go without having to worry about those crazy little middles of letters.
Supplies and Tools for Creating Your Ornament
This seems like a pretty big list. I tried to include everything I used. If you are a crafter, you probably have these things on hand already.
This post contains affiliate links. If you make a purchase through these links, I earn a small commission. You can see my disclosure HERE. As an Amazon Asssociate I earn from qualifying purchases.
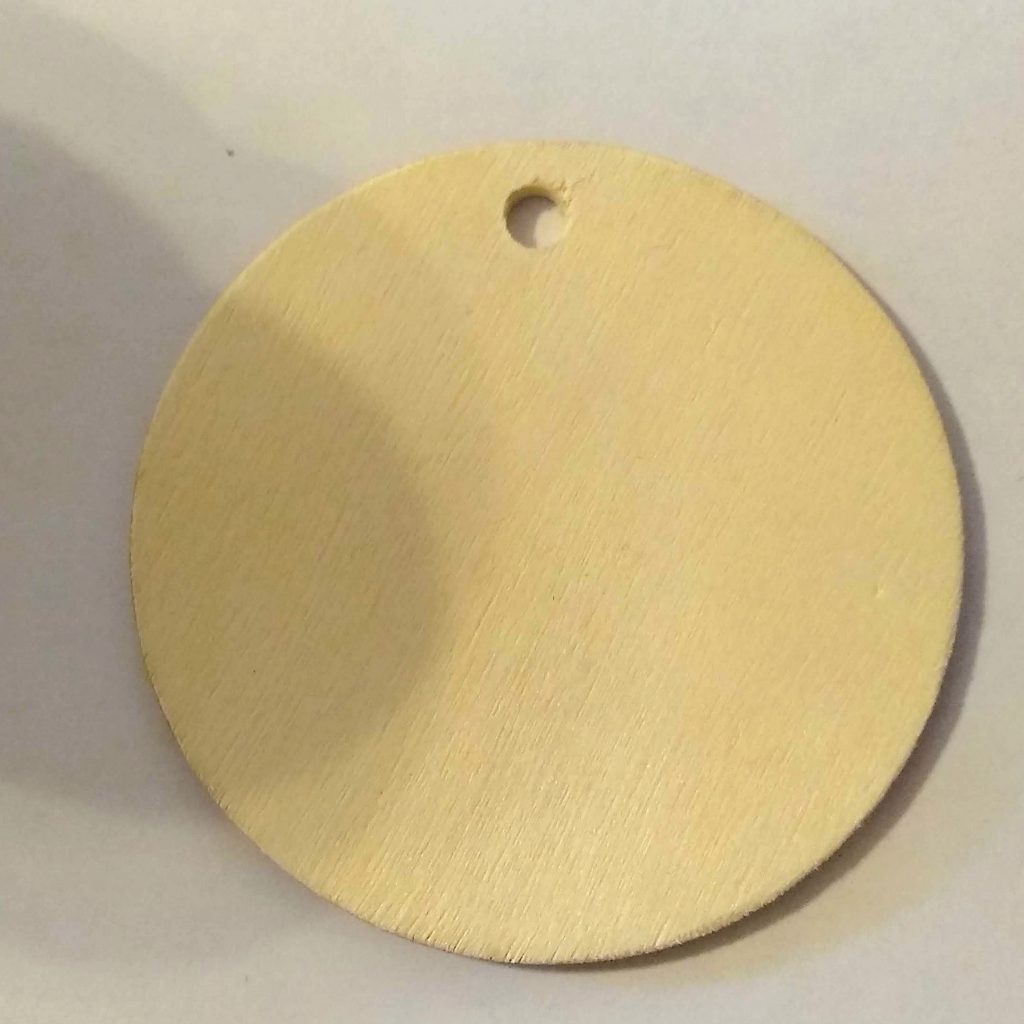
- Wood Blank I chose these wood blanks that I ordered from Amazon. These are 3-inch wood rounds that are actually 2 7/8-inch round. You could easily go with 4-inch rounds or even natural wood rounds for this project.
- Sand Paper Most of these wood rounds are ready to use. Occasionally you’ll come across a little bit of a rough edge. Touching up with a little sandpaper never hurts for a more professional finish.
- Craft Paint or Stain If you are planning to paint the background, you’ll want to paint these so that they are dry by the time you are ready to apply your vinyl. I used Waverly Chalk Paint in the color INK. This paint has been somewhat hard to find at times, but I’m starting to see it back in stock. Again it’s all personal preference and using what you have on hand. A nice dark stain would be really pretty for this as well.
Check out my post on pallet wood ornaments for an optional stained look.
- Drill (optional) The wood rounds I chose did not have drilled holes. It’s super easy to drill a hole in the top of these. I used a 3/16″ drill bit and certainly could have gone smaller. You could also use hot glue to glue twine to the top or back of your ornament.
- Heat Transfer Vinyl Siser easy weed in white worked great for this project. I order most of my vinyl from Expressions Vinyl. Use what works best for you or what you have on hand.
- Household Iron or Heat Press If you have a heat press, you could use it to apply your heat transfer vinyl for this project. I have a 15″ x 15″ heat-press that I use for shirts. But honesty, you can do this with your iron. Just be sure to apply some pressure and peel your carrier sheet carefully to be sure your vinyl has adhered.
- Parchment Paper I used this sort of like you would use your Teflon sheet with your heat press.
- Your Cutting Machine I’m using my Silhouette Cameo for this project. It would work equally as well with your Cricut.
- SVG or Design If you have Cricut Access or Silhouette Design Store, you’ll find MANY designs that you can use for your project. You can also use the FREE SVG that I created for this project.
Preparing Your Wood Round
Drill the hole in your ornament if you like. Sand your wood round as needed to remove any rough edges. If you want to “sand” the inside of your drilled hole, ‘flossing’ it with a piece of jute twine actually works really well.
Paint The Wood Round
Next paint the front and back of your wood round with craft paints. Painting the back is optional. Personally, I like to have a finish on both sides.
Getting Ready to Cut Your Vinyl
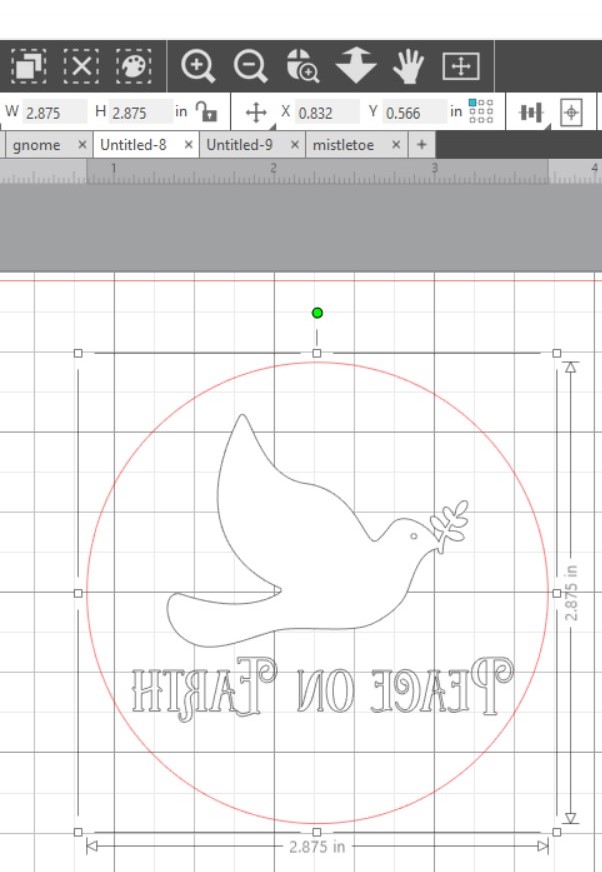
While the paint was drying on the ornament, I started to prepare my cut file in Silhouette Studio.
First I created a circle the same size as my ornament. For these wood rounds, I used 2.875″ for my circle size. Then I resized my image to fit inside the circle.
When getting your design ready to cut, you will want to be sure to reverse your image. In the send panel, you may be prompted to do this. If you already did this in your software, you will not have to follow the prompt to do it again.
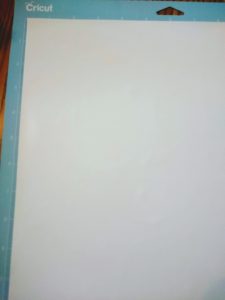
Next place your vinyl on your mat. Be sure to have the shiny carrier side down. You want to cut your actual vinyl. This will be the matte finish side of your Siser Easy Weed and it will be facing up on your mat.
Cut and Weed Your Vinyl
I cut my vinyl on the Default settings for “Heat Transfer Vinyl Smooth”.
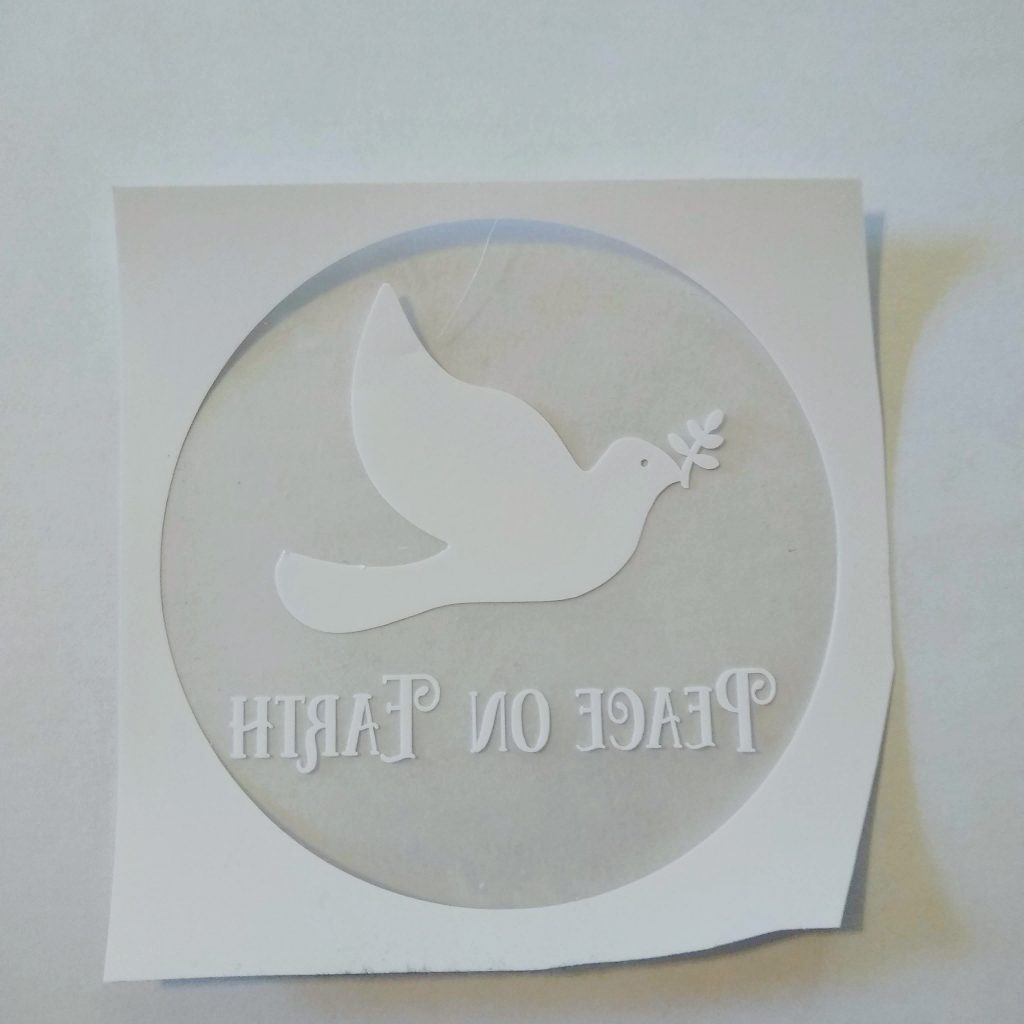
Weed your vinyl using a pin or a weeding tool. I love my True Control Weeding Kit from Cricut with the interchangeable tools. You will still have a backward-looking image, but now we are going to flip it over and iron it to our ornament. You’ll notice that I left that little bit of edge of vinyl on. When I got done with placement on my wood circle, I removed that last vinyl around the edge.
Getting Ready to Press Your Heat Transfer Vinyl
Now you are ready to press your ornament. You can see in this image that I took that last bit of vinyl off my carrier sheet. The design has been placed face down on the ornament. Now we’re ready to adhere our design to our ornament.

I used parchment paper above and below on my ironing mat. To adhere the vinyl to the ornament, I used my iron on the cotton setting.
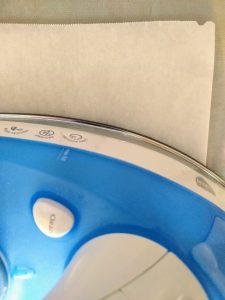
You just want to apply some downward pressure but not move your iron around. Since this was my first time trying this technique, I wasn’t totally sure how long to press. Initially, I counted to 15 and then checked to see if the vinyl adhered.
I ended up giving it another 10 seconds (or so) Then I peeled up the carrier sheet. It worked out great!
Should You Seal Your Ornament?
In some of the social media groups I follow, I see lots of questions about sealing vinyl projects. I’m not sure what the clear answer is to this. My opinion would be probably not for most adhesive vinyl projects.
In order to answer the question for heat transfer vinyl on wood, I decided to try my own little experiment. I sprayed one ornament with some Rust-Oleum Chalked Clear Matte Spray and not the other. I actually found that I liked the clear spray finish and ended up going back to spray the other one as well.
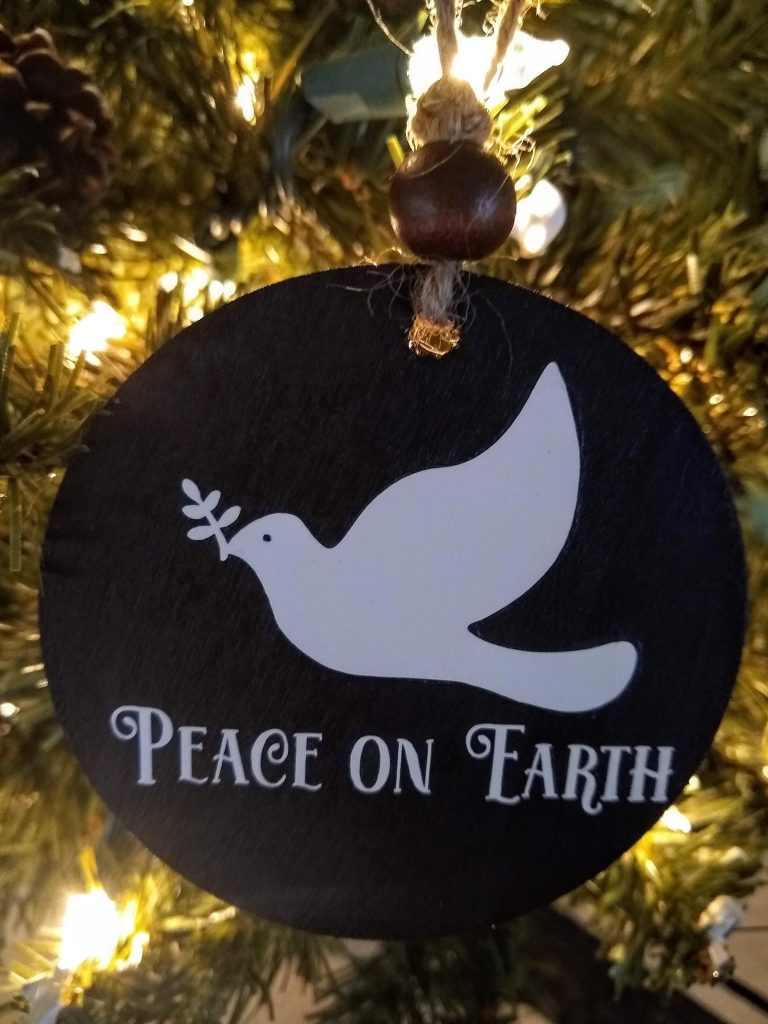
Hanging Your Ornament
Thread twine or string through the hole you drilled in your wood blank. I tied a bead at the top of mine. There are many ways you could embellish your ornament to make it your own. I love the way this turned out and will be using heat transfer vinyl on wood again. I’d love to hear what you think.
Have you tried heat transfer vinyl on wood before? Did you like the way it turned out?
Hope you have a wonderful day and we’ll see you again soon!