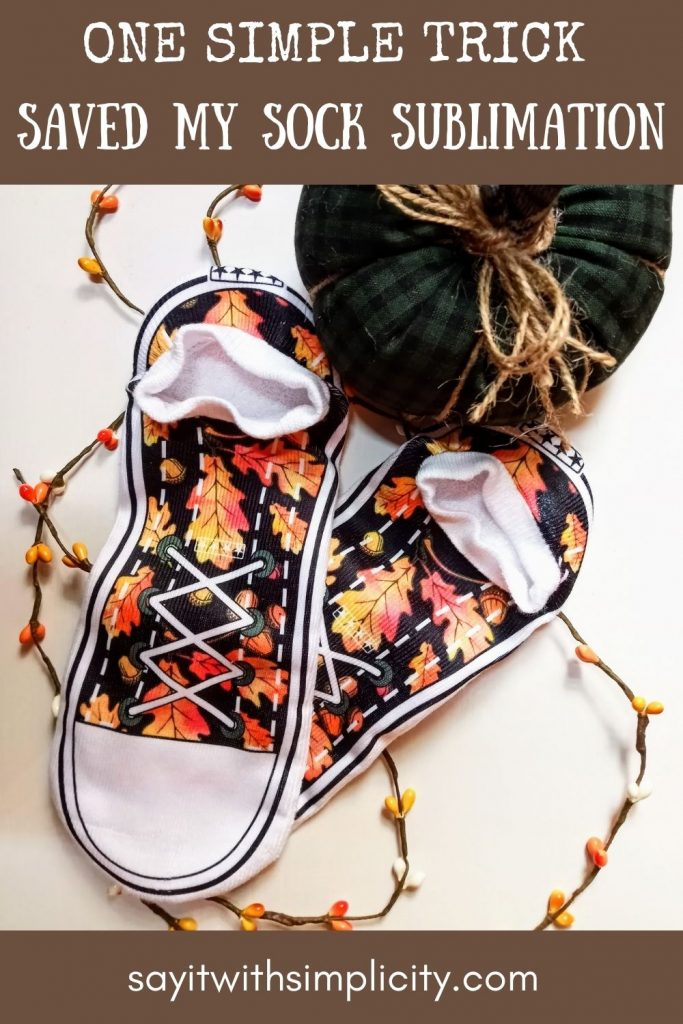
One Simple Trick Saved My Sock Sublimation
My first no-show sock sublimation was frustrating, to say the least. Today I wanted to share the one simple trick that saved my sanity when it came to this project. Hopefully, it will save you from some frustration too.
About a month ago I had purchased the Cricut Mug Press and an Epson ET2720 printer. I’ve been interested in sublimation for a long time, even before the Cricut mug press ever came out. I think infusible ink and the Cricut Mug press gave lots of people interest in sublimation. YouTube and blogs everywhere have exploded with information about sublimation.
When you have a sublimation printer setup and heat-press, it’s natural to want to branch out and see what other things you can do with sublimation. I was excited to give some other products a try!
So on my way back from an appointment in another town, I stopped at a Dollar General looking for something inexpensive that I could sublimate.
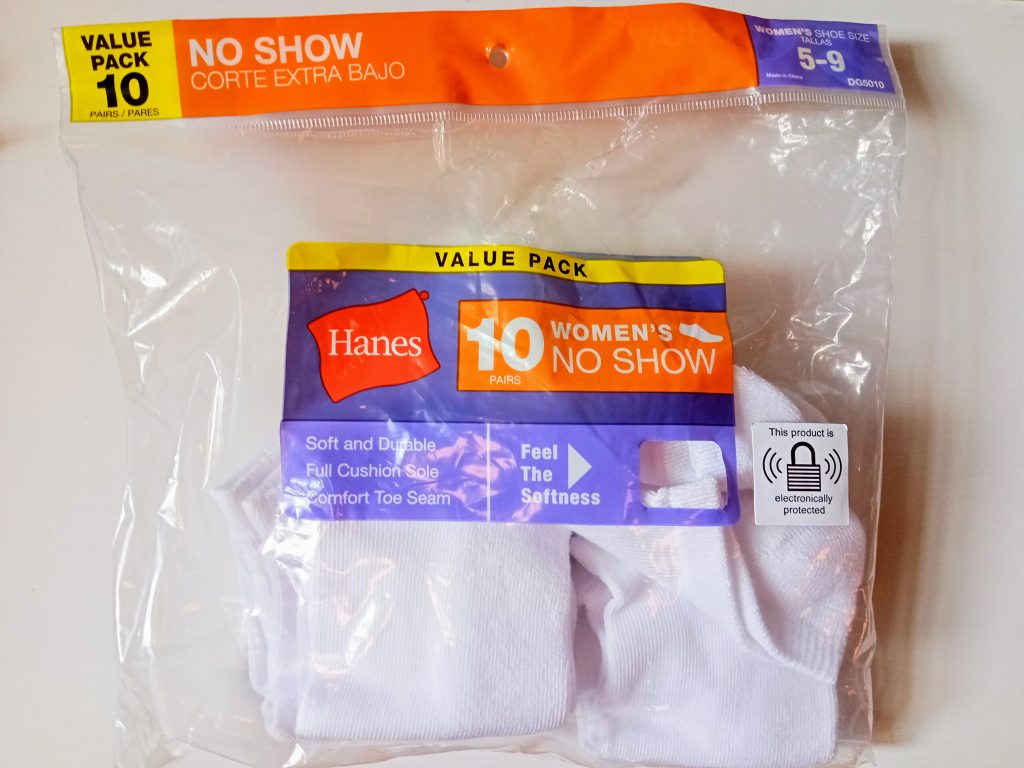
I knew that I had to have that high polyester content and I found these Hanes NO SHOW socks that were 97% Poly. In some of the groups I’m in on Facebook, people were sublimating socks, so I thought “Why not give it a try?”
The Sock Sublimation File
I purchased a package of designs from Etsy. There were some really cute designs in this file for the sneaker-style socks and lots of fun patterns. The designer also included patterns for doing the soles of the socks which I thought would be sort of fun. There was also a jig that you can cut with your cutting machine and place inside the sock for pressing. I totally loved this file and it was a great price!
The Problem
I love the Hanes Socks, but they aren’t a true no-show sock. They have just the tiny cuff which is fine with me. I hate wearing a no-show sock that slips off your heel when you’re walking in it. Believe me, I’ve tried many and have never really found a pair I like.
The practical part of me is like, “If the socks are hidden by your shoes then why bother to press a pattern on them at all?” But most of us take our shoes off inside and so it’s fun to have cute socks, right?!
(Then there is my sweet husband who couldn’t figure out what I was trying to do at first.)
Anyway, I’m getting sidetracked as usual.
The design is an all-over design and no matter how I tried to fold down or cover up the cuff of that sock, I’d see wrinkles and white spaces. There were also places where there was the design on the cuff and not on others. Pretty messy looking if you ask me. But I was still determined to find a way.
The Simple Trick and Problem Solved
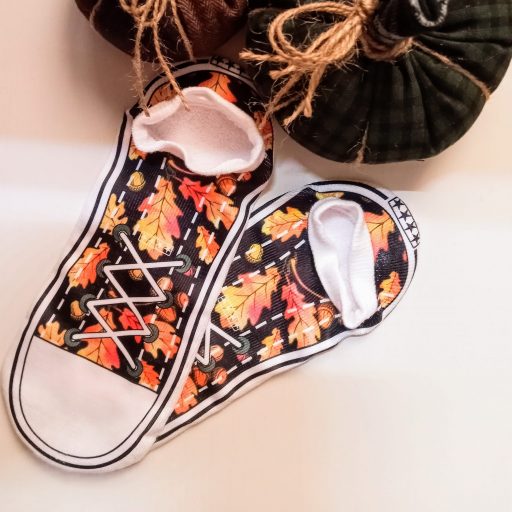
It finally dawned on me. I needed to pull the cuff out of the way completely and here is how I did it.
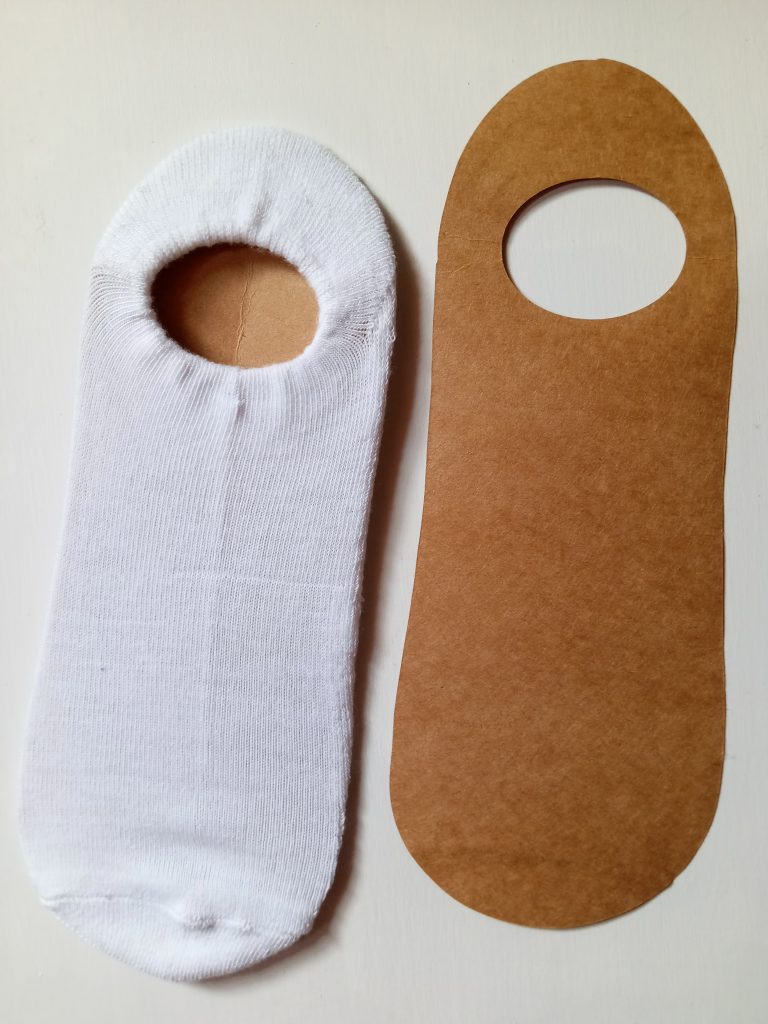
I used the jig that came with the design. And for these women’s socks, I resized this to 9.967 inches long and 3.875 inches wide. Be sure when you import your PNG for the sock design, it fits within this template.
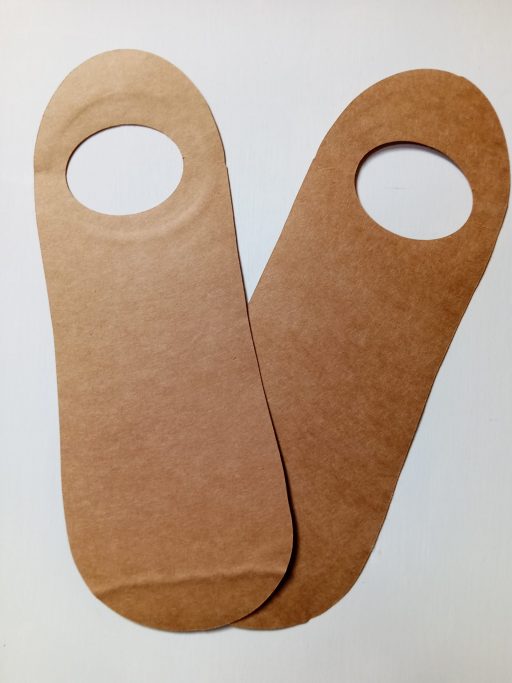
Then I cut an oval about 2″ wide by 1 1/2″ tall out from the bottom of the jig. I used my cutting machine to modify this template and it looks sort of like this. In retrospect, it could be centered a little better, but it did work. The bottom edge of the oval is about 1 1/2 inches from the bottom of the heel.
How to Use the Template for Your Sock Sublimation
I slid the template or jig inside the sock. Then I stuffed the cuff inside the oval-shaped hole I created.
Next, I placed a piece of scrap cardstock inside the hole. Remember, this is an all-over design. If you press this, the ink will end up on the bottom of your sock. This is what it looked like before I added the design. Now you can place your design on top of the sock. No wrinkles! No getting ink here and there on the cuff!
The Finished Product
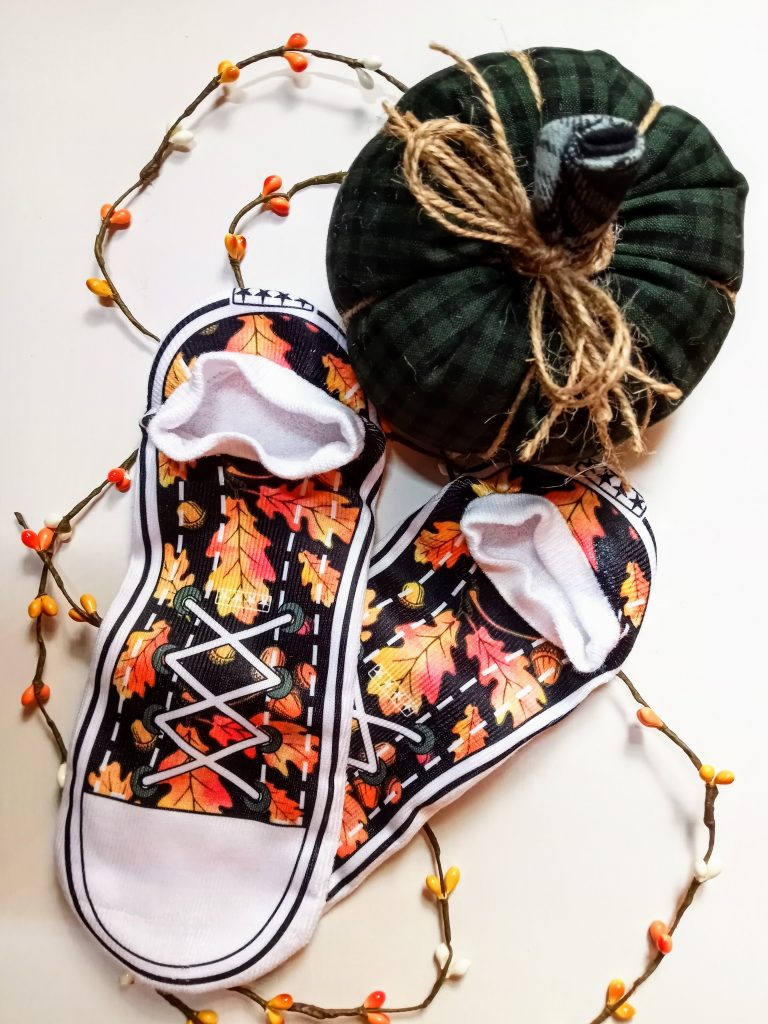
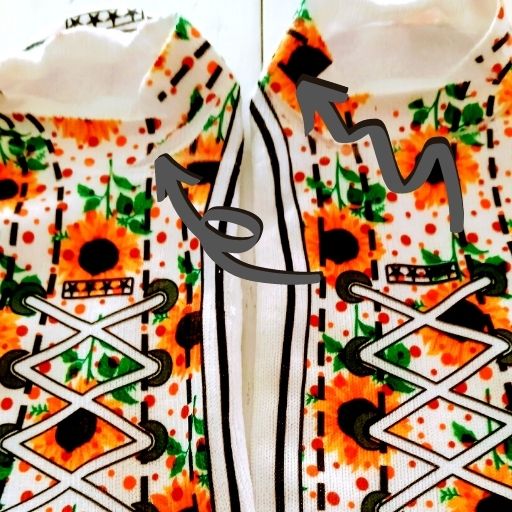
I chose a different design from the first pair. I love this fall image. What do you think?
Plus there is no ink on the cuff of the sock and no wonky-looking wrinkled areas. These turned out so much better and the photo doesn’t even show off the vibrant color of these.
If this simple trick for sock sublimation is helpful, I hope you’ll share it with your friends and fellow crafters. It sure was helpful for me!
Thanks for stopping by today and have a great day!