Quick and Easy Halloween Treat Buckets
Needing a quick and easy Halloween party favor, child gift, or classroom gift? These Halloween treat buckets are super simple to make and come together in minutes. The best part is they are a very inexpensive project to make!
The buckets for these little Jack O Lantern buckets were purchased at Target. They had orange, black, and galvanized. The original price was $3.00 for a set of three. On a later visit, they were marked down to three for $1.50 making this a super inexpensive project.
What You’ll Need
This post contains affiliate links. I may earn a small commission when you purchase through these links. There is absolutely no additional cost to you!
- I used Oracal 651 Matte Vinyl that I purchased at Expressions Vinyl for this project. If you want, you could use the Oracal 631. It does work just fine, although it may not be as permanent as the 651.
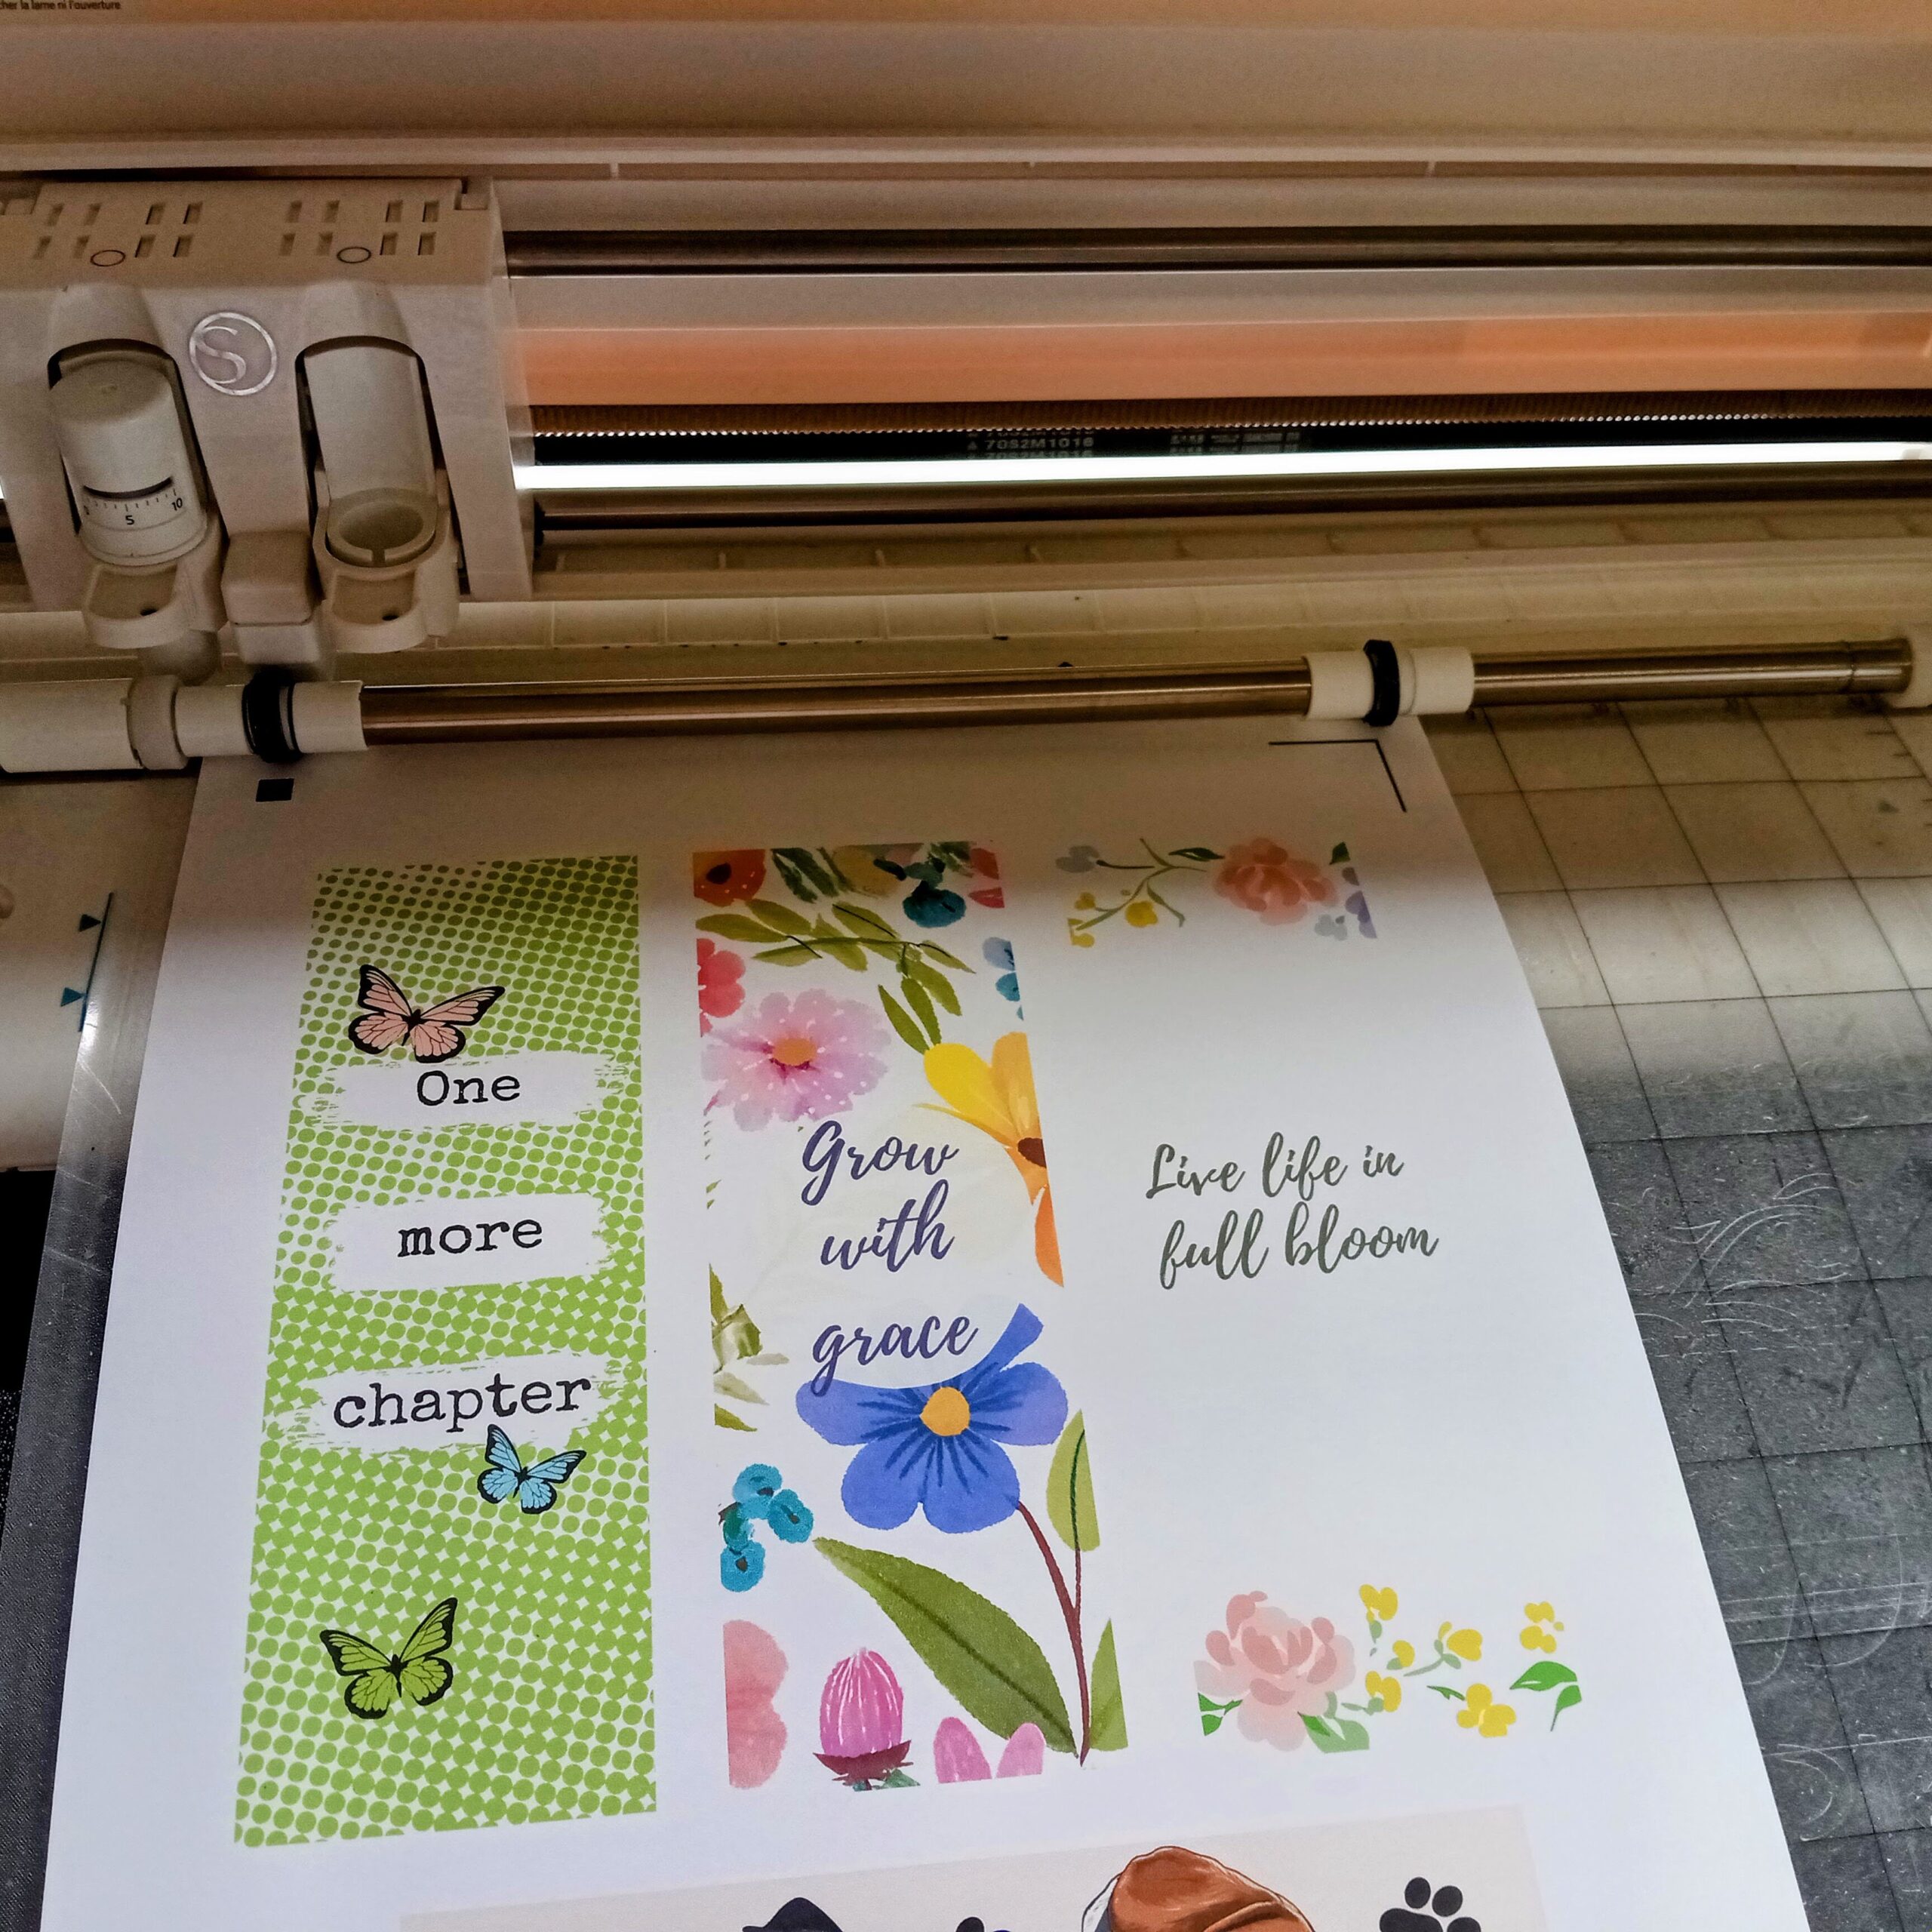
- You’ll need your cutting machine. I used my Silhouette Cameo 4.
- A weeding tool is also essential for weeding your vinyl.
- You’ll also need transfer tape for this project. The same piece was used for all three buckets.
- Small Pails/Buckets
- Cut Files for Jack O Lantern Faces, Text, or Your favorite Design. I have a set of SVG Jack O Lanterns HERE.

Directions for Halloween Treat Buckets
Cut Settings for Matte Vinyl in Silhouette
You’ll want to cut your vinyl. I cut mine on the mat with the following cut settings:
- “Vinyl, Matte”
- Blade 2
- Force 10
- Speed 5.
This is a little bit more blade depth than the default. Upon doing a test cut, I found that I needed the extra blade depth.
My images were sized at 3″x3″ which worked out perfectly for these little buckets.
Be sure to do a test cut when using any new product, installing a new blade, or any time you aren’t certain what cut settings to use.
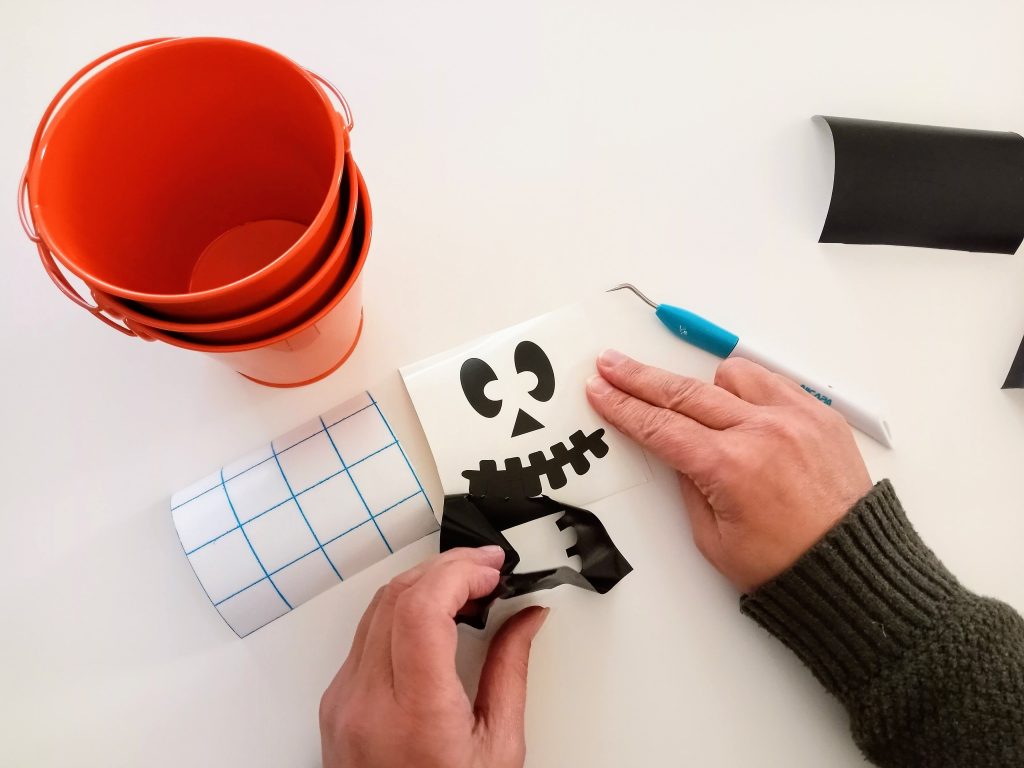
Weeding the Vinyl for the Treat Buckets
Once you’ve cut the vinyl for the Halloween Treat Buckets you’ll want to weed your vinyl. I usually remove the material around the outside first.
These were really simple images, so there wasn’t much weeding. All I really had to do was remove the excess vinyl around the basic shapes.
Applying the Transfer Material
You may want to wipe the bucket with a lint-free cloth or use a lint roller to be sure your buckets are free of anything that could hinder your vinyl from sticking. While I didn’t show this step, I did clean off the pails before applying the vinyl.
Now you’ll want to apply your transfer material to the vinyl decal. I’m using transfer material from Expressions Vinyl. This is a medium tack transfer material that adheres well to the decal but is not difficult to get off after transferring the images to the buckets.
Now you can use your scraper to burnish down your transfer tape. This makes it much easier to remove the backing from the vinyl.
Once the backing is removed from the vinyl, you can transfer the image to your bucket.
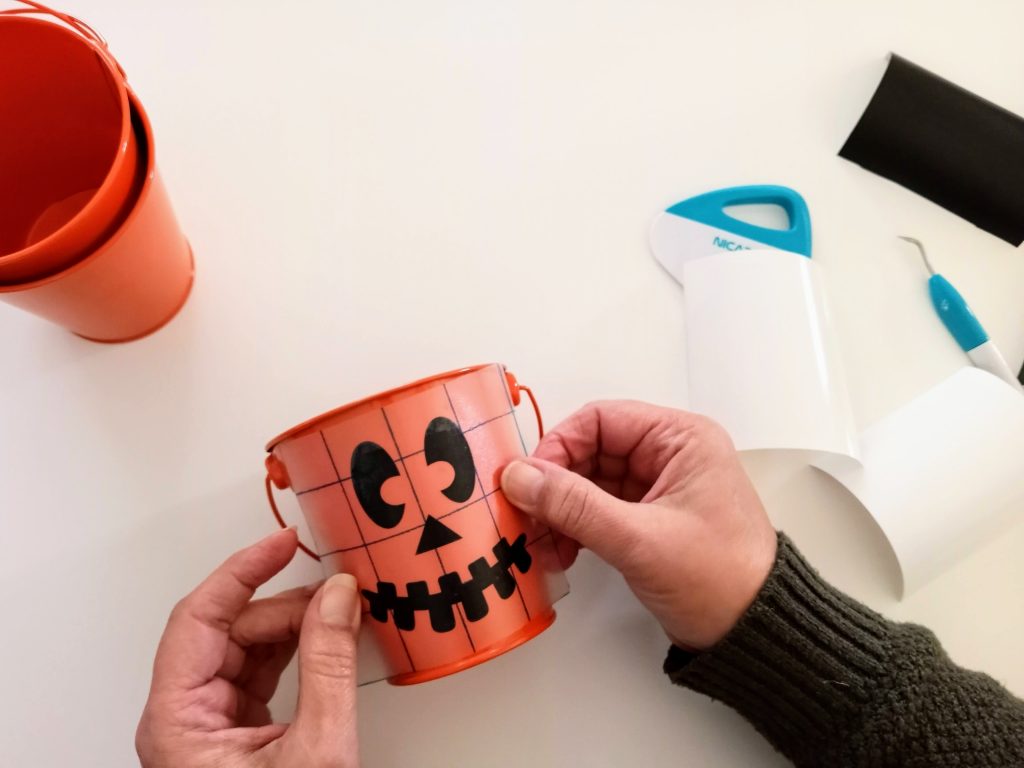
Now simply burnish your image to the pail. You can use your fingers or your scraper tool. Then remove the transfer material.
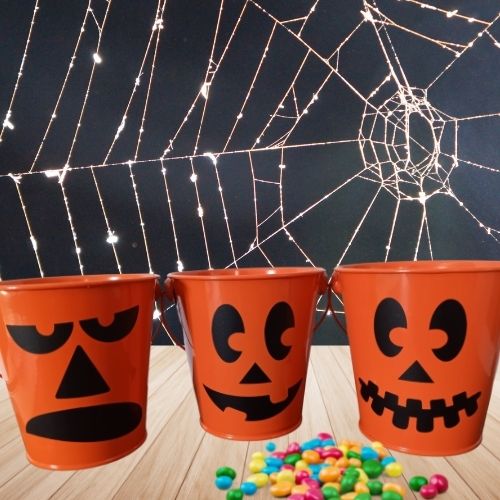
Finished Treat Buckets!
Now the buckets are ready to fill with your favorite treats. Each of these took only a few minutes and they are super easy to personalize too!
Try designing your own faces, find them in Cricut Access or the Silhouette Store. I’m offering my set of SVG files. Just grab them in the link provided earlier in the post, or from the button below.
Be sure to check out the Free SVG Library for more SVG files.
See you next time!