Easy Gift Tags with Heat Transfer Vinyl
I bet you’re the kind of person who wants your gifts to stand out under the tree! Today I’m sharing these quick and easy gift tags made with kraft card stock and heat transfer vinyl. These tags are sure to add some festive flair to your Christmas gifts.
This post contains affiliate links. I may earn a small commission if you make a purchase when purchasing through these links. Thank you for your support of Say It With Simplicity.
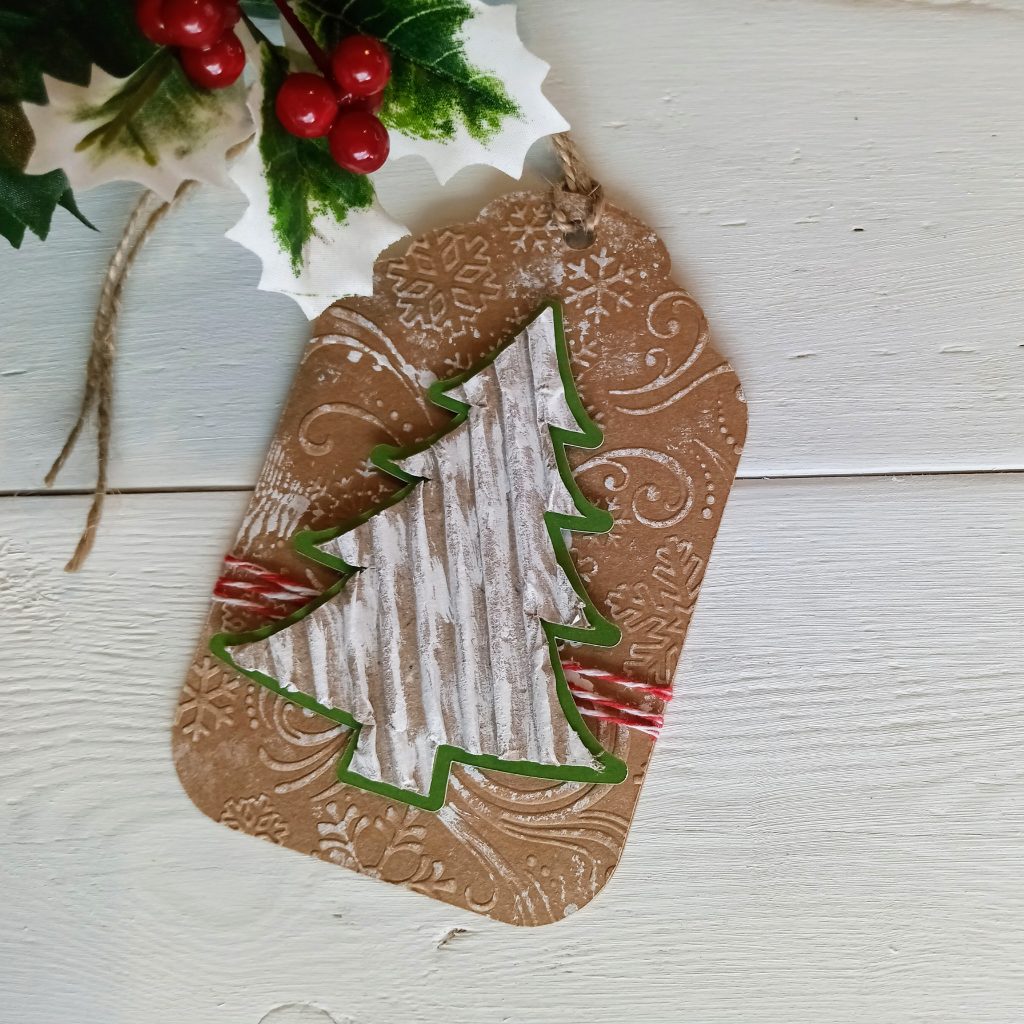
If you go back to earlier posts, you can find that I used the very same SVG for this project as I did for my Cardboard Gift Tag with Cricut Maker. You could use other techniques to create more beautiful gift tags with this SVG. I’d love for you to share them in the Say It With Simplicity Facebook Group.
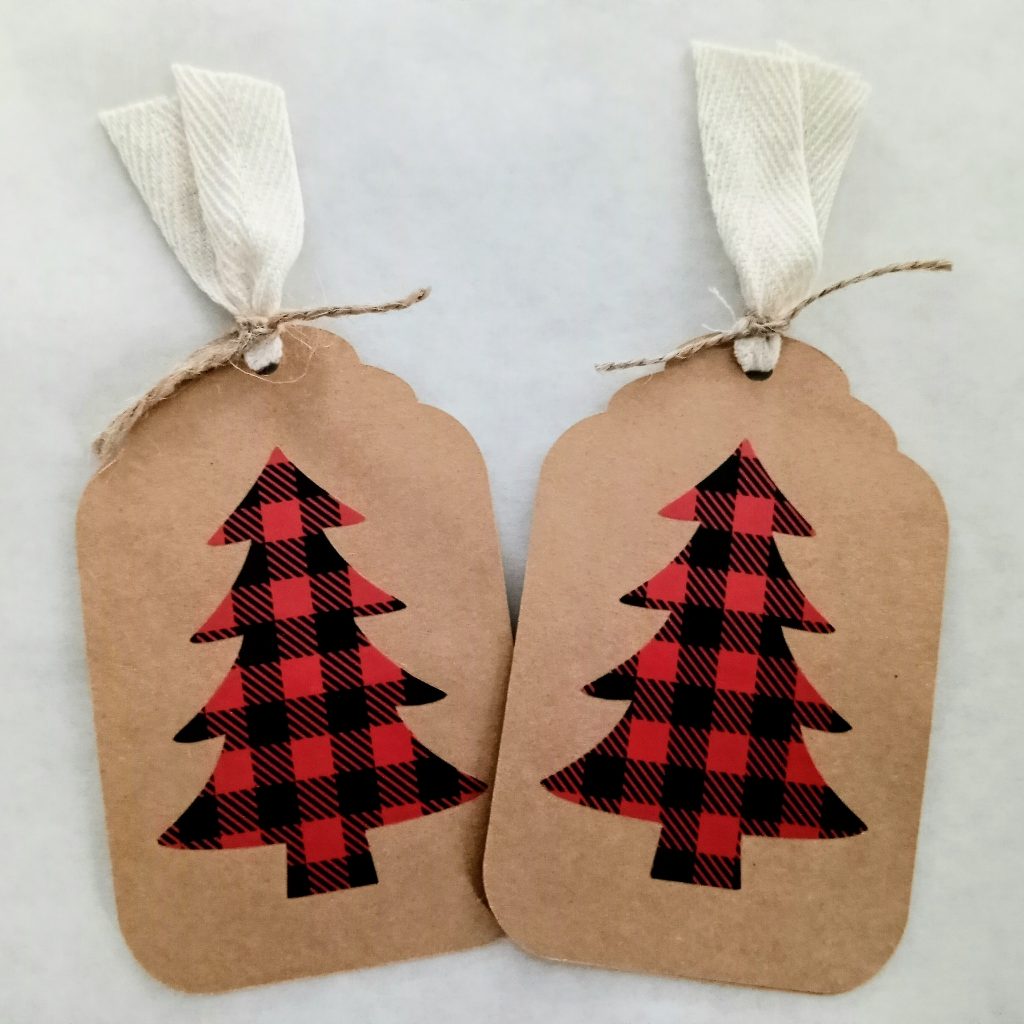
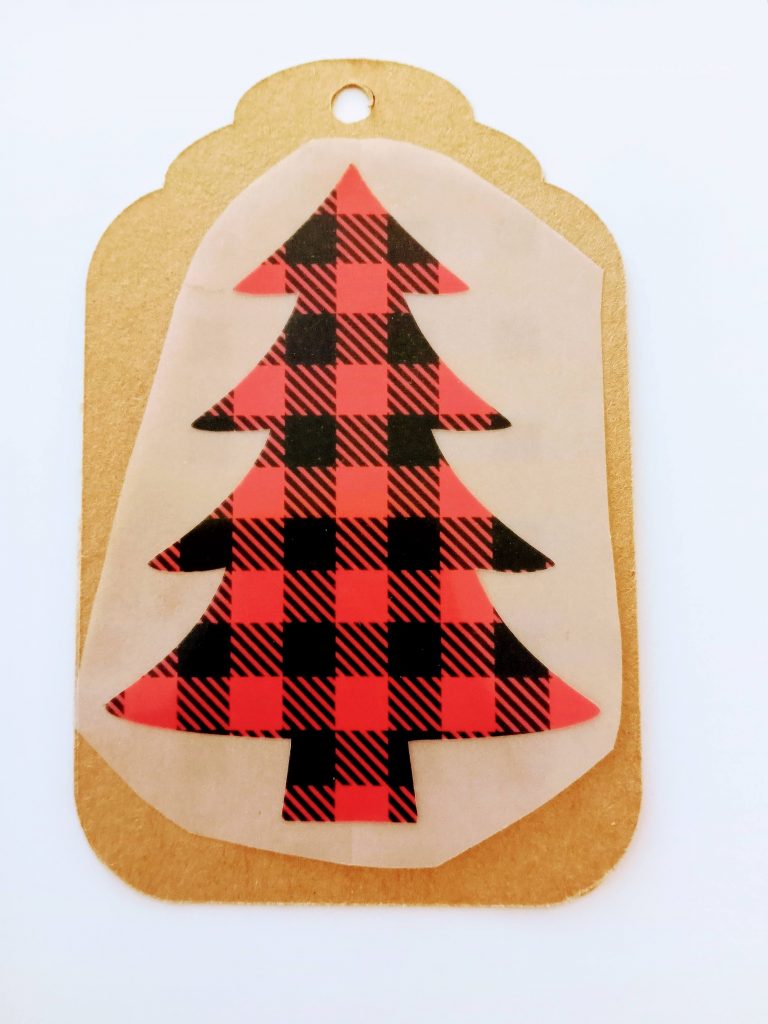
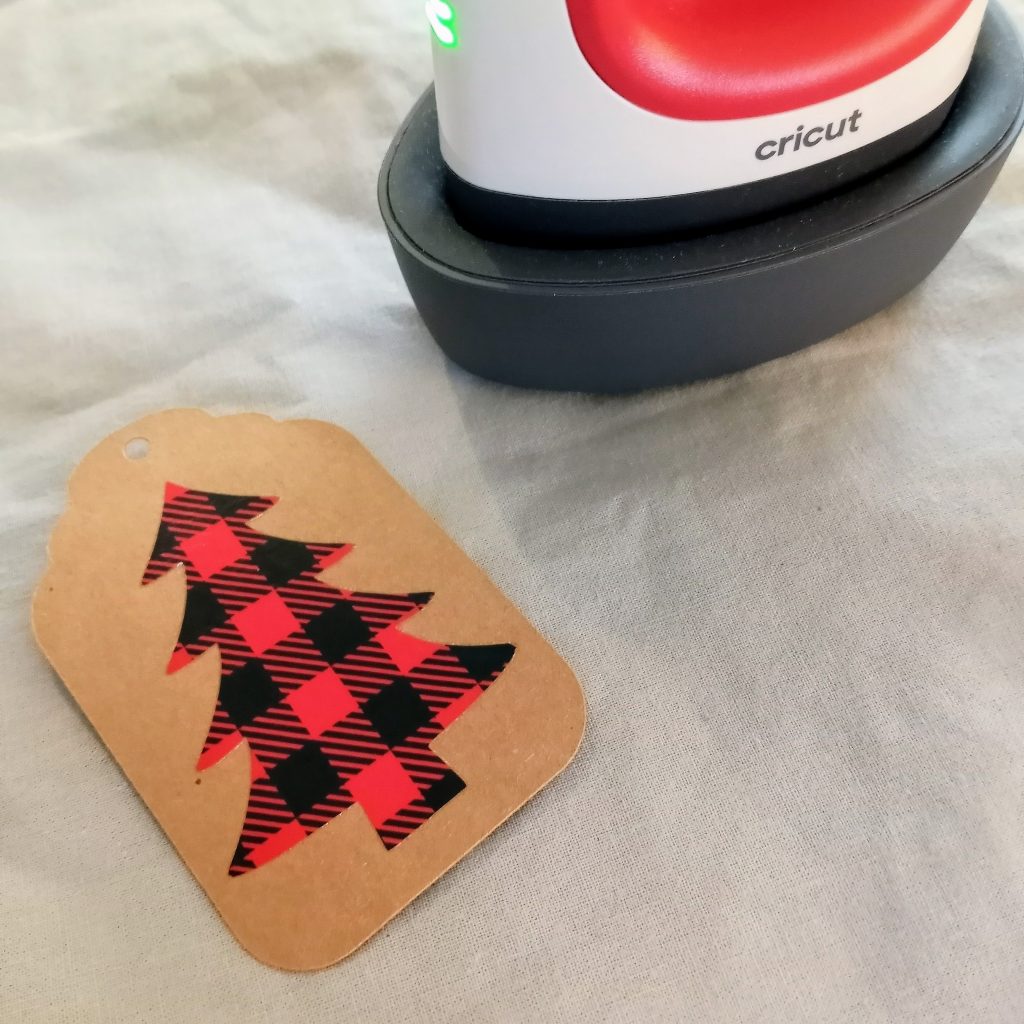
These simple gift tags were made using my Cricut Maker. Kraft cardstock was used once again and I used the Red Buffalo Plaid Heat Transfer Vinyl from Expressions Vinyl for my tree cut file.
Cutting The Heat Transfer Vinyl
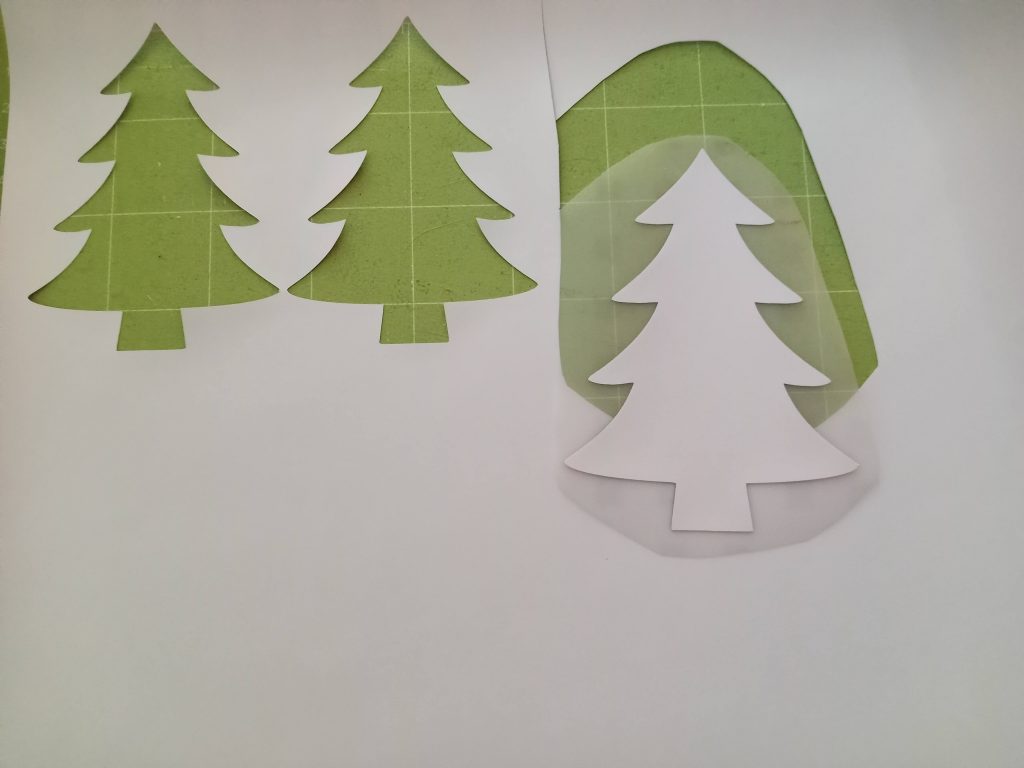
This vinyl has a white backing and you can see the plaid side through the carrier sheet. You’ll want to cut with the white backing side up.
On the Cricut Maker, “Heat Transfer Vinyl Non-Cricut”. You can see from the photo that my first two attempts cut through the vinyl AND the carrier sheet. I definitely needed an adjustment.
So on the third time, I used “Less Pressure” instead of the default setting. That worked like a charm. Isn’t that the way it goes?
Now you simply flip your heat transfer image over and you are ready to press it on your cardstock tag.
Heat Settings
Next, you’ll be pressing your vinyl on your tag. Since this isn’t a garment that is going to be washed, you don’t need lots of heat and pressure to add the vinyl to your cardstock.
The Mini Easy Press on the medium setting works great for this project. Rather than moving it around on the cardstock tag, just apply gentle pressure on one part of the image and then move to the next. I found that 10 seconds was plenty for this vinyl on cardstock.
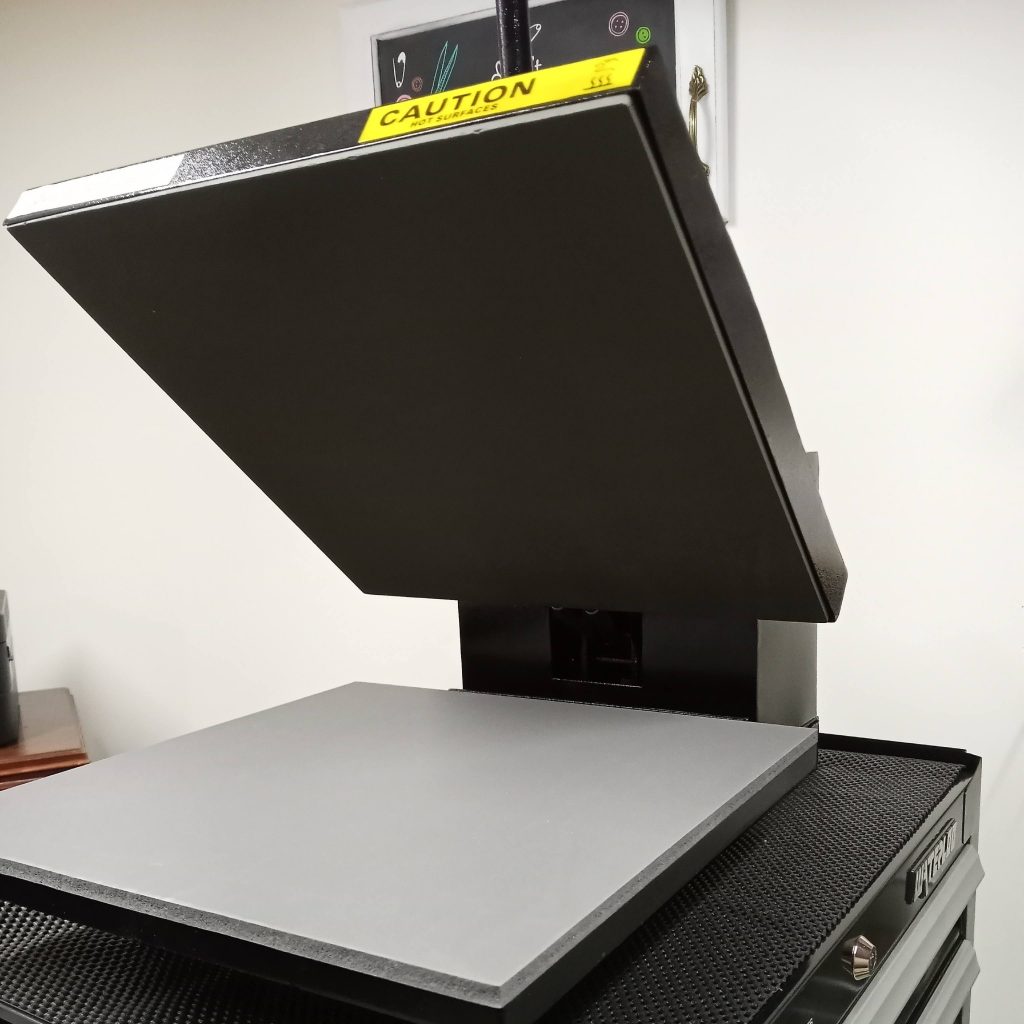
With a Large Heat Press
With my Power Press, 280 degrees for 10 seconds and then peeling while warm worked perfectly. This was just enough heat and time to tack down the vinyl images.
Overall, I think the Power Press worked out better than using the Mini Press. But the Mini Press or any Easy Press is certainly an option if you don’t have a larger heat press.
Embellish Your Gift Tags
I used some leftover twill tape and jute twine to give my tags a rustic farmhouse look. On another a smaller tag, I added a bead and jute twine.
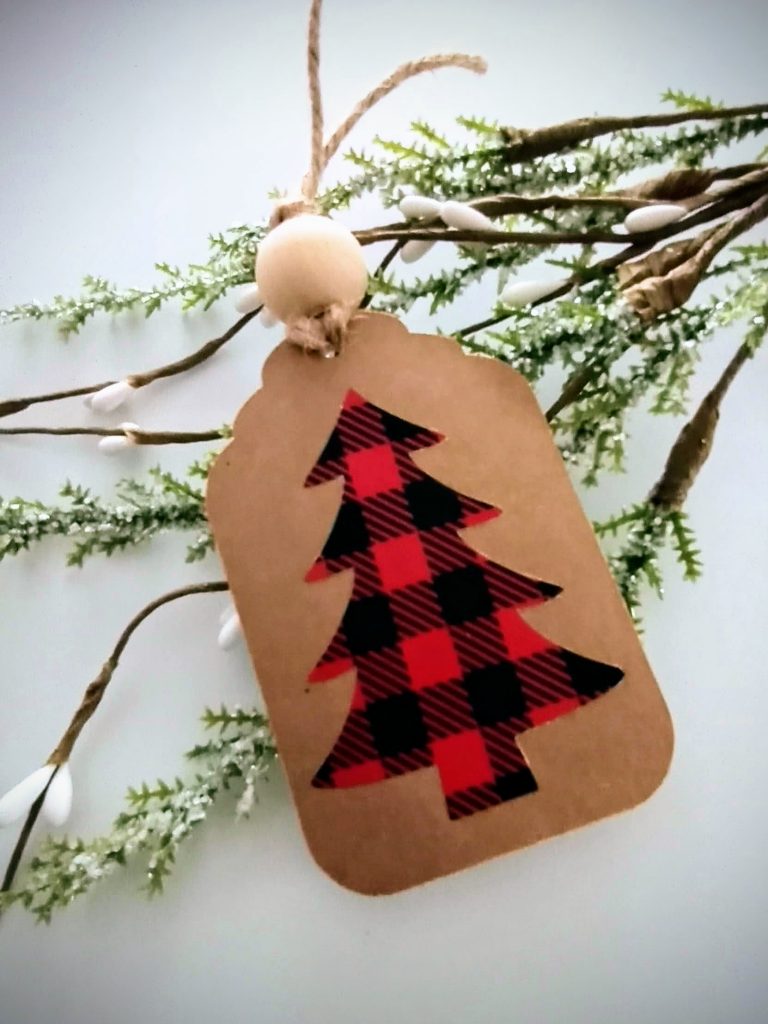
How would you embellish your tags or use them to decorate your package? You could certainly add some greenery or even mini pine cones. Resize the cut file to meet your needs. Branch out and use the SVG any way you like!
Have fun and we’ll see you next time!