How to Use Cricut Drawing Pens
Cricut Drawing Pens are a great way to add another dimension to your Cricut crafting. Personally, I always thought of the Cricut as only a cutting machine. When I bought my Maker, I got the black fine point pen that came with it but didn’t use it for a long time.
Now I’m here to tell you to get that pen out of its hiding place and start thinking about some projects. How about a little outside-the-box thinking? Are you ready?
Note: This tutorial was created using the original Cricut Maker. The process is still much the same in newer Cricut machines and updated Design Space, though the interface may look slightly different.
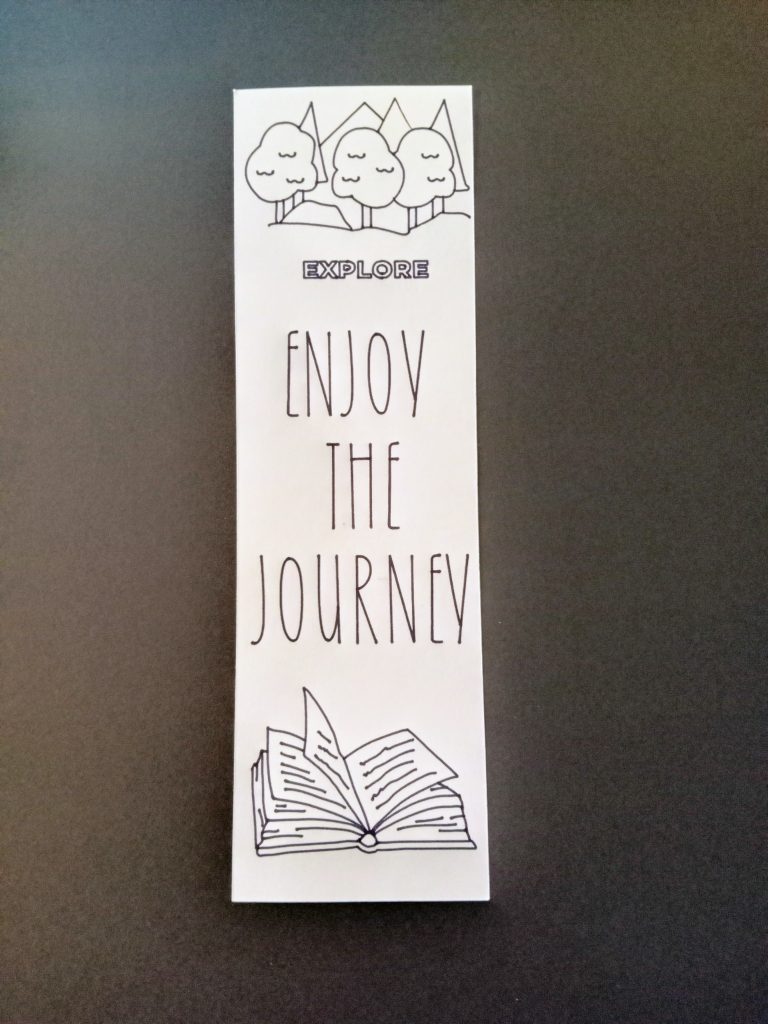
Book Mark: A Great Drawing Pen Project
Today I’m going to share a tutorial on how to make a bookmark. The cool thing is, you’ll only need cardstock and that one black drawing pen that probably came with your machine.
I’m going to link to a few extra supplies that give this a more professional look, but no need to worry. These extras are optional.
If you have access to a laminator, the laminating pouches (listed below) are a great way to take this project to the next level. Laminating your bookmarks will make them very durable. I have an old laminator that I purchased at Aldi years ago and it still works perfectly. It isn’t pretty, but it worked.
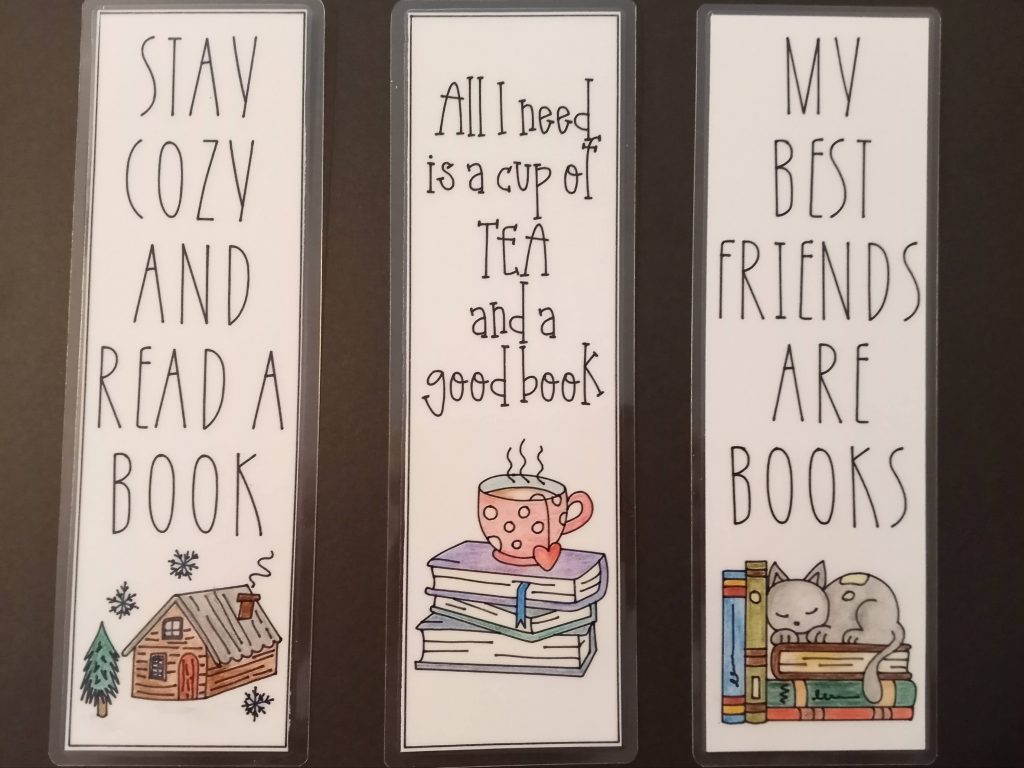
This is a great project for the classroom or to do with your own kids. Let the children color the images with colored pencils or markers and then laminate the bookmarks for use in their books. They would also make great small gifts!
I liked the colored pencils because there was no bleed through to the back.
Supplies Needed for this Cricut Drawing Pen Project
- Cricut Explore Air 2 or Maker (Explore 3 or Maker 3)
- Black Drawing Pen that came with your machine or Multi Pen Set Black
- Standard Grip Mat
- Heavy White Cardstock (I use this one for greeting cards as well)
- Cricut Design Space (with Cricut Access)
- Medium Size Bookmark Laminating Pouches
I highly recommend Cricut Access for this project. With your Access subscription, you’ll get over 200,000 images and 700+ fonts. You’ll also get discounts on your Cricut purchases. While I am a Cricut Partner, I will say that I love my Cricut Access Subscription, and if you aren’t already a member, you can find out more HERE.
Setting Up Your Template in Design Space
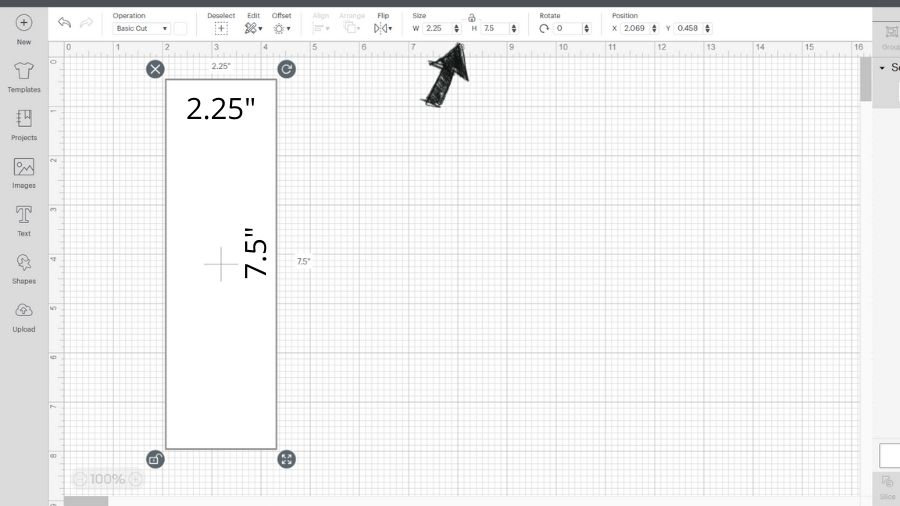
If you are using the laminating pouches, you’ll want to set up a template. You should have at least 1/8 of an inch of that laminating material around your cardstock so that it seals correctly.
I created a template with the square/rectangle tool in Cricut Design Space. Unlock the square proportions and make your template 2.25 inches wide by 7.5 inches in height for the medium size laminating pouches.
If you aren’t using these laminating pouches, you can make your marker the size you want. For most books, I think this is a great size.
Adding Images
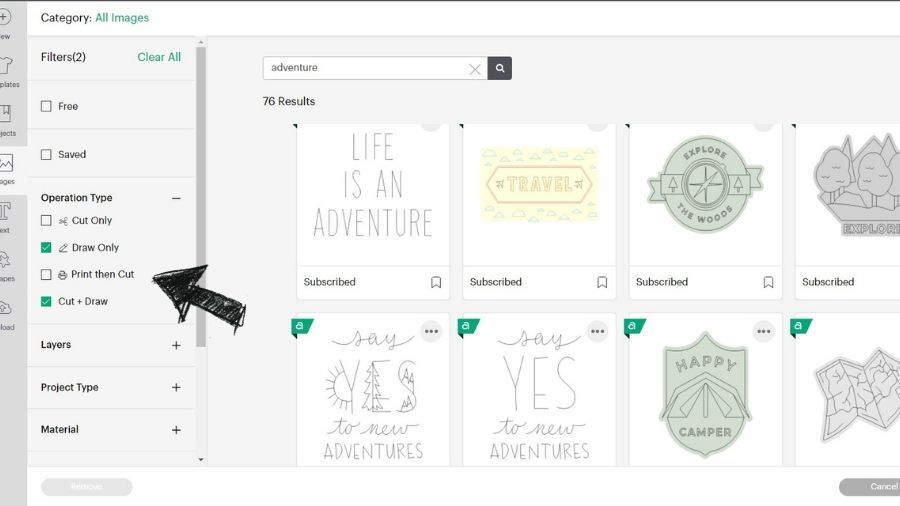
Now it’s time to select some images. As an example, I selected the theme “Adventure” and I’m only searching for “Draw Only” and “Cut+Draw Images”. You can see I have the checkboxes for these marked to narrow my search. You can use other images, but you’ll have to set them to “Draw” in the “Operation” dropdown panel.
Note: If you use a “Cut+Draw Image” you may have to “Detach” it from its cut background before placing it on your template. You can simply hide or delete it. You’ll only be using the drawing portion of the image.
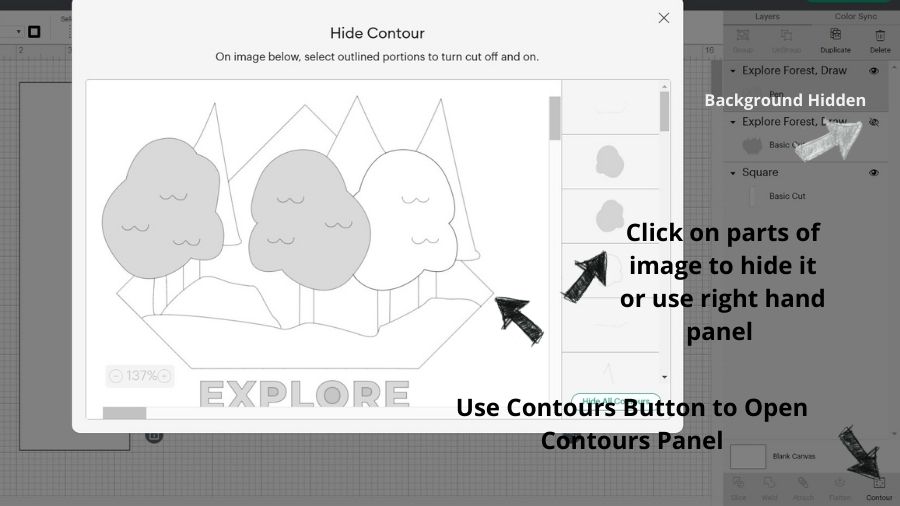
Editing the Image for the Bookmark
I’ve chosen the image that I want to use. Since this is a “Cut+Draw” image, I’m going to hide or delete that gray background. Then I’m going to use the Contours button to open the contours panel and hide parts of the image that I don’t want to use on my bookmark.

Resize the Image to Fit the Bookmark
The next step will be to drag the corners or use the Width and Height dimensions boxes to resize the image. Feel free to add multiple images or even basic shapes to fit your theme. If using basic shapes, remember to change them from “Basic Cut” to “Draw/Pen” in the “Operation” dropdown box.
Add Text to Go with Your Bookmark Theme
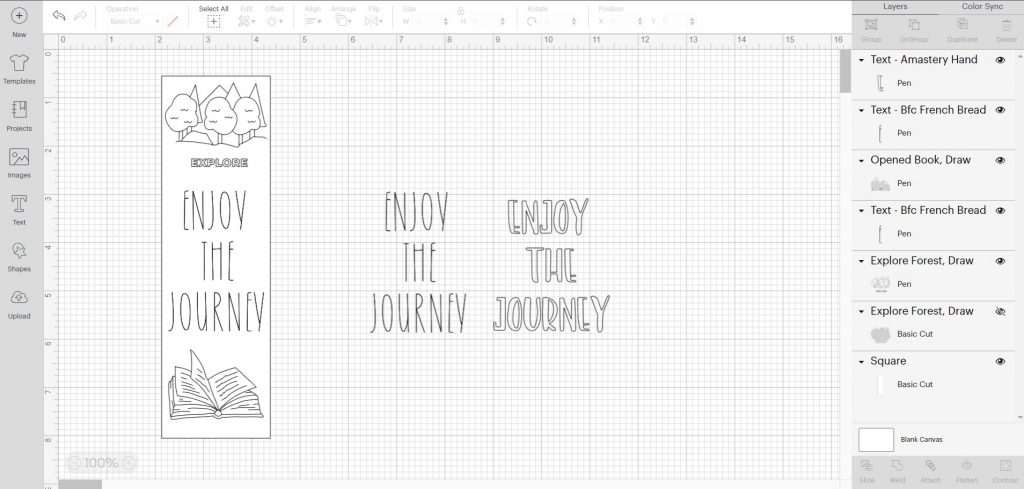
You may want to choose a writing font for your text. Some fonts are dual-purpose, so choose which style you want from the style panel. If you choose “Writing” the “Operations” panel will automatically change from “Basic Cut” to “Pen”.
Alternately, you could use regular text, and color it in. Be sure to set it to “Draw” in the operations panel. This is important, otherwise, your Cricut will try to cut your text and ruin your bookmark.
To the right of the photo below, I’ve included two fonts on the side, one a writing font, and one a regular font set to “Draw”.
On the left is my complete bookmark.
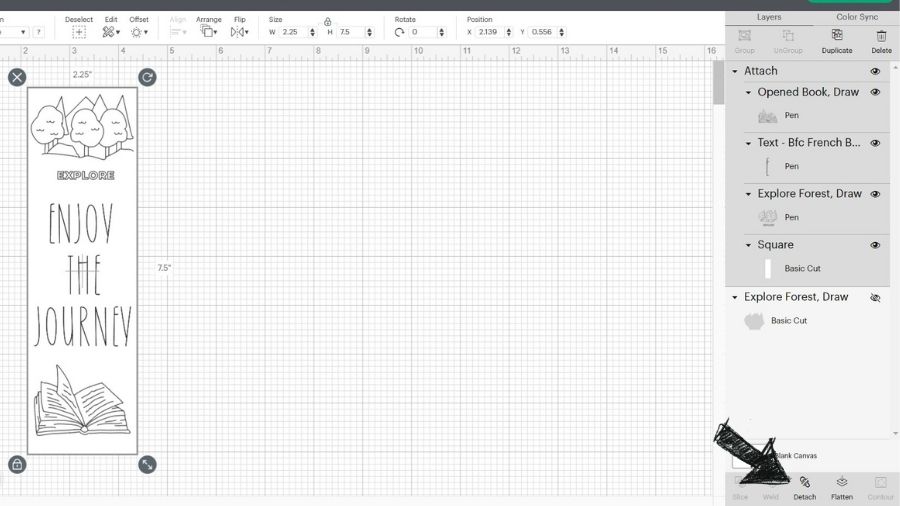
Attach Your Drawings to Your Bookmark Template
Once you have everything positioned on your bookmark, select everything for this bookmark and hit “Attach”. You could make multiples of this bookmark, or make other bookmarks. I’ve already activated the “Attach” button in this photo. Now I’m ready to “Make It”.
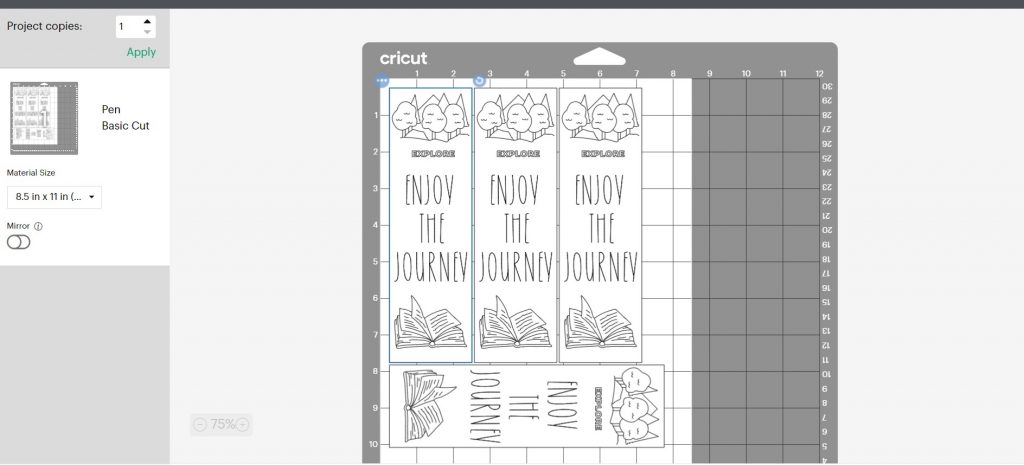
Setting Materials Size
I like to set the size of my materials to 8 1/2″ x 11″ since I’m using that size of cardstock. If I had multiple bookmarks, Cricut would best decide how to use the material. Here they have turned one 90 degrees so that four of them fit on the page.
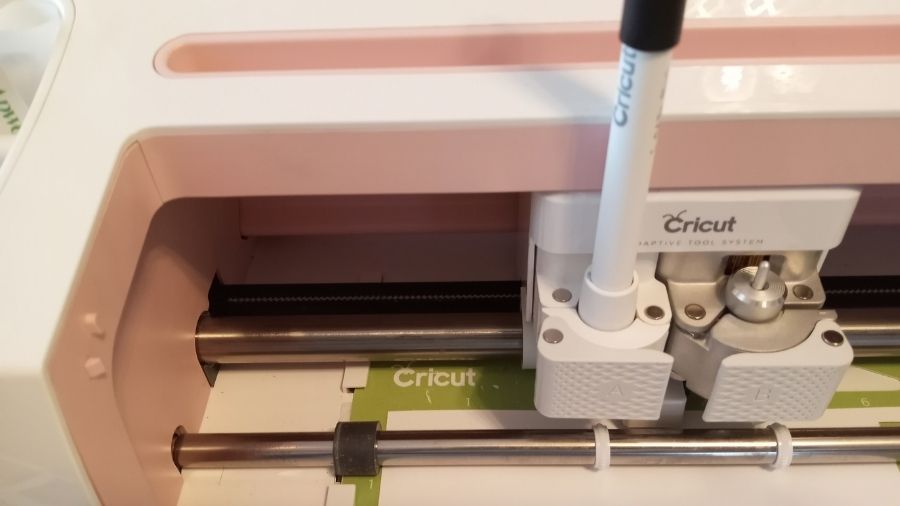
Make sure the pen is properly seated in the pen holder and the latch is closed. Super easy!
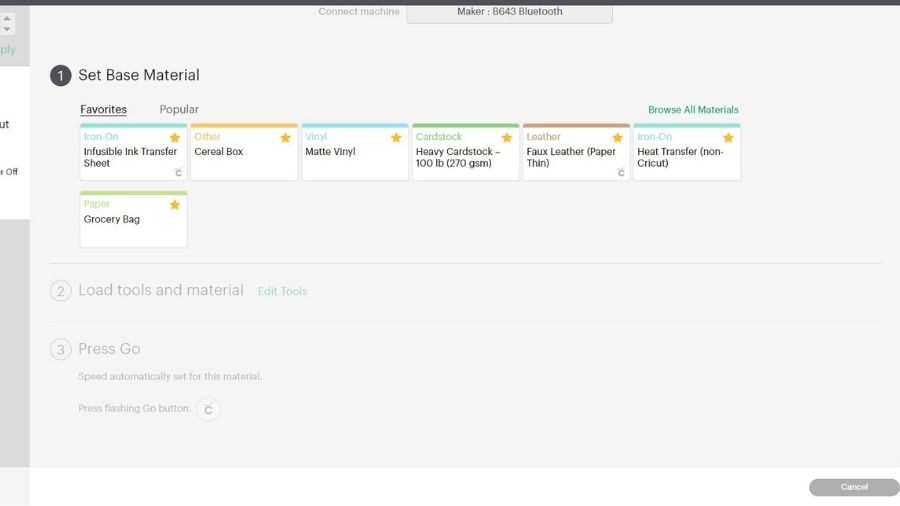
Now you can choose your “Heavy Cardstock” from the Base Materials. I have mine marked as a favorite (starred) since I use it so often. I love this about the Cricut send panel!
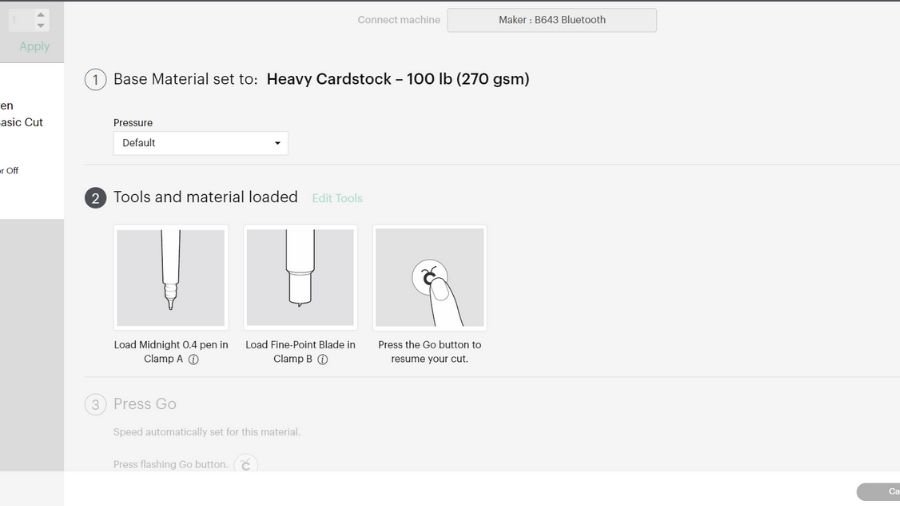
If your pen and materials are loaded, just keep following the prompts. Your bookmark will be drawing and cutting in no time!
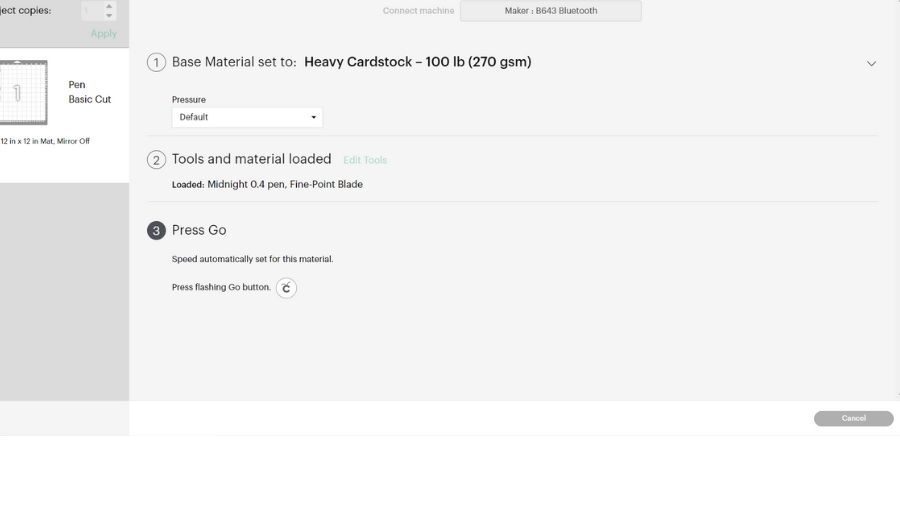
Press the “Go” button and watch the machine do the work!
Color and Laminate!
This is so much fun! I am totally addicted to using my Cricut Pen now and have ordered more pens. I recently uploaded a YouTube video on how to use the pen to write on a gift tag SVG.
How have you used Cricut Pens? Does this give you some further inspiration?
If you want to share your projects, I’d love to have you join my Facebook group.
Have fun creating with your Cricut, and we’ll see you next time.
Connie