Creating Stunning Stickers with Your Silhouette Cameo: A Step-by-Step Guide
Are you a proud owner of a Silhouette Cameo cutting machine, looking to add a touch of creativity to your life? Well, you’re in for a treat! In this blog post, we’ll take you on a journey into the wonderful world of sticker making using your trusty Silhouette Cameo. Whether you’re an experienced crafter or just getting started, you’ll find this guide filled with inspiration and practical tips to bring your sticker-making dreams to life.
Please note that this blog post contains affiliate links to the products mentioned. This means that if you click on these links and make a purchase, I may earn a small commission at no extra cost to you. I only recommend products and services that I personally use or believe will be beneficial to my readers. Your support through these affiliate links helps me keep this blog running and continue to provide valuable content. Thank you for your support!
Materials You’ll Need for Stickers:
- Silhouette Cameo (or Portrait) Cutting Machine: Ensure it’s properly set up and connected to your computer.
- Sticker Paper: You can find adhesive sticker paper in various finishes, such as matte or glossy.
- Design Software: We recommend using Silhouette Studio, the software that comes with your Silhouette, or other design software like Adobe Illustrator or Inkscape.
- Design Ideas: Whether it’s your own creations, downloaded graphics, or purchased designs, gather your sticker ideas. For some of the stickers shown, I used Creative Fabrica’s Spark AI tool and created transparent PNG files. The Silhouette Design Store, Design Bundles, and Creative Fabrica, Canva, and Etsy are also places you can find graphics or even full sticker sheets for your projects.
- Printer: You’ll need a printer to print your designs before cutting. My printer is the HP Envy 6055e. The colors are fabulous and truest to the screen that I’ve had in a printer.
Creating Your Sticker Sheet
Design Your Stickers
- Open Your Design Software: Launch Silhouette Studio design software.
- Create a New Project: Set the document size to match your sticker paper. For me this is the letter size paper.
- Import or Create Your Designs: You can either import images or create your own designs within the software. If you have designs saved on your computer, Use File>Merge to open all of your designs on one page.
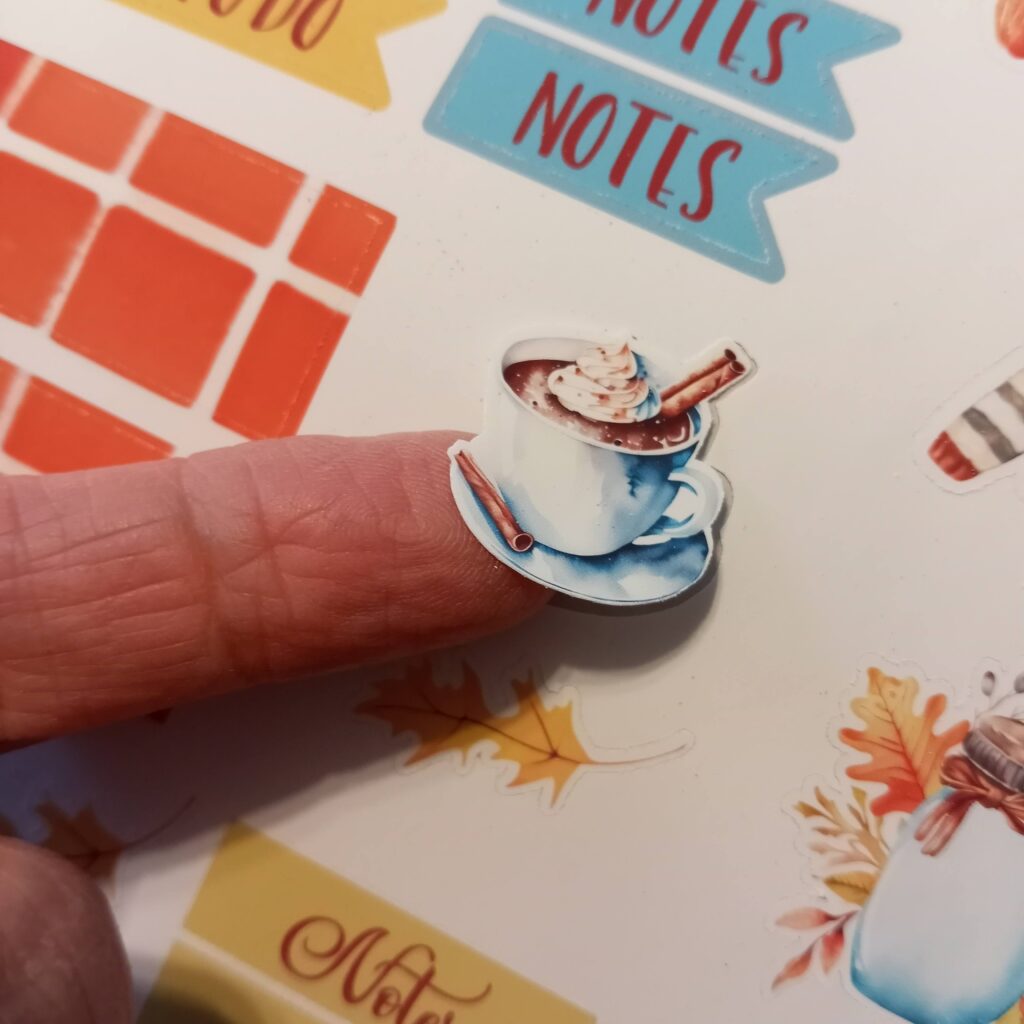
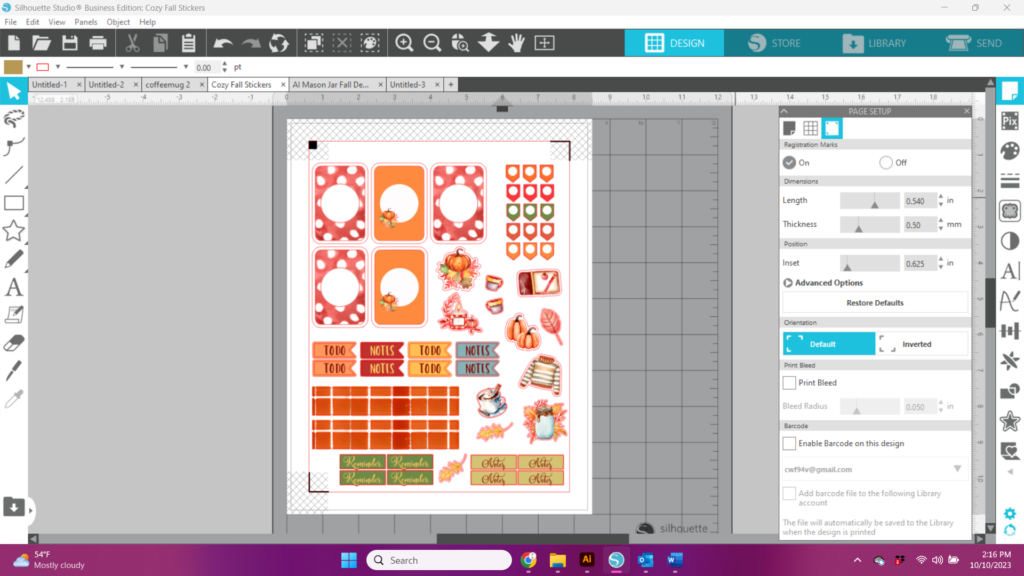
- Size and Arrange: Resize and arrange your designs on the canvas in Silhouette Studio. Be creative with colors, shapes, and themes! The theme for my stickers was “Cozy Fall Planner Stickers.”
- Be sure to turn on your registration marks in your Silhouette studio Set Up Panel: This is very important if you want your stickers to cut correctly. Be sure that all your sticker images are within the cut border and hash mark areas of your sticker sheet.
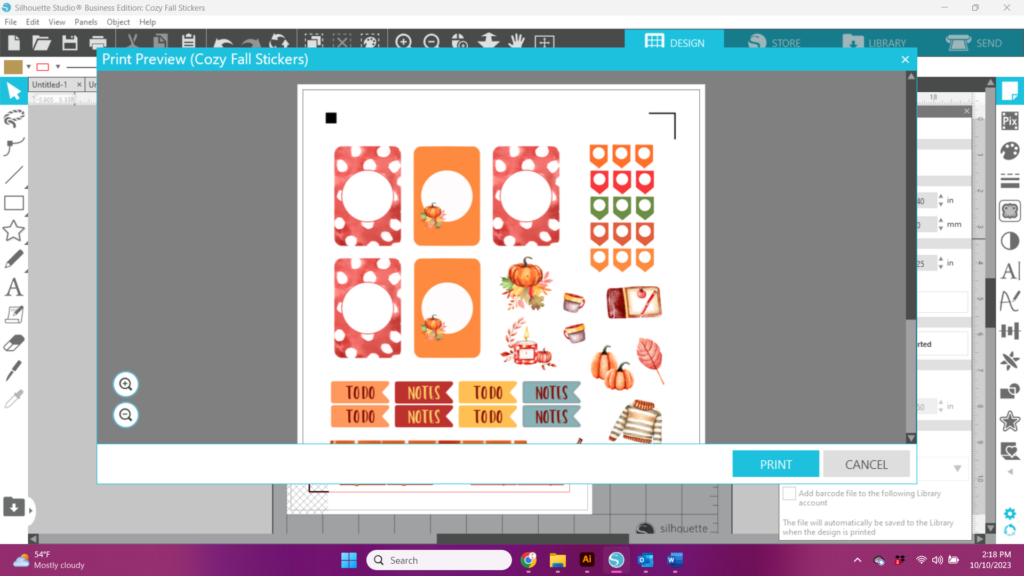
Print Your Stickers
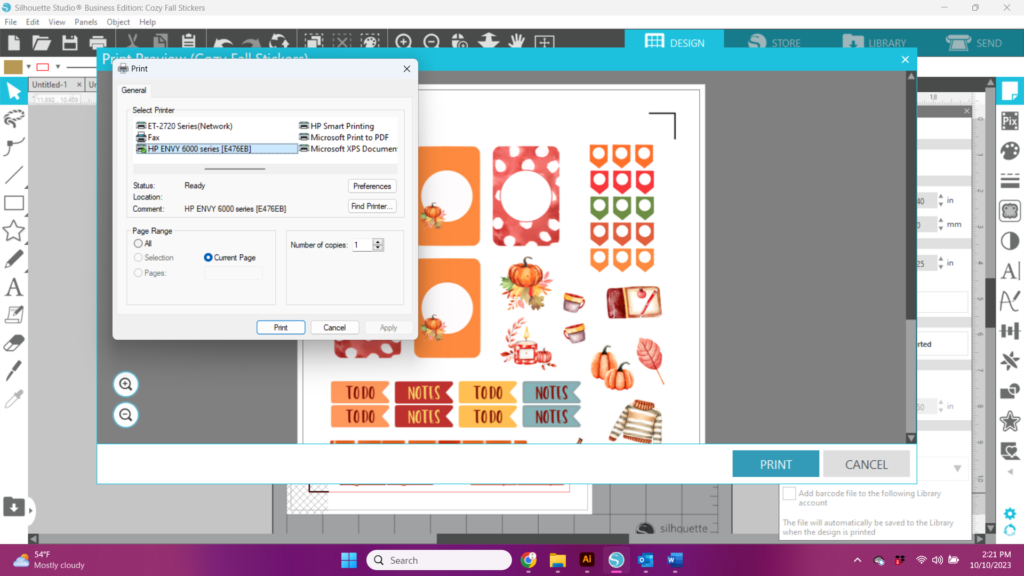
When you click on PRINT, Silhouette Studio will generate a print preview. When you click on PRINT, it will take you to the print settings panel for your printer.
- Load Sticker Paper: Load your sticker paper into your printer according to the manufacturer’s instructions.
- Print Settings: Adjust your print settings to ensure the best quality. You may want to select the “Best” or “High Quality” option.
- Print Your Designs: Click “Print” and wait for your designs to be printed onto the sticker paper. Your registration marks will print also. This is essential, but will not affect your stickers. You can peel this top layer away and leave just the stickers on your sheet.
Cut Your Stickers
Load the Printed Sticker Sheet: Place your printed sticker sheet onto the cutting mat. Be sure it is lined up at the top and left side, even with or slightly over the line. For best results, you want to be sure you sticker sheet will not be able to move on the mat. A clean mat, but not necessarily a brand new one is best.

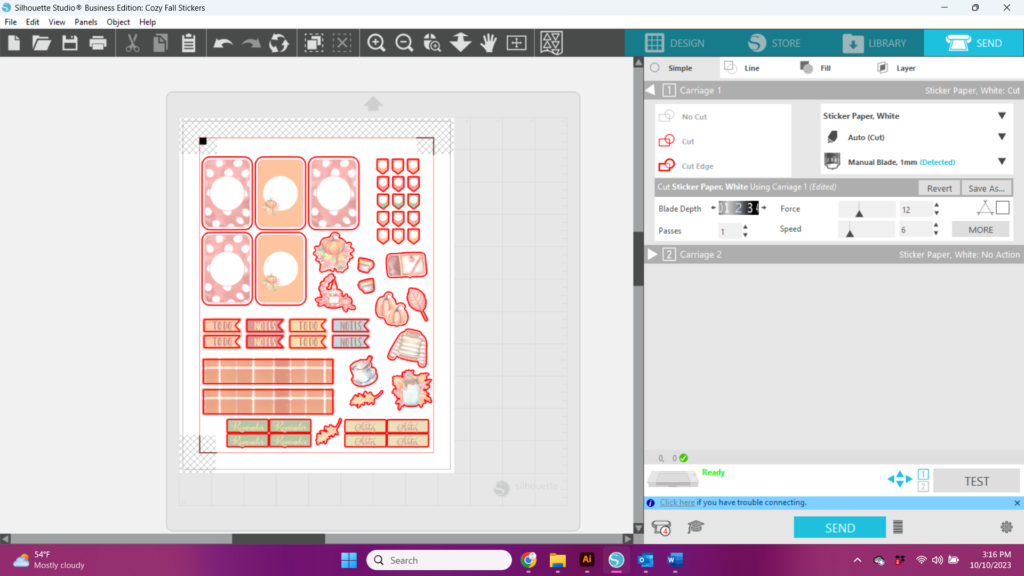
Tips for Precise Cuts-Proper Materials Settings
Send to Silhouette Cameo: In Silhouette Studio, click “Send” and select the appropriate material settings for your sticker paper (typically, there’s a preset for “Silhouette White Sticker Paper”). Other manufacturers may have other recommended cut settings. I sometimes use Online Labels for my sticker paper. Online Labels has a cut settings guide that can be found on their website.
You may want to consider writing down your settings for each sticker paper that you use, or creating custom settings in the send panel for the materials that you use. If your force is too high, you may cut through your backing. You may want to lower your force and save this setting.
I’ve found that the default settings for the Silhouette brand white sticker paper work well with my Cameo.
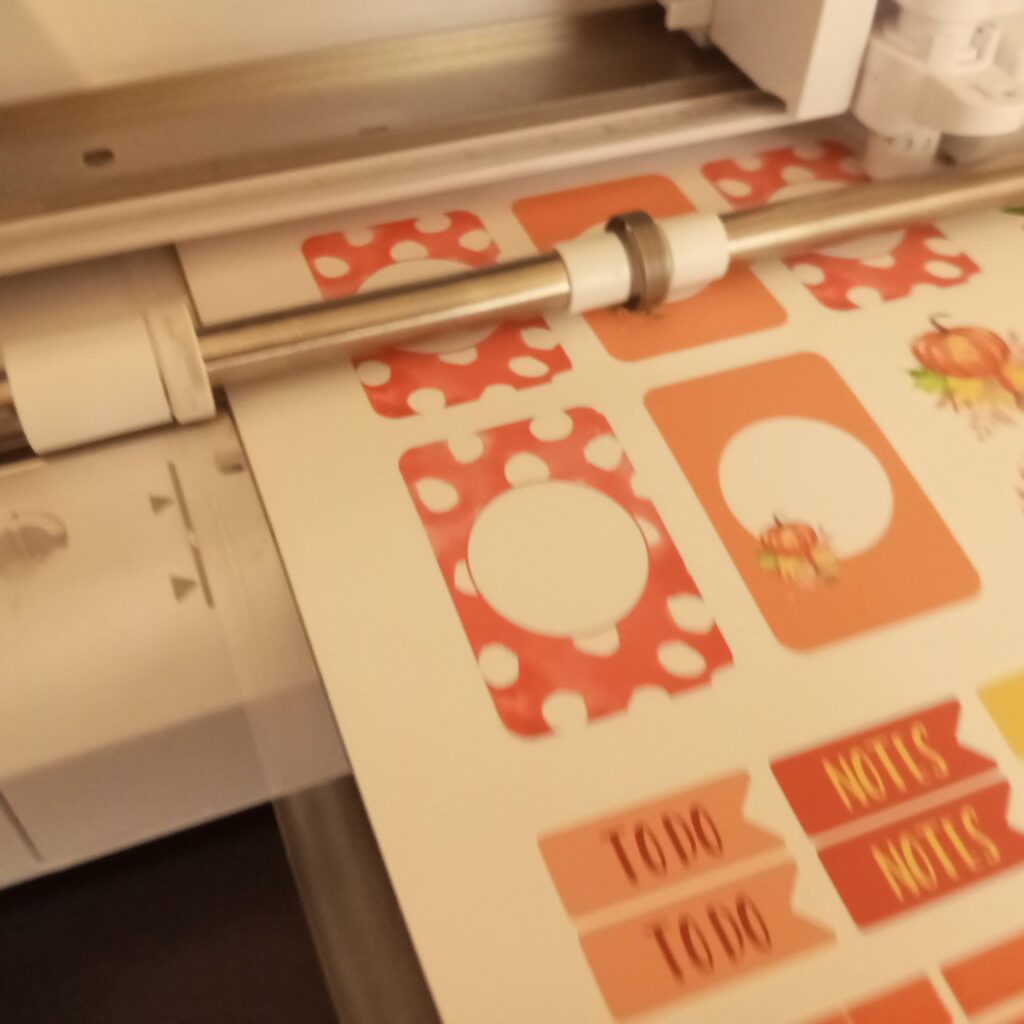
Tips for Precise Cuts-Loading the Mat
- Load your sticker sheet properly on the mat. Use a clean mat, but not one that is so sticky that it tears your sticker sheet when removing it.
- Be sure the rollers are not on the sticky part of the mat or on your sticker sheet
- Make sure your mat is properly loaded into the machine. If you look closely at the next photo, you can see that the mat is lined up with the line, right next to the little white bump that is by the line (not over it).
Load the Cutting Mat: Place the cutting mat with the sticker sheet into your Silhouette Cameo.

Start Cutting Your Stickers
Click “Send” at the bottom of the send panel, and watch as your Cameo precisely cuts out your sticker designs.
Peel Your Stickers and Enjoy
Once your Silhouette has worked its magic, carefully peel your stickers from the backing paper. Voilà! You’ve just created your very own custom stickers. Stick them in your planner, on your laptop, journal, phone case, or share them with friends and family as personalized gifts.
Remember, the possibilities are endless when it comes to sticker making with your Silhouette Cameo. Experiment with different designs, materials, and techniques to add a unique touch to your projects.
So, dust off your Silhouette Cameo, fire up your creativity, and start making stunning stickers today! Happy crafting!