
“BEE happy” Mini Wood Sign
Hey friends! Welcome back. Today I wanted to share this “BEE happy” mini sign and the SVG that I used to create it.
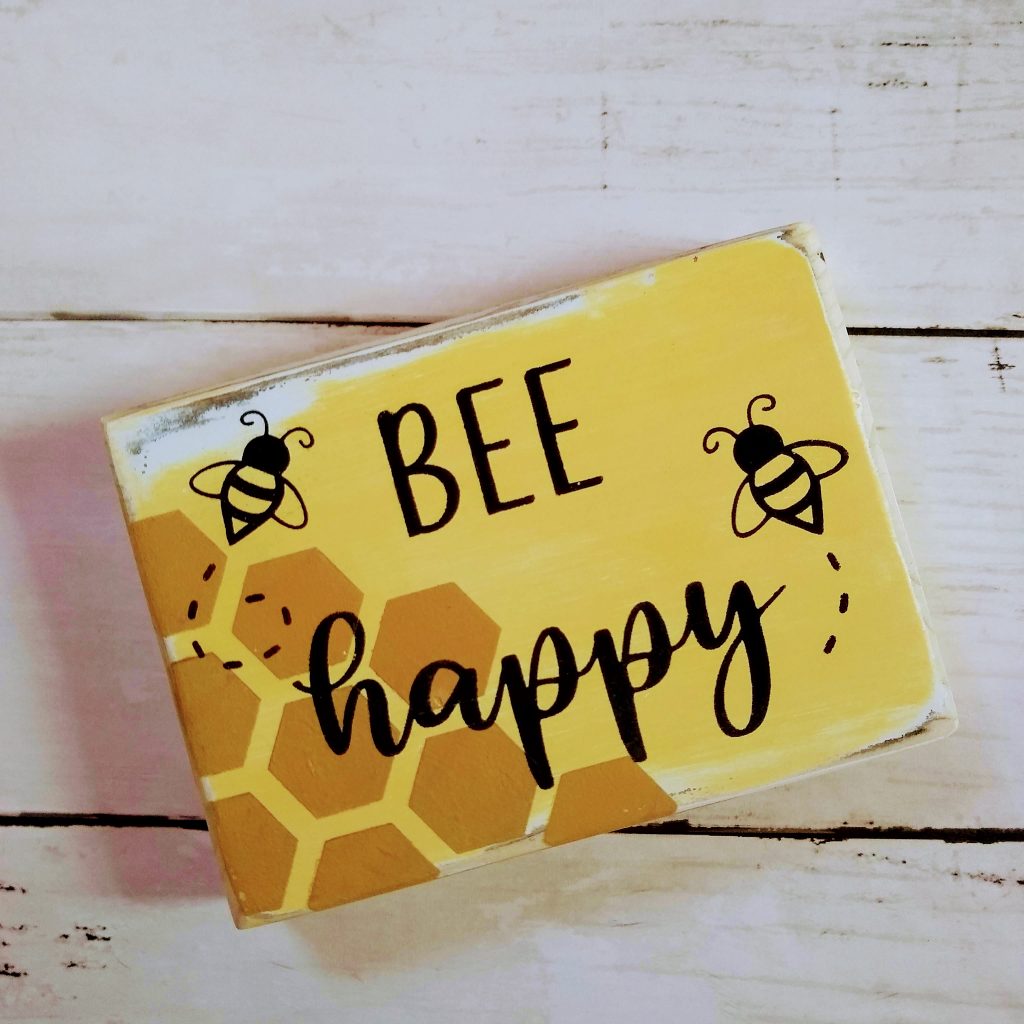
This BEE happy sign was made from a piece of wood leftover from another project. It measures approximately 3 3/4″ x 4 3/4″. It makes a great spring or summer shelf sitter or tiered tray decor.
This post contains affiliate links. If you use my links and purchase products, I make a commission at no additional cost to you.
To create this sign, you will need the SVG found in the link below.
You’ll also need:
- White chalk paint (optional)
- Yellow chalk paint. I used the color “Maize” by Waverly
- Black Chalk Paint. I used the color “Ink” by Waverly
- Paint for Honey Combs. Deco Art Americana “True Ochre” or “Antique Gold”. I ended up mixing my own paint to get the color I wanted.
- Paint brushes, makeup sponge, Oracal 631 vinyl, or 813 stencil vinyl.
- Transfer material
- Bee Happy SVG
Steps for painting the BEE happy sign project:
Prep your Wood
Sand your wood thoroughly.
This is a slightly distressed sign, so first I put on a couple of coats of Waverly White chalk paint and allowed it to dry.
Next I brushed on some of the Maize Waverly Chalk Paint. I didn’t worry about full coverage.
Allow your paint to dry thoroughly. Next use fine-grit sandpaper to distress the areas that you would like to distress.
Painting your Sign
Honeycomb
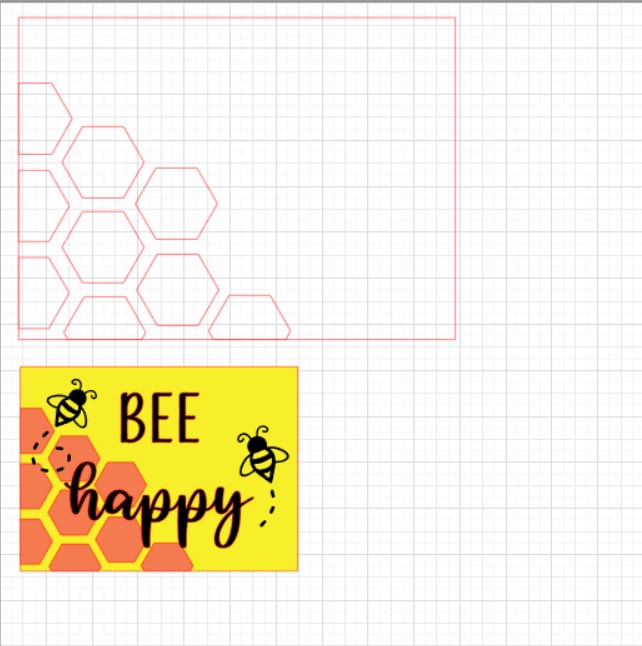
Cut out the honeycomb part of the SVG with your cutting machine and paint the honeycomb in the lower left-hand corner of your sign. Use your honey-colored paint mix or one of the suggested colors in the materials list.
I created a box for my honeycomb file in Silhouette Studio. You can find more information about how I set up the cutting for my vinyl stencils in THIS VIDEO.
Weed out the hexagons. Pick up the remaining stencil with your transfer material and place it on your sign. Be sure the edges of the hexagons are down firmly by running your finger firmly around the edges or using your vinyl application tool. I love the one I have from Expressions Vinyl.
Using light coats of paint and a makeup sponge, paint your honeycomb.
Sign painting tip! Pick up paint with your sponge and then dab some off on a paper plate. Use your sponge to layer your paint gradually to avoid bleeding. Your first couple of passes will look like you aren’t using enough paint, but that’s okay. You’ll be glad you took your time!
Carefully pull up your stencil. Allow your honeycomb layer to dry thoroughly before applying your text and bees. Because this is a layered design, you want your paint to be completely dry. You don’t end up pulling up paint with your next step.
Text and Bees
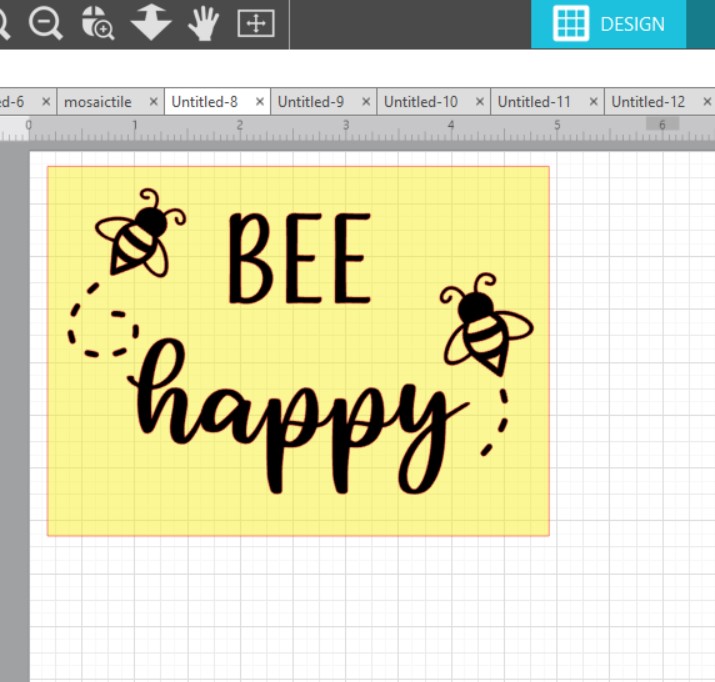
Cut out your text and bees stencil in your cutting machine software. You can see here that I’ve created that stencil “box” around my design. This allows me to get exact placement on my sign.
All the areas that are shown in black get weeded (taken out) on your stencil. I like to add colors to my design and use the image in Silhouette Studio when weeding to remind me. Don’t forget the little dotted flying trails!
I use a scissors or X-acto type of knife to cut around the stencil box and then remove any excess vinyl from outside the perimeter. Then I pick up my stencil with my transfer tape to apply to my sign.
Once again apply light coats of paint with your makeup sponge. Dab off excess paint from your sponge as you paint each layer. This helps to prevent bleeds.
Now you can remove your stencil and see your work! That’s all there is to make this cute home decor or tiered tray sign of your own.
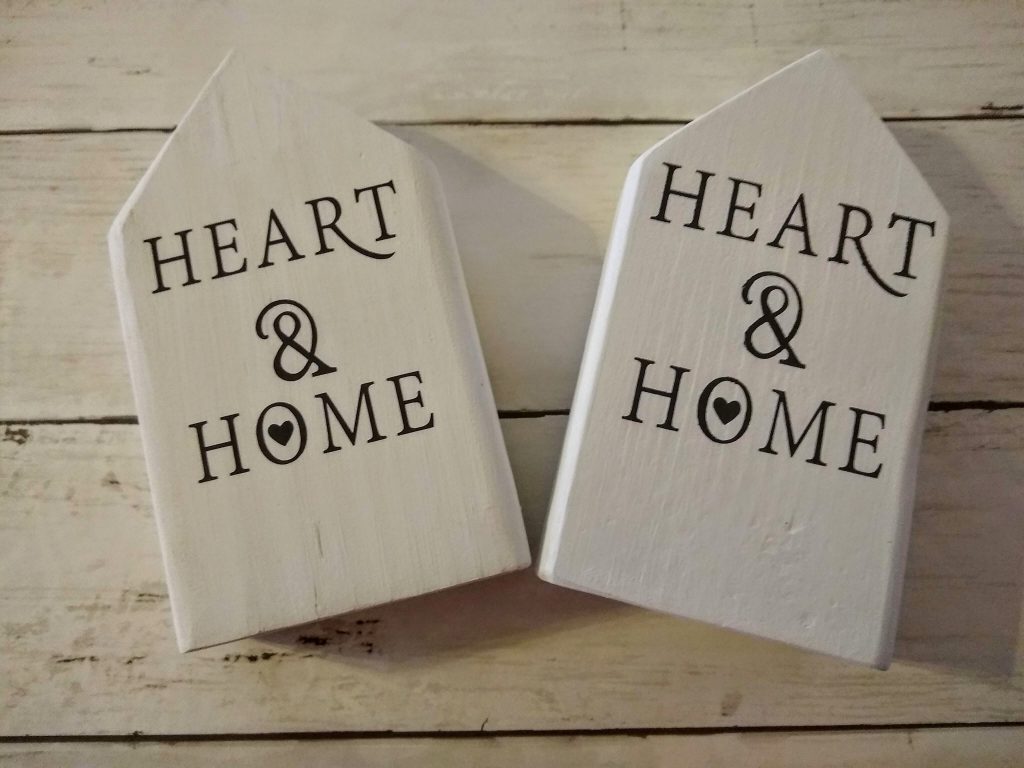
Instead of Paint Try 651 Matte Vinyl
To make a quick job of the text and bees use matt black 651 vinyl from Expressions Vinyl. I tried this vinyl on another project recently and love how it looks like it’s painted.
The matte black vinyl is super easy to weed and place on your sign. If you want to make quick and easy home decor and don’t like to paint, I’d highly recommend the matte vinyl.
The one on the left is vinyl and the one on the right was painted with a stencil made from Oracal 631.
What do you think of these projects? I’d love to hear your comments. Be sure to grab your SVG with the button below.
Also, be sure to check out Expressions Vinyl to get your Oracal 631 for stenciling or the matte 651 vinyl for a quick and easy project.


Super cute! Love all bee projects. We raised them for years because we had so few in our rural neighborhood. Now they are happily back in full force. Thank you for this free file!
That’s so neat Shirl! Thank you so much for your kind words AND for your helping hand with our pollinator friends. Best wishes for creating your own bee project!