You’ll Love Making Easy DIY Mini Book Stacks
Faux Mini book stacks are a quick easy project that can add a touch of flair to tired trays or table and shelf displays.
These can be made with simple supplies that you may already have. While I used my Silhouette Cameo to stencil the spines, you wouldn’t necessarily need to. Using a paint marker or sharpie would certainly be an option.
**When you buy through links on our site, we may earn an affiliate commission. This keeps Say It With Simplicity reader-supported and free of ads. Thank you for your support!
Supplies to Create Mini Book Stacks
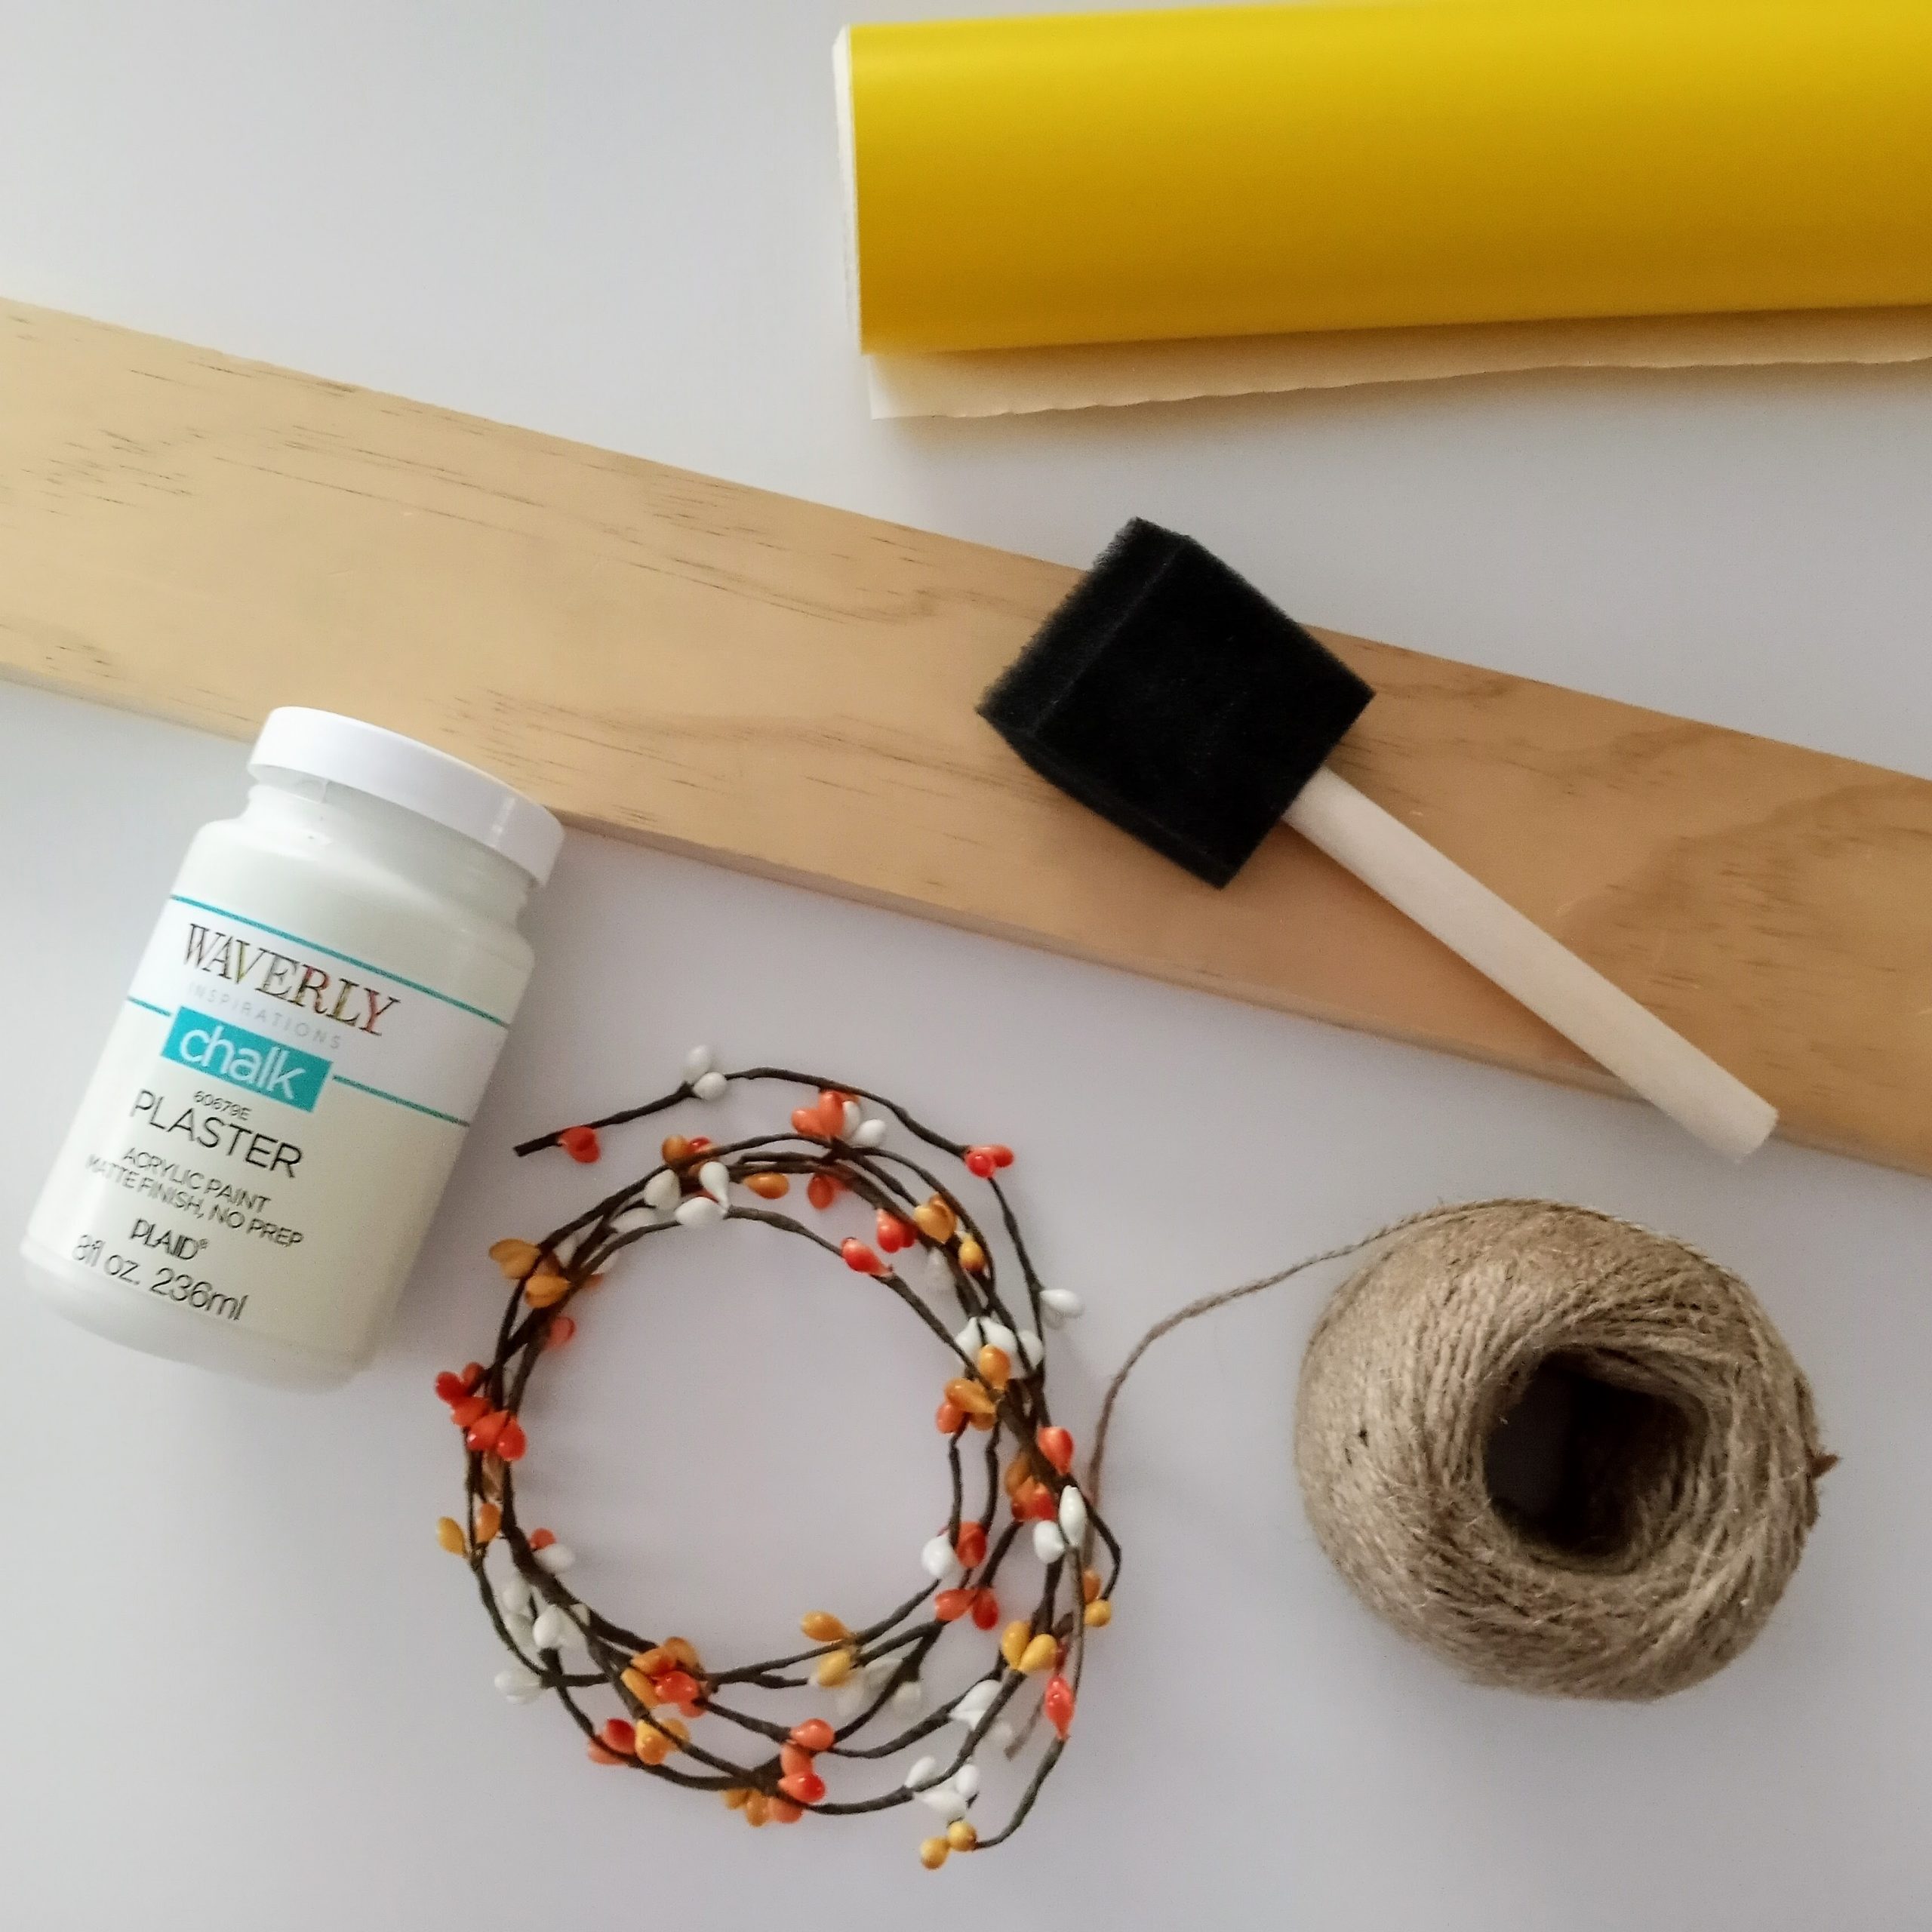
When I create faux mini book stacks, I like to use select pine. I had a 1″x6″ leftover from a previous project and used my table saw to cut it down to 2 1/2″ wide. You could also choose to buy a 1″ x 3″ for the same result.
You’ll also need paint. I used Waverly Chalk Paint in the color Plaster and mixed my own orange color from paints I had in my stash.
Jute twine was used to tie the books together and small pieces of fall garland were used for embellishment. An optional choice would be to glue your mini books together and embellish as you choose.
The Avery Stencil Film worked well for stenciling the spines with my chosen words of “autumn”, “harvest”, and “pumpkins.”
Making Faux Mini Book Stacks
I cut each faux mini book at 5″ length from my pine board.
If you like your books to look more like a real book, try an orbital sander. I used mine to round off the edges of the “spine” side of the mini-books. You’ll have a more realistic-looking book in no time.
Hand sanding also works but requires a bit more time and effort.
Waverly paint in the color “Plaster” was used to paint the “pages” side to further the creation of the real book look. I distressed the edges with paint in a darker color to give them a little worn appeal. Then I painted the book covers in an orange color that I mixed from some of the paints in my stash.
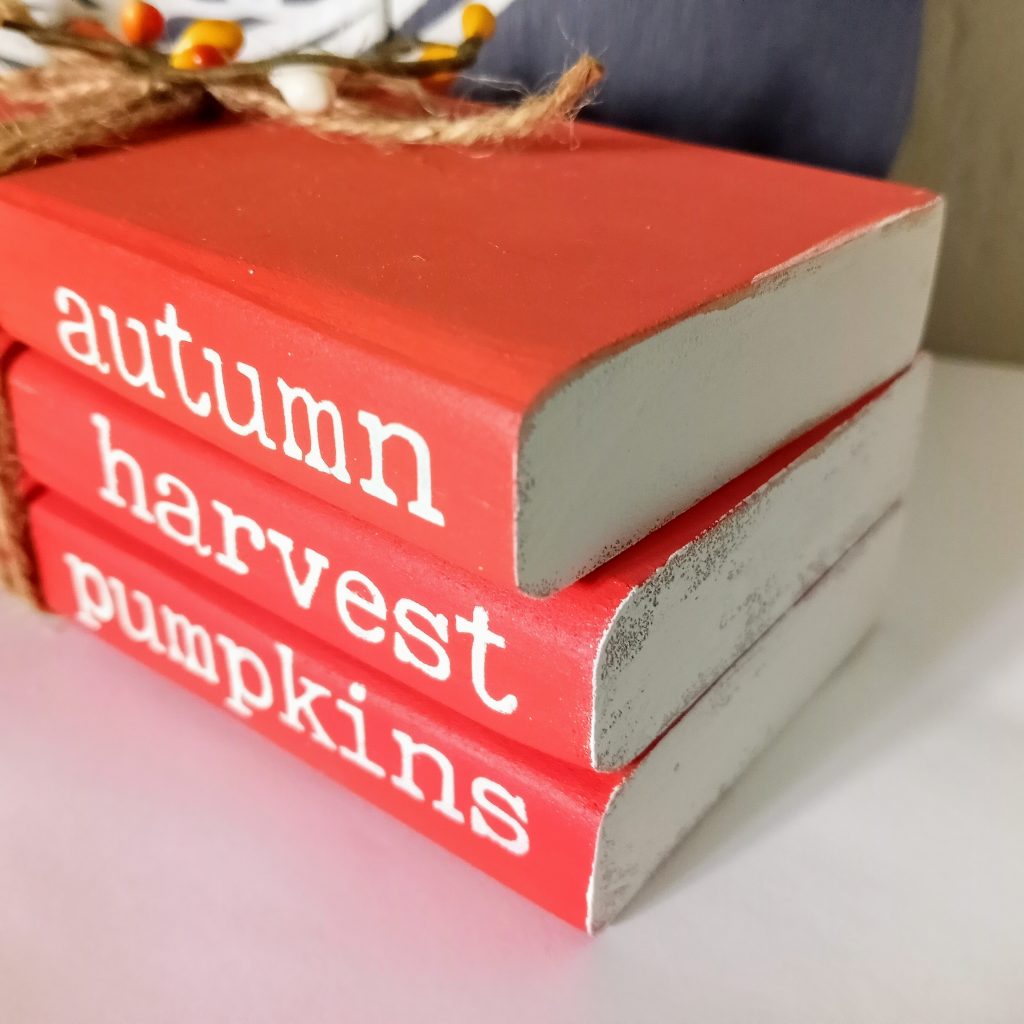
Stenciling the Spines of the Faux Book Stack
Books have to have names, right?
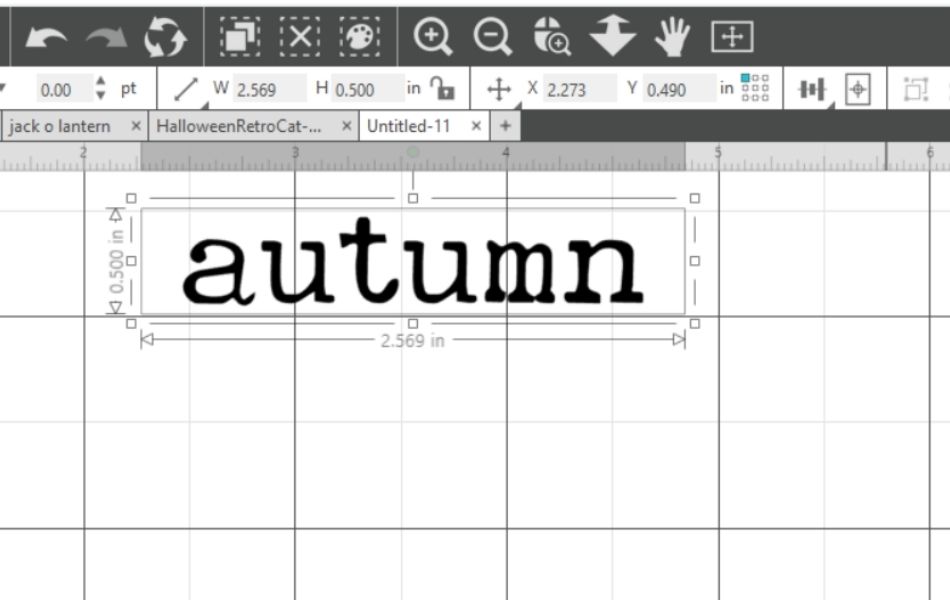
I decided to use the font “Remington Weather” to stencil the book names on the spines of my books. If you belong to Creative Fabrica, you may download this font and thousands of others with their monthly membership.
In Silhouette Studio you’ll want to create your text using the text tool. Right-click on your text and choose “Convert to Path.” This will give you a true idea of the size of your text. I also like to create a rectangle around my text to help me with alignment on my project. In this case, I went with a height of 1/2 inch for my stencil box.
I fit my text inside the box. This worked out perfectly.
Cutting Your Vinyl Stencil
Now you are ready to cut your vinyl stencil on your Cameo and apply it to your book.
I chose an Avery Stencil Mask that I purchased at MI Vinyl World. Get a $10 off coupon for MI Vinyl World. I cut this on the Matte Vinyl Setting but with a setting of “2” on my Silhouette Cameo. Always test cut before making any large cuts on any new product that you try.
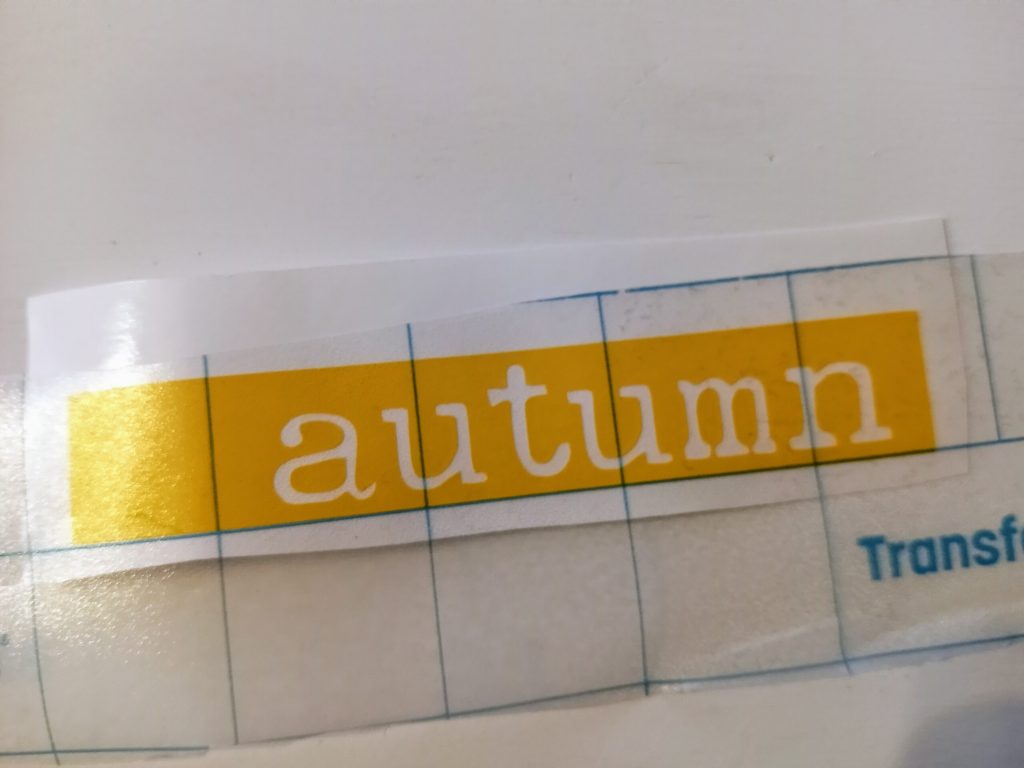
Applying Stencil Vinyl and Stenciling Mini Books
Now that you’ve cut your vinyl, you’re ready to weed your vinyl and apply it to your mini-book.

Remove the vinyl from the areas of the stencil where you want the paint to go through to your mini-book blank. You may sometimes hear this called “weeding.”
Next, apply transfer tape to the vinyl stencil. This will help you to transfer your stencil to the mini-book in one smooth piece. If you are using a brand new piece of transfer tape, this can be very sticky. You can remove some of the stickiness by laying the sticky side of the transfer tape on a piece of fabric. Remove it from the fabric and now it won’t be so tacky. Something like an old dish towel or t-shirt works well for this. It will make it much easier to remove from your vinyl stencil during the transfer process.
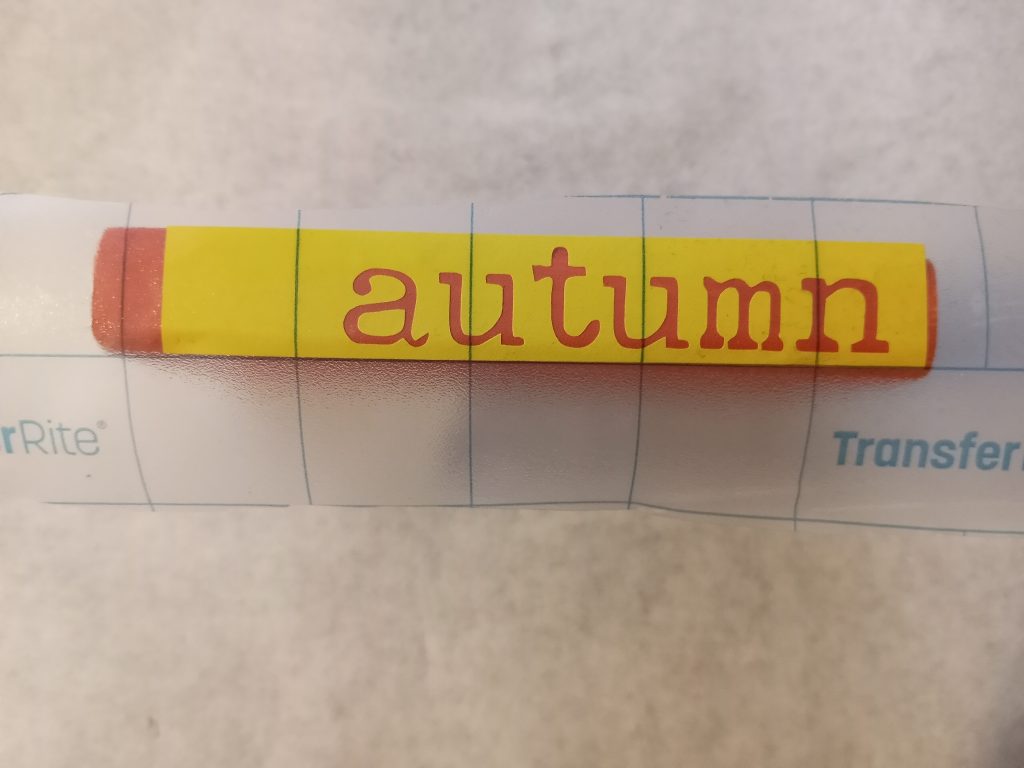
Now remove the backing from the vinyl and place the vinyl on your book. Burnish it down with your fingers or a scraper/burnishing tool.
Carefully remove the transfer tape. Burnish this down with your fingers or your scraper burnishing tool.
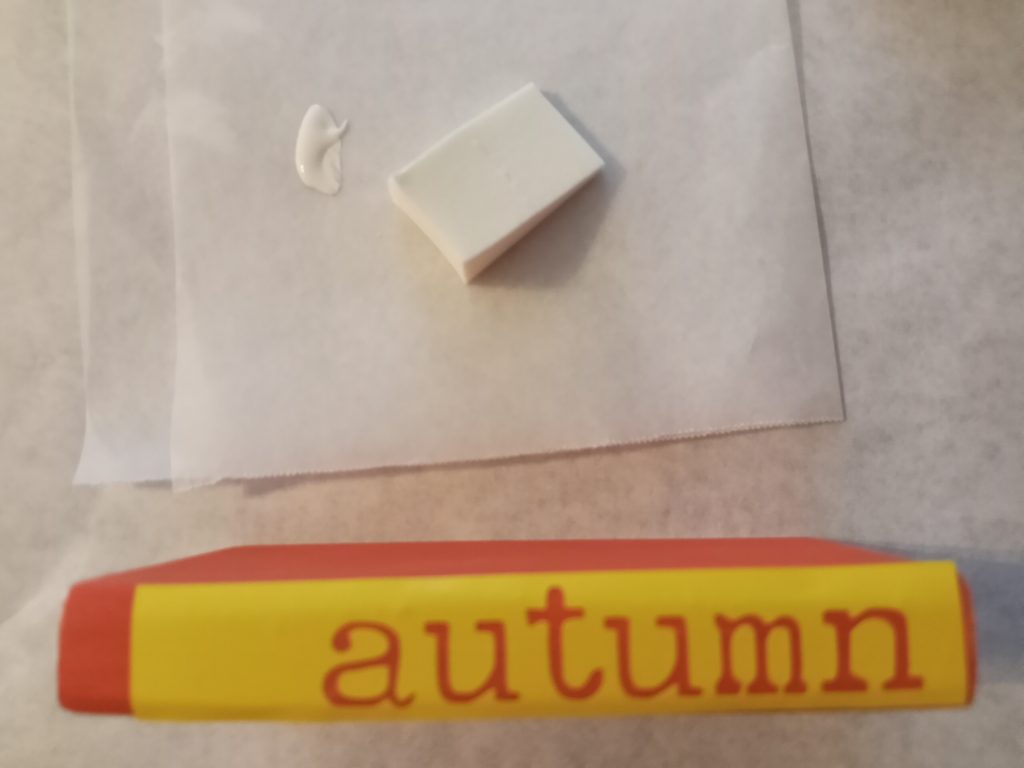
Painting Your Mini Books
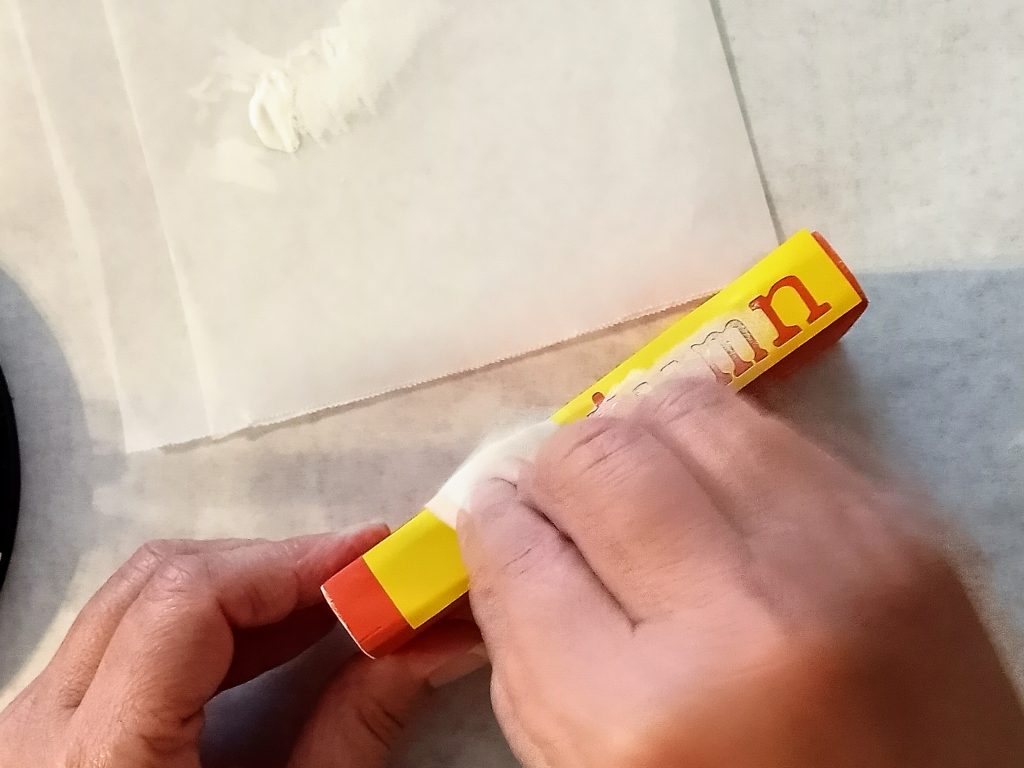
When I paint with vinyl stencils I like to use a stencil brush or a makeup sponge. Today I’ll be using a makeup sponge. These are inexpensive makeup wedges that work really well for sign painting and will give you a nice crisp line. The trick is to blot off your paint before applying and use light coats.
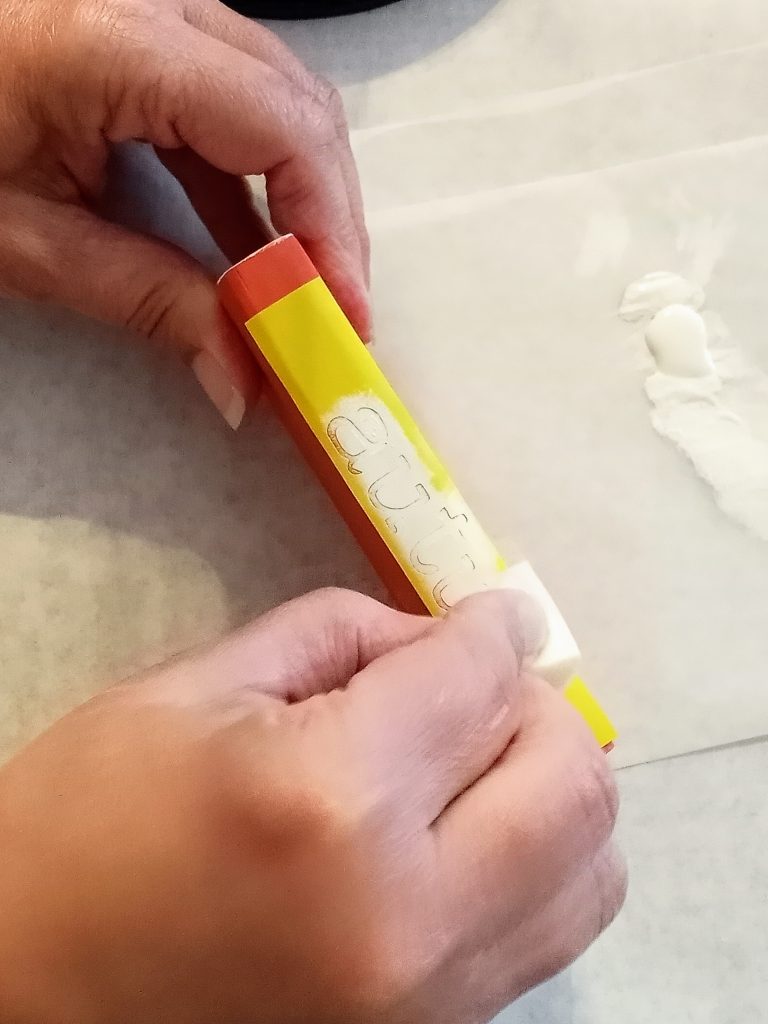
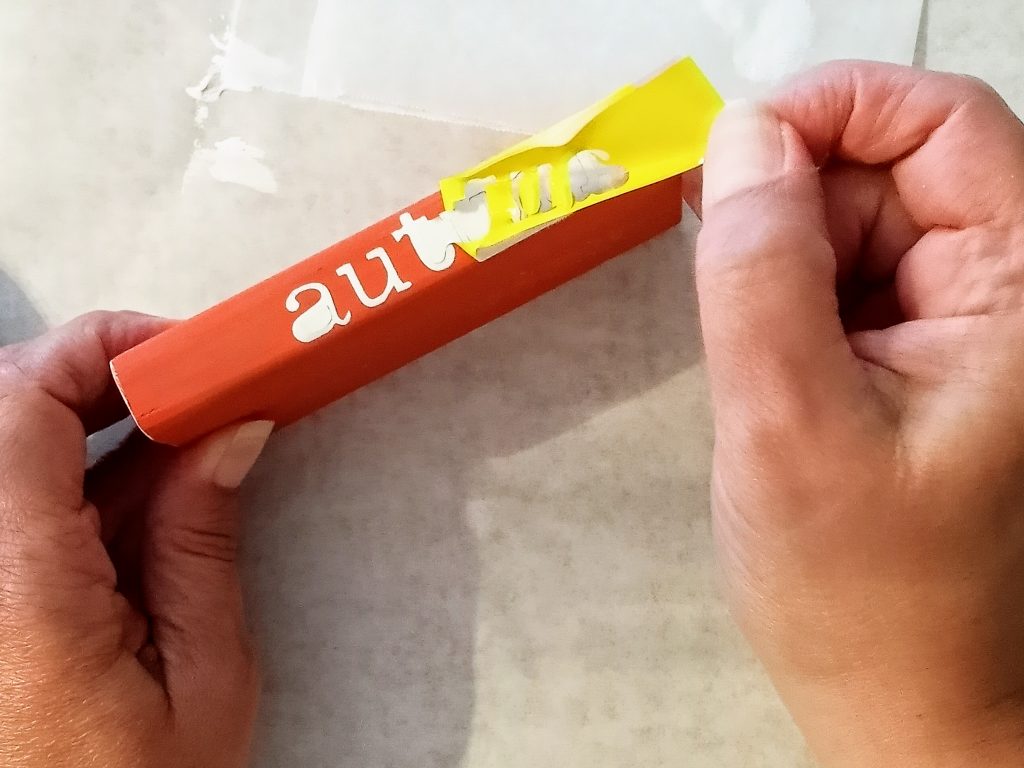
Once you’re done stenciling, remove your vinyl stencil. Use a weeding tool to remove the little bits inside the letters.
I like to spray my mini books with a matte clear coat. This helps protect the finish and give you a nice look that will last longer. My personal choice is the Rust-Oleum Chalked Matte Clear Spray. This dries quickly and I’ve never had any problem with yellowing on white paint.
Now you’re ready to stack your books and decorate.
Have you created any mini book stacks? What are your favorite fall words and sayings?
I hope you liked this project. If you have any questions or comments, I’d love to hear from you!