High-End Fall Canvas Using Sublimation
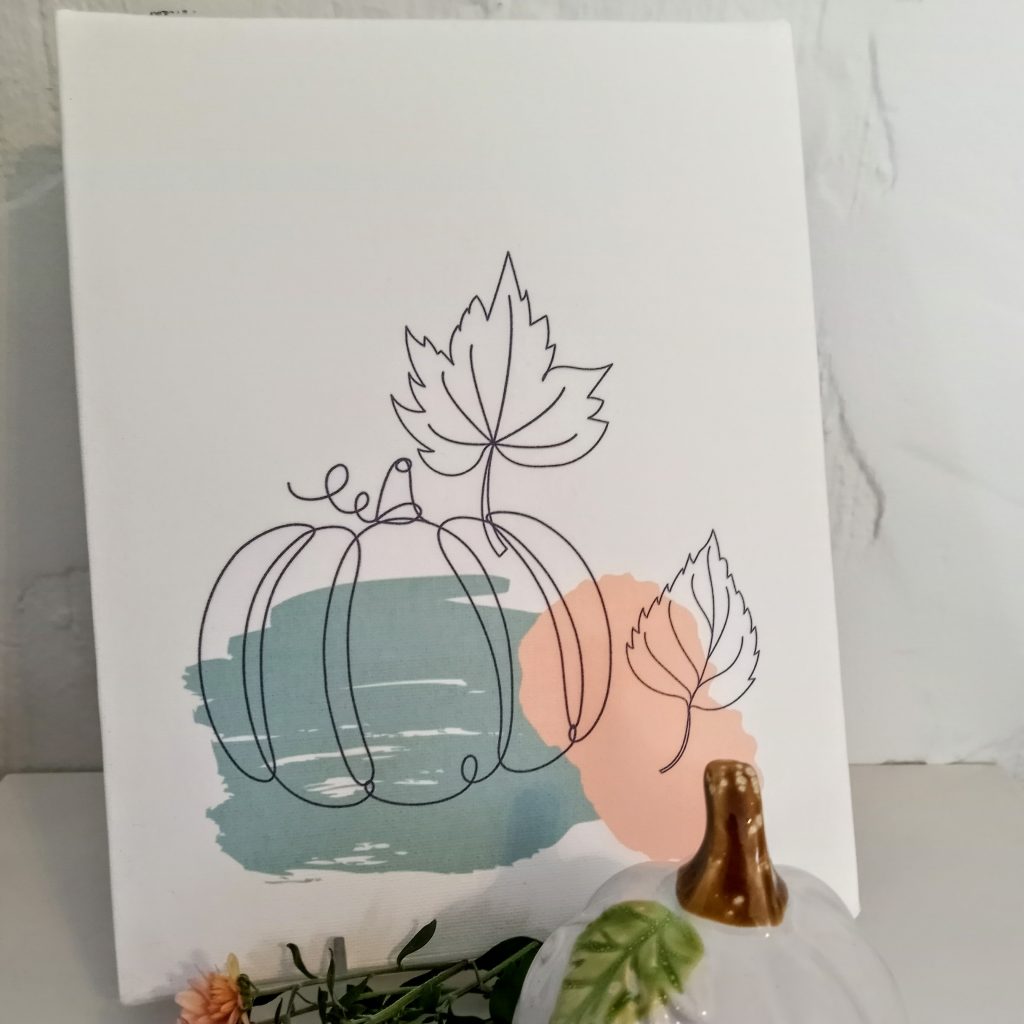
Fall is here! Today I’m bringing you a Fall Canvas Project Using Sublimation and a Dollar Tree Canvas. It doesn’t get more budget-friendly than that! Hope you’ll join me for this fall project.
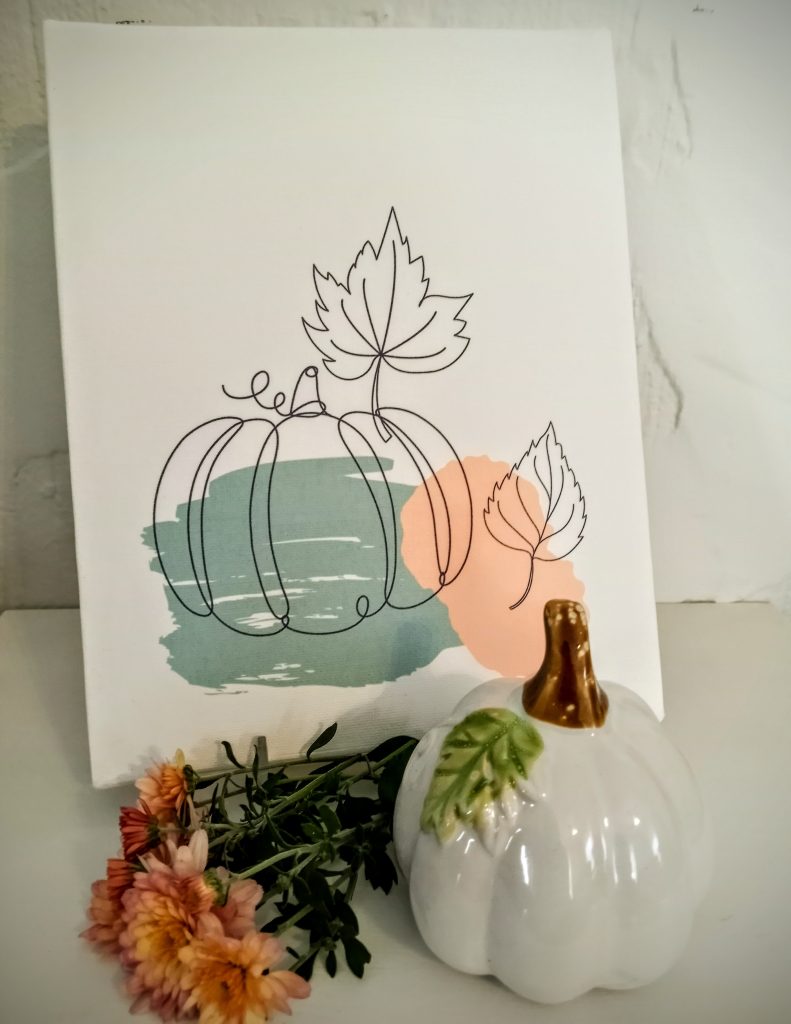
I was inspired by an art piece that I found online, so this is sort of a “Look for Less” project. The original was 12″x16″ but I decided to go smaller at 8″x10″. We live in a small house without large wall spaces. I plan to include it in a grouping with other fall decor pieces.
What You’ll Need
Printer for Sublimation (I have an Epson ET-2720 set up for sublimation with Hiipoo Ink)
Sublimation Paper such as A-Sub Sublimation Paper
Dollar Tree Crafter’s Square Canvas 8″x10″
Heat Press or Cricut Easy Press
Lint Roller
Staple Puller, Pliers, Scissors, and other tools as needed.
When you buy through links on our site, we may earn an affiliate commission. As an Amazon Associate I earn from qualifying purchases.
How I Created My Fall Canvas Design in Canva
I used Canva Pro to create the design for my Canvas. I’ve used Canva for some time and it’s one of the best design tools that I own. You can create and download printables, SVG files, PNG files, Pinterest Pins, forms, even small videos. There on tons of tools in Canva if you love graphic design but don’t want to get bogged down learning graphic design programs.
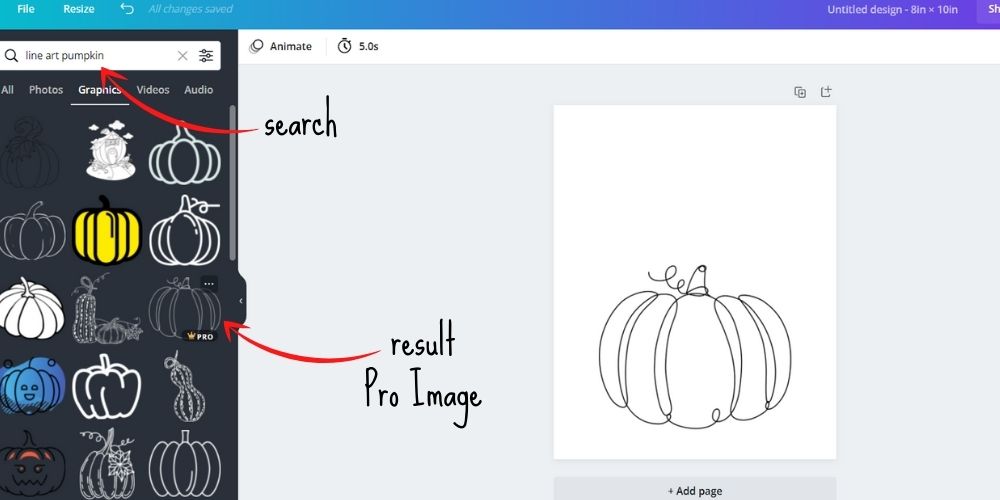
You can use a free subscription to Canva also, but I find that many of the features of the Pro Version work the best for me. I also like to have access to the Pro Images in Canva Pro, such as the line drawing pumpkin I found.
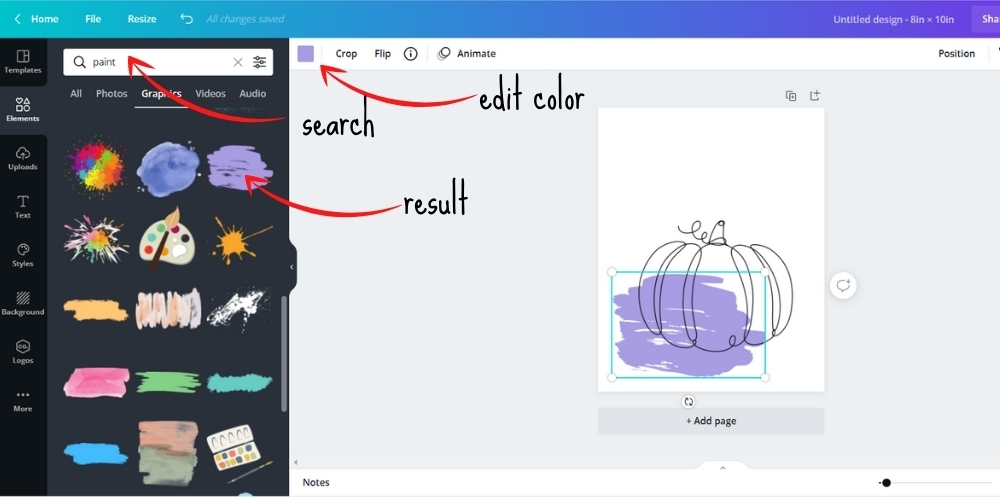
Under “Elements” you can use the search bar to find just what you are looking for in Canva Then just place it on your canvas by clicking on your choice or dragging it to the workspace with your mouse.
I did a further search for “line art fall leaves” and “paint”
In my search for “Paint,” I was able to find a paint swatch that matched the look I wanted. I was also able to edit the color of this particular paint swatch.
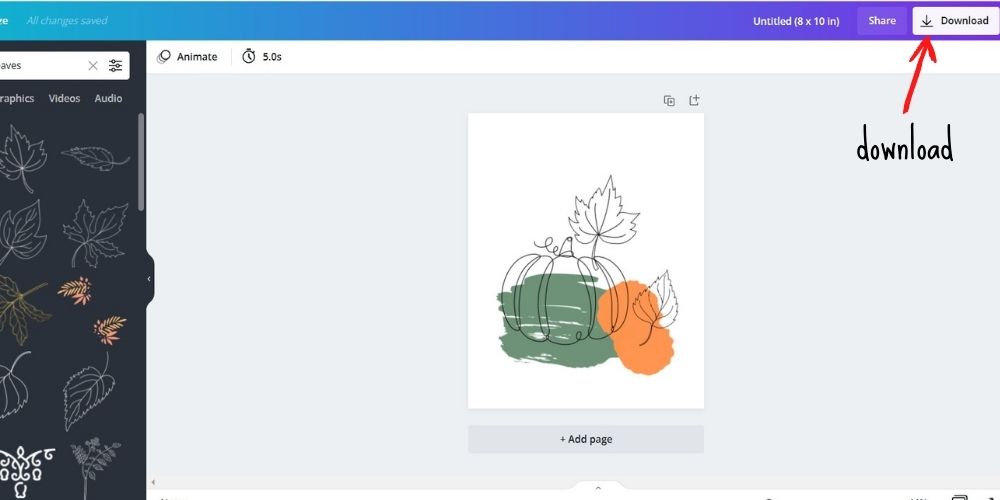
Once you have your design elements added you are ready to download. I downloaded a PNG at Size 2.5 with Transparent Background checked.
Print Your Sublimation
If you need help with setting up your sublimation printer or your print settings there are some great YouTube videos out there.
I uploaded my print to Silhouette Studio and resized my PNG to fit an 8″x10″. Then I just used my system dialog and my previously set print preferences to print my sublimation.
Preparing the Canvas for Sublimation
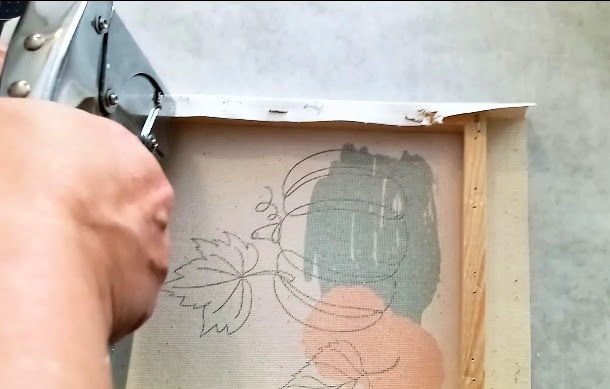
If you have an Easy Press or a swing-away type of press you may be able to skip this step by adding something firm inside the canvas and then pressing. Because I have a clamshell-style press, I had to remove the canvas to press your sublimation print and staple it back onto the wood frame.
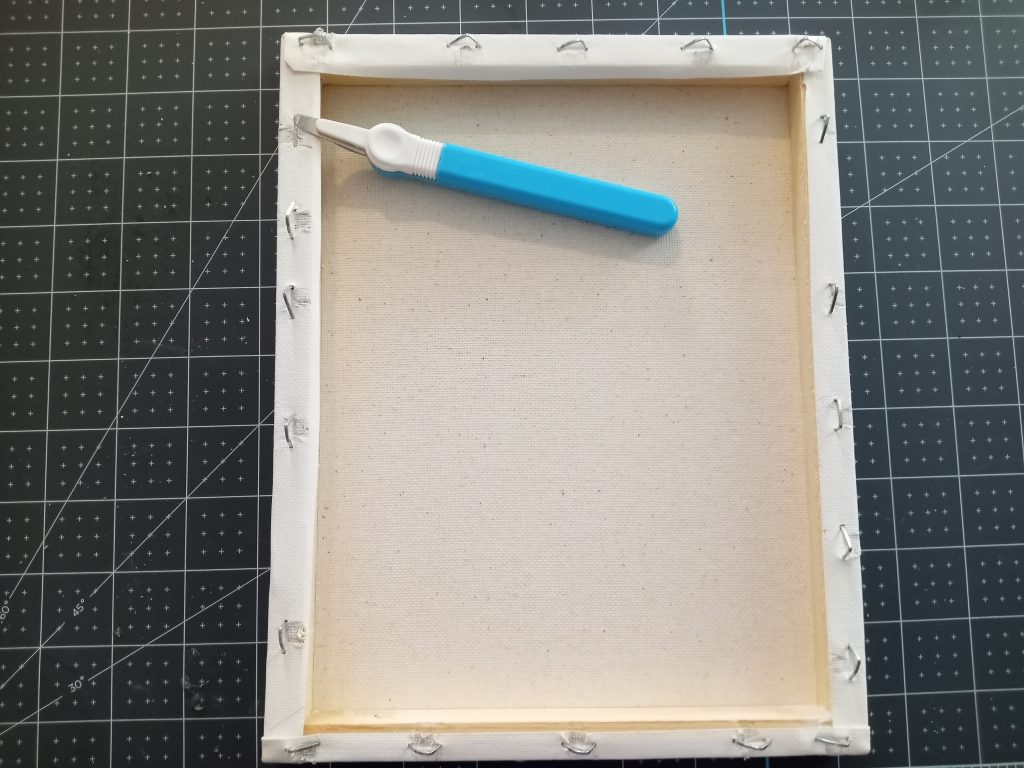
This isn’t like a reserve canvas where you can cut beyond the staples and remove, I wanted to remove the canvas intact.
It wasn’t all that difficult. I simply used a staple puller to loosen the staples and then pulled them out with pliers.
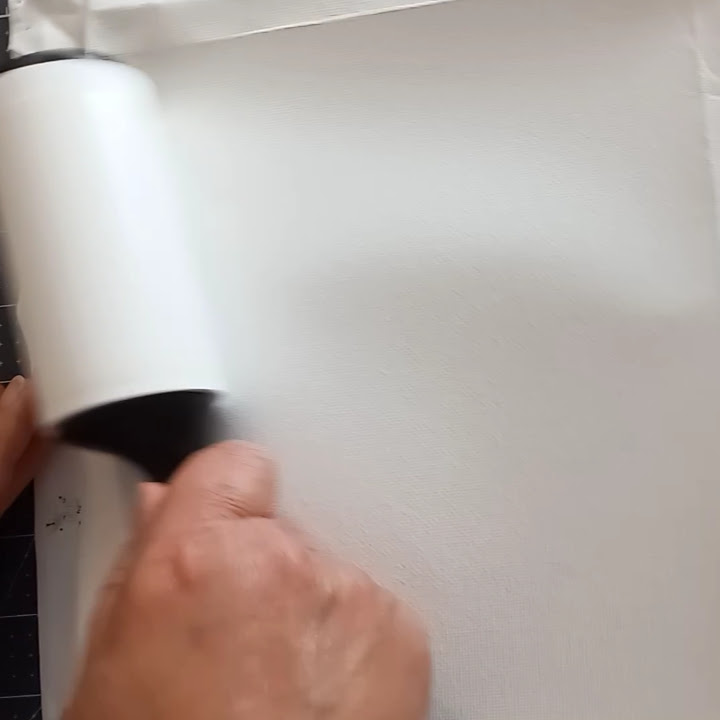
Once you have your canvas removed, flip it over and smooth it out. We will be pressing our Fall Canvas Sublimation on the white side.
Next, you will use your lint roller to roll your canvas. Don’t skip this step. If there is anything on your canvas, it could distort your sublimation print.
Now you can lay out your sublimation print. Since there was lots of white space around the print, I chose to tear the paper around the print. This lessens the chance of an “embossed” sharp line look that you get with cutting around with scissors.
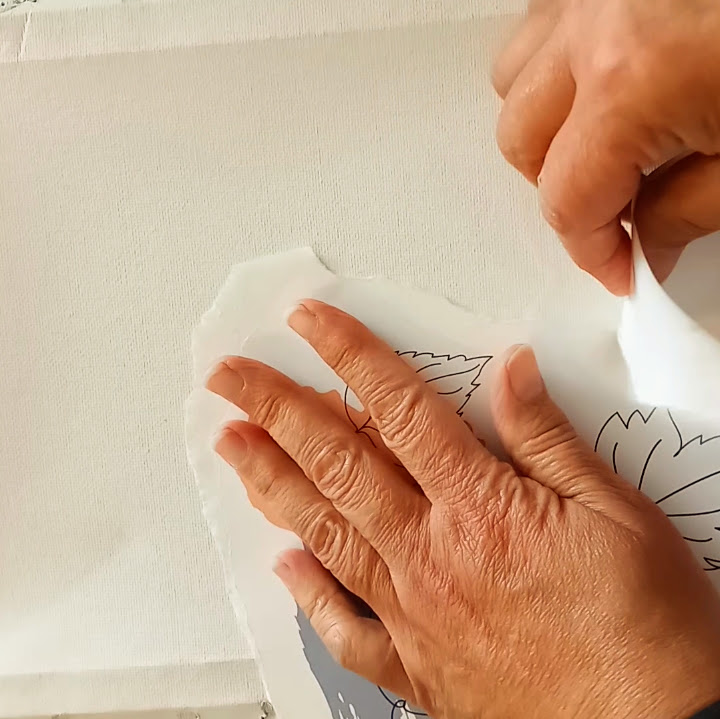
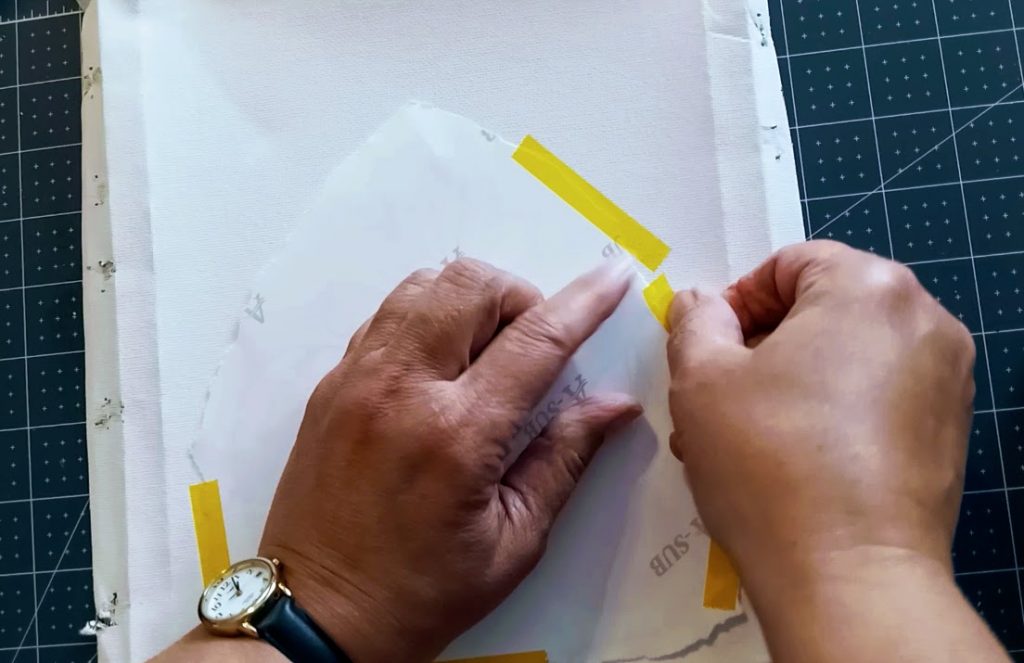
Place your sublimation print face down on your canvas. You’ll want to use some heat-resistant tape to tape your design to avoid shifting of the print.
Ready to Press Your Fall Canvas
Now you’re ready to take your canvas to the heat press.
Protect your press with paper underneath your image. Put a piece of copy paper on top, and then another piece of butcher paper on top of that. There was some bleed through so do not reuse your paper.
I pressed at 400 degrees for about 60 seconds at high pressure using my Power Press.
Let cool and carefully remove your image.
**If there is any yellowing around your image, spray with some hydrogen peroxide in a small spray bottle, and then just hover your warm press without closing completely. This should whiten the image. Repeat if necessary.
Staple Your Canvas Back on the Wood Frame
What Do You Think?
Do you like the Fall Canvas Using Sublimation? Have you tried designing in Canva before? If you do sublimation on canvas I’d love to have you share it in the Say It With Simplicity Facebook Group.
Have a great day and we’ll see you next time!

Looking for More Fall Projects?
One Simple Trick that Saved My Sock Sublimation (Fall Socks)