Scroll Wall Decor DIY Using A Home Printer
Scroll Wall Decor Using a Home Printer
Looking for a fun and budget-friendly way to decorate your walls? This DIY scroll wall decor is a simple project that brings rustic charm to any space — and the best part is, you can make it with Dollar Tree supplies!
I first made this project a while ago, but it’s still one of my favorite easy decor pieces. With just a few basic materials and a little creativity, you can personalize it for any season or occasion. Whether you’re decorating a cozy corner, making a farmhouse-style sign, or crafting on a budget, this project is perfect for beginners and experienced DIYers alike.
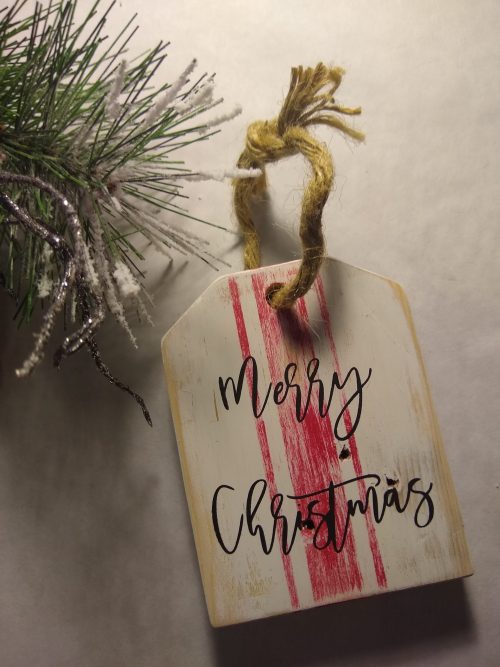
Want to personalize it? Grab one of my free SVG quotes from the Free SVG Library to use with your scroll design!
Easy Inexpensive DIY Scroll Wall Decor
Materials needed:
- Home Printer
- Roll of Kraft paper (You can find rolled kraft paper in many places. Just look for it in the wrapping paper section. I purchase mine from Current)
- Jute twine
- Power Point
How to:
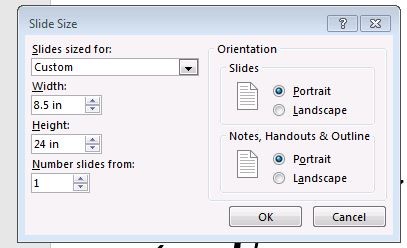
Create a page size that is 8.5 inches wide x 23 inches long. The reason to make you length so long is so that you can roll your scroll up at the top.
To do this in Power Point, select a “new blank slide”.
Go to the “Design” tab. To the far right you will see “Slide Size”. Choose “Custom”. Define your slide size. I can only print 8.5 inch pages on my printer.
You’ll also want to choose portrait layout. You’ll only need one slide, so leave this at 1.
The new slide will likely look like it is zoomed all the way out. In the bottom right corner you can grab the zoom bar to enlarge it while you are working on your design.
Now use your computer fonts and text boxes to design your scroll. If you are making your own art, you might want to make each word or group of words in it’s own text box. Doing so will allow you a little flexibility in experimenting with the layout.
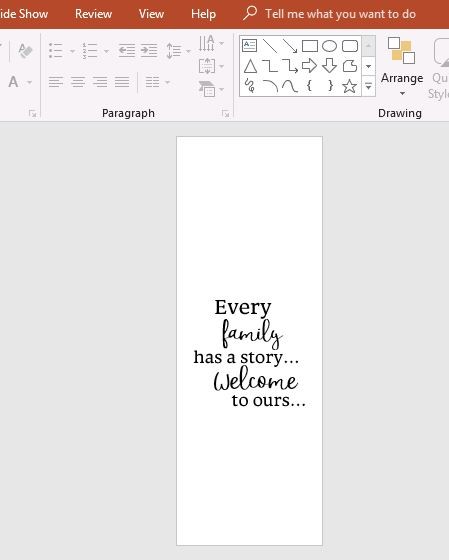
You’ll notice that there is lots of white space at the top. That’s okay, because that IS the rolled up part of your scroll.
Once you have your design laid out, you’ll want to have your scroll paper ready for printing. I used a quilting ruler to mark my cut lines, and I actually used a rotary cutter to cut my paper to size.
Don’t use your best fabric rotary cutter for this, but then you probably already knew that.
Cut your paper at 8.5 inches wide (or whatever works for your printer) For my project I made my length 24 inches, but you can vary this depending on how much length you want at the end of your scroll.
Printing
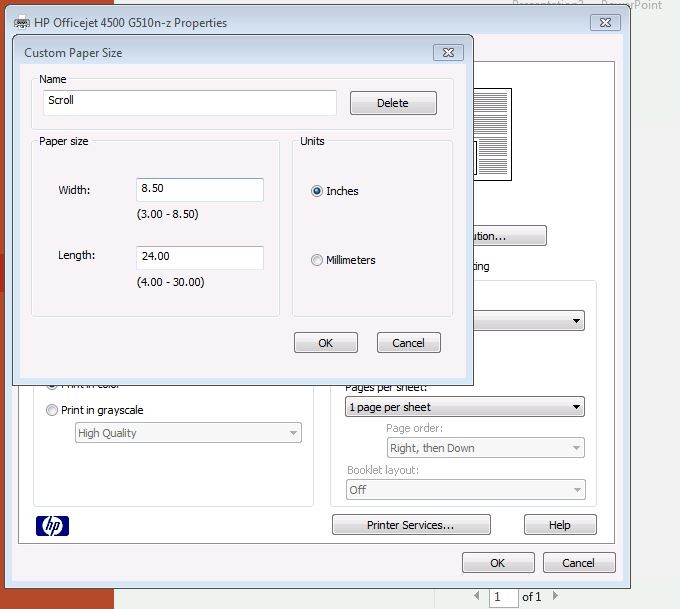
The trick to printing your project is to select a custom size for printing. This may be different for various printers, but this is how I did it for my printer:
Select: File>Print>Printer Properties>Features(tab)>Size:Custom
Now type in your paper dimensions in the boxes. You’ll also have to give your custom settings a name. Call them “Scroll” or what ever you want. Now you can click “OK” on all your buttons to exit.
If you want a higher print quality, now is the time to change that. I found that “Normal” worked just fine.
Now you are ALMOST ready to print.
You’ll want to make sure that the edge of your paper is cut clean and feeding into the printer as flat as possible, so your aren’t risking a paper jam. **
Insert paper edge into feeder and then hit “Print”
Before you hit the final print button, there is just one more thing you’ll want to do. In the settings drop down menu, choose “Print Current Slide Only” and you also need to select “Full Page Slides”. This will insure that your entire document will be printed.
Now that your scroll is complete, roll up the top. If this doesn’t want to stay rolled, use a little tape runner or glue. Otherwise reach into the ends and staple it at the back. You won’t be able to see the staples once you hang up your scroll.
Insert jute twine for hanging. A dowel rod and twine would also have a nice look.

While this seems like a painful process, it really is quite easy and you’ll be able to make a scroll for any time of year.
If you liked this tutorial, or have any questions, feel free to leave a comment. I would enjoy hearing from you.
Thanks for stopping by and have a wonderful day