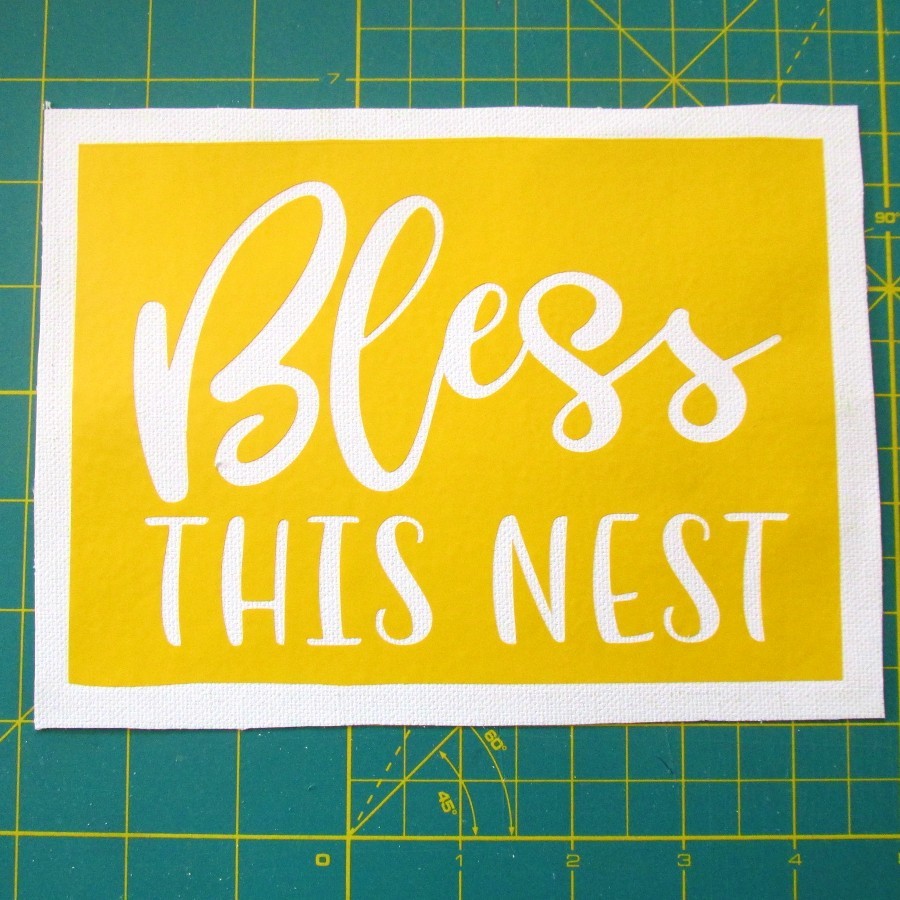
“Bless This Nest” Stenciled Canvas DIY
Have you seen the signs using the reverse canvas method? These home decor signs are so cute and trendy. Today I’m sharing my own reverse canvas project using a canvas that I bought from the Dollar Tree.
To make this project you’ll need:
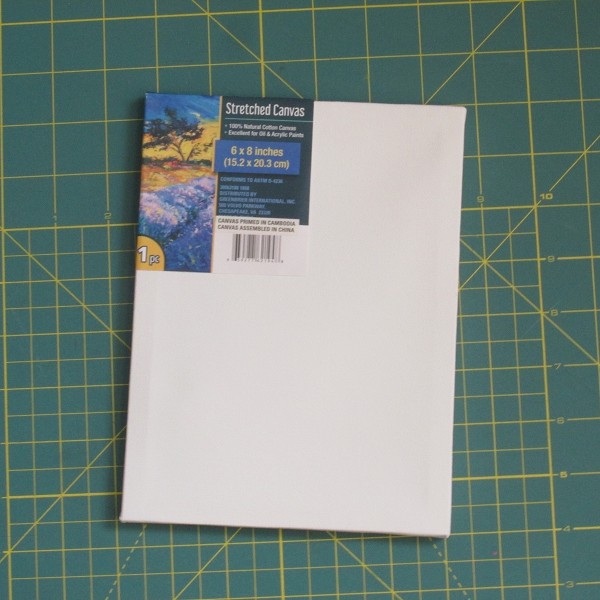
- A canvas wrapped frame. As I mentioned, mine came from Dollar Tree. This worked great for a first time project.
- Wood stain for staining your frame
- Foam brush
- X Acto knife or scissors
- Silhouette or Cricut Cutting Machine
- SVG design
- A stapler or hot glue gun
Reverse Canvas Instructions
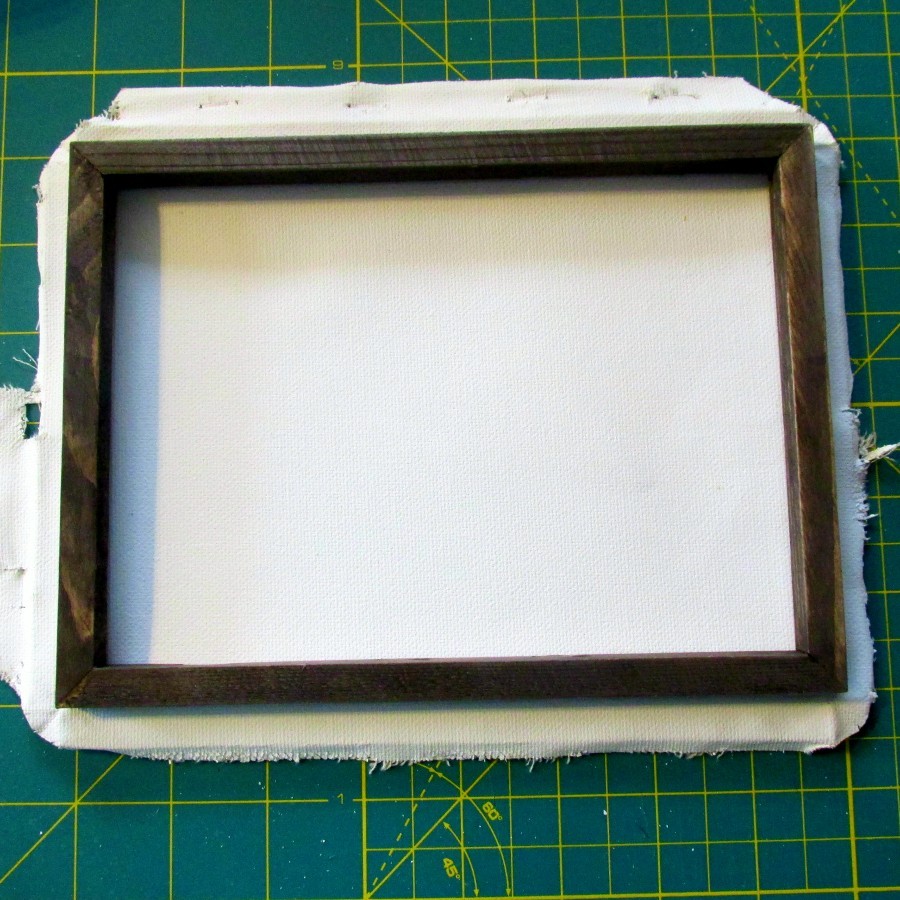
First you’ll want to remove your canvas from the frame. There are staples in the back that you need to remove. This can be made a little easier by prying them up then use a needle nose pliers to pull them out. There is an easier method though.
Instead of removing all the staples, you can simply cut the canvas off using an X-acto knife. Get as close to the staples as you can. With the Dollar Tree canvas there were a couple staples that went right through the frame, so I did pull those out.

Stain your frame with your choice of wood stain or an alternative.
As an alternative to wood stain, I used some craft acrylic paint that I mixed with water. I combined brown oxide and black which gave me a sort of dark gray.
Next I applied it with a foam brush and quickly wiped the excess off. This was a great alternative to a wood stain that would take longer to dry.
Next trace the outer edge the frame onto the canvas. Cut inside the lines. You want to be sure that you can’t see the canvas when the frame is placed back on top.

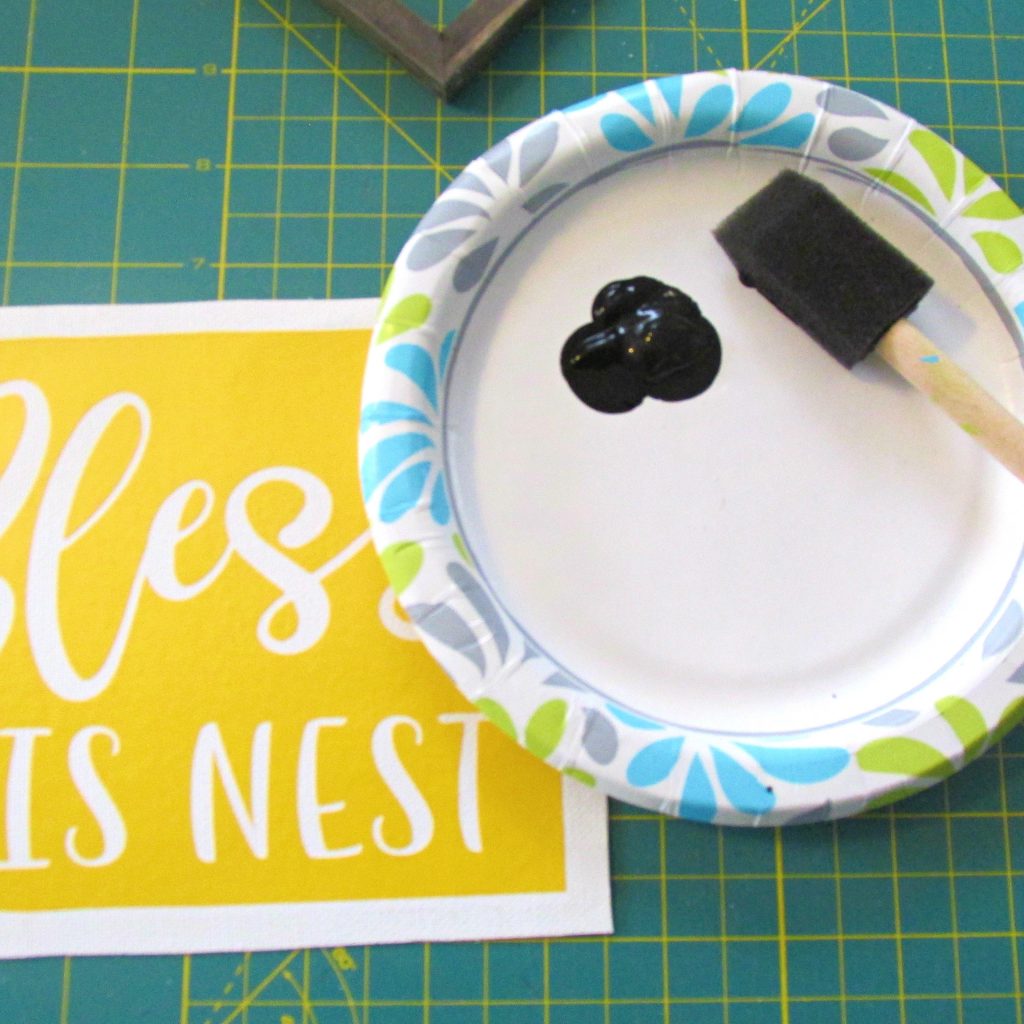
Once you have your canvas prepared, lay on the vinyl stencil that you cut with your cutting machine.
Now if you’re painting your reverse canvas, you’re ready to paint. I used a foam brush and “Folk Art” paint in “Licorice”
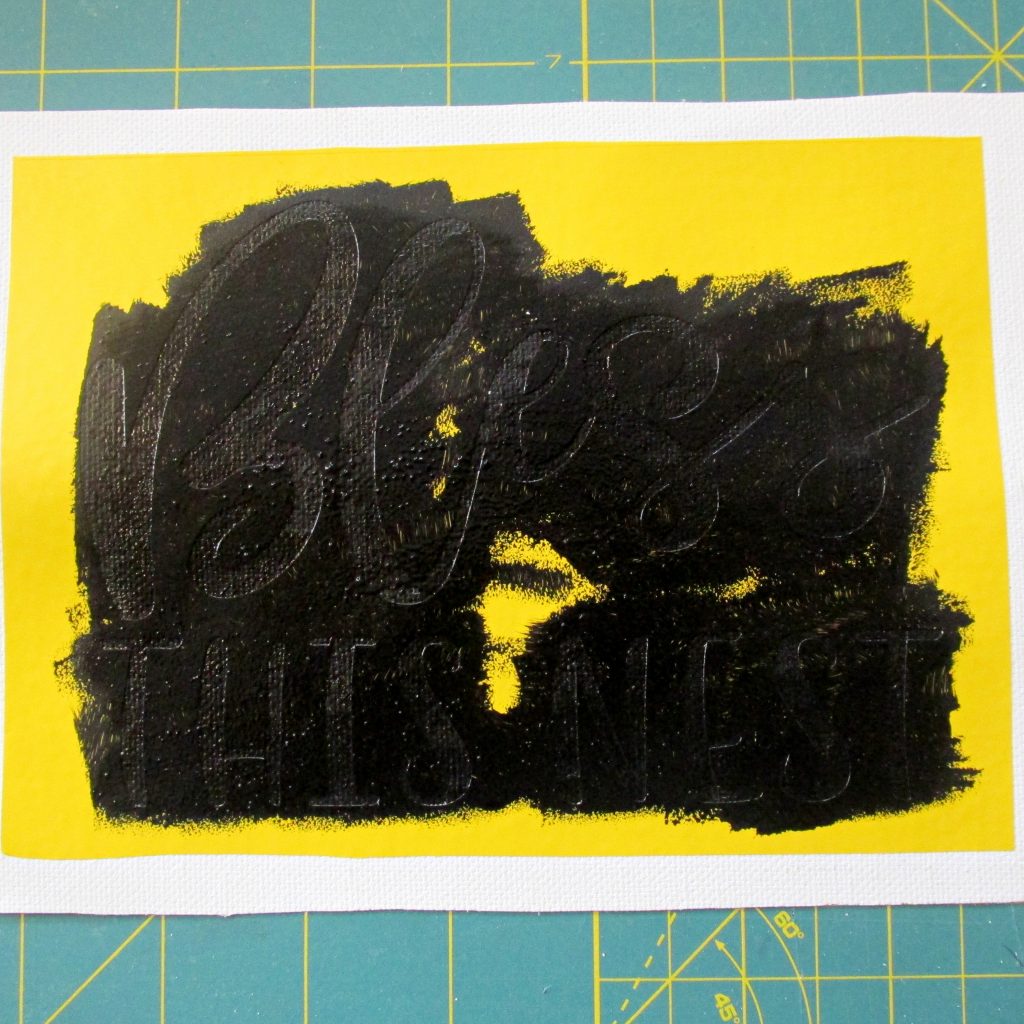
Painting the Canvas
Now using short up and down motions, stencil paint your canvas. You don’t want to apply too much at one time to avoid bleeds under the stencil. Allow your paint to dry enough so that you can remove it without accidentally messing up all your hard work.
Finishing your Reverse Canvas
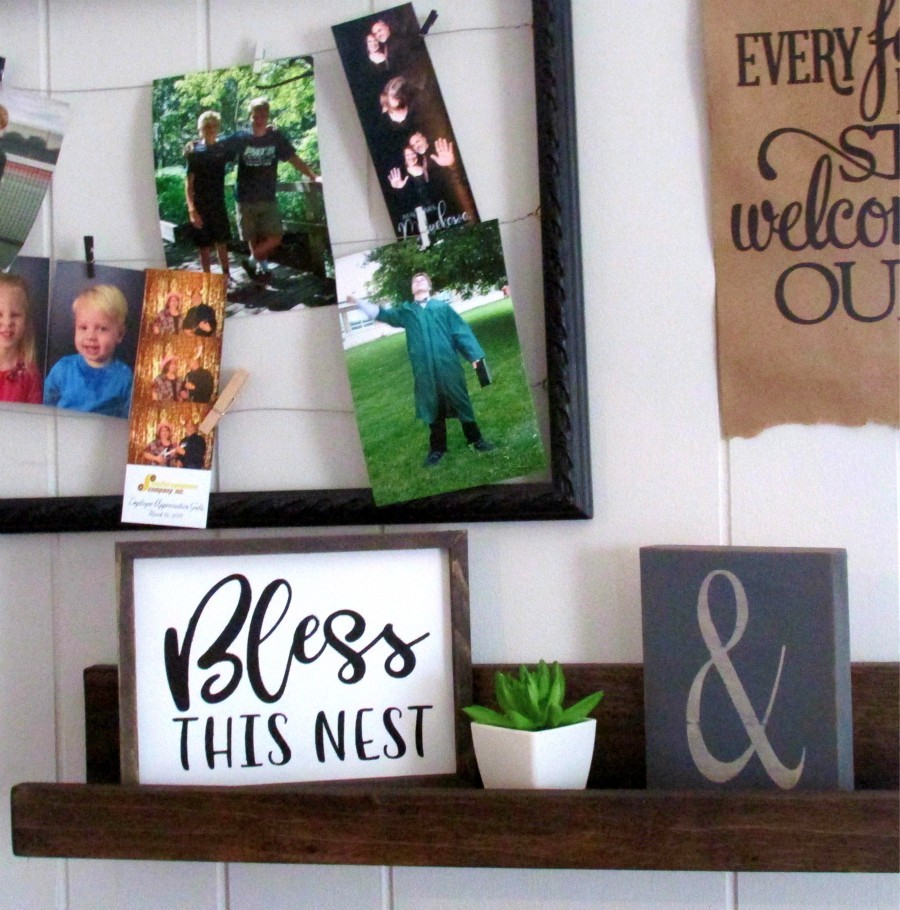
Ready to adhere your canvas to the back of the frame? This is why it is called a reverse canvas. Previously it was wrapped over the frame, now it is behind the frame.
Since this was a very small frame, I used double sided tape to adhere the canvas to the back of the frame. I added a little hot glue for good measure. For larger frames you can use a staple gun to attach your canvas behind your frame.
You can see how this would be a great addition to a gallery wall or even to give as a gift.
Purchasing and Using Silhouette Store Designs
Check out some of my other inexpensive home decor projects with the Silhouette Cameo
DIY Home Decor with Thrift Store Frames
Home Decor From a Dollar Tree Plate
Don’t have a Silhouette Cameo?
I didn’t get all the bells and whistles, just a bare bones model like this. Later I chose vinyl and other materials that I knew I would use.
When I purchased my Cameo several years ago, I had no idea how I would come to enjoy it as a very powerful tool.
Disclosure: As an Amazon Associate I earn from qualifying purchases.