
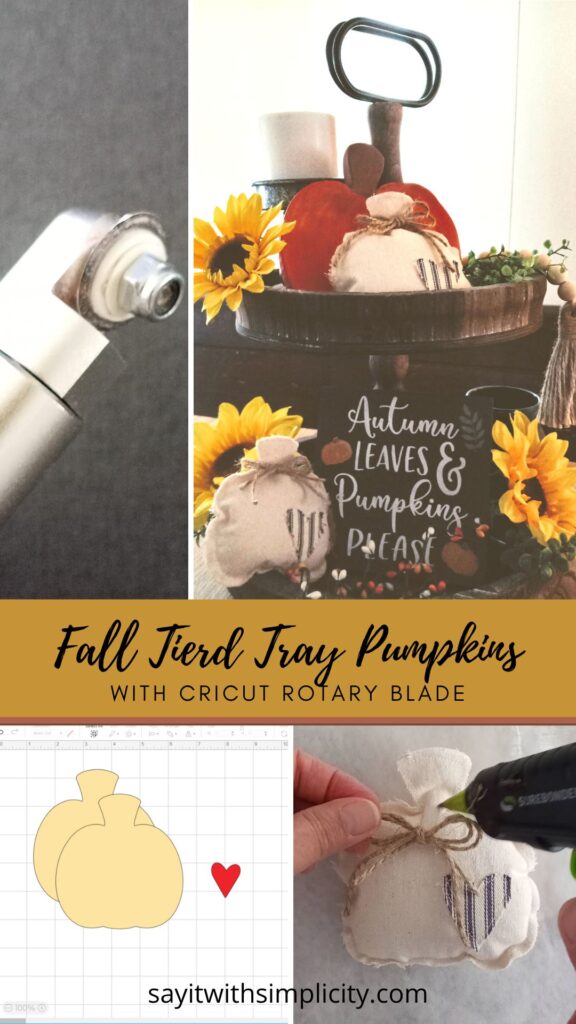
How to Make Fabric Pumpkins with Cricut Rotary Blade
I love my Cricut Maker and even more when I can make adorable projects like these Fabric Pumpkins. Learn how to DIY these pumpkins for tiered tray décor using your Cricut Maker and the Rotary Blade.
I’ve included my own SVG file for this project that you can grab using the button in this post.
This post may contain affiliate links. I may a commission from qualifying purchases.
What is the Cricut Rotary Blade?
The Cricut Maker has an amazing tool system which allows you to quickly swap out tools for many different crafting materials. The rotary blade is one of my favorites.
The rotary blade is sort of like a mini rotary cutter that your machine can use to cut a wide variety of materials. It rolls smoothly along unbonded fabrics, and allows for precise cutting. This is great for appliques or when you want to cut fabric for small sewing projects. Truth be told, the more I use the rotary blade, the more ways I think of to use it.
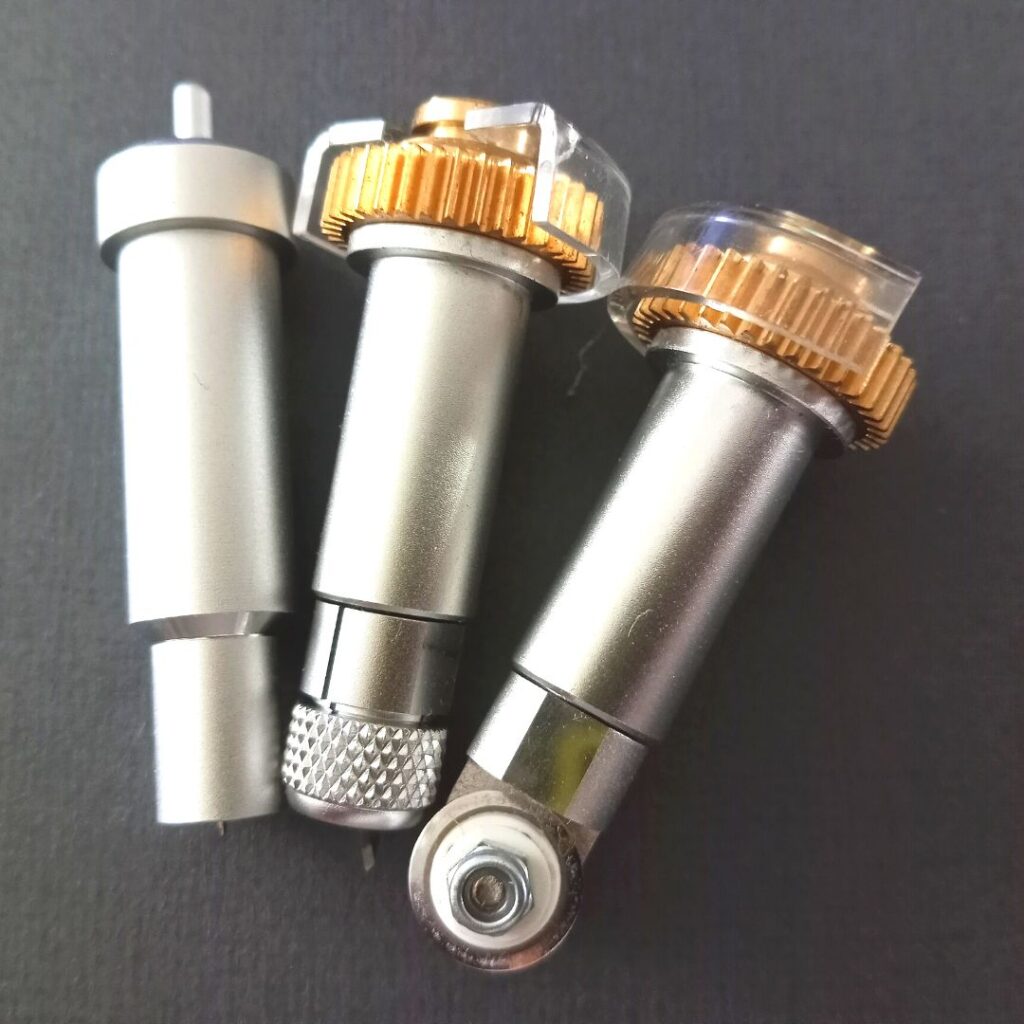
Here are three of the cutting tools that I have for my Cricut Maker L to R:
- Fine Point Blade
- Knife Blade
- Rotary Blade
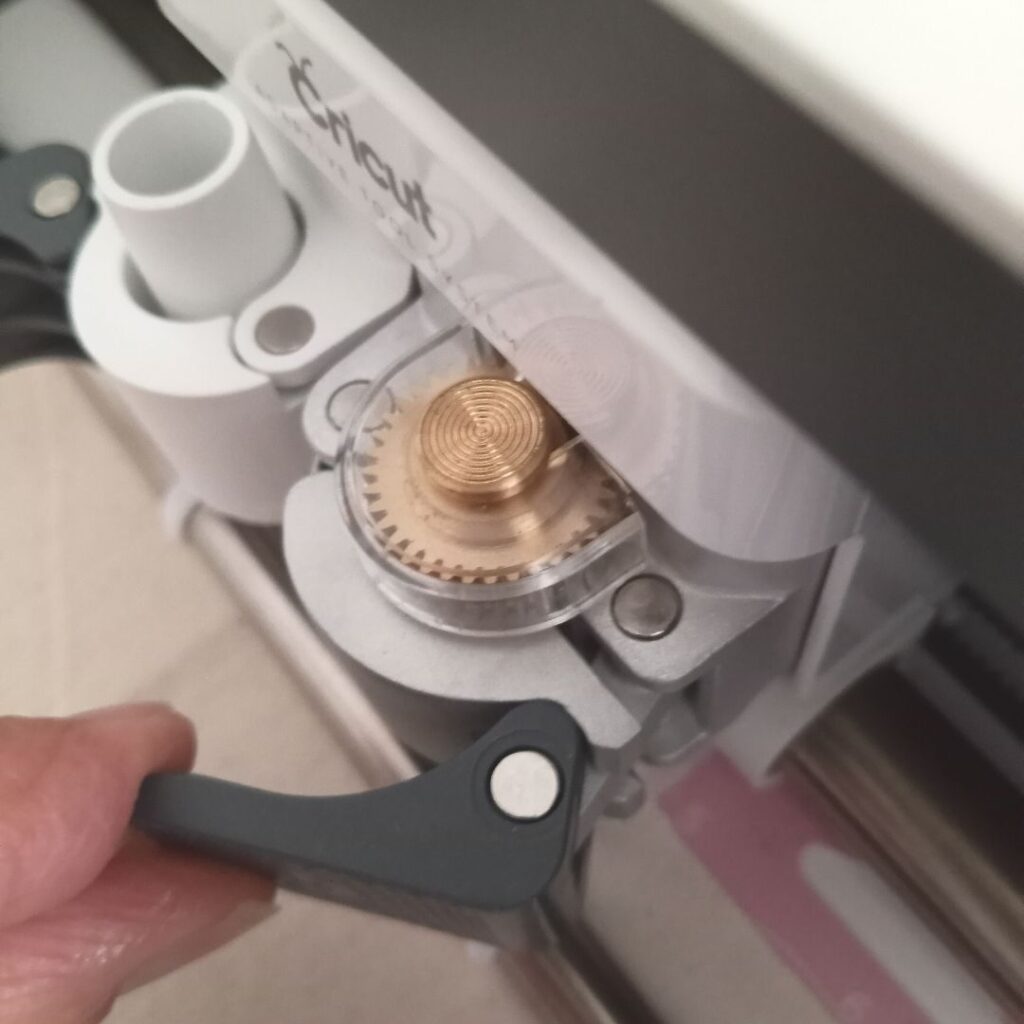
Using the Rotary Blade is Simple
You simply open the latch of the tool holder on the right, remove the blade that you are currently using. Place the new blade into the machine. The clear housing faces the front. Then close the latch.
My Cricut Maker came with the Rotary Blade and Fabric Grip Mat. This is the standard when you order the Cricut Maker.
Some of the materials I’ve cut with the rotary blade include:
- Felt
- Wool
- Cotton
- Denim
- Faux Leather
- Burlap
- Flannel
- Corrugated Cardboard
The Cricut Maker 3 uses the same tools as the original Maker, but the Rotary Blade and Fabric Grip Mat are separate purchases for the Maker 3.
What if my blade gets dull?
Just like a good rotary cutter, Cricut has your back when it comes to the Rotary Blade. You can purchase a Rotary Blade Replacement Kit, should your blade become dull. There is no need to buy a whole new set-up.
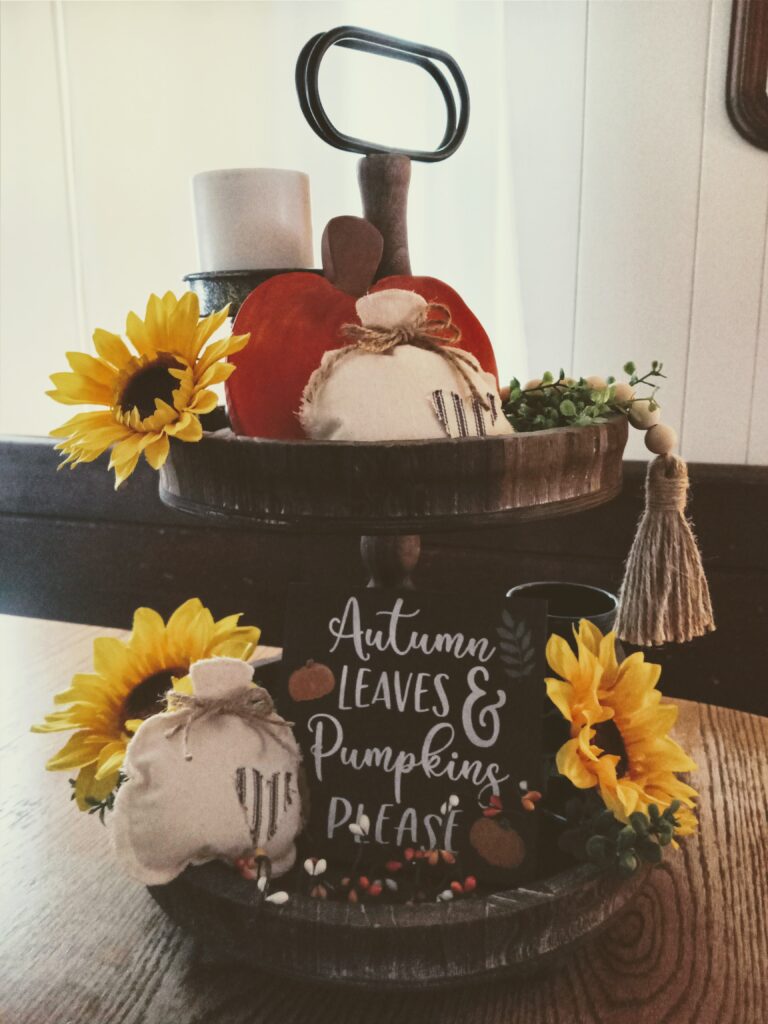
Let’s Make Our Pumpkins
I’ve included my SVG for this project for your convenience. Simply click on the button for immediate download. The SVG file is for your personal use.
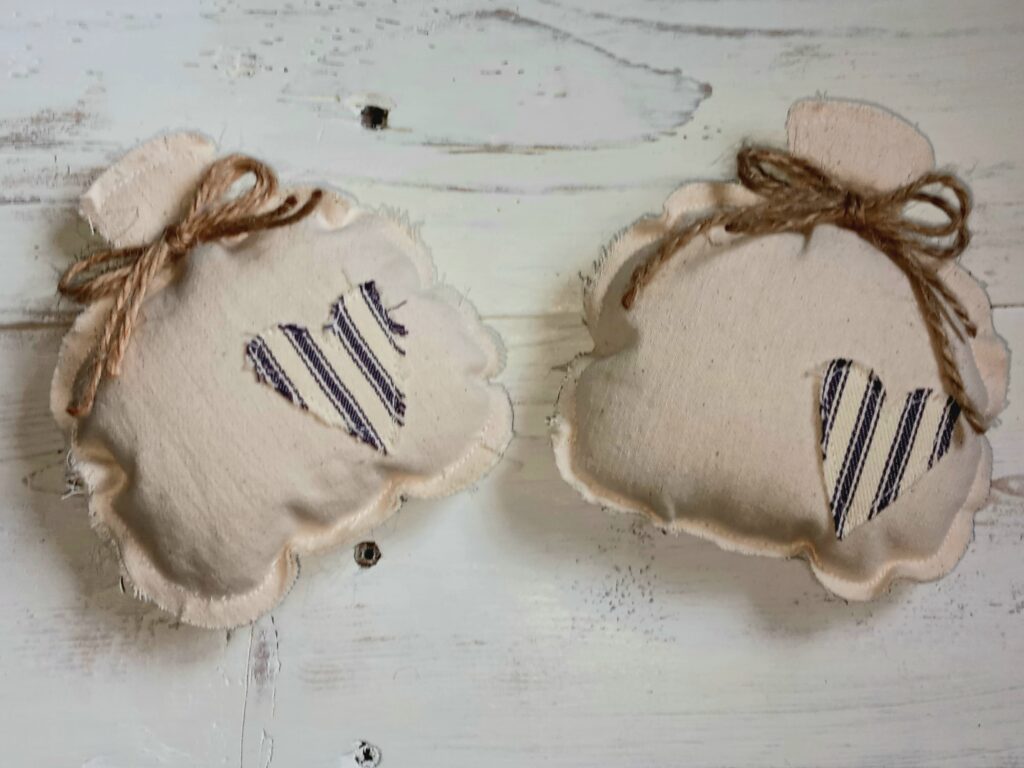
I used a lightweight canvas to cut my pumpkins. Since I was going for a sort of rustic look, I chose a ticking stripe to add a little heart to them. The seams were sewn on the outside. This gives the fabric a chance to fray a little. You can choose to fray it a little more if you like.
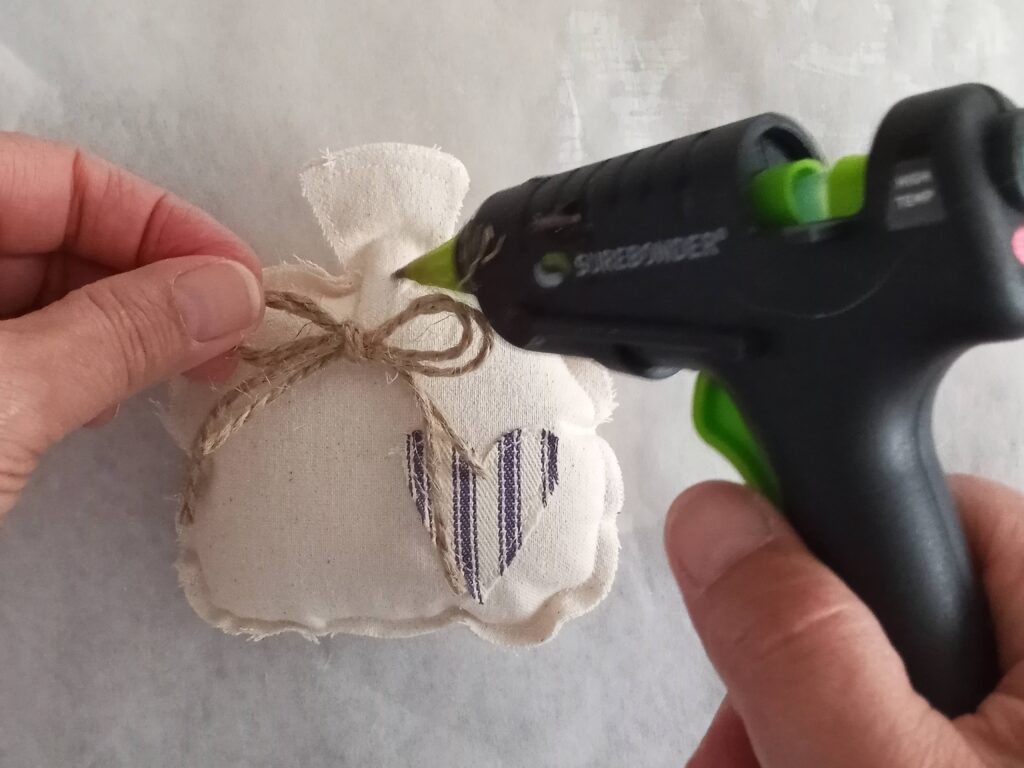
I added a jute bow for an even more country farmhouse look.
To Sew or Not to Sew
These pumpkins are like mini pillows that are great to tuck in for tiered tray décor.
Now I have to confess, I’m a bit of a sewing machine collector. I have a Singer Treadle from the 1930s. I also have a straight stich machine from the 1950s. There is an old Janome with cams, an antique New Home, and then a modern machine. I love my Brother CS6000i because it’s very portable and easy to set up. It works great for small sewing projects like this.
As an Amazon Associate, I earn from qualifying purchases.
If you don’t sew, there are a number of fusible products that would work. Dritz Liquid Stitch and Aleene’s Fabric Fusion are a couple of products that come to mind for no-sew projects. Some people use hot glue. Personally I prefer sewing and fusible products. But I’ll let you decide what’s best for you.
Cutting the Fabric with Your Cricut
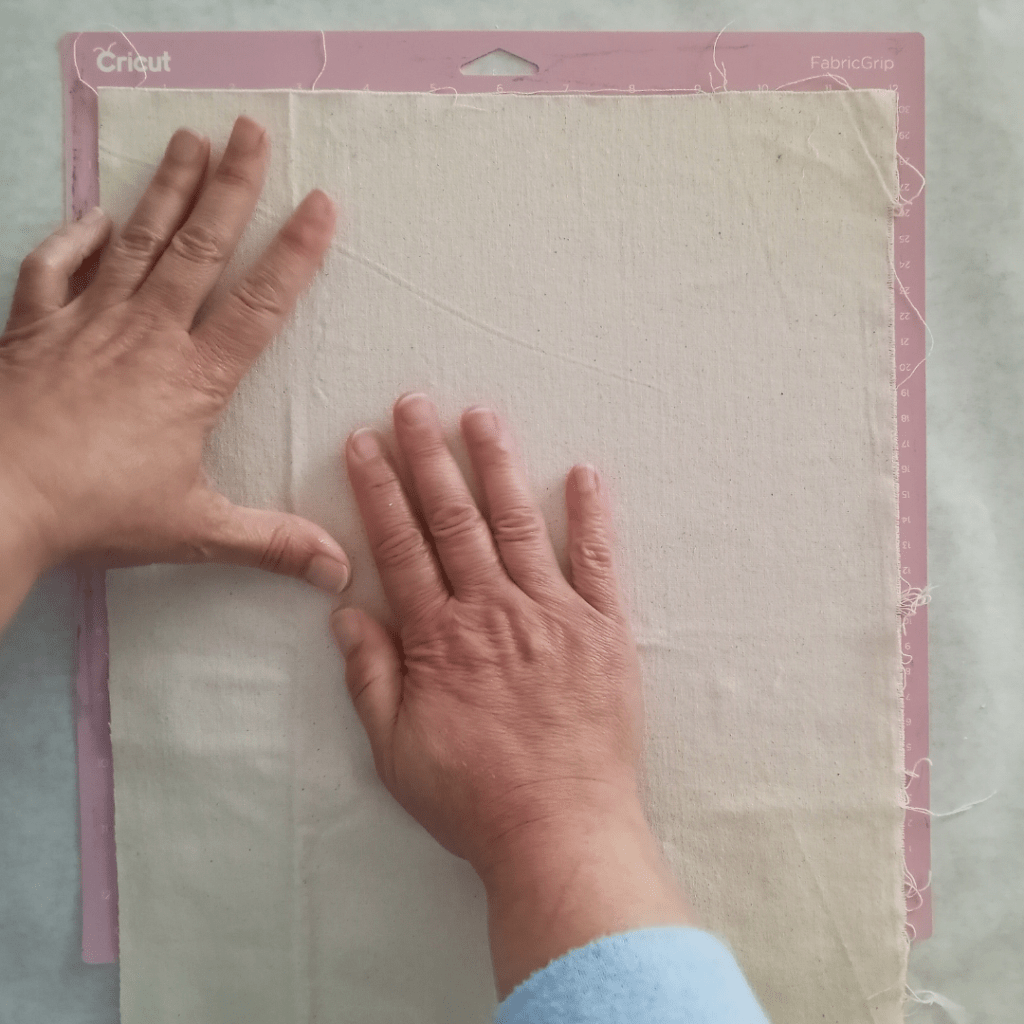
Place your fabric on the Fabric Grip Mat. Smooth out the wrinkles. Cricut Makes a Brayer for smoothing out wrinkles, bubbles, puckers…anything that would hinder cutting. For this project I was able to get it smooth with my hands.
You’ll want to be sure your mat is sticky. If it’s lost some stickiness, you may want to clean it first so that your fabric adheres well.
In the photo there is fabric hanging off the edge of the mat, but I did cut it off before sending my project to the machine.
Now it’s just a matter of loading your mat and fabric into the machine.
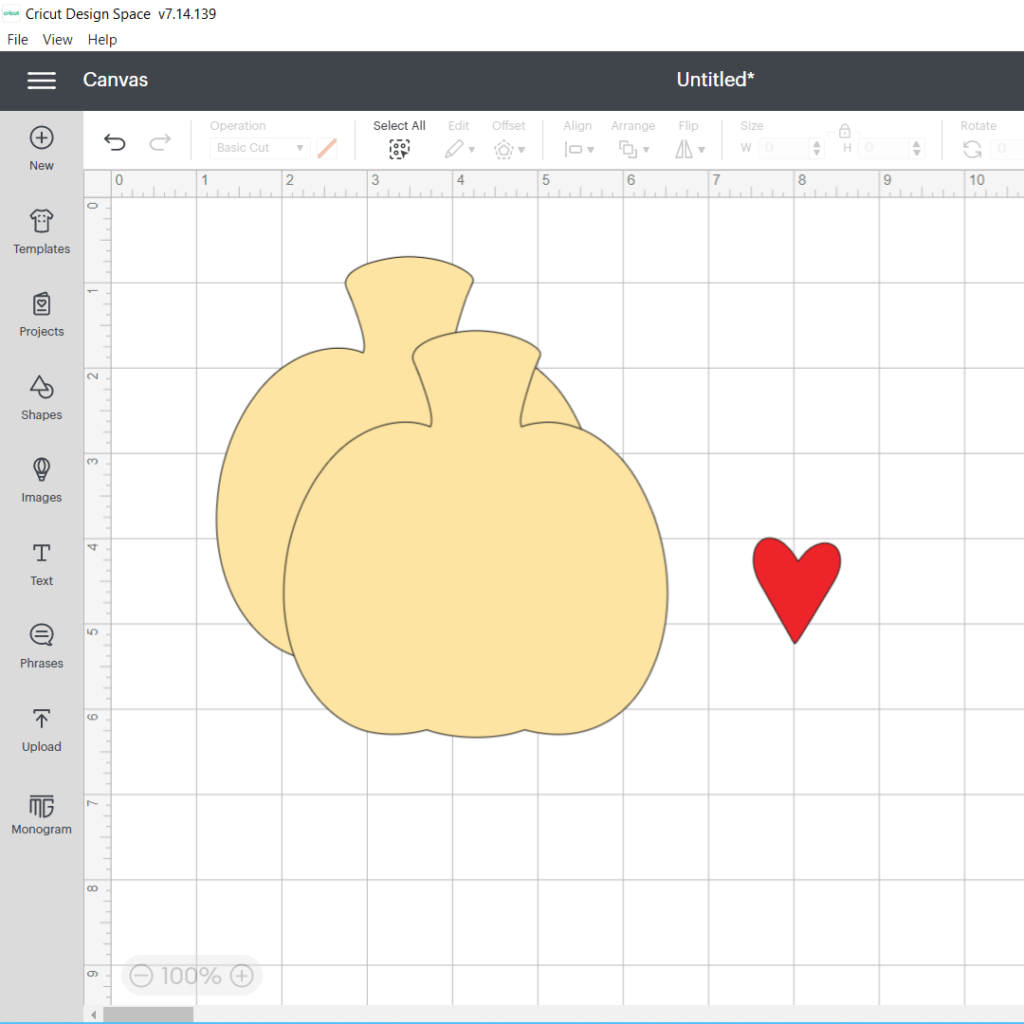
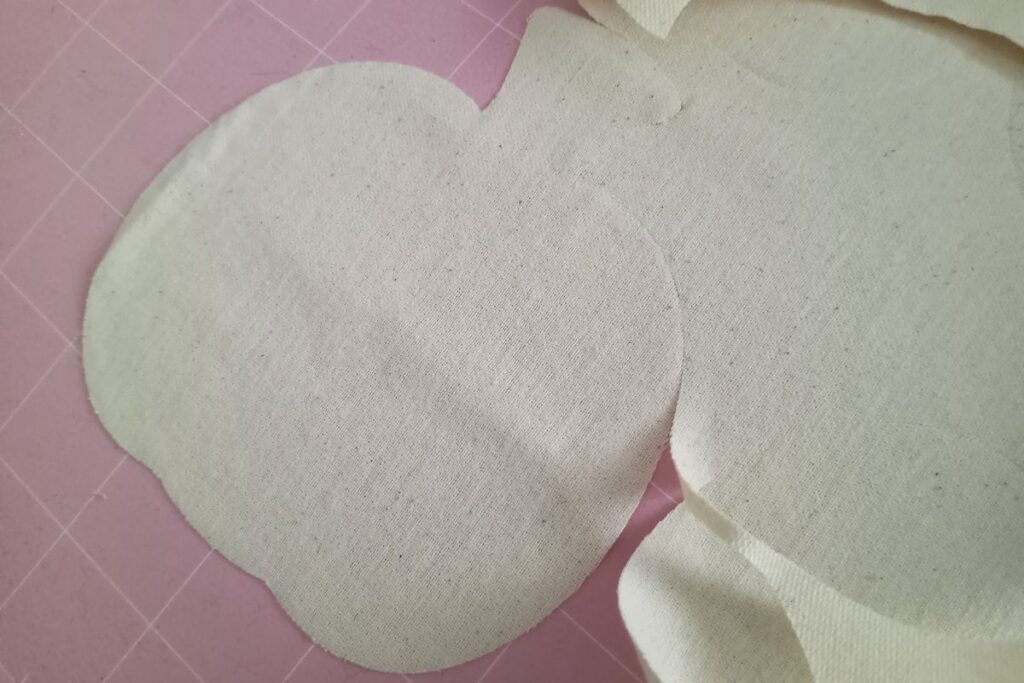
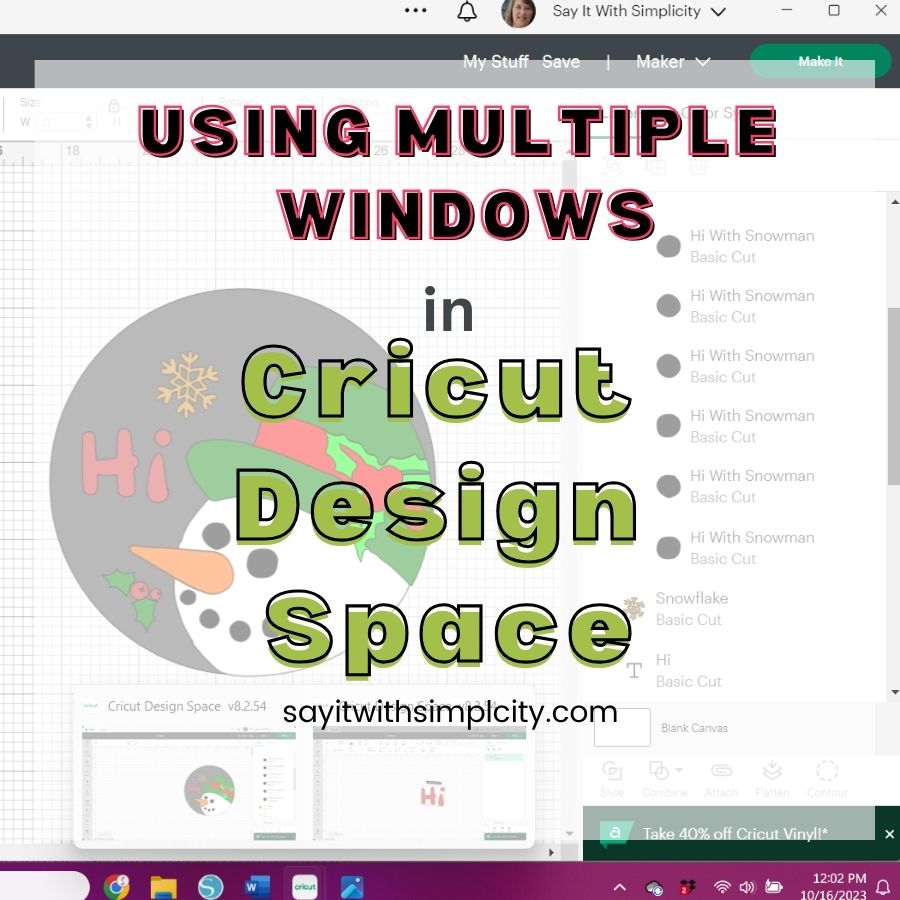
I already have my design uploaded into Cricut Design Space. I’m going to cut two pumpkins and one heart for each project. Since there wasn’t really a front and back side to my fabric, I didn’t reverse one of the images.
If you have an obvious front and back, you may want to flip one so that they match exactly.
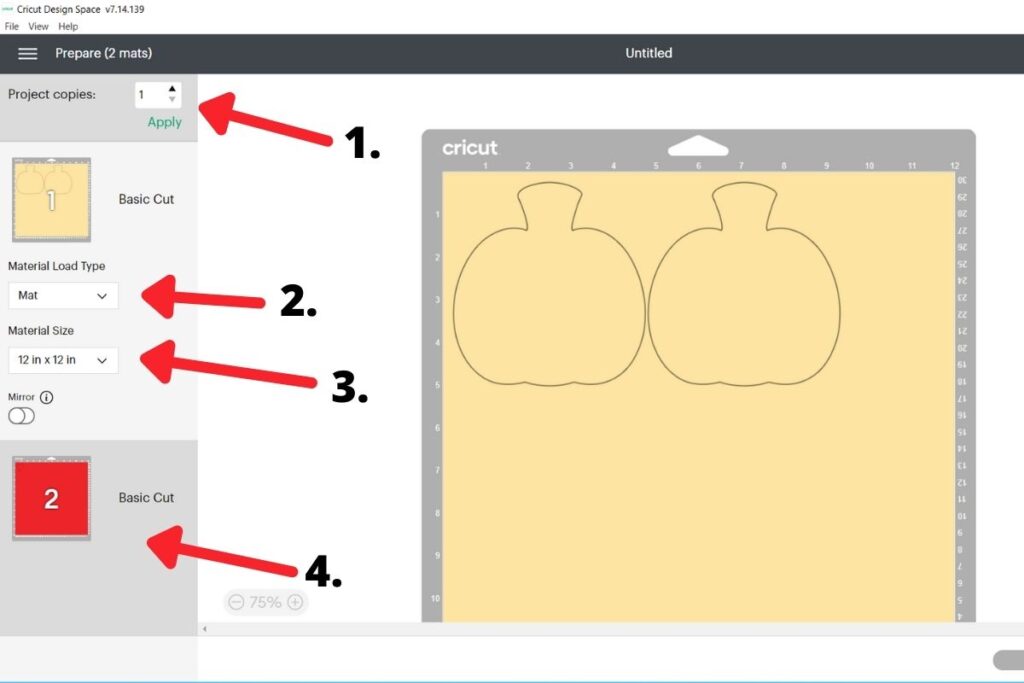
Press the “Make It” button at the top right of your screen and follow the prompts for setting your
- Number of project copies
- Mat type
- Material size
- You may want to set up an extra mat now, or remember that you need to prepare your next fabric mat after the first one cuts.
Continue to follow the prompts for setting your material type. I used “Canvas” and “More Pressure“.
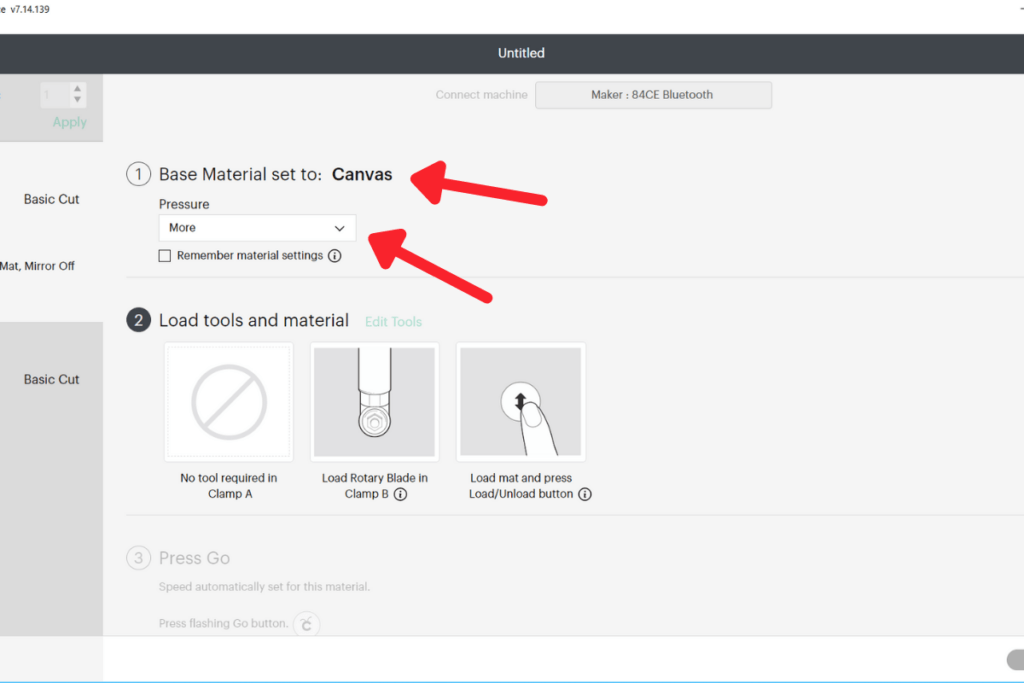
If your fabric is loaded in the machine, the button will be flashing and you can press it to start start cutting.
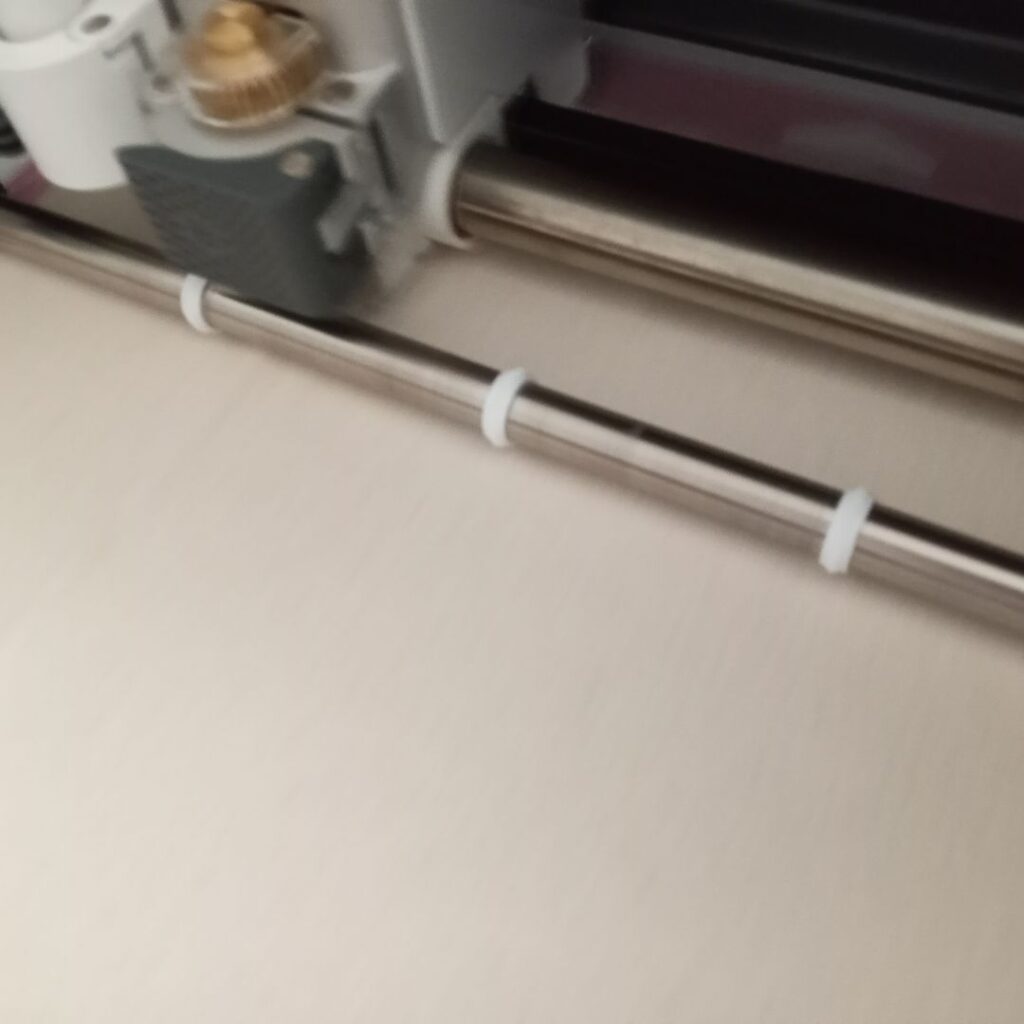
Be Sure your fabric has cut completely before unloading your mat from the machine.
Now We’re Ready to Sew
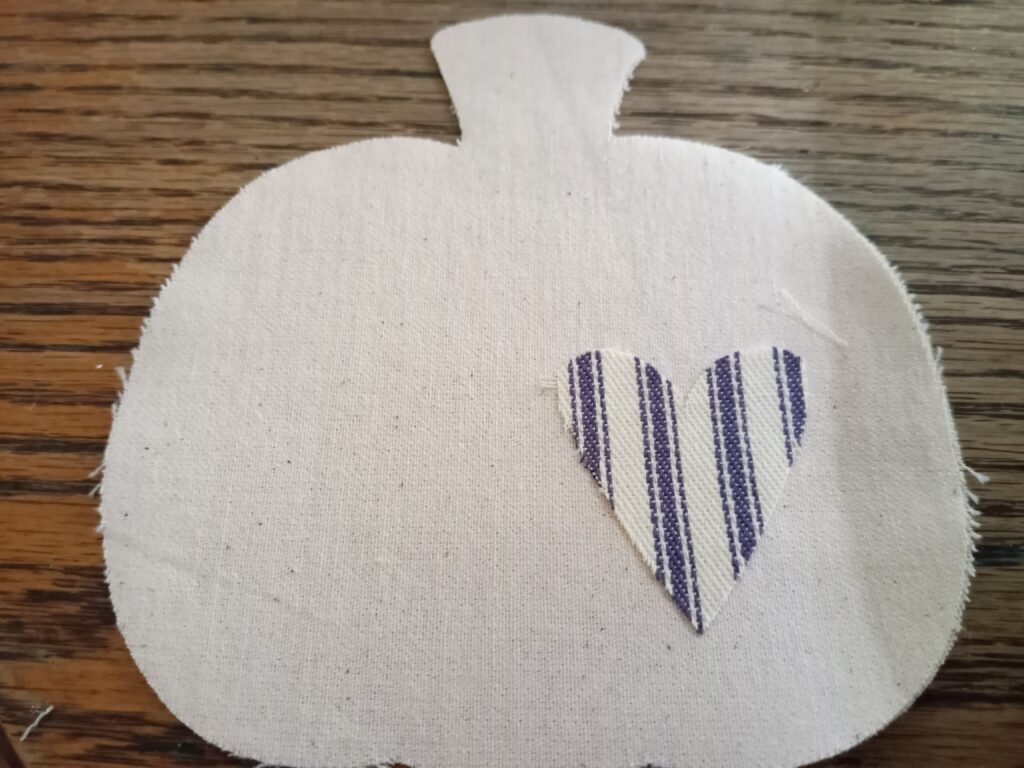
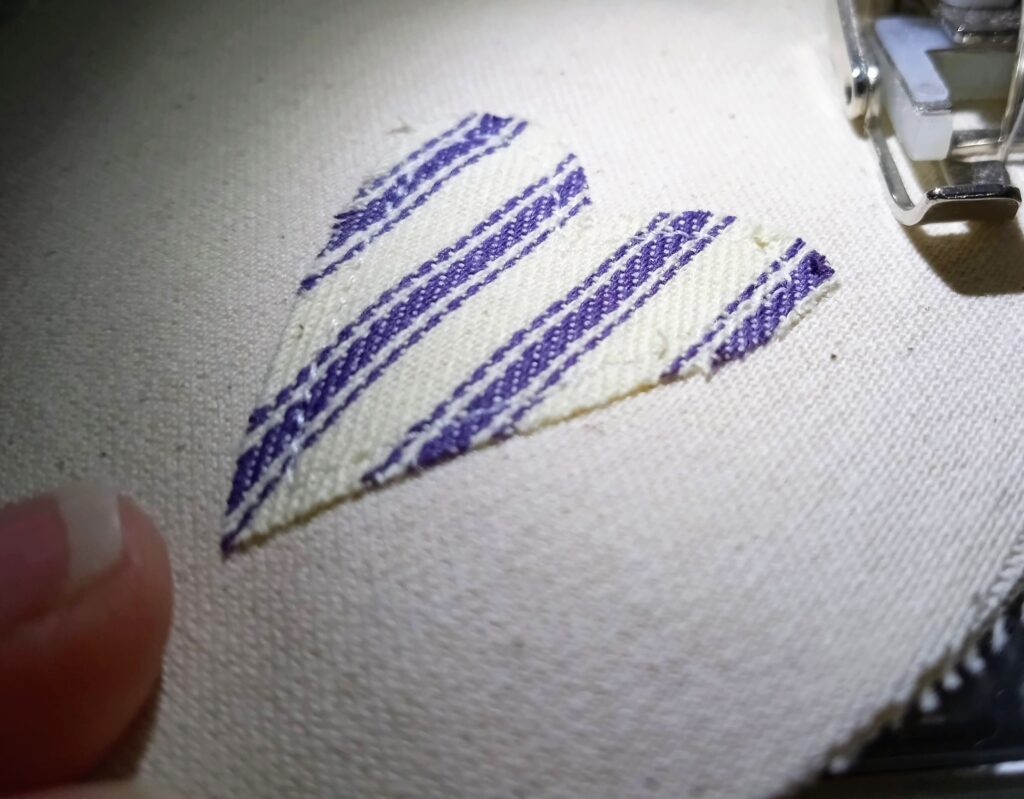
First, you’ll want to sew the heart to the front of one of the pumpkins. Try to pick a spot that is away from the edge so that you aren’t too close when you sew and stuff your pumpkin. You’ll be sewing a 1/4 inch seam allowance, so plan accordingly.
Next, you’ll want to sew around the edge of the pumpkin, leaving an opening so that you can stuff the pumpkin with Poly-fil or a similar product.
You can stuff your pumpkin and then sew it closed by machine, fraying the edges as you choose.
Lastly, add a jute bow with some hot glue.
Decorate A Tiered Tray
Use your pumpkins and all your favorite fall pieces to decorate a cozy fall tiered tray.
