Dollar Tree Mini Fabric Tote Valentines
Cricut Design Space Tutorial
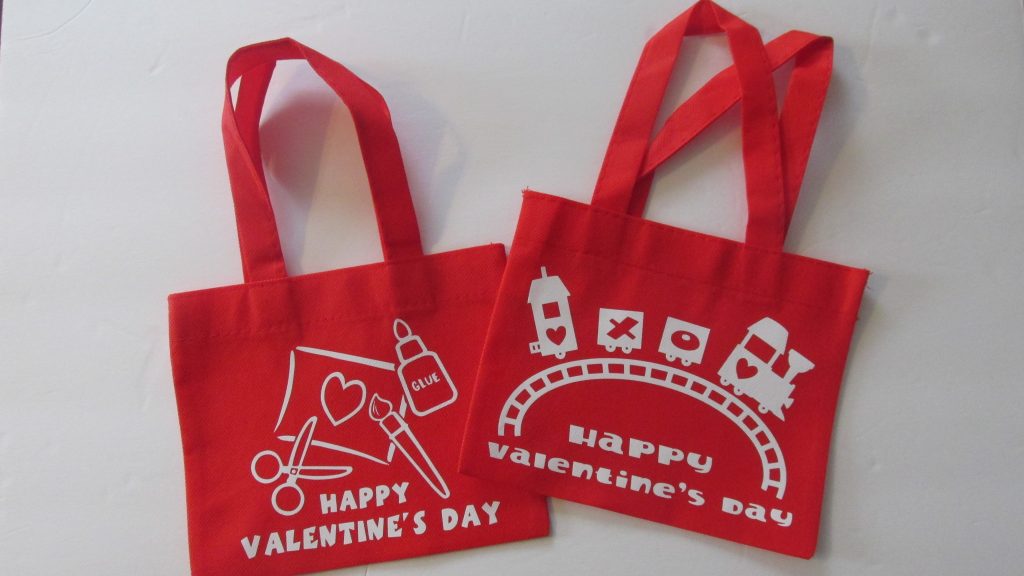
This project uses the Crafter’s Square Mini Tote bags from Dollar Tree. Today I’m sharing a Valentine’s Day project that uses heat transfer vinyl and these mini totes. I made these with images from Cricut Access in Cricut Design Space. The vinyl was cut on the Cricut Explore.
Preparing your Design for Your Dollar Tree Mini Totes
You’ll need:
- Heat Transfer Vinyl-I used Siser Easy Weed in White
- Cricut with fine point blade
- Mini Totes
- Standard Grip Mat
- Scissors and Cricut tools
- Iron and pressing cloth (I used a dish towel)
Instructions:
Use your imagination and the images in Cricut Design Space to create your own cut files. The train image was from the “Joys of the Season” set of images which is a Christmas image. However, it was one that came up in search when I was looking for a train.
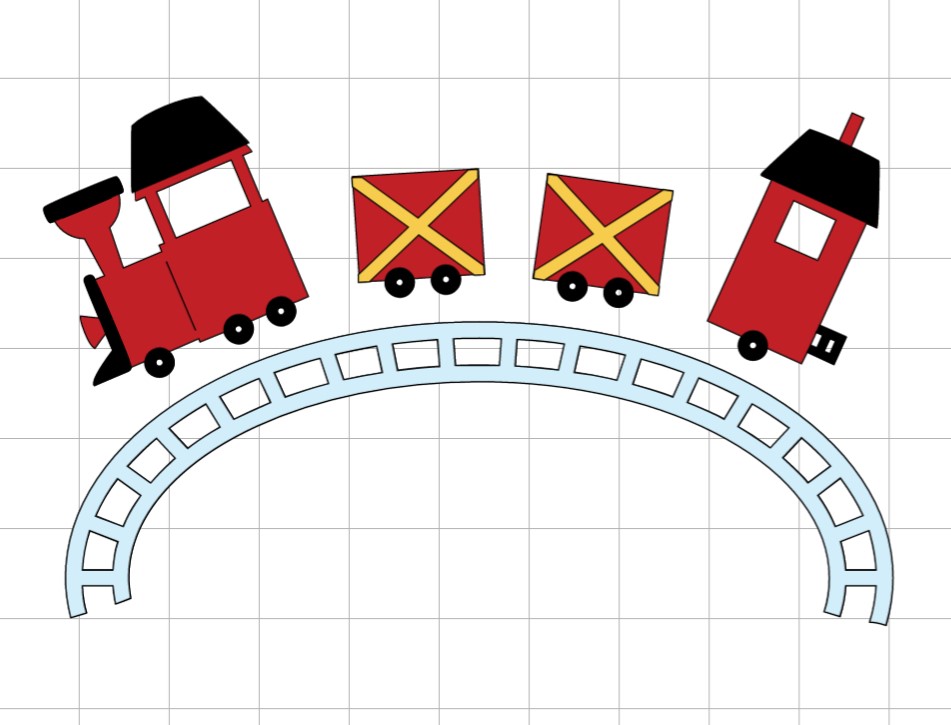
You’ll want to keep your images simple. I didn’t want to do multiple colors, so I tried to focus on selecting images that would work in one layer.
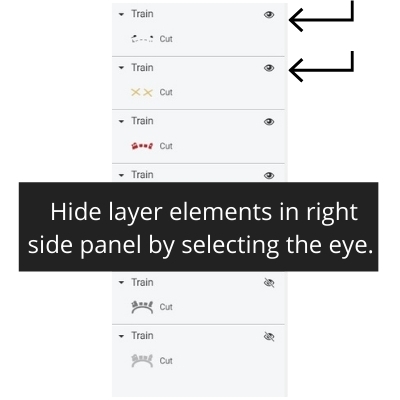
I “ungrouped” the image, and hid everything but the base layer. Now you have a single layer image for your design.
Using the “Contours” Tool for Your Valentine Design
One thing to keep in mind with single-layer images is that sometimes there are cut lines that you don’t need in that base layer. You can use your “contours” button to turn off those lines, therefore giving you a solid image.
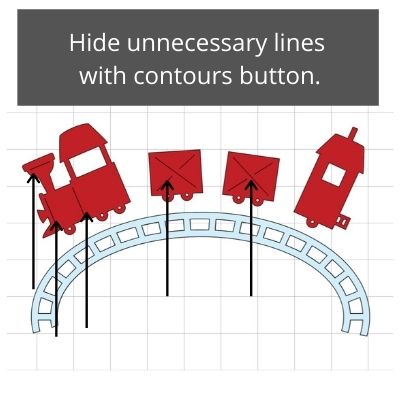
If you are not familiar with the contours tool in Design Space, it is at the far right bottom of your screen. If you select your image, then click on the contours button, you’ll be able to click on any line or area that you want to eliminate from your design. So cool!!
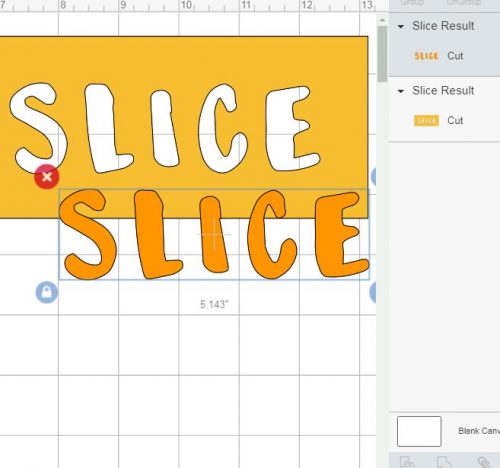
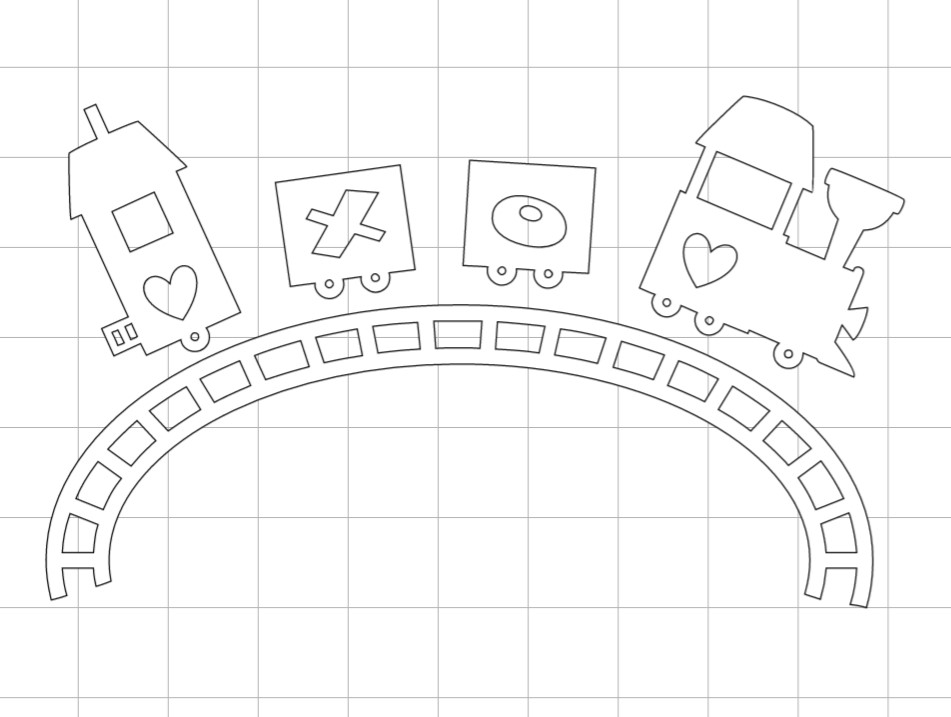
I flipped my image so the train would be traveling in the other direction. Then I used the heart image and “sliced” each heart into the train image. If you are uncertain about how to use the slice tool in Design Space, you can check out my tutorial HERE.
After I added the hearts, I felt the other two cars needed something, so I used an “X” and an “O” from the “3 Bird’s Life’s a Party” font. And really it’s a personal choice, however, I wanted a bold and whimsical font for these letters. I used the slice function to cut those out as well.
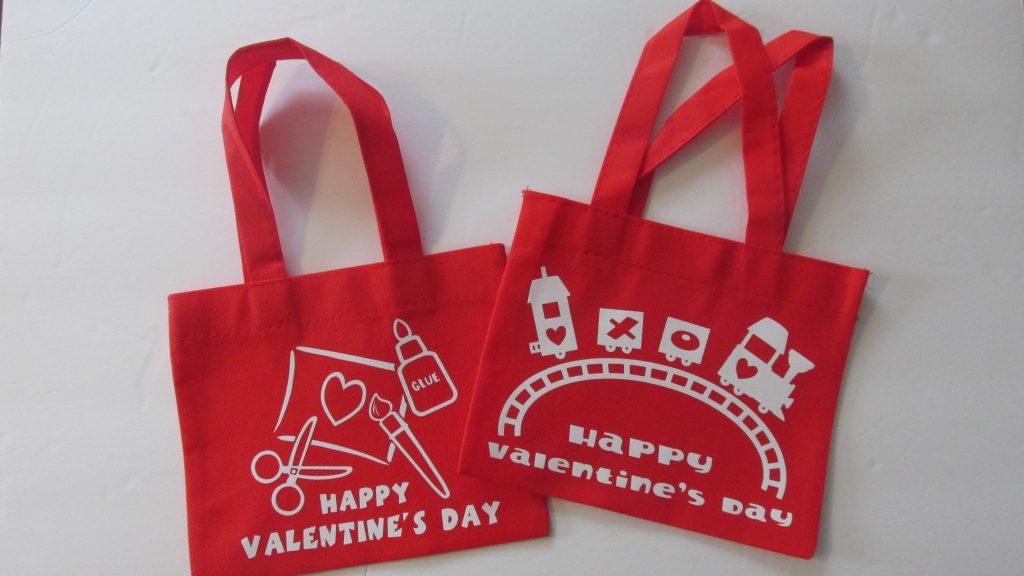
Next, I added the “Happy Valentines Day” in that same text. You can see the finished image on the right. So cute on this mini fabric tote!
Weeding Box with Cricut Design Space
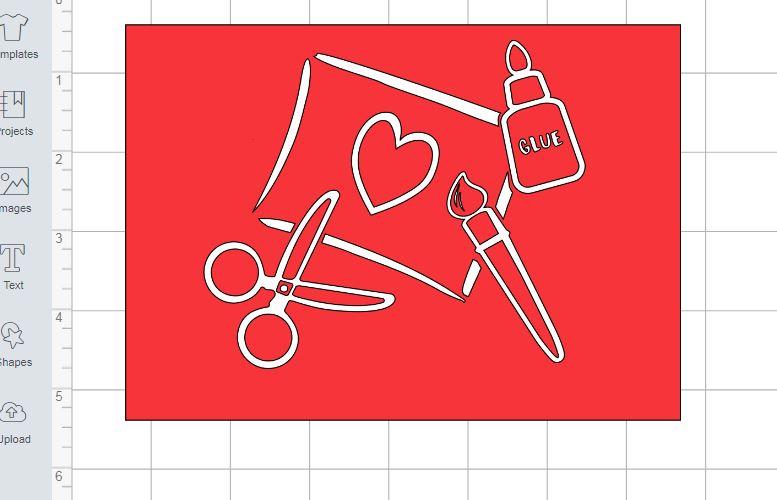
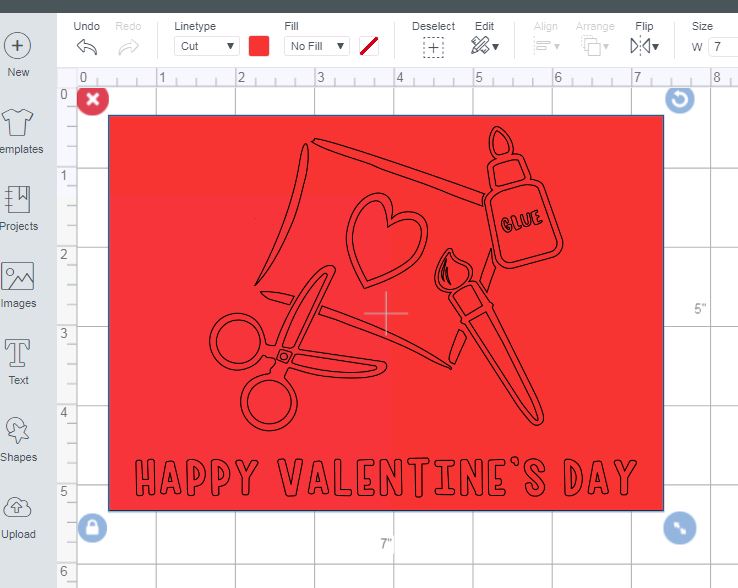
A weeding box around your image not only makes weeding easier but also helps with placement on your project.
To do this, create a rectangle (or another shape) that is about the same size as your project. You could crop in closer, but with this little area that is only 7″ x 5,” there was not much vinyl wasted.
Coloring my rectangle roughly the same color as my tote, gave me a little visual of what my finished product would look like.
Using the Attach Function In Design Space
If I sent this image to the Cricut right now, it would place my design and the rectangle on two separate mats. It’s the way the program works, but there is a go-around.
Simply select everything, and hit the “Attach” button. This is located near the lower right-hand corner, near the contour button.
Attach basically does what it says. It “attaches” everything to the mat, in the arrangement that you have it. Now when you send your design to the machine, it will save it in that arrangement. I can send this design to the Cricut and it will cut it just as shown.
Mirror Heat Transfer Designs
Be sure to mirror your design when cutting. You’ll also want to cut your Heat Transfer Vinyl with the shiny side down on the mat.
The matt finish side is the actual vinyl, and the shiny side is the carrier sheet for placing your cut images on your project. There is no need for transfer tape with heat transfer vinyl.
Use Custom Settings Dial
Using the custom settings dial will allow you to select your materials from the menu in Design Space. I used “Iron-On>SportFlex” for my settings and used my fine tip blade to cut my design.
Weeding your design is easy, especially if you created the weeding box. I like to weed with my design on the mat so it doesn’t move around. I grab a small piece of masking tape for those little “middles” of letters and such as I remove them. The worst thing that could happen is they get lost on your carrier sheet somewhere and end up on your finished project.
Pressing Your Design to the Bag
I have a large heat-press, but I was very cautious in pressing my vinyl to these bags. The fabric they are made from WILL tend to melt at too high of a temperature. There may be an Easy Press Setting that would work, but I don’t have an easy press. Using my iron was the next best thing.
I set my iron to about halfway between the silk and wool settings on my iron. Use dry heat, not steam.
A cotton flour sack towel works as a pressing cloth for this project. If you don’t have this, a pillowcase or other fabric will work. I found however that I needed to press right on to that carrier sheet with the tip of my iron to get my design to adhere.
I say this with a great deal of caution. Once you get your design all tacked down to your project, try lifting the carrier sheet. If there is any place that isn’t sticking, replace the carrier sheet go back over it very quickly to get it to adhere. Do not spend any amount of time in one particular area.
Once you are able to remove your carrier sheet, then lay your pressing cloth on top and press firmly for short amounts of time.
Finished!
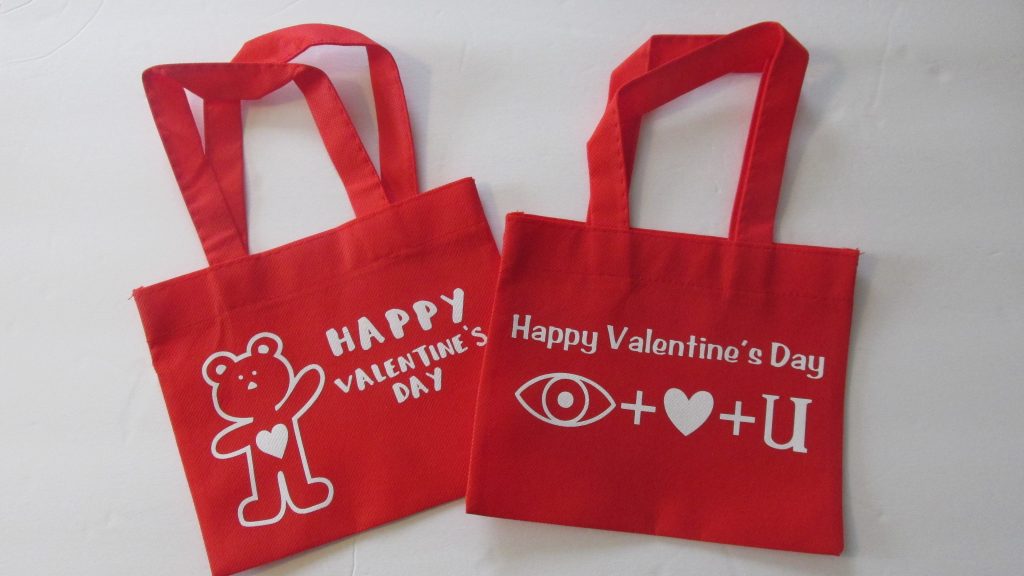
Now you’ve completed your creating your gifts from Dollar Tree mini totes, they are ready to fill with goodies and give them as gifts. Here are a couple more examples.
So have fun and we’ll see you next time!


