How to Make Infusible Ink Coasters
Have you used the Infusible Ink from Cricut yet? I’m always reluctant to try something new, so I’ve never tried it before. That is, until this week.
It all started with a trip to Joann to get some card stock and look for distress ink. While I was sort of determined to get my couple of things and get out, it didn’t happen that way. I happened to notice that there was a discount on Cricut Infusible Ink.
Now I’ve known about Infusible Ink for a long time, but as I said I was a little afraid to try it. My experience with it was very positive, so if you’re also on the fence, I hope you’ll give it a try. I love the vibrant color of these Infusible Ink coasters and I know I’ll definitely be using this product again.
**This post contains affiliate links. I earn a small commission when you purchase through my links. There is no additional cost to you. If you are interested in my heat-press, I have included a link to the product I own. As an Amazon Associate, I earn from qualifying purchases. This is a very popular press and I know you’ll love it.
What is Cricut Infusible Ink?
Cricut Infusible Ink is a product that a transfer can be cut from. When your transfer is applied to a compatible product or blank with heat, the ink binds to that blank and is permanent and completely smooth. This makes your creative products professional and durable. Infusible Ink transfer sheets are somewhat like vinyl in that they have a sticky carrier sheet. Weeding is slightly different in that they are very easy to weed and you can literally do it with just your hands. In fact the hand weeding method is the recommended method.
Straight out of the package the transfer sheets don’t look all that exciting. However, the finished product turns out amazing. I chose the Watercolor Splash for my first project.
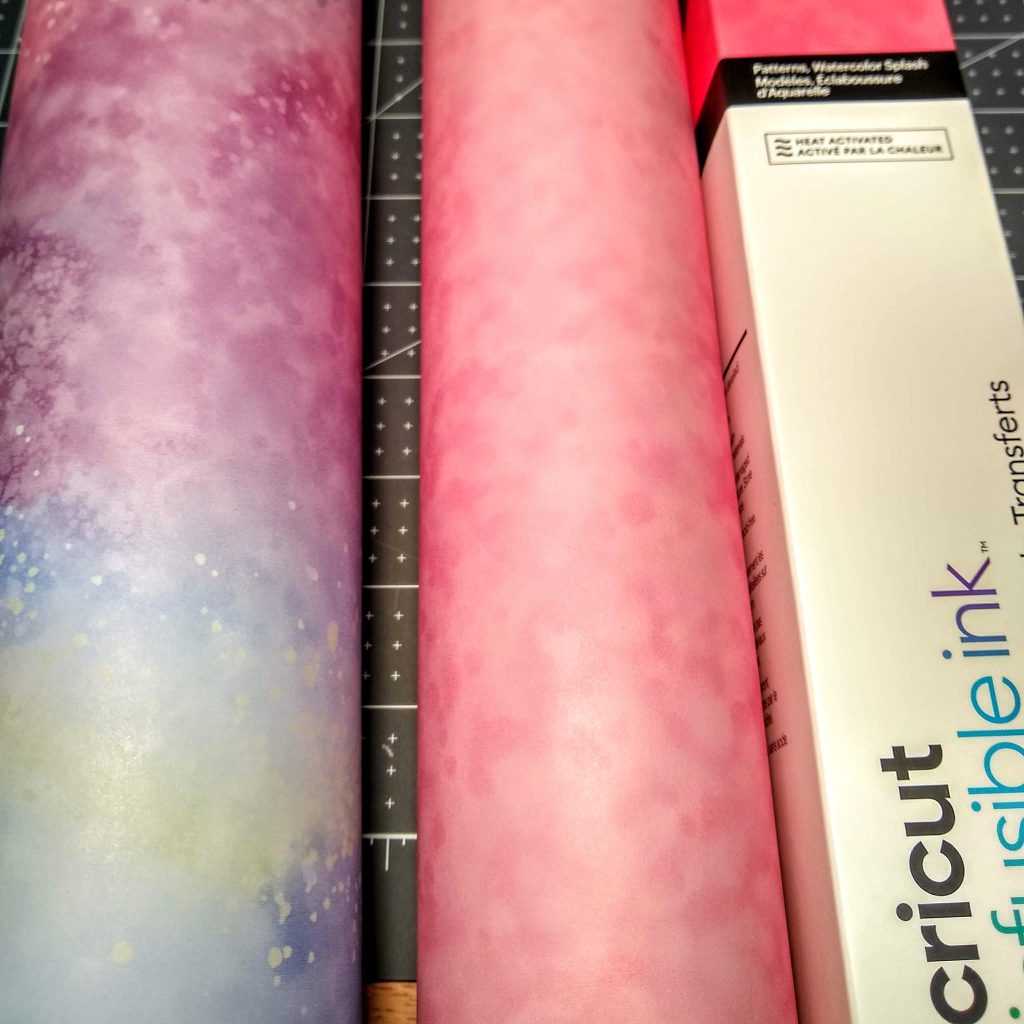
The package came with two 12″x12″ sheets of the Infusible Ink transfer material. It also came with 2 sheets of what Cricut refers to as butcher paper that is used during the heat transfer process. After making my set of coasters, I still have plenty of the product for another project.
The one thing I loved about using this product is how Cricut has made it so super easy to use! The support and inspiration on the Cricut website and blog were very helpful. In addition, there are machine settings in the Cricut Design Space so that you can flawlessly cut your Infusible Ink transfer material with your machine.
Do I Need to Use Cricut Blanks for My Project?
Cricut has its own line of blanks to use with its products and one of the questions I often see is whether you HAVE to use these blanks. It may seem a little pricey, but I know for one that I’m not ready to dive into the whole ink sublimation thing just yet. Using the Infusible Ink is one way to get a similar result without that kind of commitment.
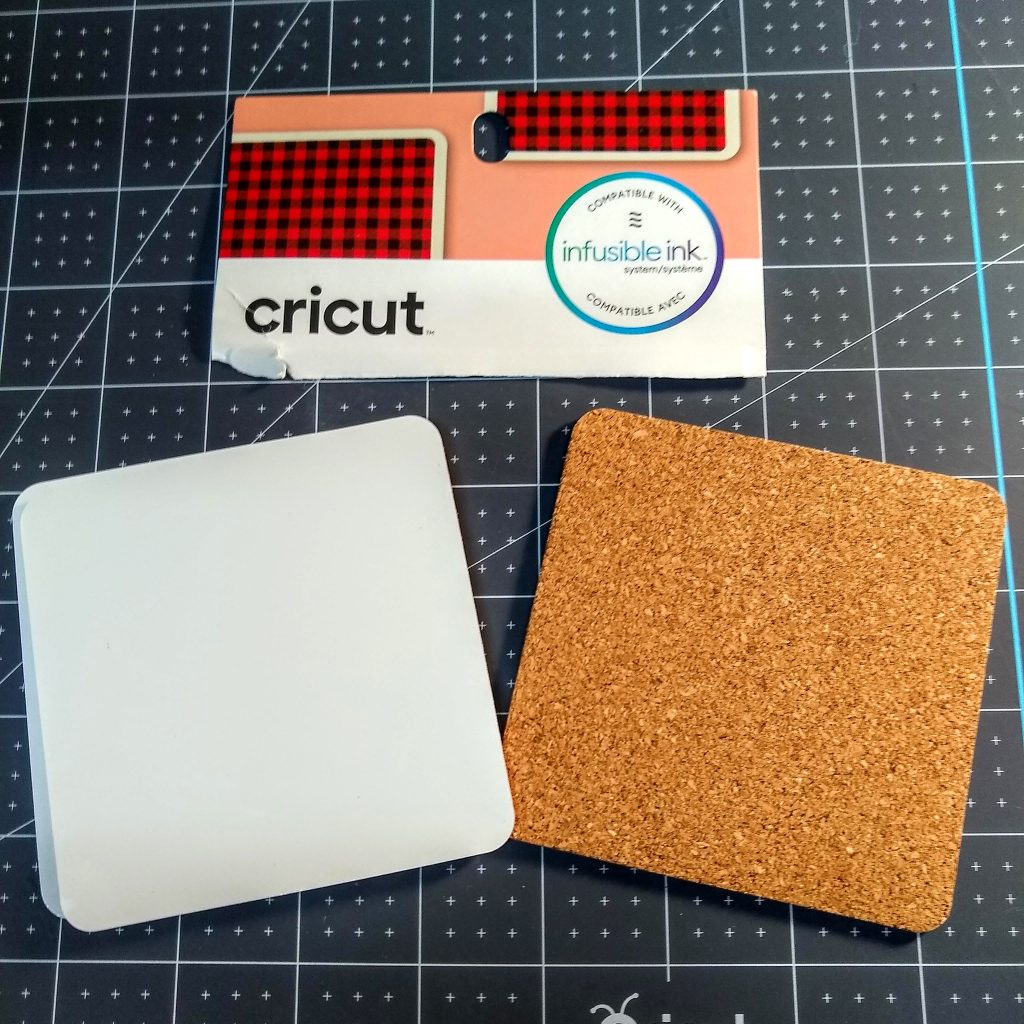
Since I haven’t tried other blanks, I’m not sure if I can honestly answer the question. I do know that if I’m going to try a product, I’m going to follow the manufacturer’s recommendations for that product. The Cricut Coaster Blanks are specially made to work with the infusible inks. If I decide to do a project like this again, I think I’ll trust the Cricut brand.
The square coasters from Cricut are 3.75″ and have a cork backing to protect your furniture.
What You’ll Need
To make similar coasters you’ll need:
- Cricut Infusible Ink Coasters
- Cricut Infusible Ink in Water Color Splash
- Butcher Paper Sheets (included in your Infusible Ink)
- Light Grip Mat
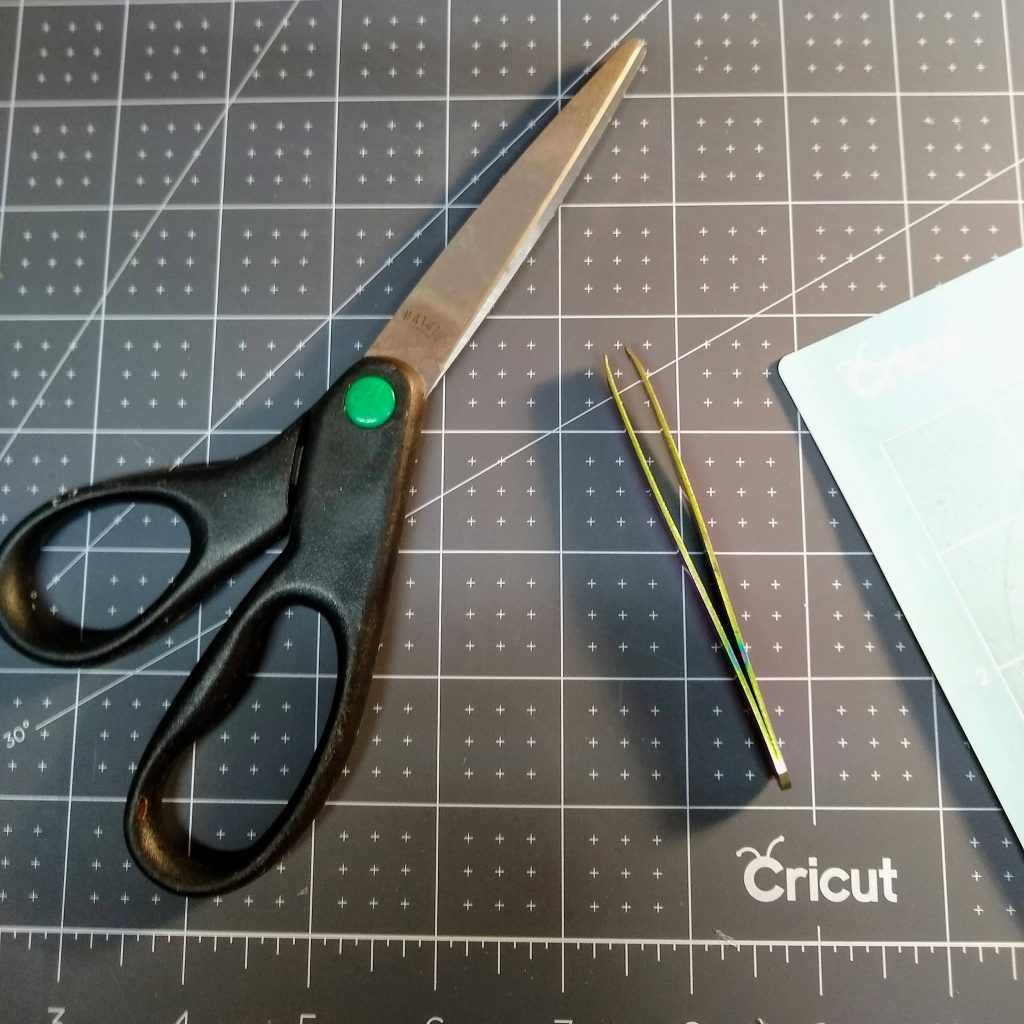
- Scissors for cutting apart your transfers
- Tweezers
- Lint Free Cloth (Microfiber) works well
- Heat Press or Cricut Easy Press
- Cricut Machine (other cutting machines may be used)
- Your choice of SVG file or images and text from Cricut Design Space (You can grab the SVG link for my coaster designs below)
Creating Your Coasters in Design Space
You’ll want to upload a design to Cricut Design Space or select designs from the images library. If you don’t have Cricut Access, there are some free images available in the Cricut Image Library. Just navigate to Images>Ownership>Free to see what is available at no cost. You could also make your own file from the shapes and fonts available in Design Space. You may also use my Free SVG Files.
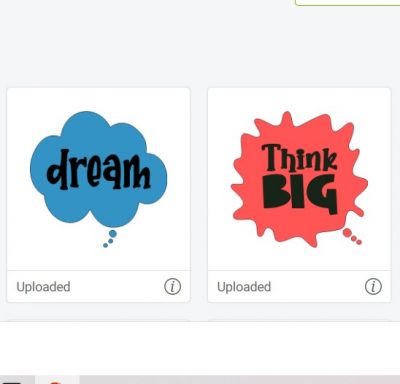
Here I’m showing two of my images already uploaded in Design Space.
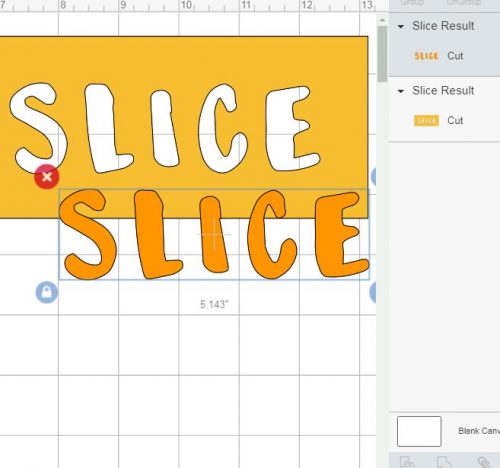
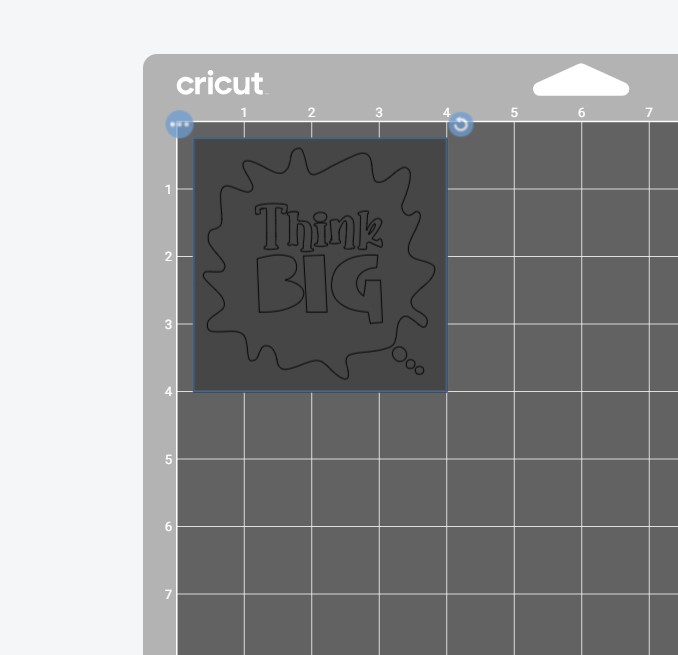
Next, I inserted my image onto the canvas. I also inserted a square from the shapes library. I sized my square to the size of the coaster at 3.75″. This will help me resize my image and I’ll also use it as a weeding box.
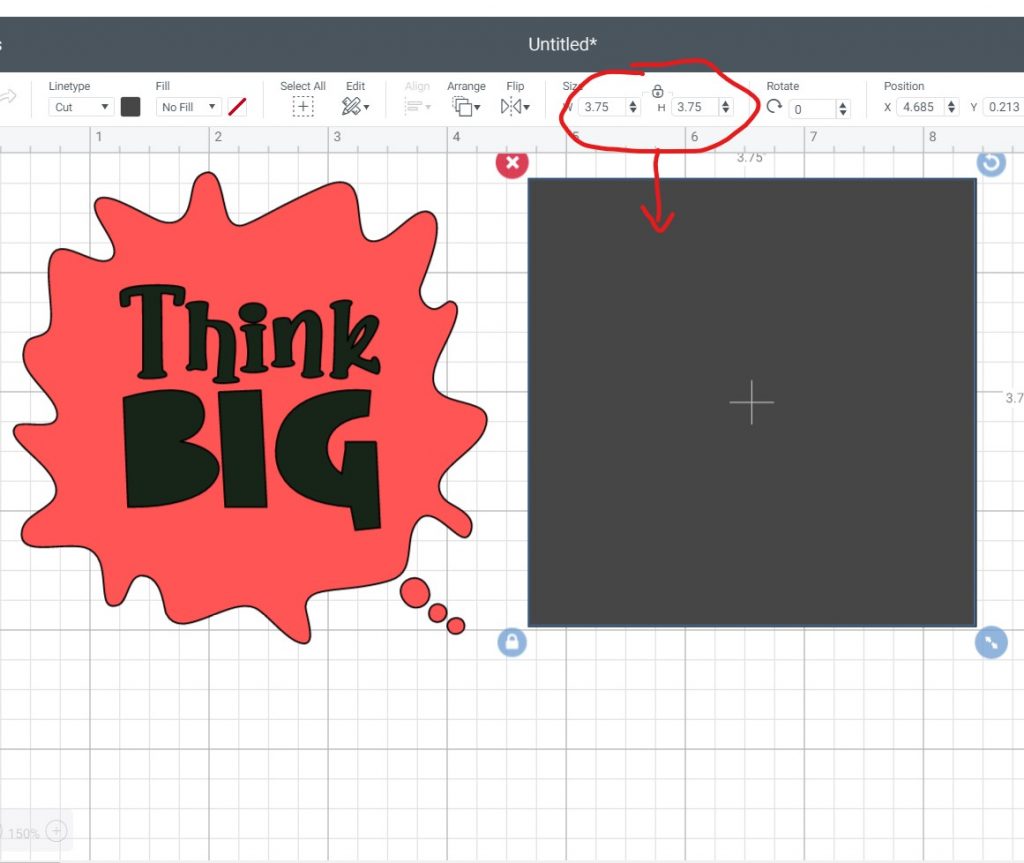
Then I placed my image inside my square, resized it, and centered it.
Next, I selected both my design and the square, went to the “Attach” button at the lower right-hand side of the screen, and hit “Attach”. This makes my images and box convert to one layer.
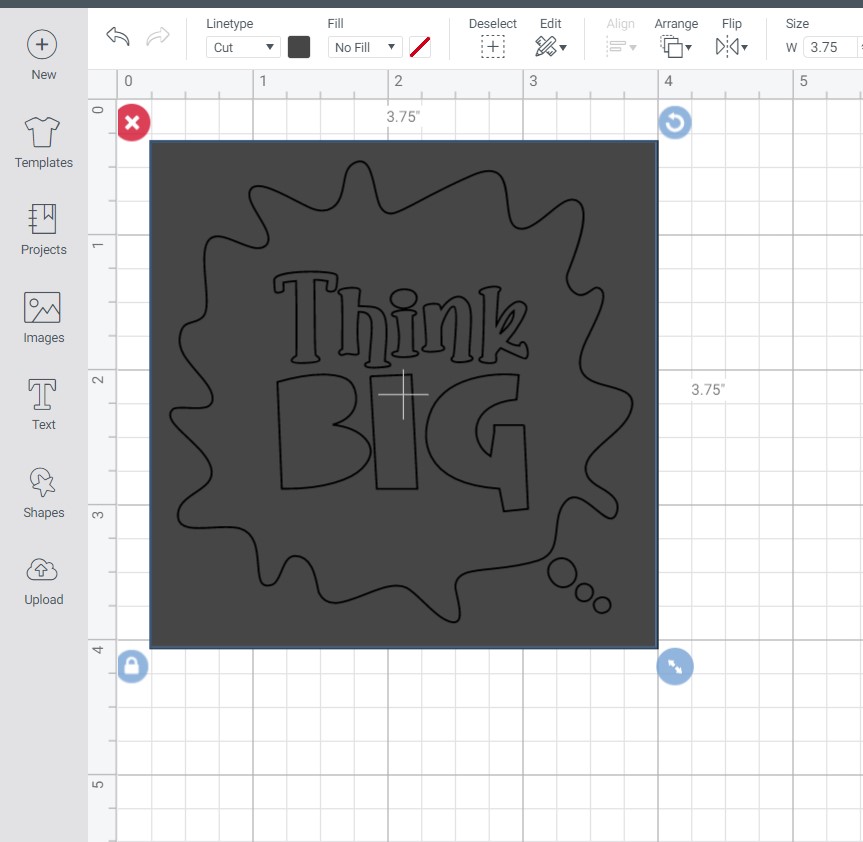
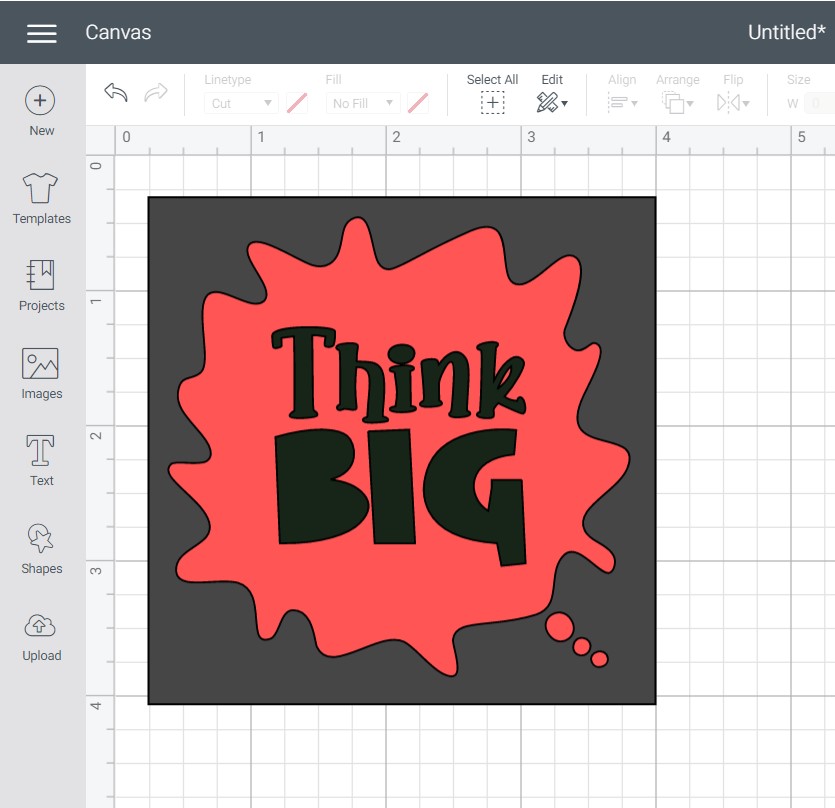
Now when I hit the green “Make It” button it all cuts out together in the same place on the mat. This image is shown on the mat as not mirrored. You want to be sure to mirror your image before you send it to your machine.
Important: Be sure to toggle the mirror button to flip your image before cutting your transfer sheet or your image will be backward when you go to press it on your coaster blanks. If it looks backward, you know you have it correct.
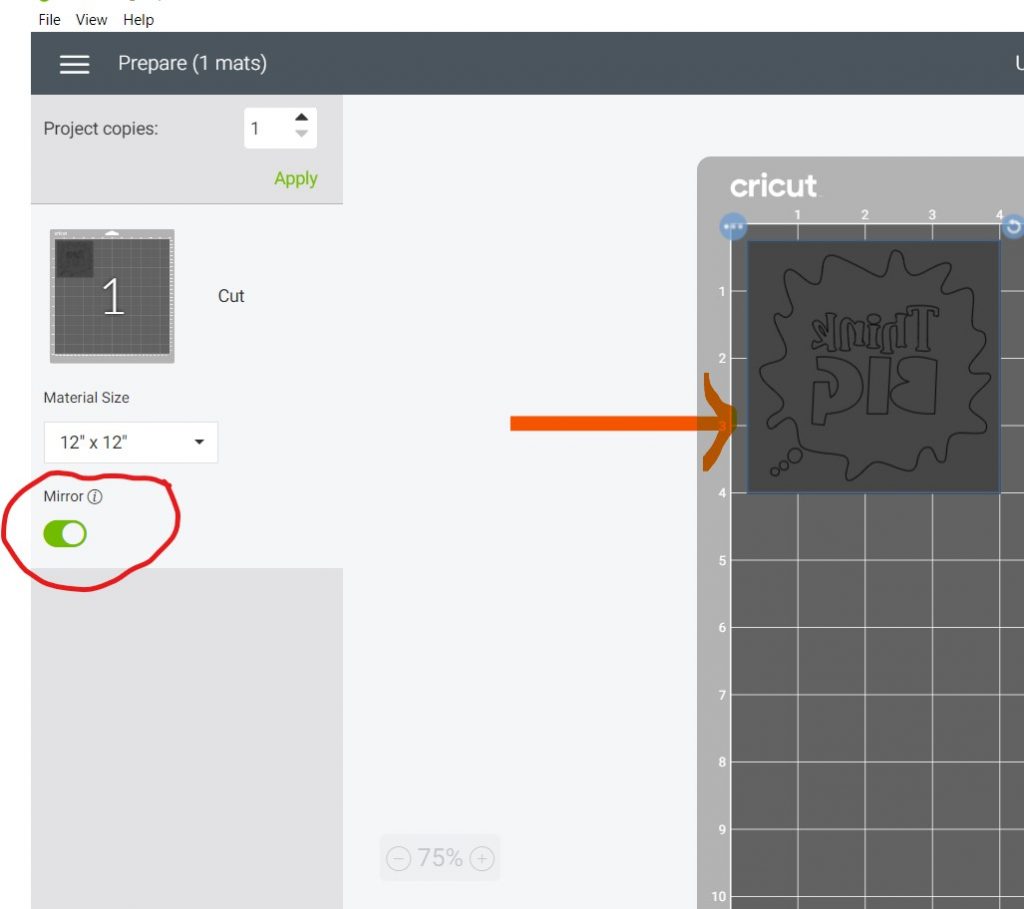
Now click your green “Continue” button to follow the prompts to choose your material and tools. You can mark your materials as “Favorites” if you use them often. Then you’ll find them easily in your “Favorites” area.
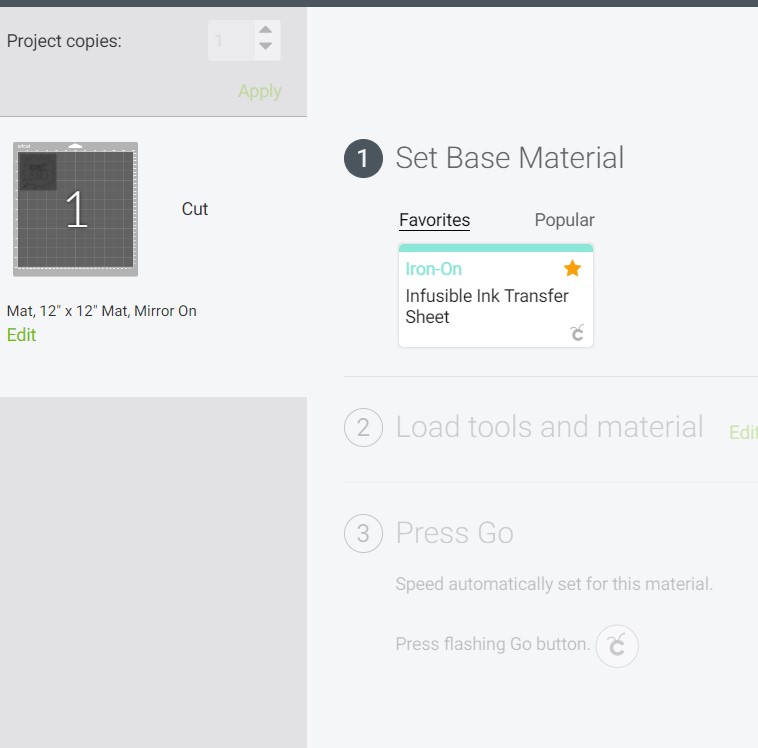
The Infusible Ink material will be placed on your light grip mat with the ink (colored) side up and the carrier sheet side against the mat.
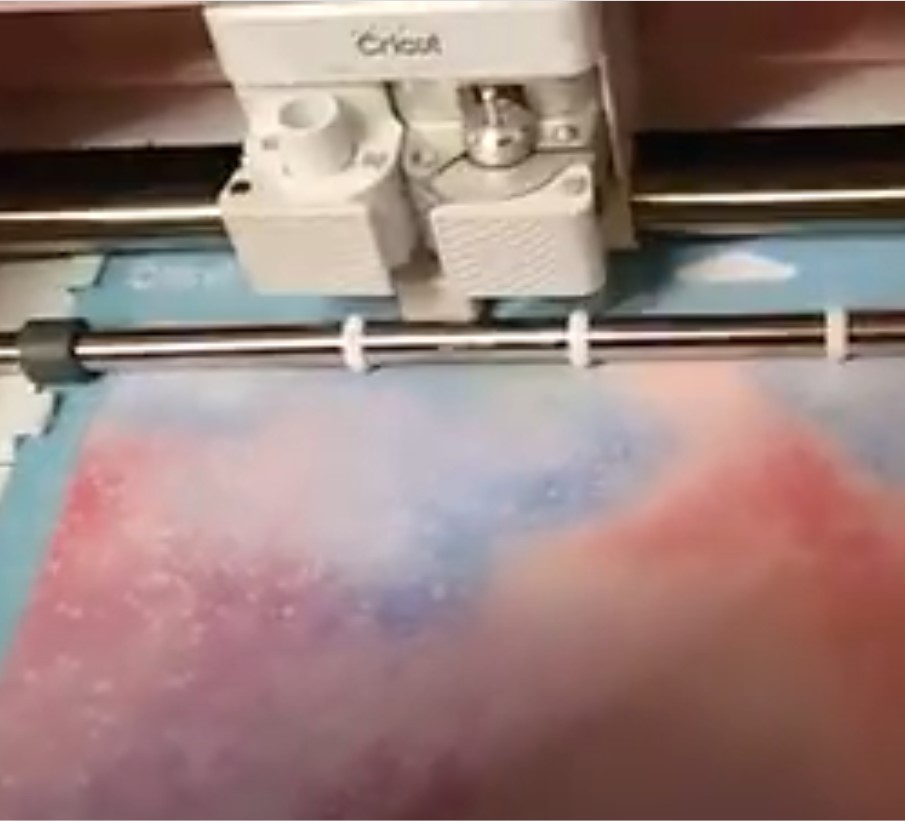
Continue to follow your prompts. Press the GO button on your machine and cut your Infusible Ink!
Weeding the Infusible Ink
As mentioned earlier, you don’t weed your Infusible Ink in the same way as you weed vinyl. I’ve included a short video of my weeding two of the coasters. A portion of the video is at 2x the speed, but you can see how easy it is to weed the Cricut Infusible Ink. Notice the sort of cracking sound that you hear as I weed the first design.
Place Your Infusible Ink Transfer on Your Coaster
You’ll be placing your transfer down on your coaster so that the Infusible Ink can bond and do its amazing thing. Your shiny carrier sheet will have the sticky side against the coaster and the non-sticky side up. This will stay on during the heat transfer process, much as it does for vinyl.
Pressing Your Images
Your next step is to place your images ink side down onto your coasters. Wipe your coasters with a lint-free cloth and be sure there is no dust on your coasters. Be sure your transfers are sticking to your coasters. Cricut does make a heat resistant tape. I did not use it, but my designs had quite a bit of white space leaving plenty of the sticky carrier sheet open. The transfers stayed on my coasters just fine. You are now ready to press your images.
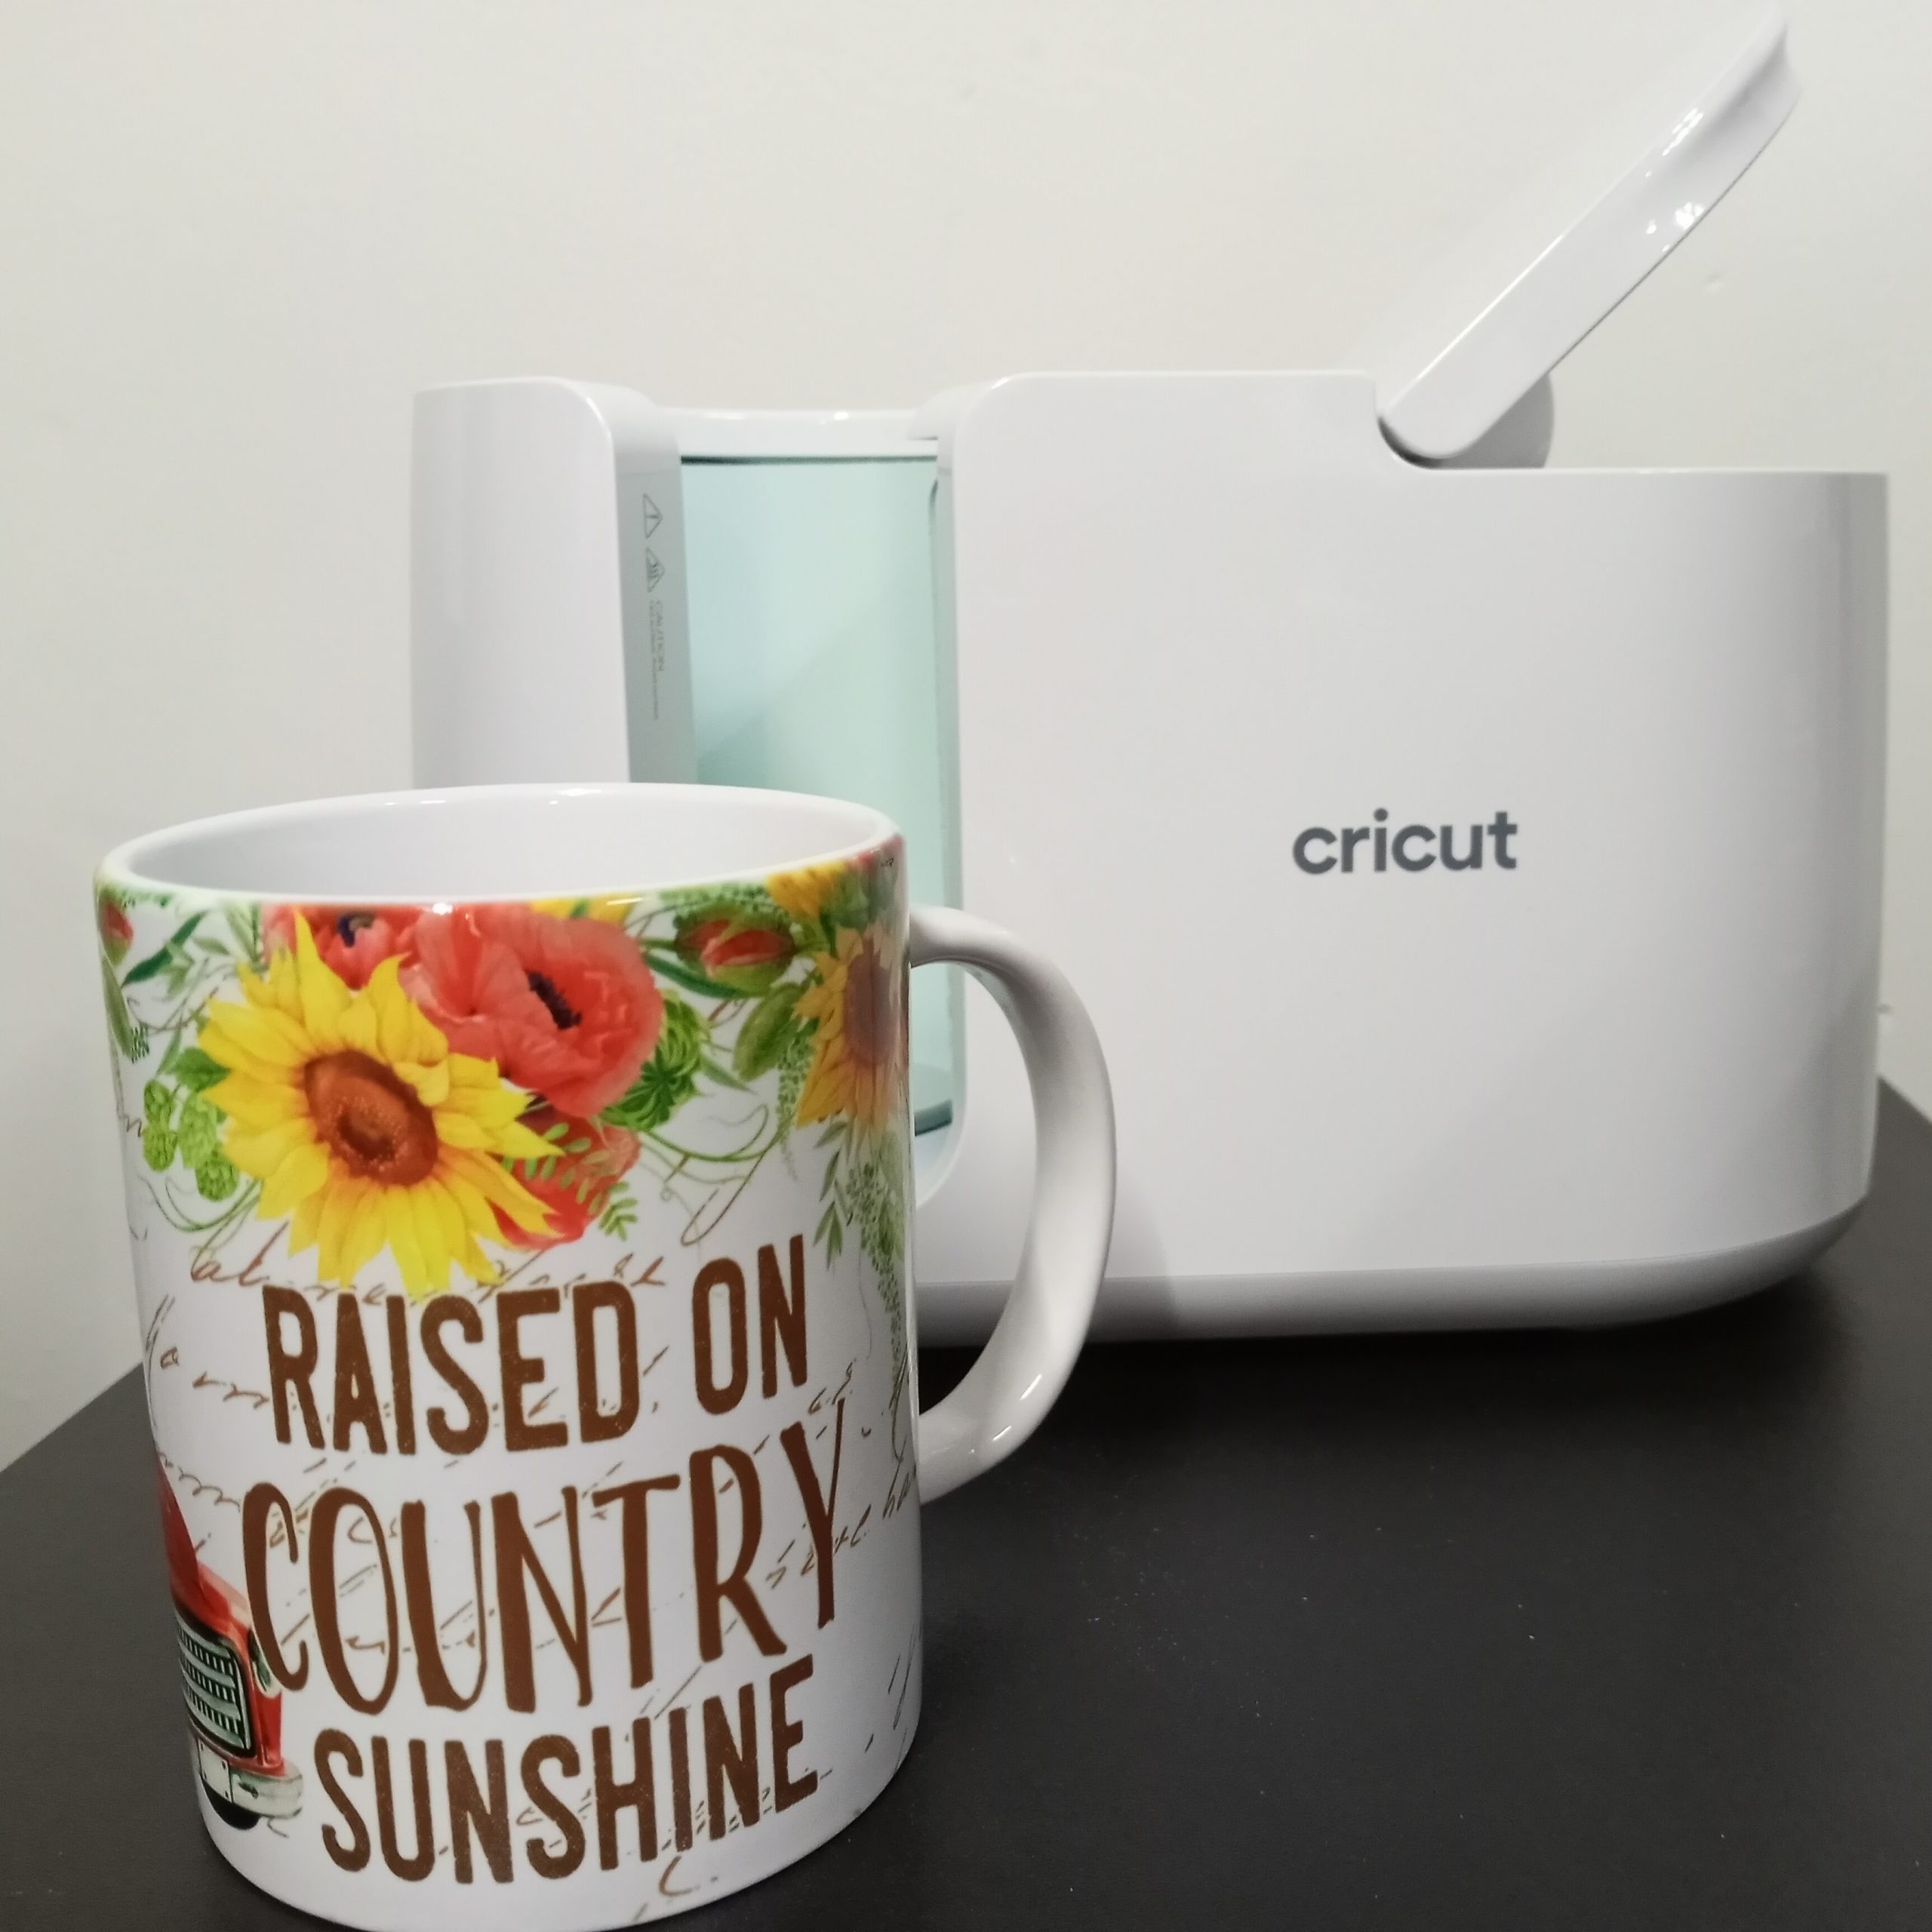
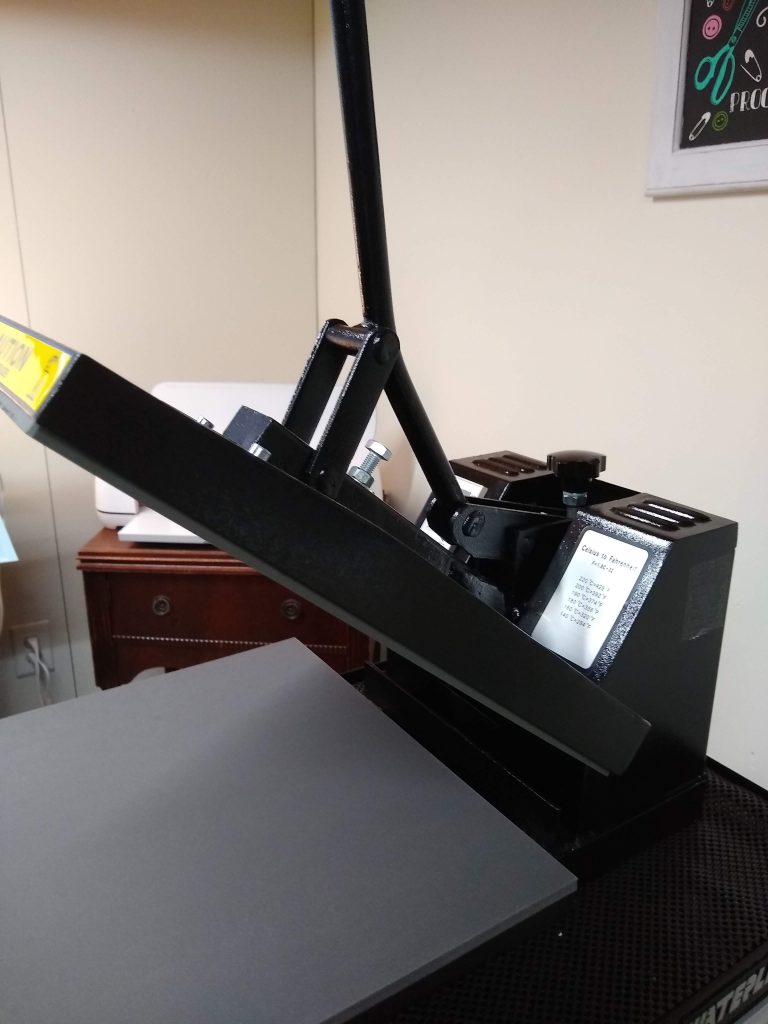
Want to know more about my heat press? I have the Power Press 15×15 inch heat press and love it!
Be sure your heat press or Easy Press is set to 400ºF. If you have a timer on your heat-press set it to 60 seconds. I put some parchment paper on the bottom plate of my heat press just in case the cork from the bottom of my coasters would stick to it.
Load your coasters into your heat press with the white shiny side and ink transfers up and cork side down. Cover them with the Butcher Paper Sheets that came with your Cricut Infusible Ink.
Carefully lower your press to your coasters. I did not lock the arm of my heat press down, I just held it for 60 seconds. The high heat is necessary but the coasters didn’t require pressure to transfer the images.
When the 60 seconds is over, carefully lift the press, and Viola! Your coasters are finished. Use tweezers to remove your transfers. Be careful at this point. These coasters are as hot as grabbing a hot pan straight from the oven. Let them cool and then check out that wonderful color!
If you have questions or comments about using Infusible Ink, be sure to leave them in the comments section. I’d love to hear from you.
Get the SVG Files for These Designs
You can certainly use any images on your coasters. Create a theme and look for images in Cricut Access. If you like using a graphic design program, create some images of your own! Get creative and enjoy the colors of Infusible Ink that Cricut has to offer.
I love my Infusible Ink Coasters and I thought I’d share my motivational designs with you! You can download them with the button below.
Thanks so much for stopping by! I hope you’ll give Infusible Ink a try if you haven’t already.