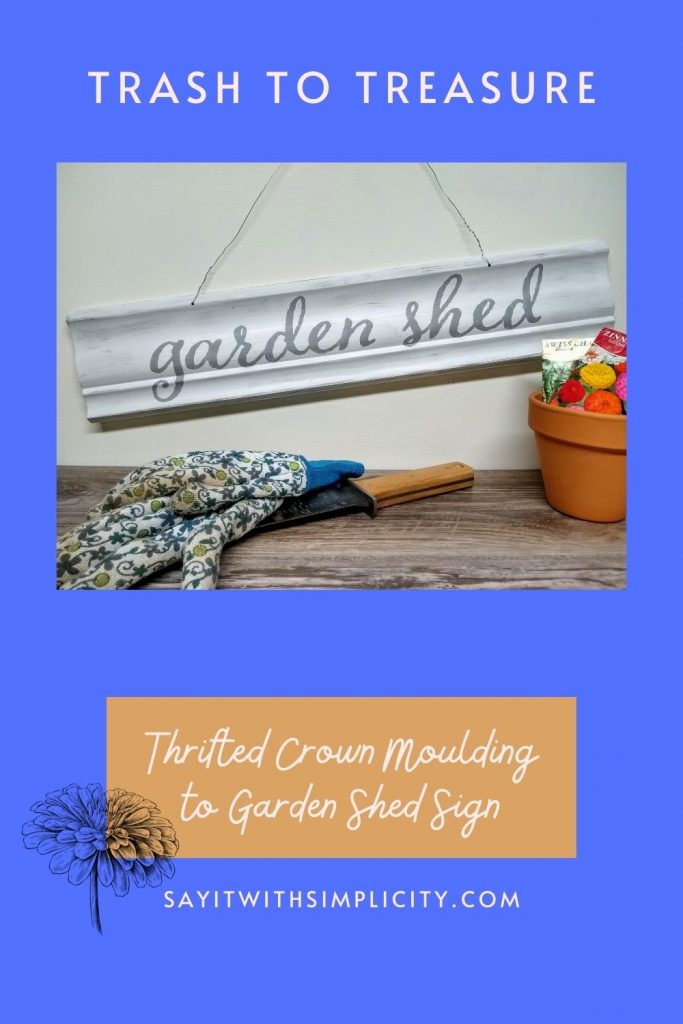
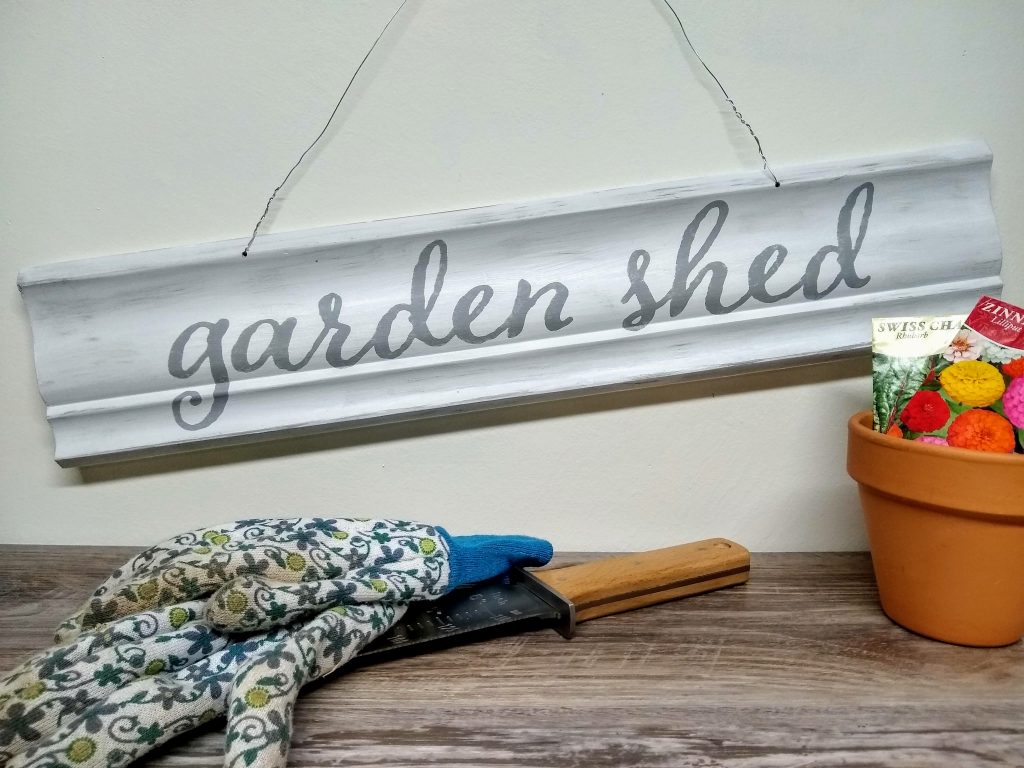
Unique Garden Shed Sign from Reclaimed Trim
I love to go thrift shopping at my local Habitat Re-Store and collect unique finds for projects. Sometimes I find old cupboard doors. Other times vintage knobs or drawer pulls. One day I found a 5-foot piece of crown molding and used it to create 3 different signs. Today I’m going to share the “garden shed” sign I created from my little haul.
With the current high prices of wood, grabbing pieces like this is a great way to save money on craft supplies.
I paid only $1.00 for the crown molding, created two larger signs, and have enough left for one more small sign. These will go in a vendor booth that I recently opened.
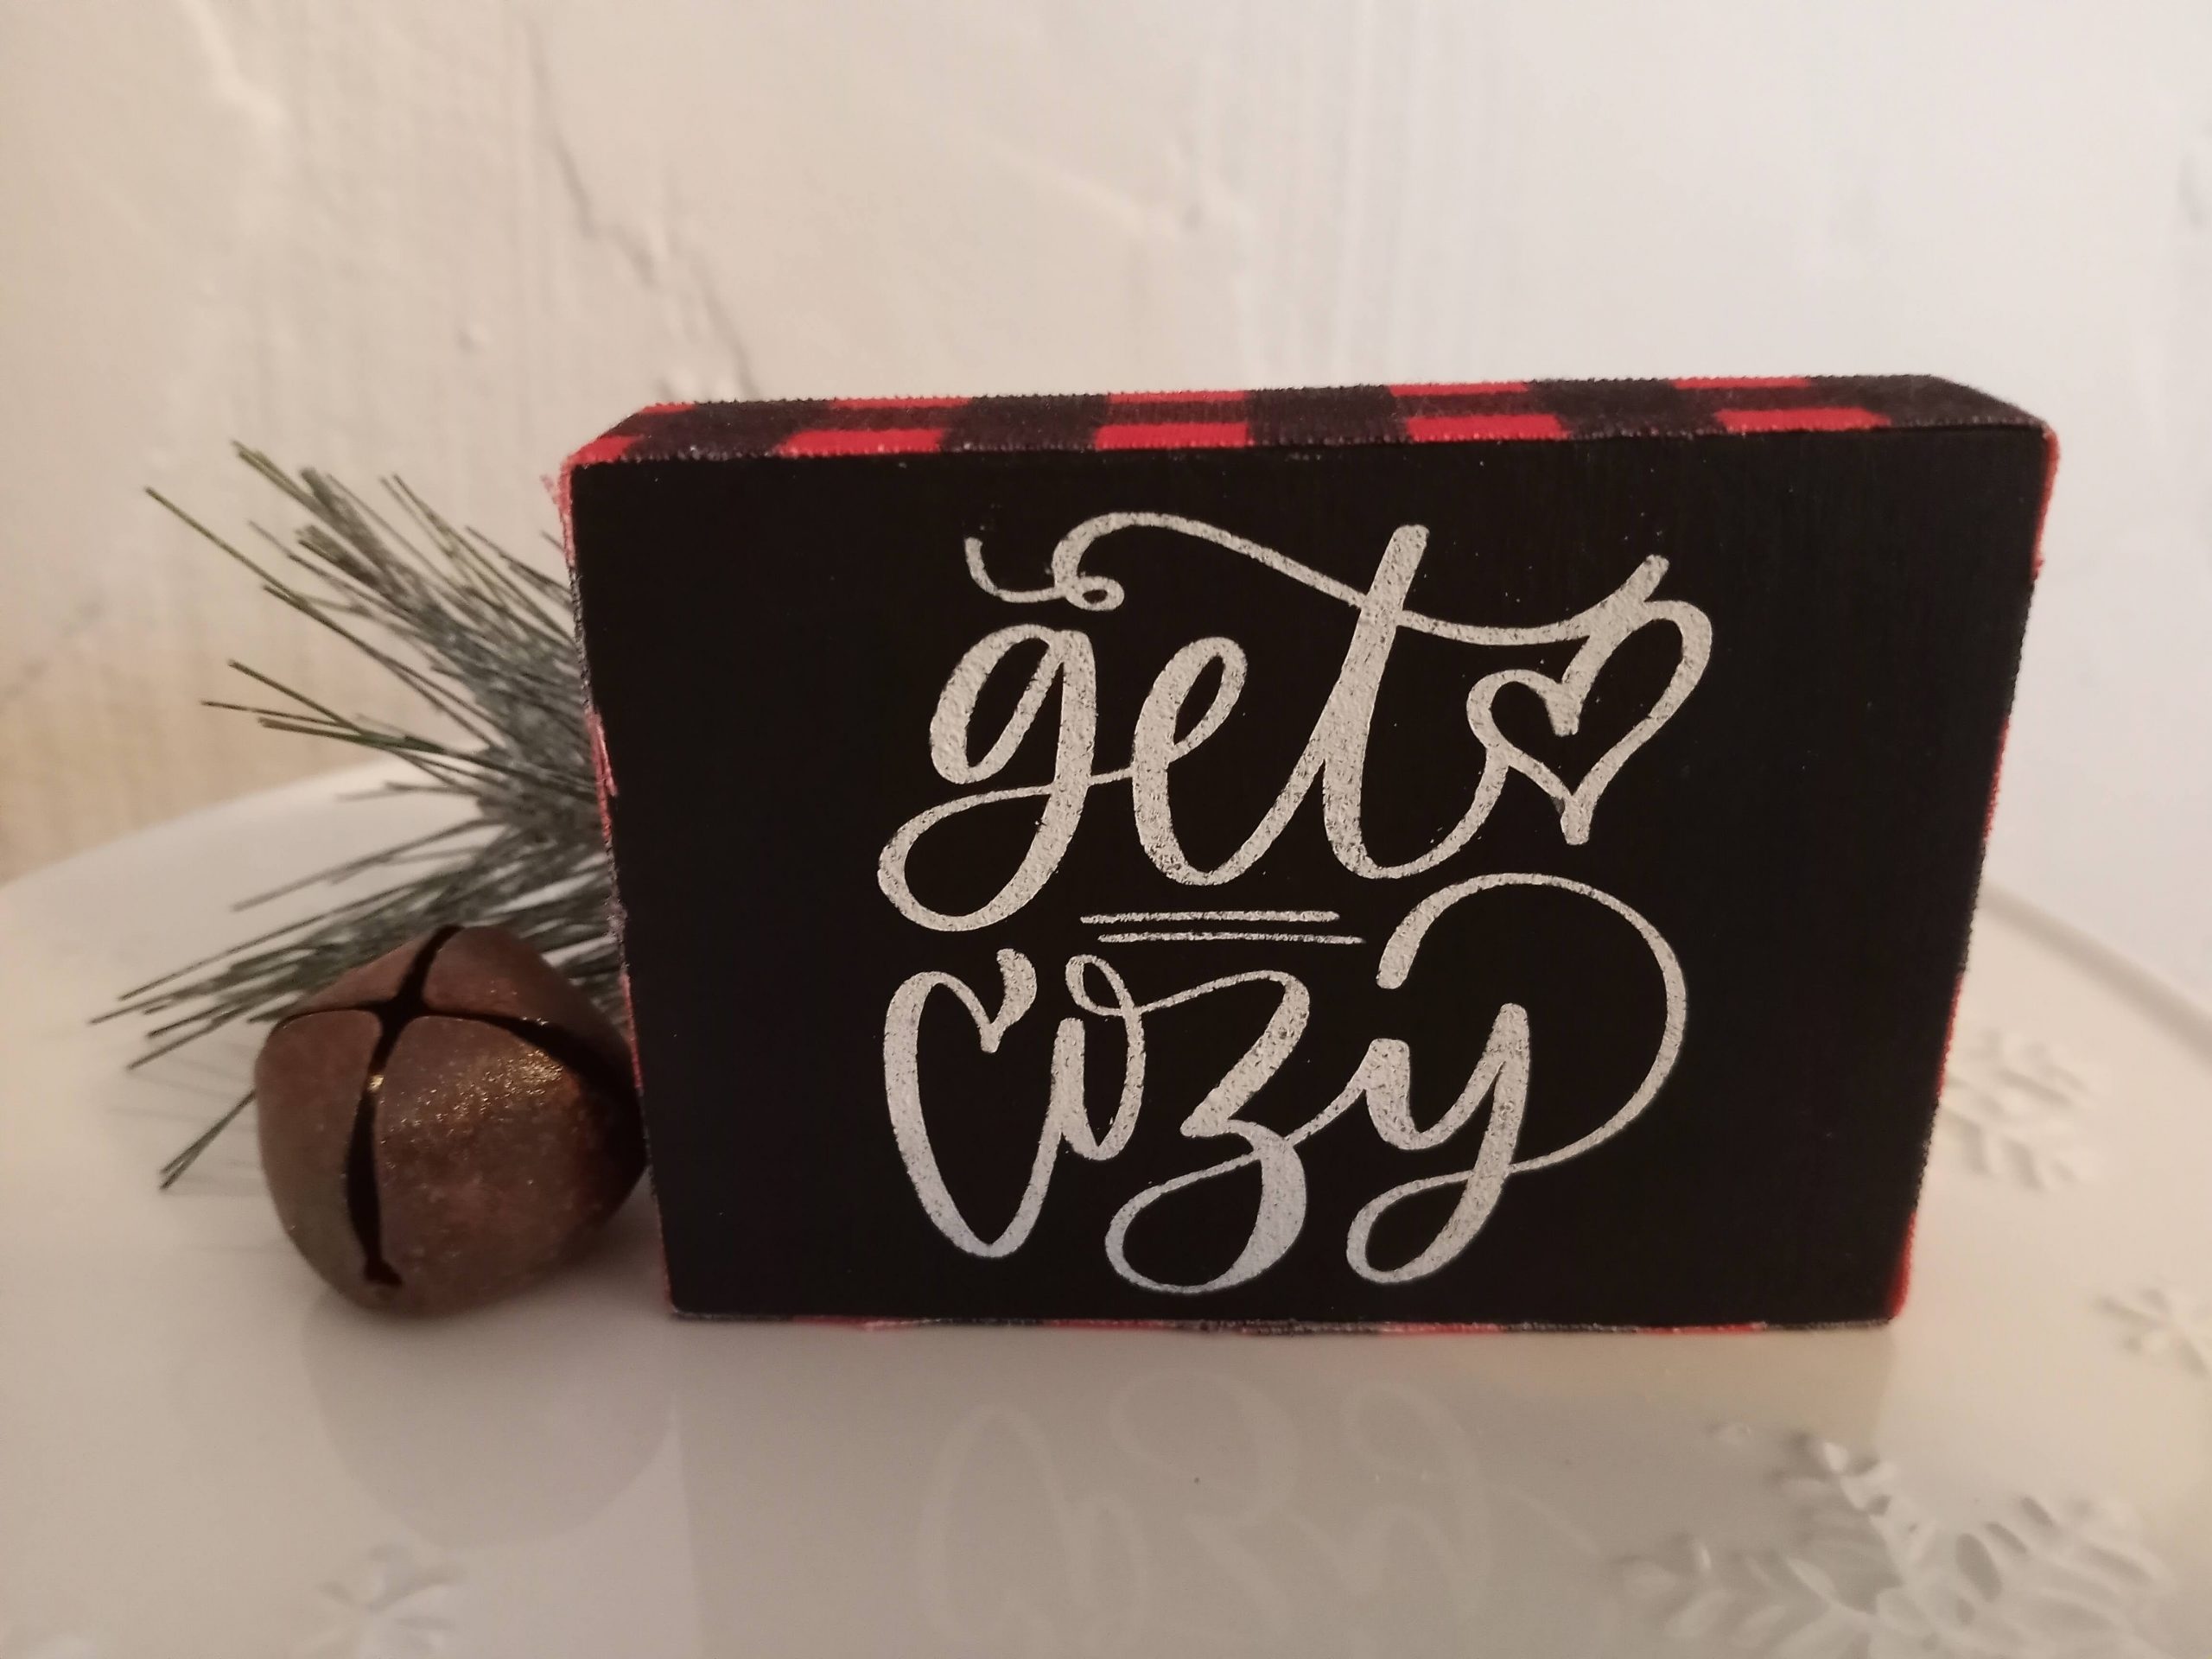
Now when I grabbed the piece of molding I wasn’t even thinking about writing a blog post. Some of the photos are from the second sign I made using the crown molding.
Hopefully, I can piece together some of the processes of how I made this sign including my setup page in Silhouette Studio.
This post contains affiliate links. As an Amazon Associate, I earn from qualifying purchases.
Trust me though, this piece was reclaimed. It was stained with an outdated stain color, had yellowing varnish, and really needed a good cleaning!
I got out my orbital sander and went to work, trying to work with the curves of the piece. I didn’t really want to smooth out those sharp details. Cleaning up the piece for the paint job was what I had in mind.
When I was finished using my sander, I did a little hand sanding on the grooves and details. Then I gave the whole piece a good cleaning with Krud Kutter. I took extra care to clean the detail areas of the piece.
Next, I used the miter saw to cut my wood piece into two signs at 23″ each and had one shorter piece left over.
The SVG File
I created my own cut file for this sign in Adobe Illustrator. It’s really a very simple design. You can grab this file with the button below, or simply create your own file with your favorite font. I was going for a sort of vintage look and I thought this worked out perfectly.
I opened my file up in Silhouette Studio and used my page set-up panel to set up my workspace. My stencil was made from a roll of adhesive stencil vinyl from MI VINYL WORLD. Get $10 off your first order at MI Vinyl World.
After years of using Oracal 631, this is now my favorite go-to for vinyl stencils. In my opinion, it is the best stuff ever!
I used the roll feeder for cutting my vinyl and so I set my page for Cutting Mat>None in the page set-up panel.
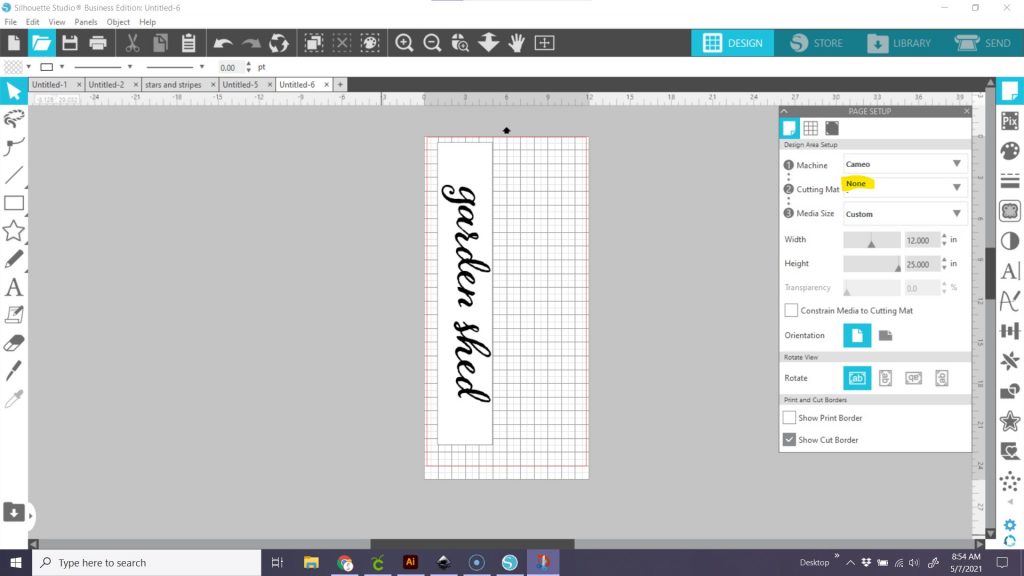
I also rotated my design to fit inside a rectangle that I used as a weeding box. Once cut, remove everything that you see in black to create the stencil.
Having that rectangle around the design also helps me to place the design on my wood more accurately. I use TransferRite to transfer my vinyl to my projects.
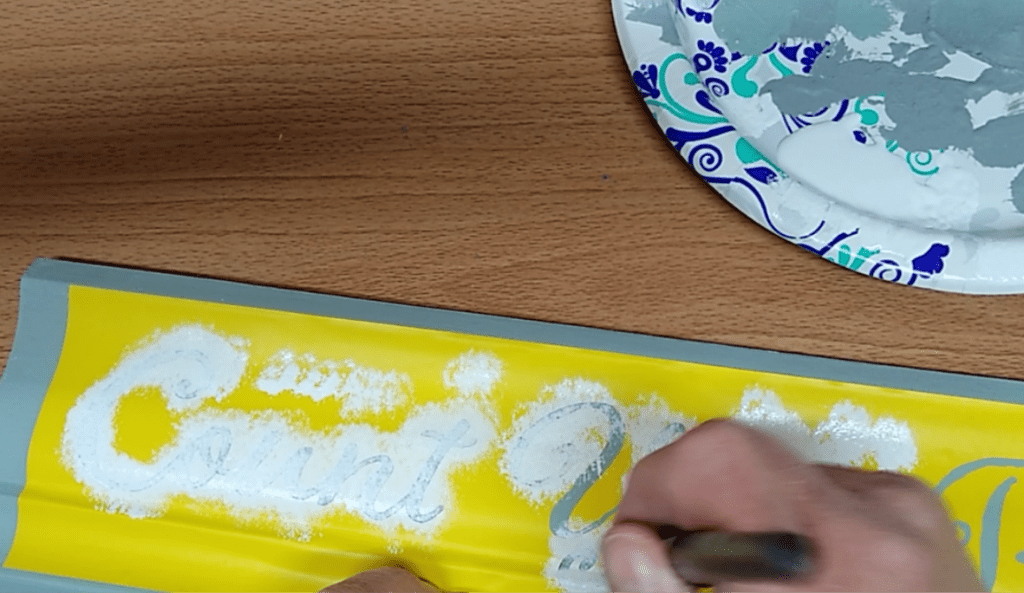
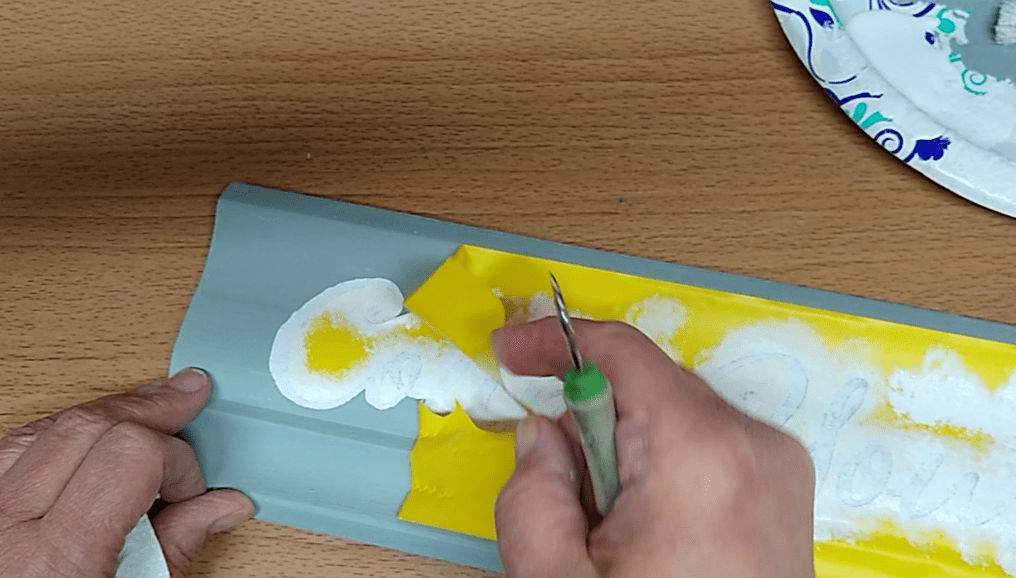
In this photo, I’m painting another project on another section of the crown molding. You can see how I have the stencil placed on the wood.
My Tips for Using Reclaimed Wood
For the garden shed sign, I used Dixie Belle paint in the color “Cotton” for my white background. I painted this earlier and allowed it to dry thoroughly. Look for local shops to purchase Dixie Belle. It’s often less expensive than if you order online. Shops also have color charts and this helps me when I’m planning out paint to buy for future projects.
Dixie Belle, like most chalk paints, can tend to get thick. If that happens, I just thin it with a little water. This minimizes brush strokes and makes the paint easier to work with.
I used the gray Dixie Belle color “Manatee” for the lettering.
These Stencil brushes are my favorite sign stenciling tool, but I also use makeup sponges for larger signs. They weren’t expensive and they’ve been used for LOTS of signs.
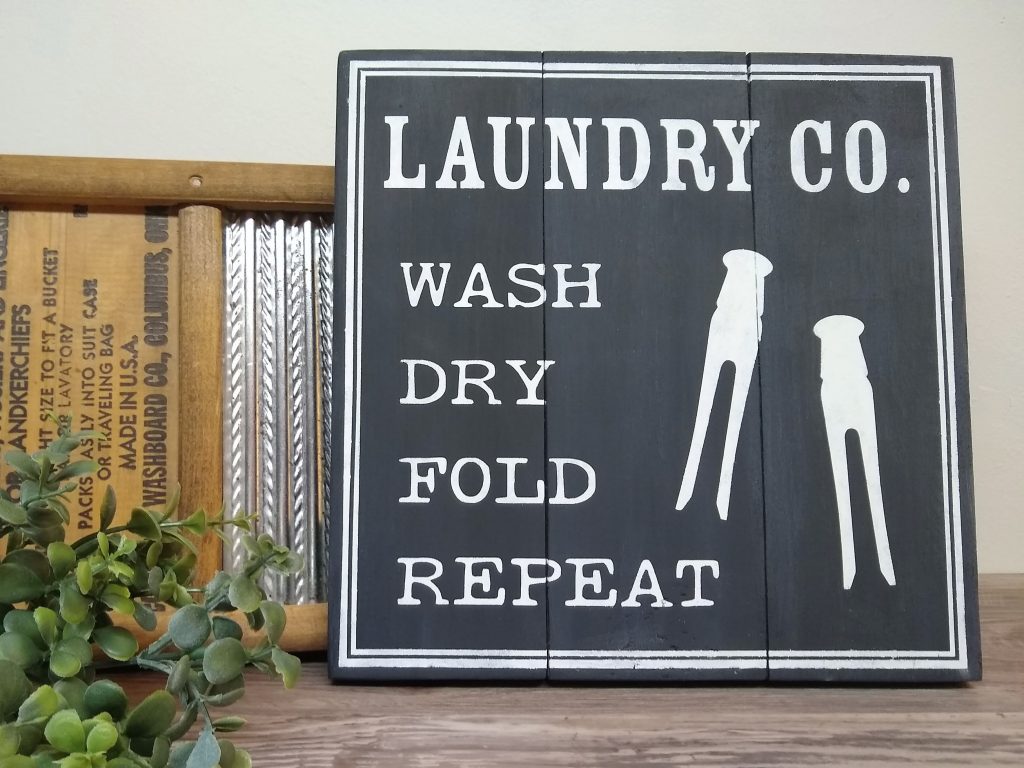
I find that with the right materials and techniques you can get nice lines on even rough wood like this Laundry Co. sign from reclaimed wood. No Mod Podge, no fuss. You can get the SVG for this sign in my Creative Fabrica Shop.
Removing the Stencil Vinyl
After you’ve stenciled your lettering, you’ll want to carefully remove your stencil vinyl. I’ve never really had a problem with my stencil vinyl pulling up the paint. Just be sure you have a well-prepped surface and give the base coat a sufficient amount of time to dry. I like to let it dry overnight whenever possible.
Finishing the Garden Shed Sign
Once my stenciling was dry, I did a little distressing and dry brushing for an antique sort of look.
Lastly, I used the drill press to drill a couple of holes for a wire hanger.
Chalk paints need some sort of topcoat. I used a clear wax that wipes on and wipes off. Then just buff slightly and you’re done. You can use a brush to apply, but I find an old t-shirt works fine for signs.
What Do You Think of the Garden Shed Sign?
Would you make a sign from reclaimed trim pieces or reclaimed wood? Have you tried vinyl stencils with your cutting machine? Let me know if you would like to see a fuller sign tutorial using stencil vinyl.
Use the button to download the SVG. For personal use only.
Thanks for stopping by today and we’ll see you next time!