Super Cute Felt Project for Your Easter Egg Hunt
*This post contains affiliate links
Last year we had our first Easter Egg hunt with our grand kids at home and it was so much fun. Today I wanted to share with you this little project for making an bag to hold all those colorful eggs when the kids find them.
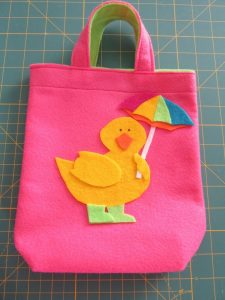
Several years ago, I was selling my handcrafted baskets on Etsy. Before Easter, I had come up with this little bag and had a special order from someone who wanted them for their grandchildren.
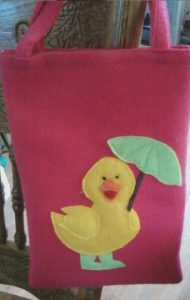
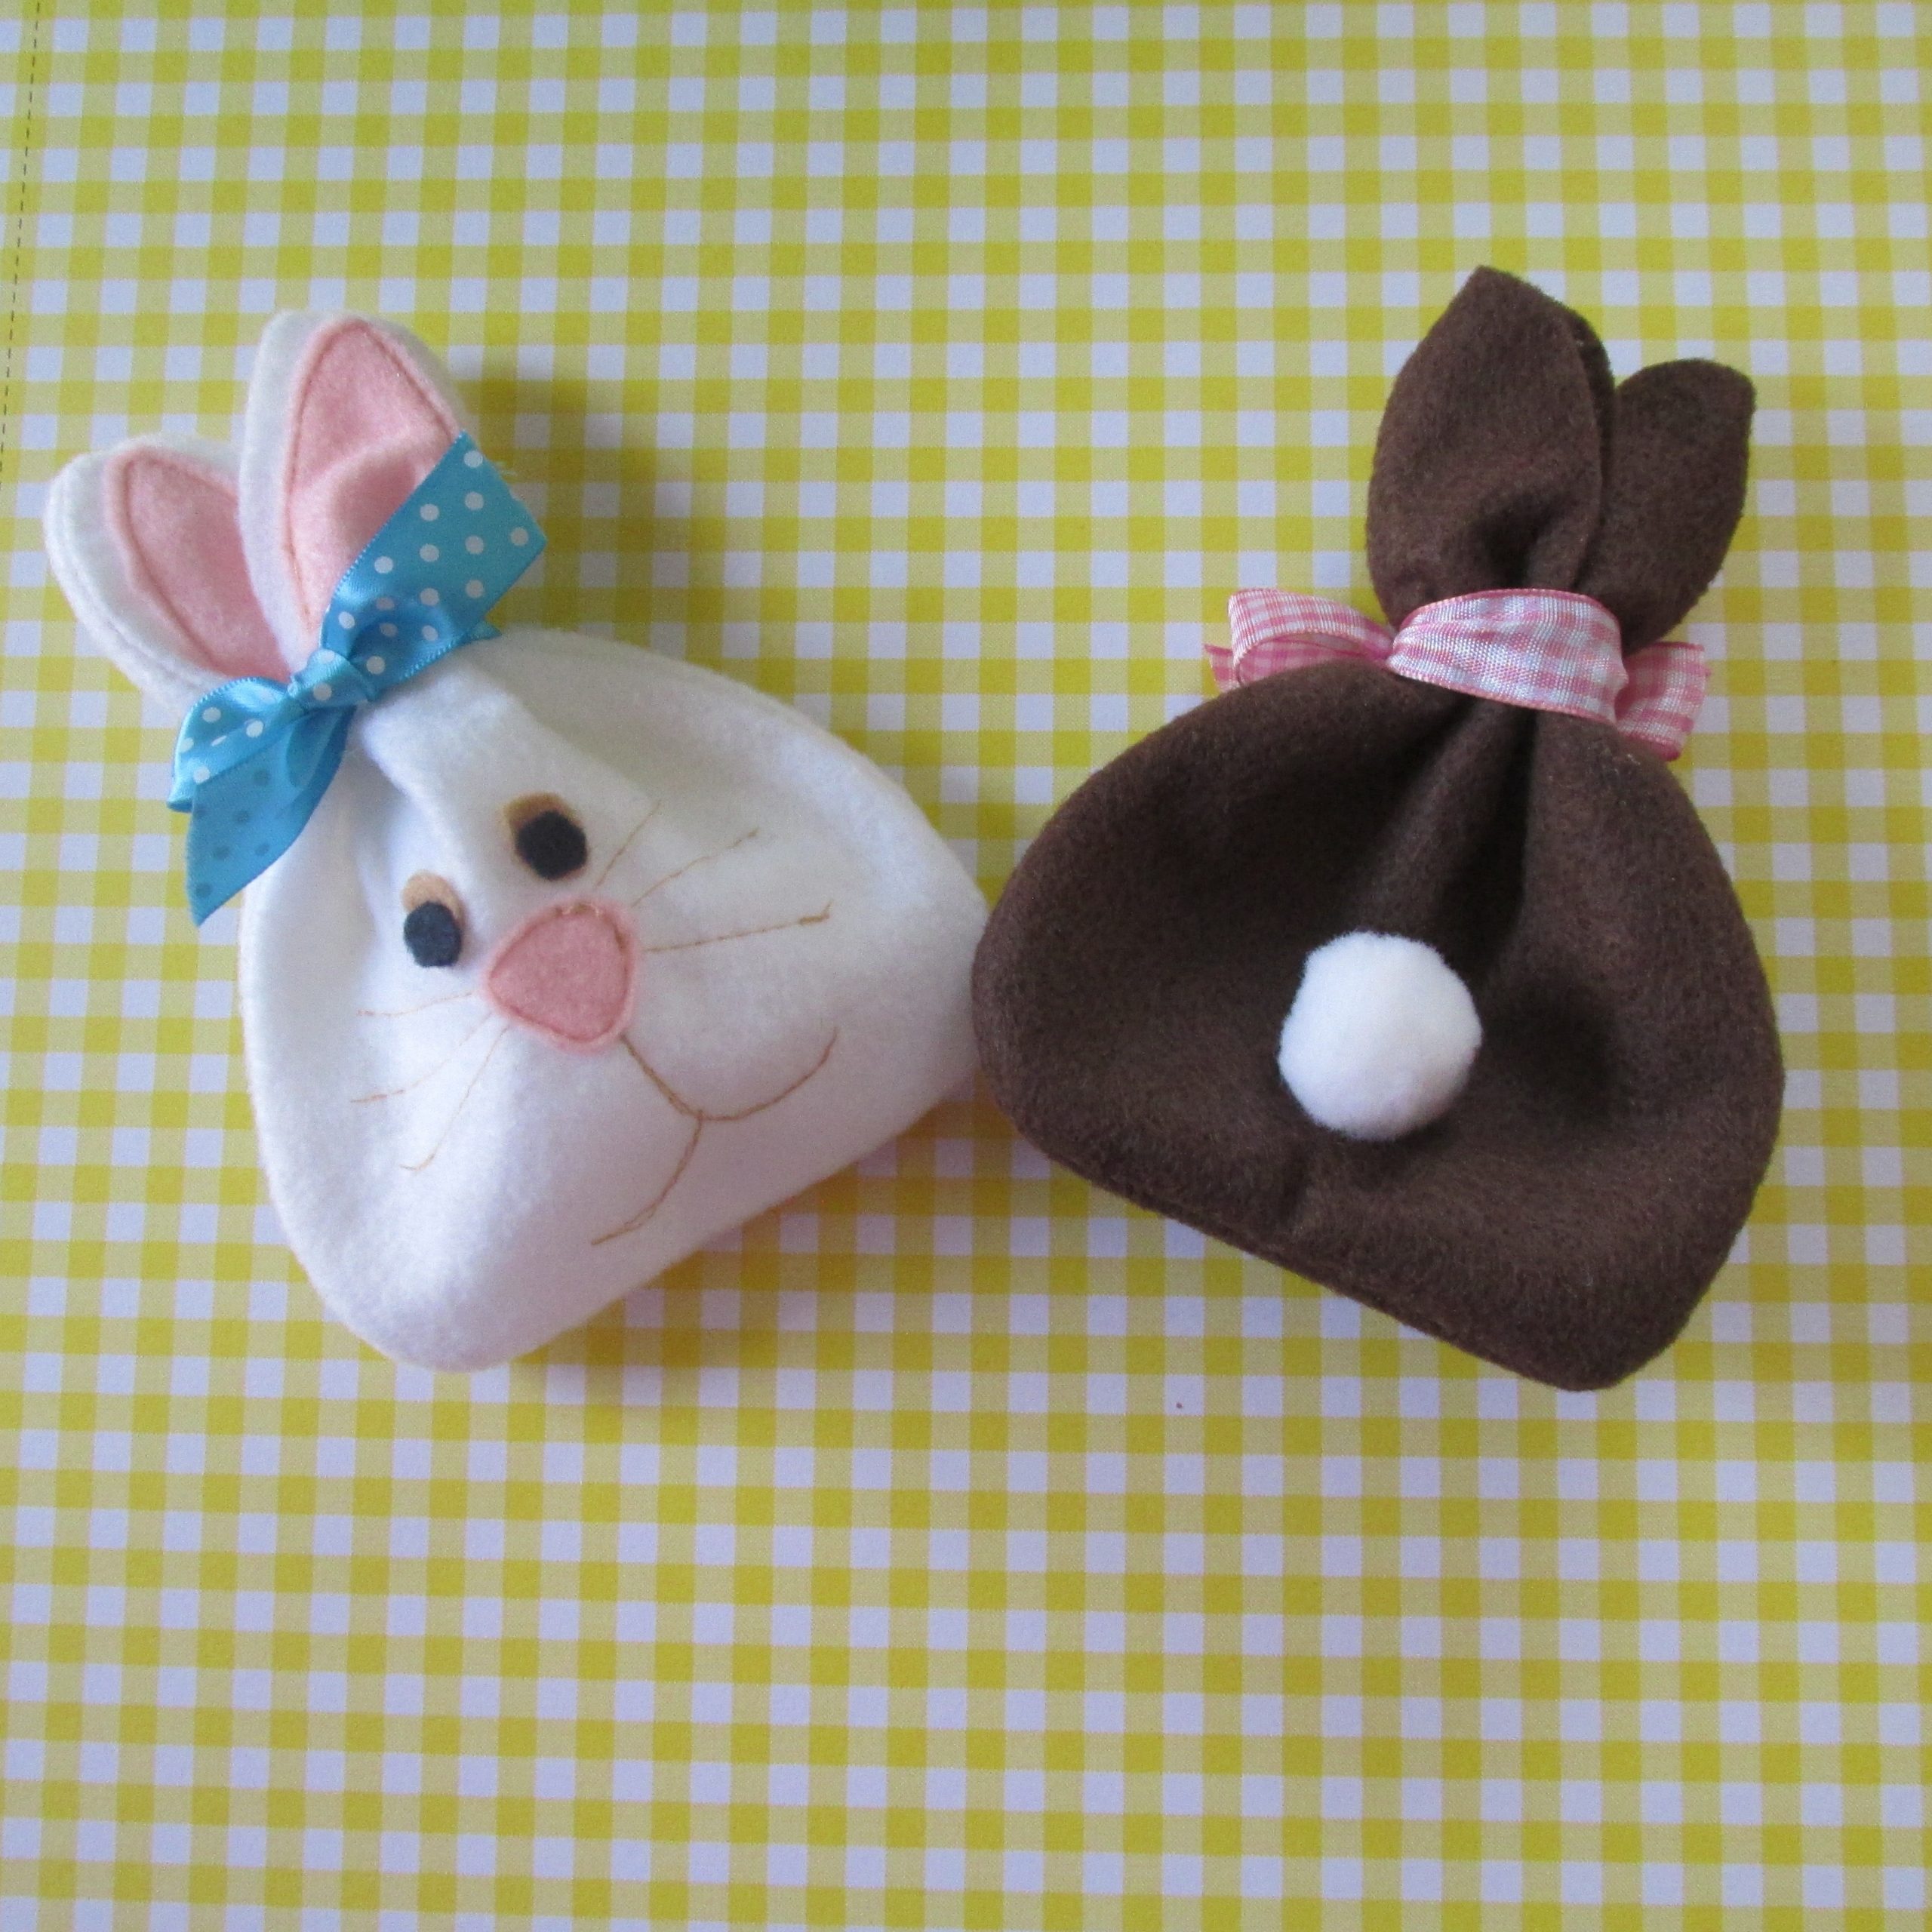
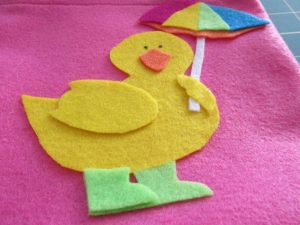
At the time, I didn’t know very much about selling on Etsy, and have since learned LOTS! One day, as I was looking at old photos on my camera card, I came across the photo of that very first bag. Now as I said, I didn’t know much about selling on Etsy. This is the BEST photo I had.
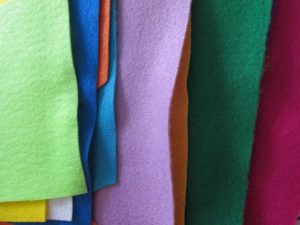
I had lots of felt from a 4-H class that I had taught, so I decided to give it a go. This is Eco Fi Felt and is very inexpensive. You could certainly use a wool felt for this project as well.
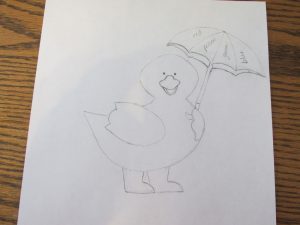
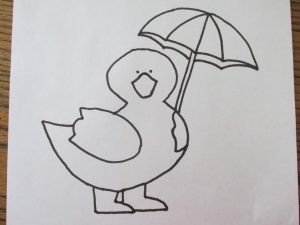
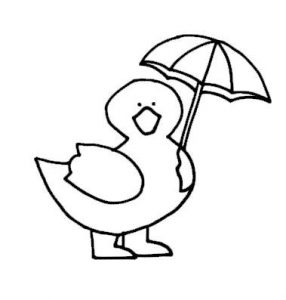
The first mission was to draw my little duck. I didn’t have a pattern, so I sat down and drew one based on my photo.
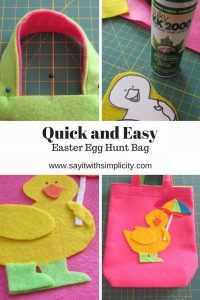
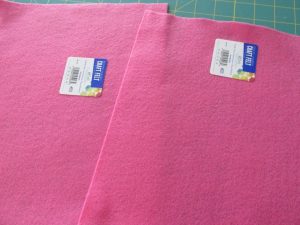
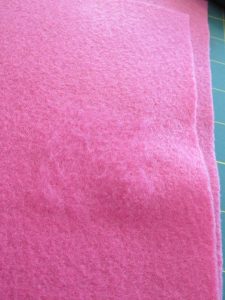
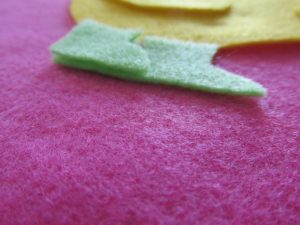
I chose some pink felt. Removing the stickers can be difficult and as you can see, can cause some fuzziness when you pull it off. Simply put this on the inside of the bag and you will not see it.
Sewing the Bag
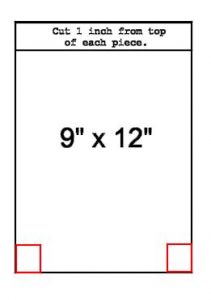
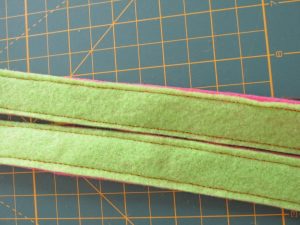
A rotary cutter works well for cutting the 1 inch piece from the top of each piece of felt. While it isn’t absolutely necessary, I cut a 1 inch strip of a contrasting color to line the handles of the bag. Since there isn’t a right and wrong side, and there is no fraying, I simply sewed the two pink strips to my green strips about 1/4 inch away from the edge.
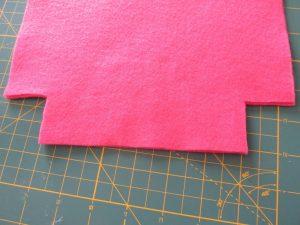
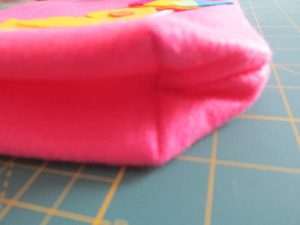
Once the handles are complete, prepare your bag body for sewing. I decided on a boxy bag bottom, so I cut a 1 1/2 inch square out of the bottom corners of each piece.
For a super simple project, skip the step for the boxy bottom. Later when you sew the bag pieces together, simply sew down the sides and across the bottom.
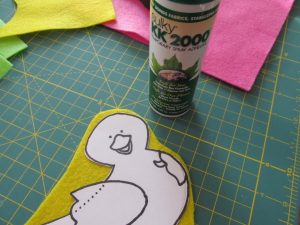
Now you’ll want to cut out the pieces of your duck. Some Sulky quilting spray was a handy tool to keep the pattern pieces on the felt as I cut them out.
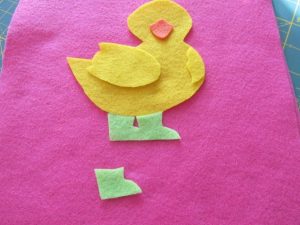
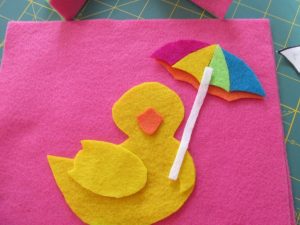
I doubled up on the little boot pieces on one boot to give it some dimension. I also decided to give my duck a little multicolor umbrella. Remember to put the handle on the inside, not on the outside like I did here.
I also should have put it between the orange and colored layers so that it looked like it was on the inside of the umbrella. Oh well.
On the original bag, the duck was sewn on by machine. This time little Mr. Duck was glued on one side of the bag with
Aleene’s Fast Grab Tacky Glue. So much easier!!
 |
| A sharpie marker works well for the eyes. |
The Handles
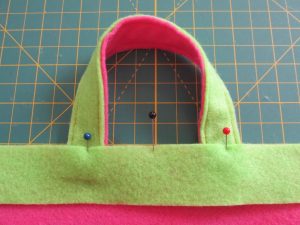
I decided to line the inside top of the bag with my scrap of contrasting fabric. I positioned the handles between this strip, and the outside of the bag.
Sew at the top of the lining strip, and the bottom of the lining strip. This finishes the top of the bag very nicely.
Once your handles are complete, sew your bag with right sides together and complete the boxy bottom. Turn right sides out.
Now your bag is complete. Isn’t this a cute little bag? My granddaughter loves it.
Here is the little duck drawing to use as a guide.
That’s it for today. If you have questions about this project, feel free to leave them in the comments and I will do my best to answer them. Thanks for stopping by today and hope to see you again soon.
text 2018, photos and information by Say It With Simplicity


