
Make Your Own Blank Card Bases
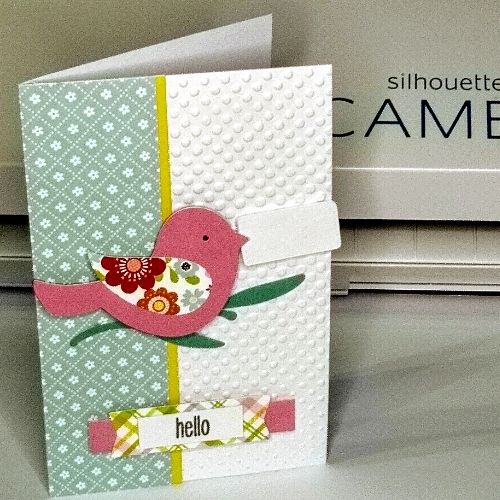
A great handmade card starts with a blank card base to add color, texture, and embellishment. Here are a few of my beginning tips for card bases.
This post may contain affiliate links. I may earn a commission if you make a purchase when using these links at no additional cost to you.
Get a Great Start with a Blank Card
You can buy pre-scored blank cards, with or without envelopes at many craft stores. In my local area I often find them at Joann and Walmart. These are available at other places as well.
The A2 card is a very popular size and is 5 1/2 x 4 1/4 inches. This is a great size for mailing too. It is also a great size when using patterned paper stacks that are 6×6 inches.
Check out the coupons page at scrapbook.com for cardmaking deals and freebies.
Creating your own A2 size card bases is very easy.
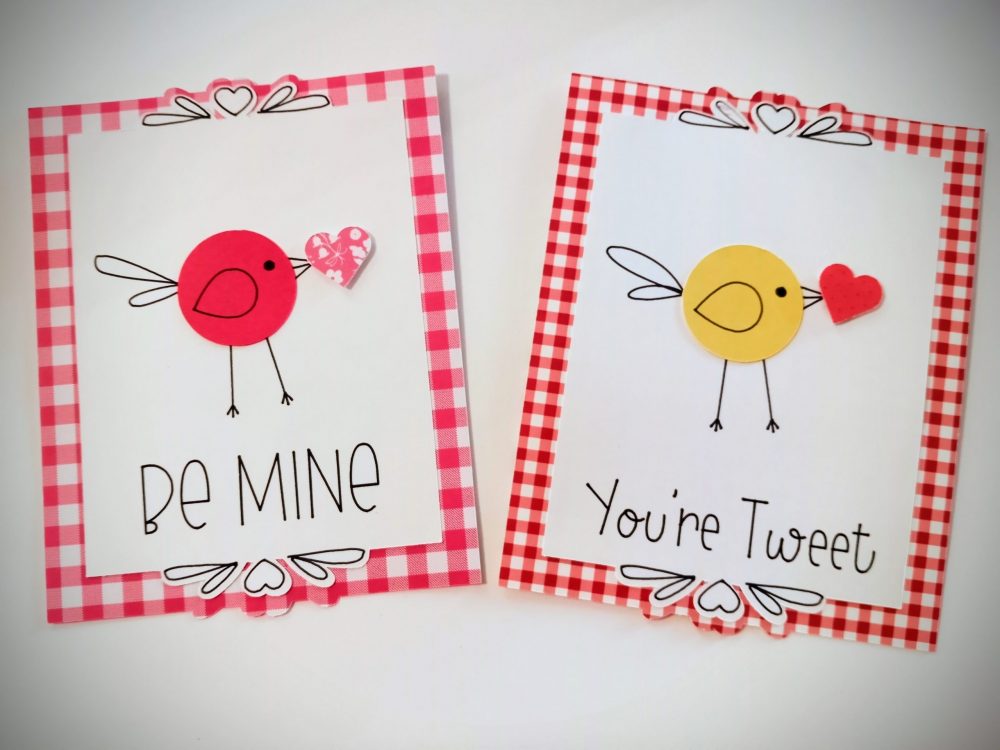
Start with a piece of sturdy 8 1/2 x 11-inch card stock. 110# cardstock is a great choice. Using a sturdy cardstock for your base will give you the most professional results. Investing in a package or two of cardstock to use for card bases will take you a long way in your beginning card-making journey. I’ve also used white cardstock to cut images on my Silhouette Cameo or Cricut Explore, and then used markers to color the images to add to my card. While you can use colors or kraft cardstock, I find myself most often using white and then layering my elements on it.
This is the cardstock that I use most often.**
Maybe you aren’t sure if you want to continue card making, but you want to try it.
Cutting your cardstock in half to make your card bases is made easier by the use of a good-quality paper trimmer. If I was going to recommend anyone tool to a beginning card maker, I would highly recommend some sort of paper cutter or trimmer. I will discuss this in a later post.
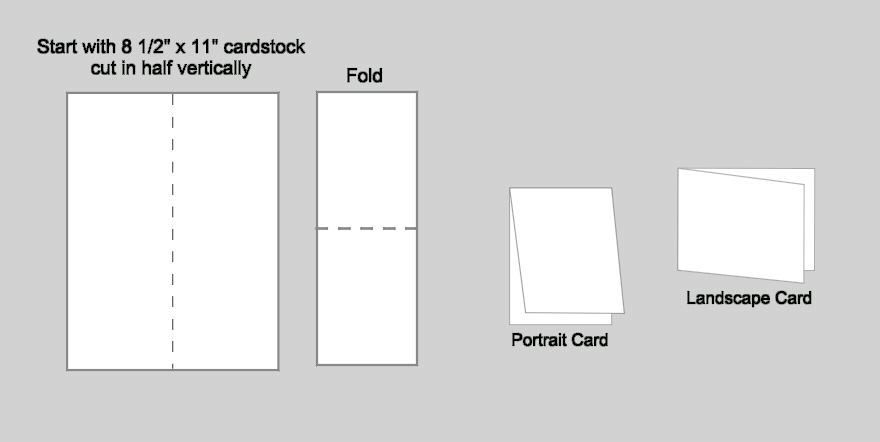
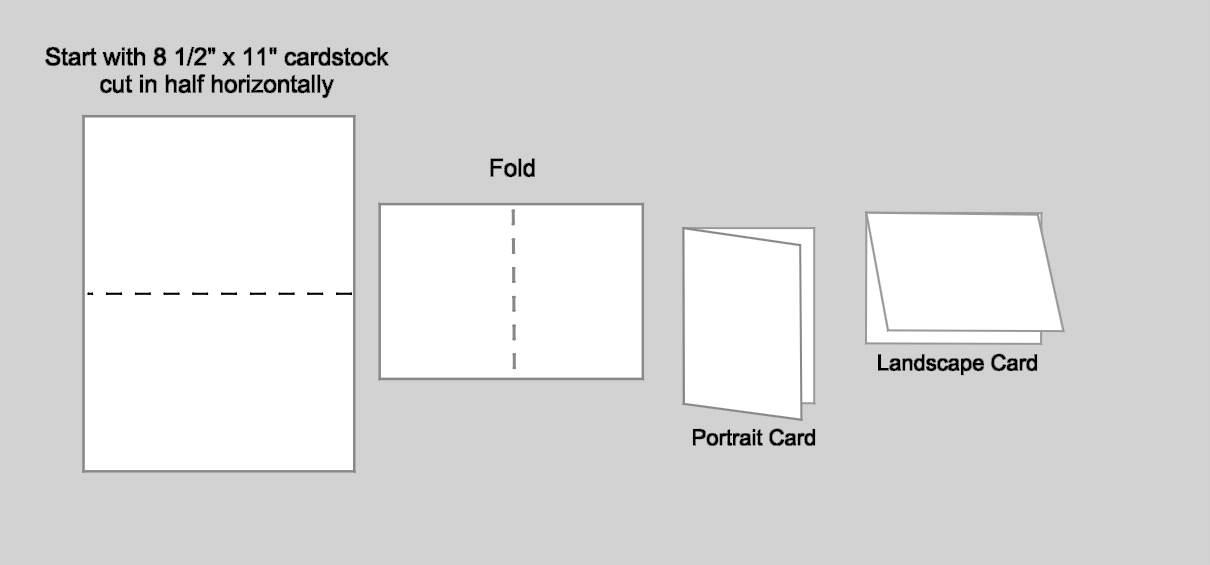
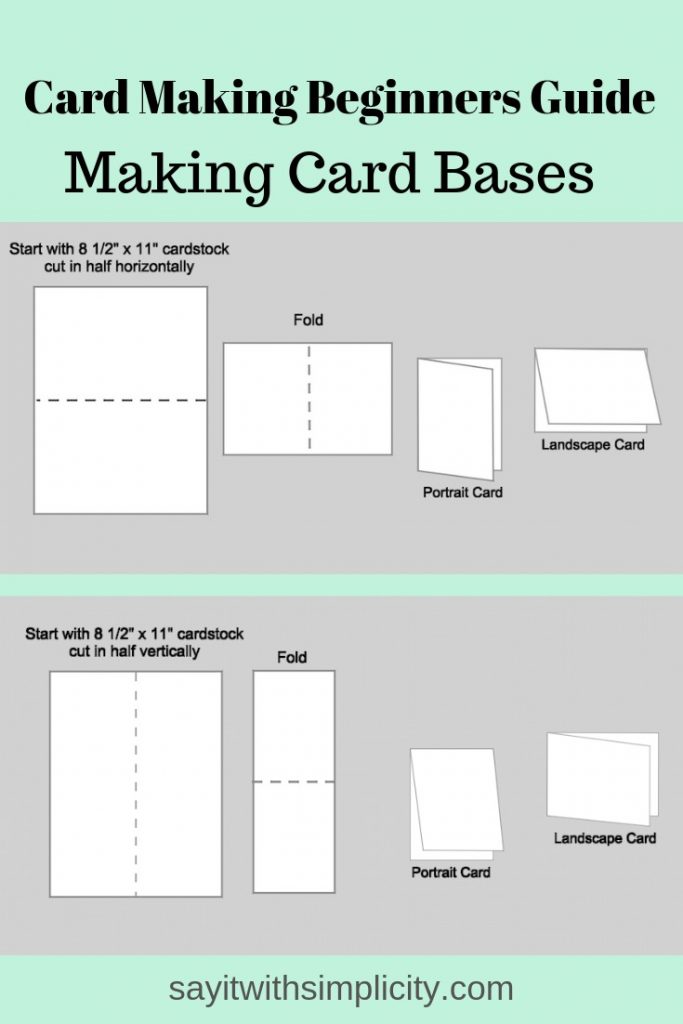
Cutting Guidelines for Your Card Bases
Cut your cardstock in half either vertically or horizontally. Fold each piece into a landscape or portrait card. You will now have two card bases for your handmade cards. Envelopes for your cards can often be purchased in craft supply stores or in the paper section of stores like Walmart or sometimes even printing shops.
Mailing your handmade cards
While the A2 card size is great for mailing. Be sure to check with your postmaster if your card has multiple layers or has embellishments that you don’t want to be damaged. There may be an extra charge for mailing some handcrafted cards.
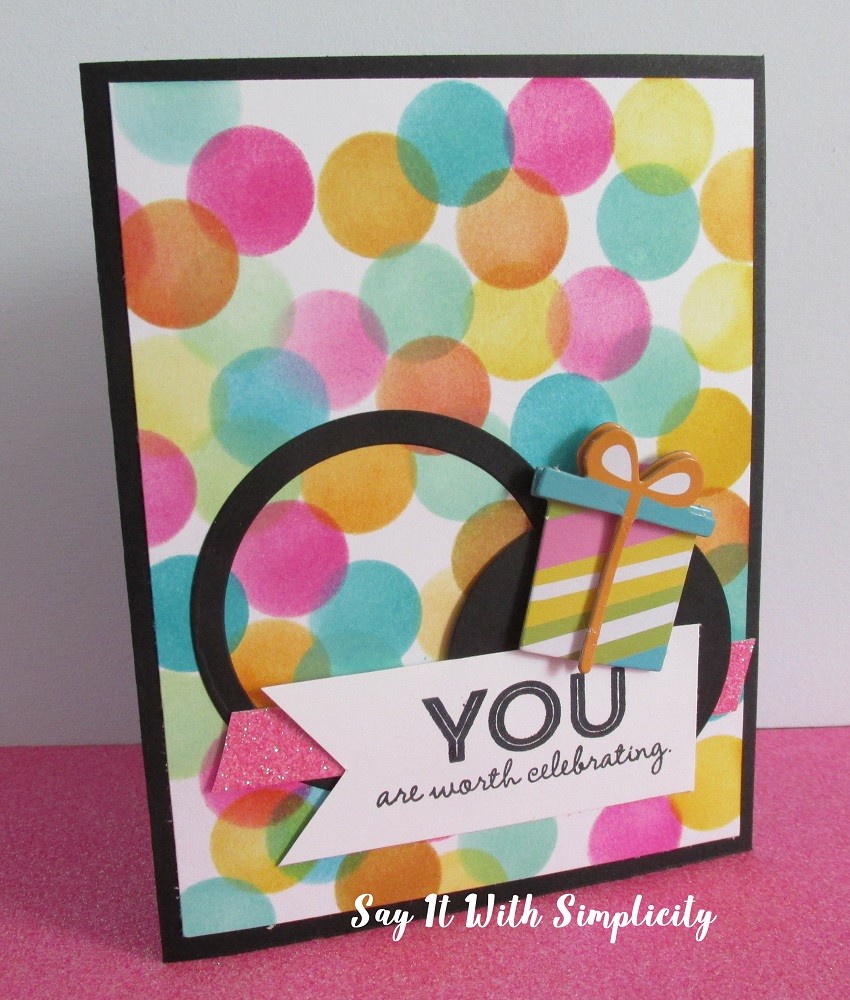
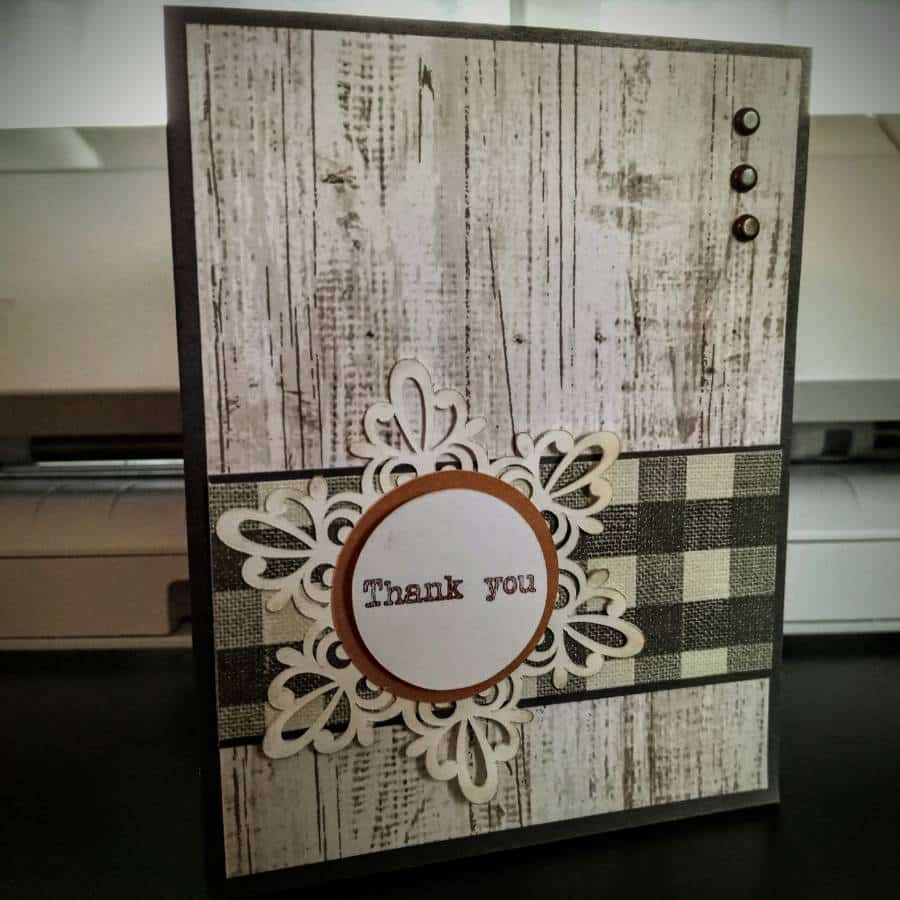
Now that you have made bases for your handcrafted cards, you’re ready to move on to stamping, decorating, and embellishing your cards.
I enjoy purchasing patterned paper and embellishments from scrapbook.com.
Thanks for stopping by, and enjoy creating for your home and family today!
**“As an Amazon Associate I earn from qualifying purchases.” However, I only link to products that I use myself and highly recommend to my readers.

What size envelopes will these cards fit into and the best place to purchase them?
These are typically referred to as A2 size cards. The envelopes would be 4 3/8 inches x 5 3/4 inches. I’ve found them locally at Walmart, Joann, Staples, and other office supply stores and also Hobby Lobby and Amazon.
Do you know where I can get a template with the landscape layout that will print two cards at once? I want to insert my own pictures and have them 2 up. Thank you!
Hi Sandy! Have you thought about using Canva? Create an image that is 11″x8.5″. Add rectangular elements to create your card bases and then add your photos. The neat thing about Canva is it will show you the centering lines. Then save as PDF and print. Powerpoint may be another place you could create a template. That’s my initial thought. Let me know if you have any more questions. Thanks!