Sublimation on Wood: My Experimental Method
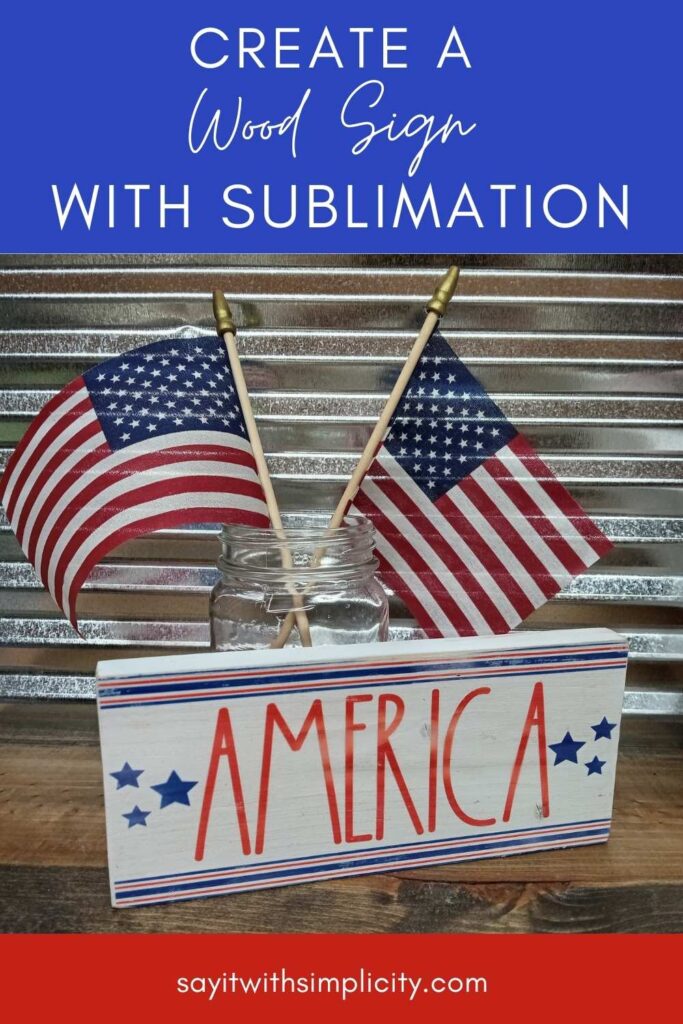
Sublimating designs on wood is a quick, easy, and low-cost way to create home décor signs. I’ve watched several different videos on this, but I’ll admit that I am a TOTAL newbie. I used a similar technique with a different product than is usually recommended for my sublimation base coat.
So, in this article, I’ll walk you through what I did in hopes of giving you some inspiration for trying sublimation on wood for yourself. If I can do it, so can you!
This post contains affiliate links. I may earn a commission if you purchase after clicking on one of these links. I only link to products that I use and highly recommend. As an Amazon Associate, I earn from qualifying purchases.
Tools and Supplies You’ll Need
You’ll need the following tools and supplies for sublimating on wood:
- Wood blank
- Dixie Belle Satin Clear Coat (or Polycrylic)
- White Paint
- Paint Brush or Foam Brush
- Converted for Sublimation Epson EcoTank Printer and Ink
- Sublimation Paper
- Heat Resistant Gloves (Optional)
- Scissors
- Sandpaper
- Heat Resistant Tape
- Heat Press
- Butcher Paper
I used a scrap of 1″x4″ for the wood blank. So the work area of my sign blank was about 3 1/2″ high x 8″ long. I trimmed the ends when I was finished.
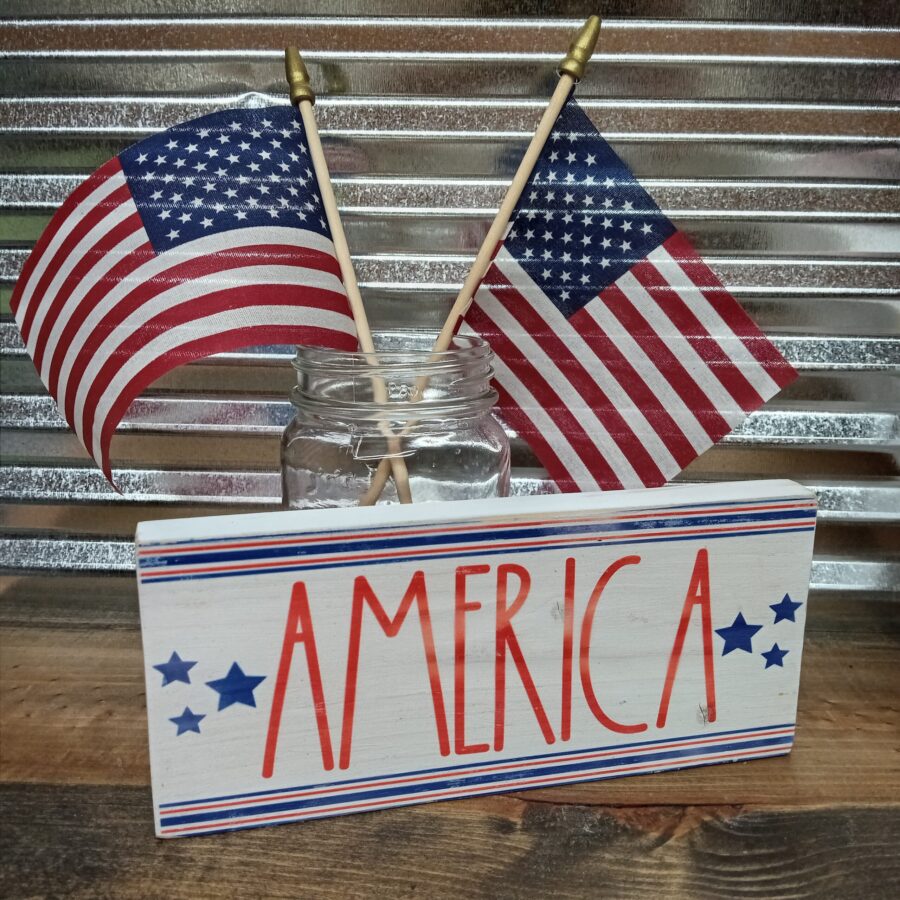
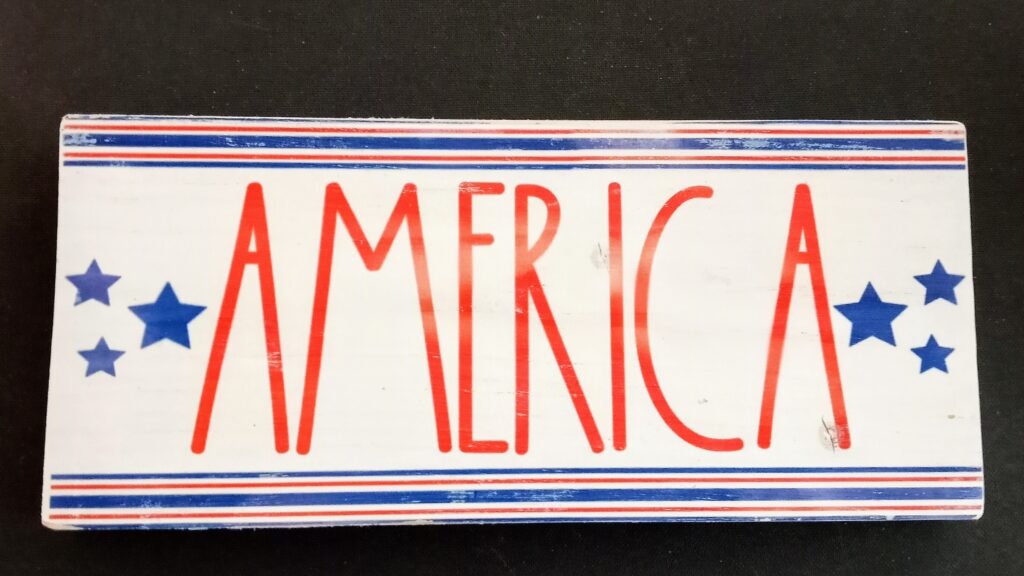
For my sublimation design, I used the “America” by Diva Watts Designs that I found for free on Design Bundles.
Sublimating on Wood Step by Step
Step 1: Prepare the Wood
From everything I’ve read, sublimation on wood is best done on smooth wood. I sanded my wood with an orbital sander, wiped off the dust, and painted it with Waverly White Chalk Paint. Since this was an experiment I only gave it one coat and allowed it to dry thoroughly.
Keep in mind, that this was just a scrap piece of wood, so there are some knots and blemishes that do show through on the end product.
Next, I used Dixie Belle Satin Clear Coat to cover the chalk paint and create my sublimation base. Sublimation requires some sort of poly coat in order for the sublimation ink to bind to the wood.
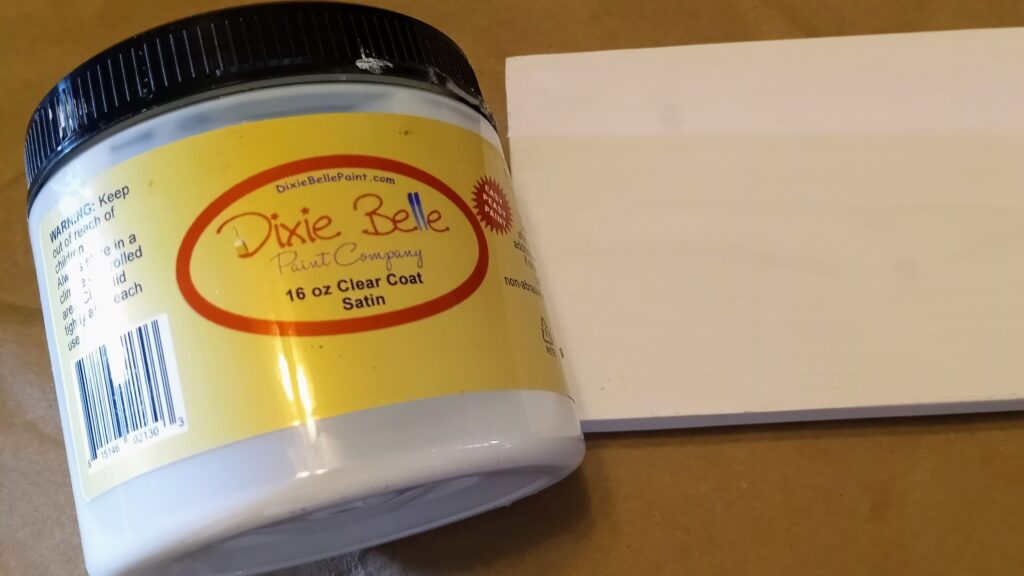
Many people use MinWax Polycrylic, but I didn’t have Polycrylic on hand, so I decided to try the Dixie Belle. I did one light coat with a paintbrush and allowed this to dry.
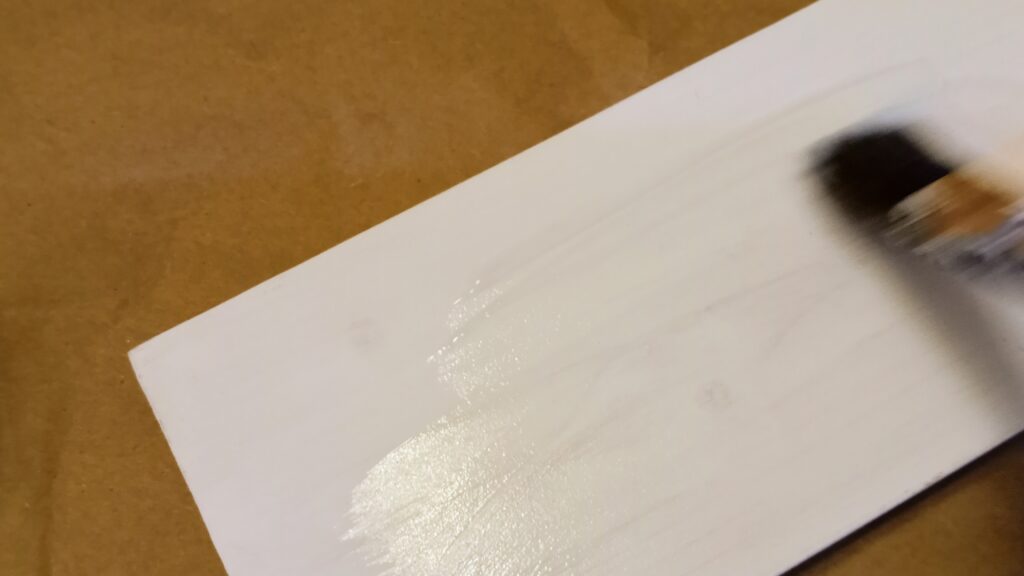
One thing I love about the Dixie Belle Clear Satin is that it dries very quickly and brush strokes are very minimal if any.
Step 2: Prepare and Print Your Design
In the first part of this step, you’ll want to extract the designs in order to open them in your program.
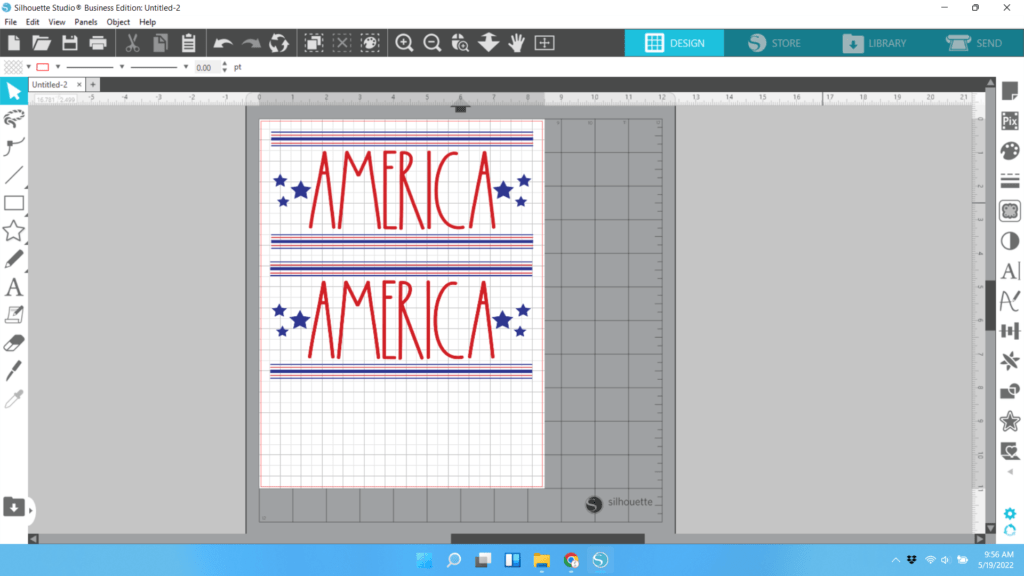
Next, open the PNG from the file. I opened mine in Silhouette Studio.
Your design will most likely open really large and you’ll have to resize it.
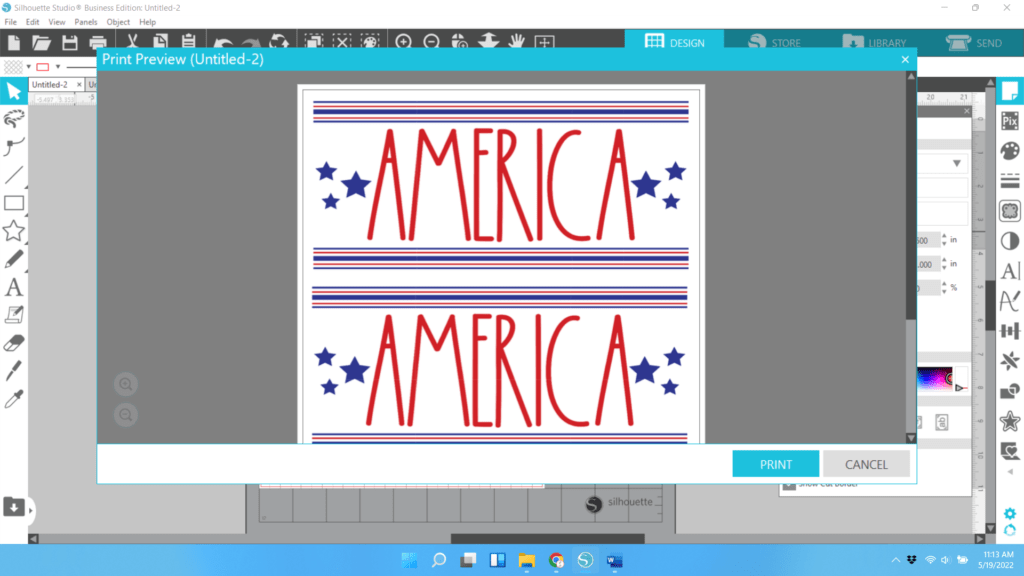
I made a second copy and printed both of them on one sheet. I sized the design to just slightly smaller than the wood I was printing on. In the end, I came right out to the edge, so I could have even sized a little bit smaller.
Do I Need to Mirror My Image?
In short, yes! But, my printer is set to mirror my design as one of my preferences. If you do not have your printer set up that way, you’ll want to mirror your design before printing.
Printing from Silhouette Studio
When you click on File>Print in Silhouette Studio, you have a print preview before selecting your printer and preferences. It’s okay to click print here, you’ll still get to see your print preferences before printing.
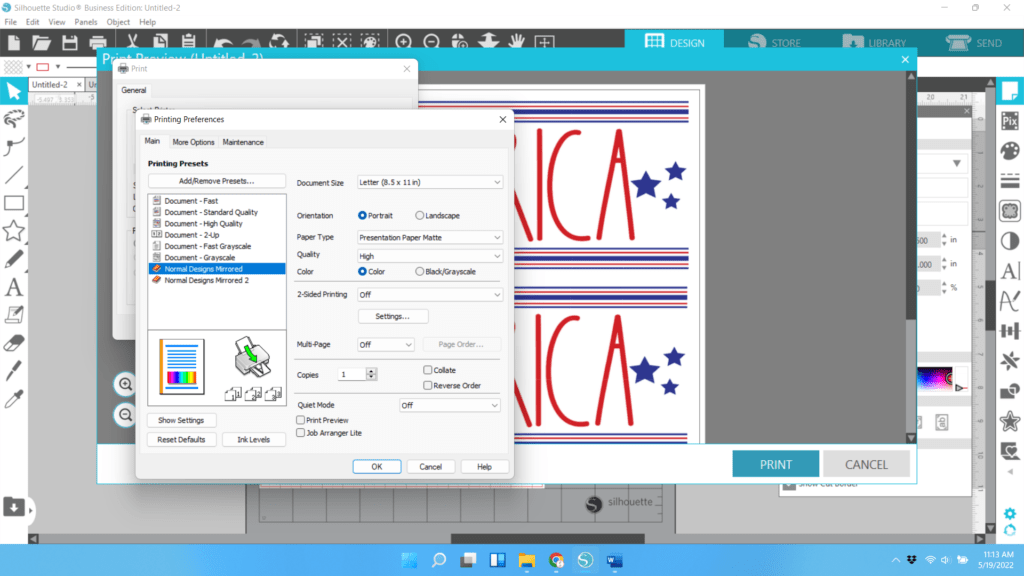
In the next screen I select from my preset print preferences which I have named “Normal Designs Mirrored”. Even though my design is not mirrored in Silhouette Studio, it will print mirrored. If you would like to know more about setting these print preferences, HERE is a link to the YouTube tutorial that I followed.
Step 3: Trim and Place Your Printed Sublimation Design on the Wood
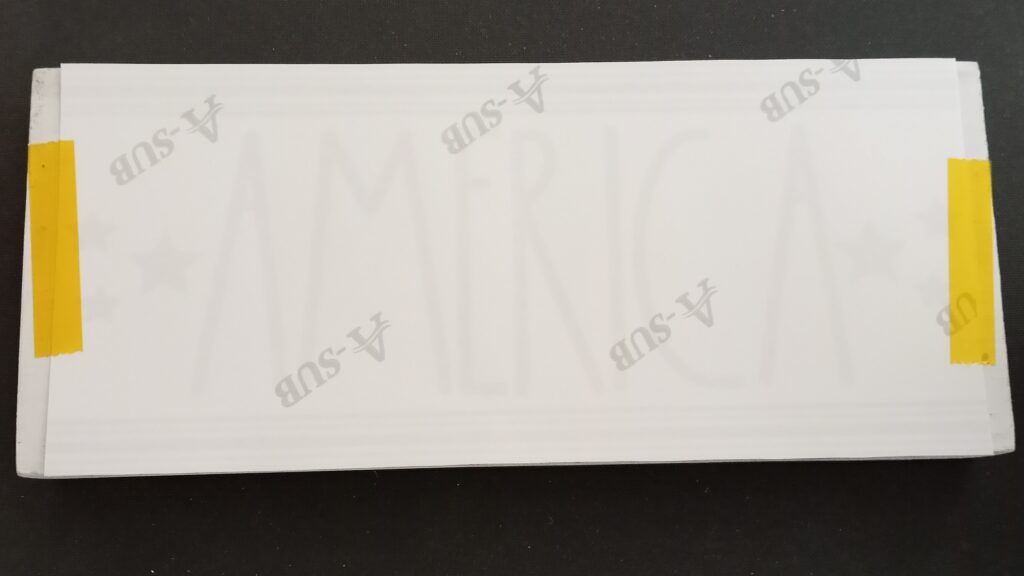
I used a couple of pieces of heat resistant tape to hold my sublimation design in place on the wood.
Step 4: Sublimate Your Design
You’ll want to use some butcher paper over your design. This protects your press from sublimation ink, and maybe even protects your wood against scratches.
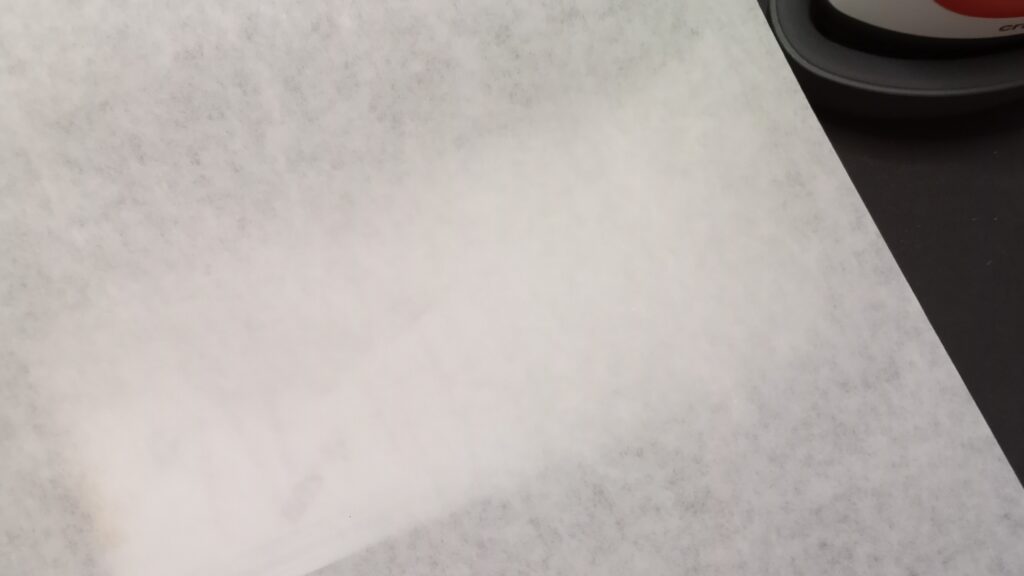
Sublimation takes heat and pressure. On my first try, I decided to use my Cricut Easy Press Mini to sublimate my design onto the wood. I set the press to high, set a timer on my phone for 90 seconds and moved the easy press mini after I had pressed in each area. I did end up going over some areas twice.
Overall, I feel like this method didn’t really yield enough pressure. You can see some shadowy white areas, especially though the middle. But overall the sign didn’t turn out too badly. It has a somewhat distressed look and I’m not unhappy with this first attempt.
A Second Attempt at Sublimation on Wood
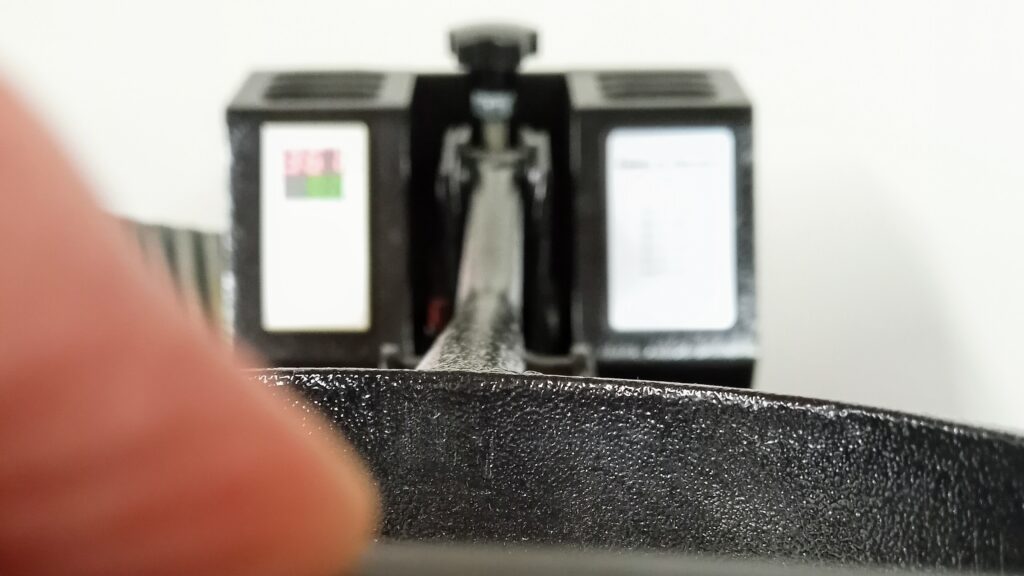
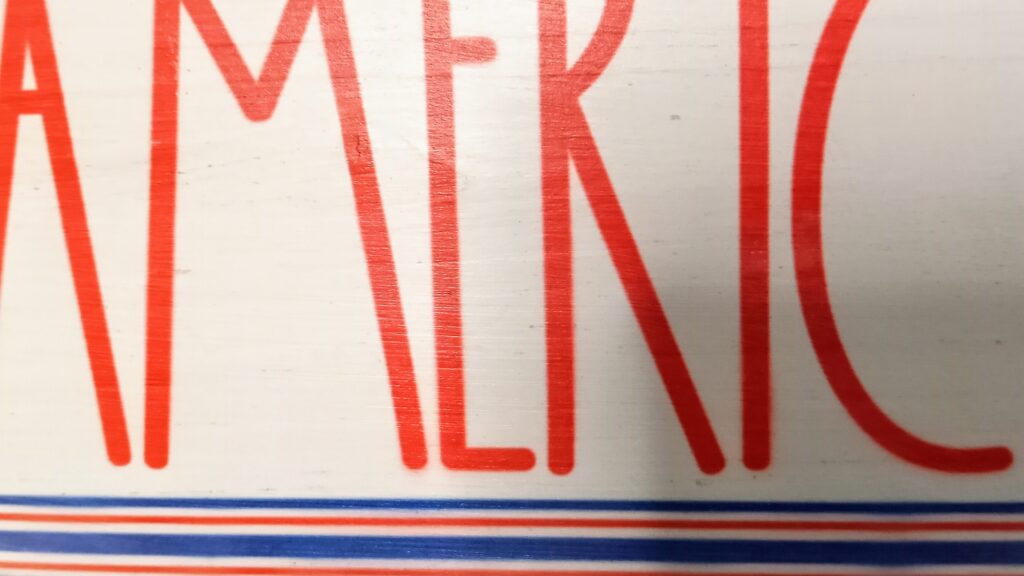
I did do the opposite side with my 15″x15″ Power Press and had better results. I did get a tiny bit of ghosting. Some extra tape may have helped to prevent that. But I do think that the second attempt turned out more even than the first attempt.
My Final Thoughts After Sublimating on Wood
Sublimation on wood is pretty easy to do. For a small sign like this, it’s probably much easier than trying to stencil or weed a decal. Since the first attempt was much better than the first, it was a positive learning experience. I’ll definitely be using the larger heat press if I try a project like this in the future.
Have you sublimated on wood? If so, what did you think of the process?
I’m pretty happy with this little sign. I think it would work great for a tiered tray or shelf sitter. More sublimation projects on wood may be in my future!
Thanks for stopping by Say It With Simplicity! Have a wonderful day and we’ll see you next time.


