DIY Keychains from Hobby Lobby
No-Cutting Machine Needed!
Looking for a super simple craft that turns out absolutely adorable? I recently picked up some keychains and stickers from Hobby Lobby, and in just a few minutes, I had a handful of cute, customized keychains—no cutting machine or special tools needed! This is the kind of project anyone can do, whether you’re a seasoned crafter or just want a fun DIY that doesn’t take a lot of time.
With just a few supplies, you can create unique keychains that make great teacher appreciation gifts, party favors, backpack charms, gift tags, stocking stuffers, and more.
No matter how you use them, these easy DIY keychains add a personal, creative touch to everyday items—and they’re sure to bring a smile to anyone who receives one!
This post may contain affiliate links. As an Amazon Associate, I earn commission from qualifying purchases.
What You’ll Need
This supply list couldn’t be easier! You’ll only need two main items to create your own custom keychains—and you can find both at Hobby Lobby.
I also found some sticker sets on Amazon that come with the keychains. You can select from various themes depending on what you are interested in.
- Keychains – Look for flat acrylic blanks that are ready to decorate. Hobby Lobby has a variety of styles and shapes. I found these in the area with other blanks, near the cutting machine materials.
- Stickers – Choose stickers that coordinate with your keychain size and style. I went with pre-cut sticker sets that fit the keychain shapes perfectly. You can find everything from florals to fun sayings and trendy icons.
- Rubbing alcohol for cleaning the key chains before applying the stickers
To make sure your stickers stick down smoothly and firmly, a scraper tool is really helpful. If you don’t have a craft scraper, no worries—an old gift card or credit card will work. Just use the edge to gently press and burnish the stickers onto the keychain surface, smoothing out any bubbles or wrinkles. This simple step helps your stickers adhere better and makes your finished keychain look polished and professional.
That’s it! No cutting machine, vinyl, or extra tools required.

What’s in a Sticker? Breaking Down the Layers
Each sticker comes in three layers:
- The paper backing – This is the bottom layer that protects the adhesive side of the sticker before you’re ready to apply it.
- The sticker itself – This is the design you’ll transfer to the keychain.
- The clear sticky transfer material – This top layer holds the sticker in place and helps you position and apply it smoothly to your keychain surface.
When you’re ready to use the sticker, you’ll peel off the paper backing first, place the sticker (still attached to the clear transfer layer) onto your keychain, press it down well, and then carefully peel off the clear transfer layer to reveal your finished design. This is very similar to applying adhesive vinyl to a project.
Step 1: Remove the Clear Plastic Protective Film
Before applying your stickers, carefully peel off the clear plastic protective film from the surface of the keychain blank. This film protects the keychain until it is ready to use. Keep in mind that both sides of the keychain have this protective film.
You’ll want to take care that the surface underneath is clean and ready for the stickers. While this is probably optional, I still used rubbing alcohol and a paper towel to clean the keychains before applying the stickers.

.
How to Apply Your Stickers
The instructions for applying the stickers are straightforward and included right on the package. To keep it simple, here’s a quick summary:
- Peel off the paper backing from the sticker to expose the adhesive side.
- Carefully place the sticker onto the surface of the keychain, positioning it exactly where you want it.
- Gently peel away the clear protective film on top of the sticker to reveal your design.
- Enjoy your creation! Your personalized keychain is ready to use or gift.
For best results, use a plastic scraper or an old gift card to firmly burnish the sticker onto the keychain and smooth out any bubbles.

Tips and Tricks
For the sticker shown below, I noticed some of the fine details were having trouble sticking fully. To fix this, I used a small brayer to apply a bit more pressure evenly across the design. This helped the delicate parts adhere better.

Even though this is a super easy DIY, I’ll admit I had a little trouble lining up one or two of the stickers just right. Because they’re so sticky, there’s not much room for repositioning once they touch the keychain surface. My tip? Take your time, hover over the surface before sticking, perhaps using tweezers to hold the design. Be sure you’re happy with the placement before pressing down. A little patience goes a long way for a clean, professional-looking result!

Final Thoughts
This Hobby Lobby keychain craft turned out to be such a fun, fast, and satisfying project. With just stickers and blanks, I was able to create six unique keychains in no time—and each one has its own personality! Whether you’re crafting for a gift, or just for fun, these little projects prove that something simple can still be special.

You Might Also Like
If you love quick and easy projects, most of my other crafts use a cutting machine like a Cricut or Silhouette. Here are a few favorites you might enjoy:
- S’Mores Station and Free SVG
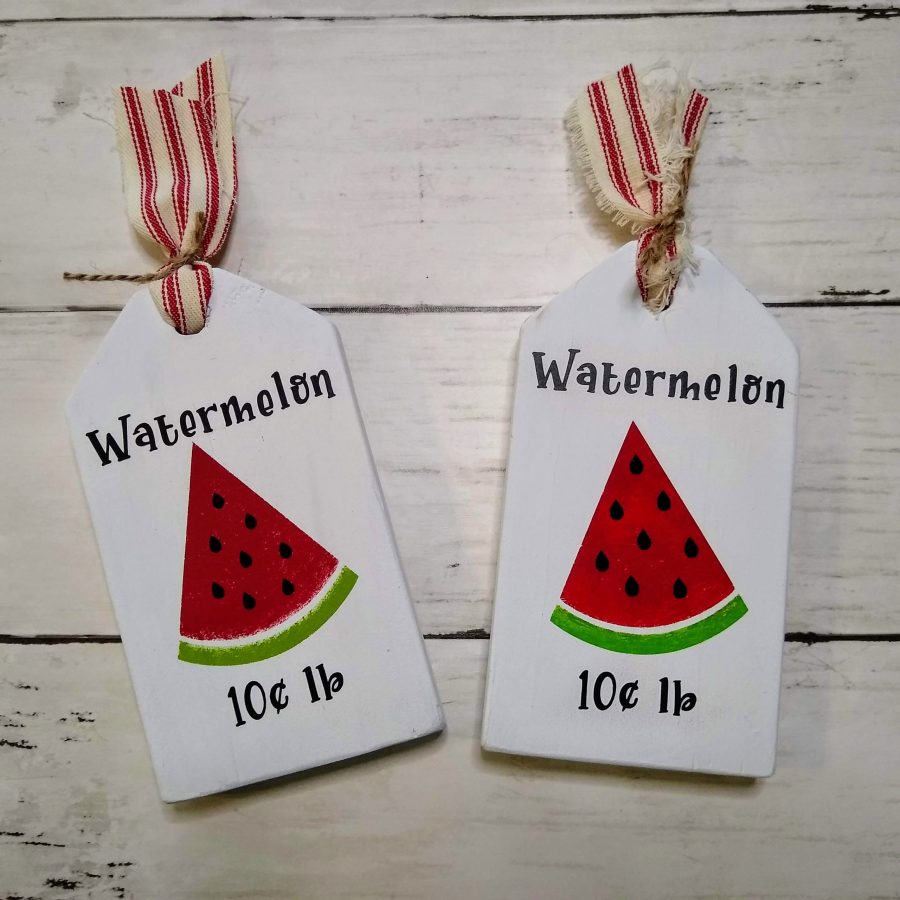
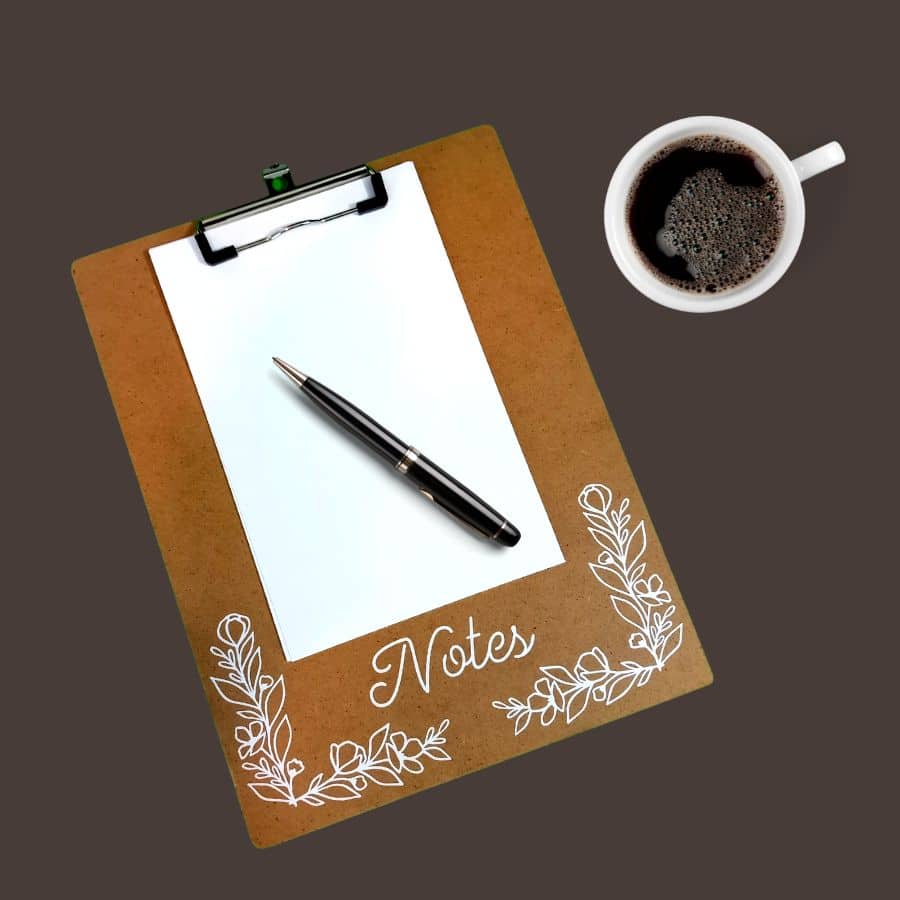
- Dollar Tree Embellished Clipboard
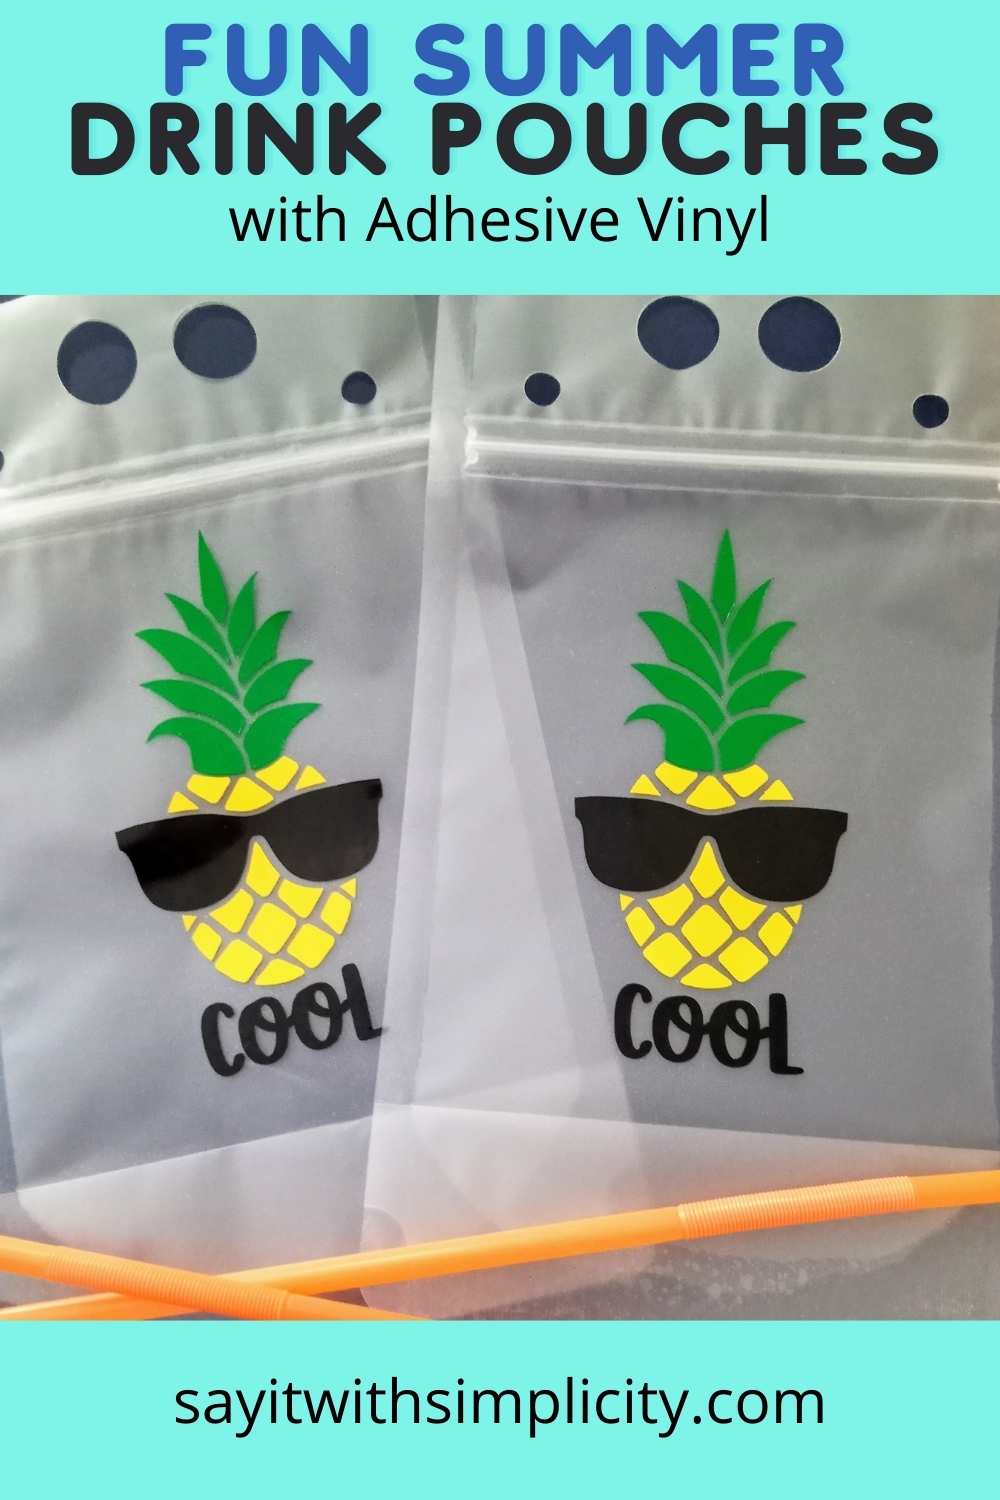
- Summer Drink Pouches with Adhesive Vinyl
Even if you’re just getting started with cutting machines, these are beginner-friendly projects that come together fast—just like this keychain craft!