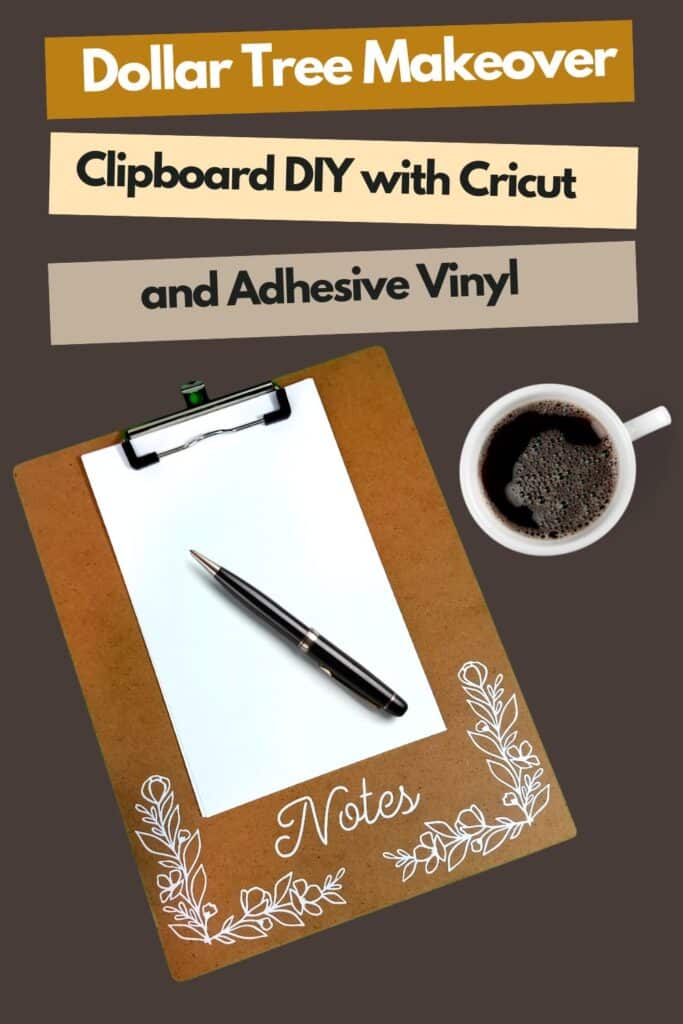
Dollar Tree Makeover: Vinyl Embellished Clipboard
I like using half sheets of paper for notes, reminders, check lists, and day to day planning. Most of these things can be kept together on a clipboard. Once accomplished, I can toss the notes, or shred them if needed. Using the clipboard keeps me from burying stuff. Making it cute, well, that just makes my day a little brighter!
If you would like to make the design that I created for this project, I’ve shared the design on my Cricut Profile page.
This post may contain affiliate links. If you make a purchase after clicking on these links, I may earn a commission at no additional cost to you.
Tools and Supplies
- Adhesive Vinyl-I used Oracal 651 from Expressions Vinyl for this project
- Clipboard-purchased from Dollar Tree
- Transfer Material-Since this was a delicate design, I recommend a light to medium tack. I used the my favorite Transfer Rite material.
- Vinyl Weeding Tools
- Your Cutting Machine-I used my Cricut Maker
- Vinyl crafting tools as needed-scissors, scraper, weeding tools, bright pad…
Planning Your Project
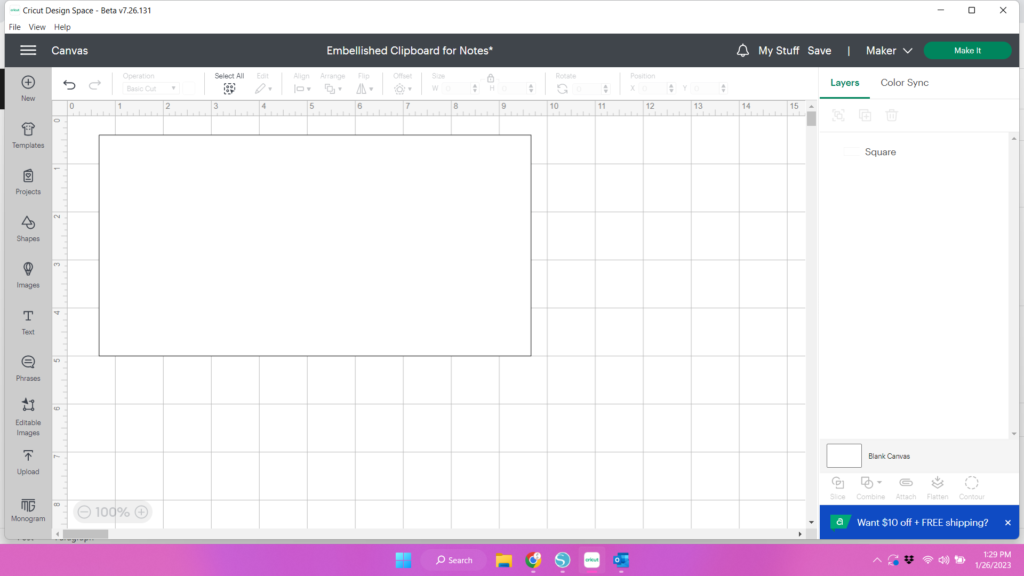
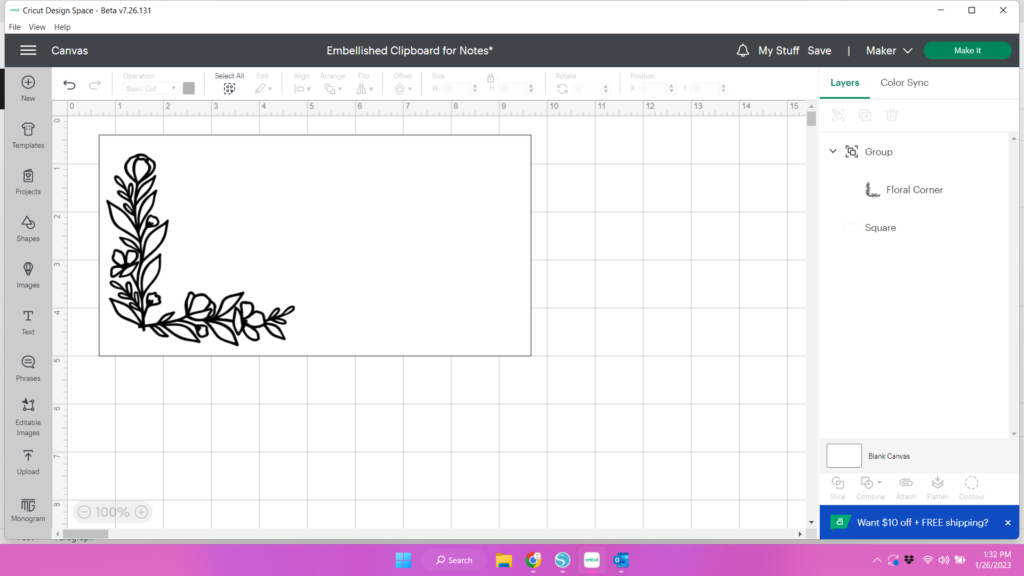
When planning any project in Cricut Design Space, I like to measure the area where I want my design to go and create a shape in the approximate size of my base. In this case my clipboard was 9 inches wide and I just wanted a design across the bottom and in the bottom corners. I drew a rectangle and sized it at 9 inches wide and 4.6 inches high. I like to think of this as my design template.
Next I’ll went to Cricut Access to find images to add to my template. I used the search terms “corner floral” to find my image.
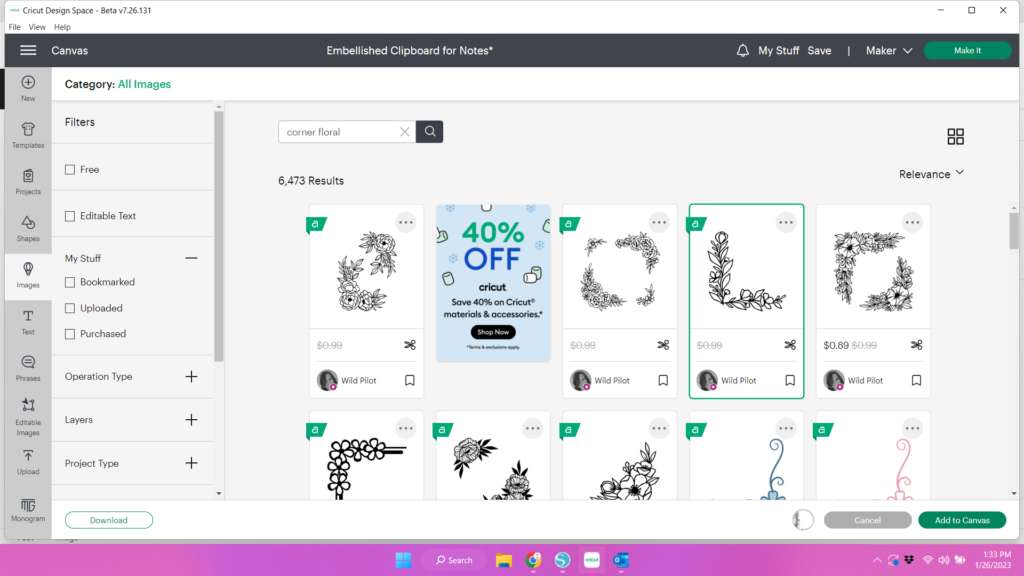
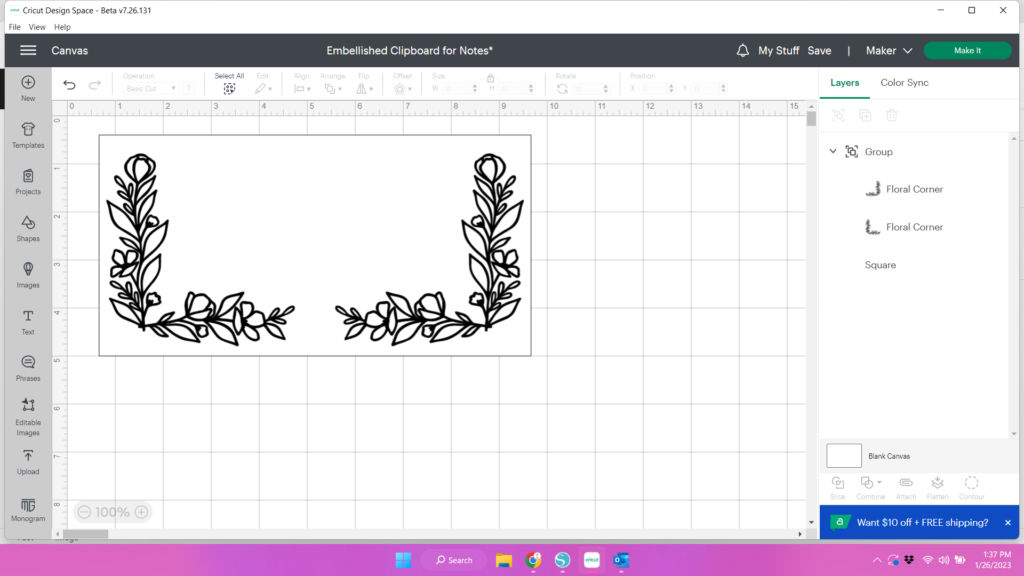
Then I added this to my template and positioned and resized it. Next I made a copy and flipped it for the other side.
I aligned these at the bottom, grouped them, then centered them to my template.
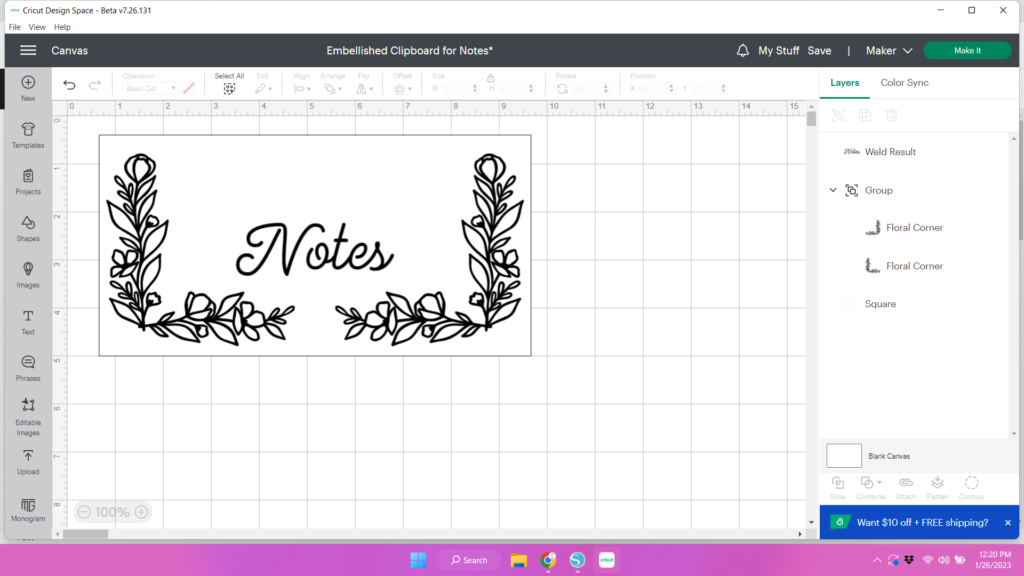
Finally I added my text. You’ll want to size it to the appropriate size for your project and then weld the letters. Position this in the center of the template.
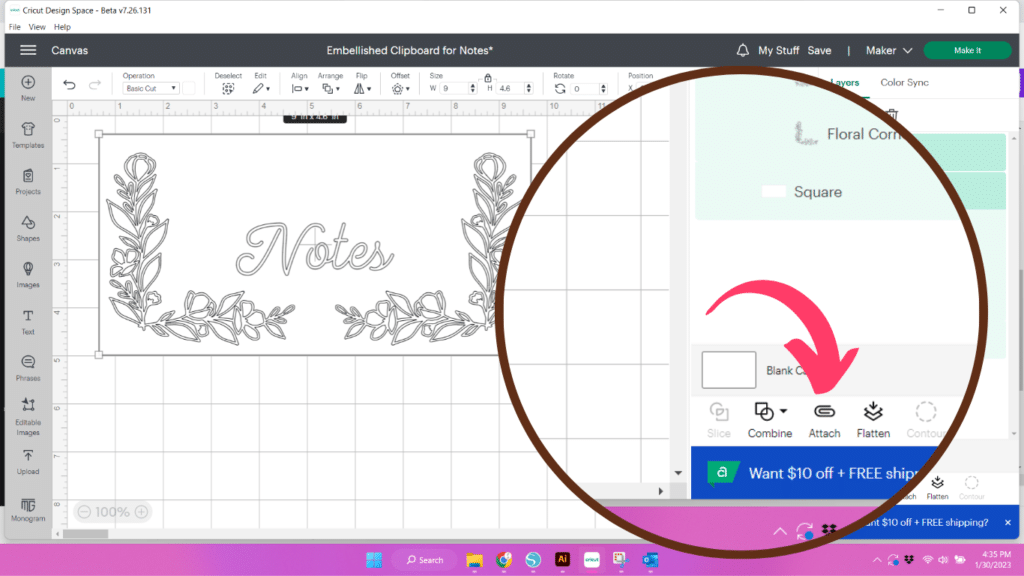
Now before you hit that “Make It” button on a project like this, you’ll want to “Select All” at the top of your screen. Alternately you can mouse over everything to select all of it.
Then at the bottom right hand of your screen you’ll use the “Attach” button to attach it all together. The icon for “Attach” looks like a paper clip at the bottom right of your screen.
If you don’t attach, all your images and text will go to separate areas or mats instead of cutting as one decal.
Cutting Your Decal
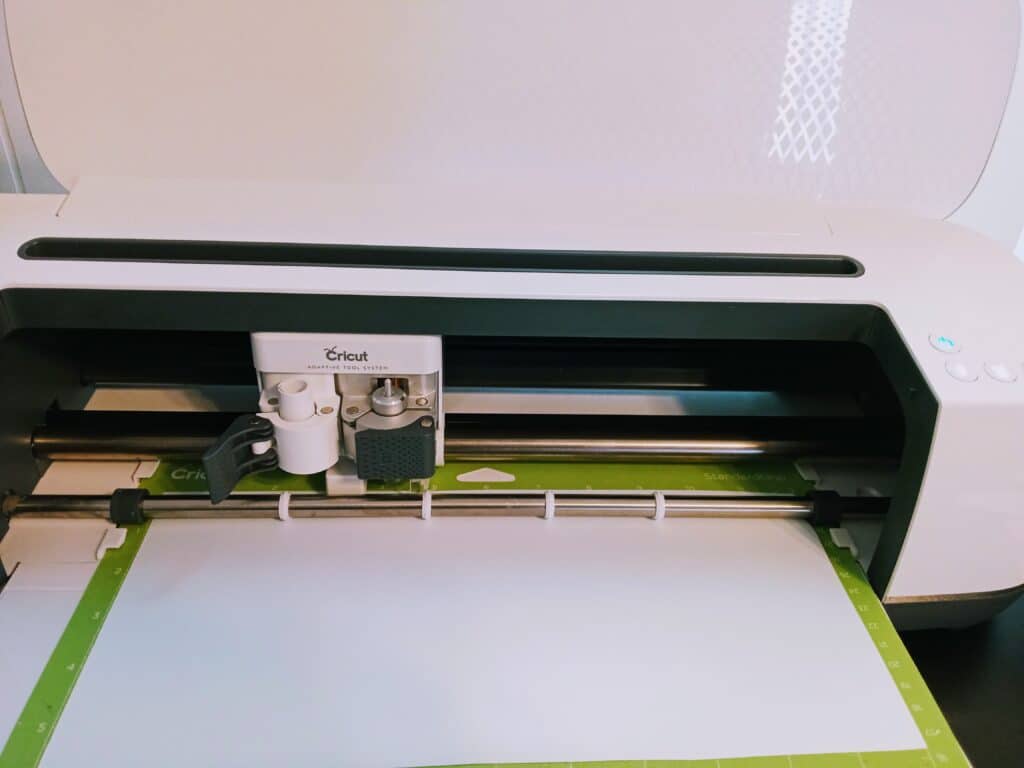
Step One
If you are using the Cricut Explore Air 2, or Cricut Maker, you’ll have to place your vinyl on the mat. I use my standard grip mat for cutting vinyl.
Remember that with adhesive vinyl, you do not need to mirror your design.
Cut your vinyl larger than your image. It’s better to have a little extra and have some waste, than to have the vinyl too small and have to throw the entire piece away.
Step Two
Weed Your Design
Weeding your design simply means to take out everything that isn’t part of your decal. When I first started using vinyl, I used a sewing pin to weed my vinyl. However, using weeding tools makes the job so much easier. I like using my True Control Weeding Kit from Cricut. You have several tools that you can interchange with one cushioned grip handle.
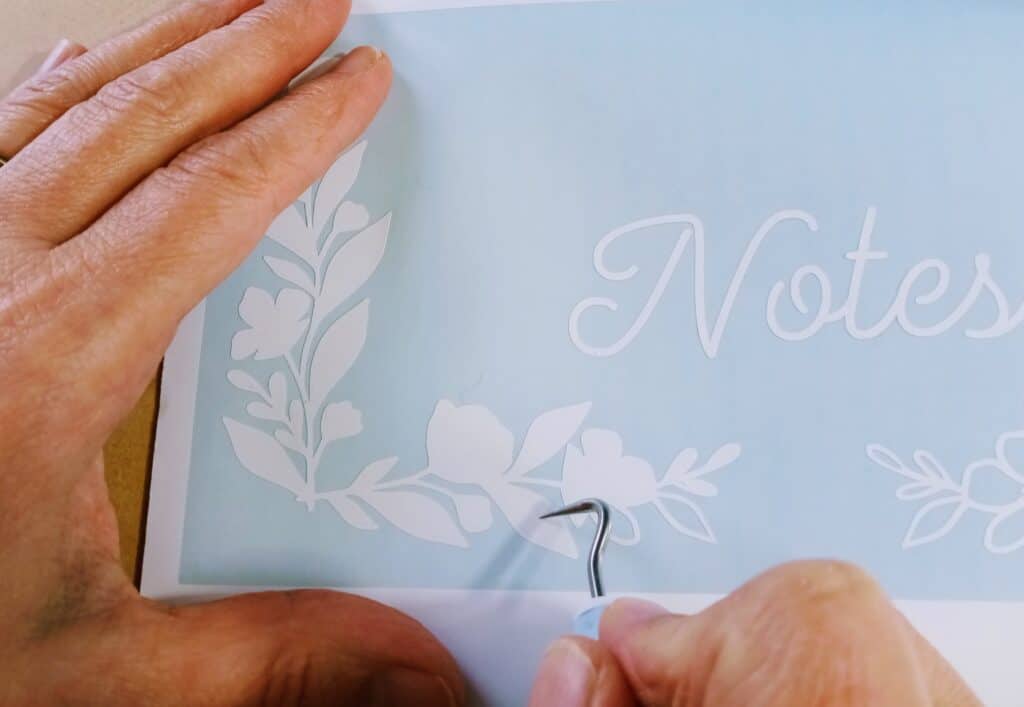
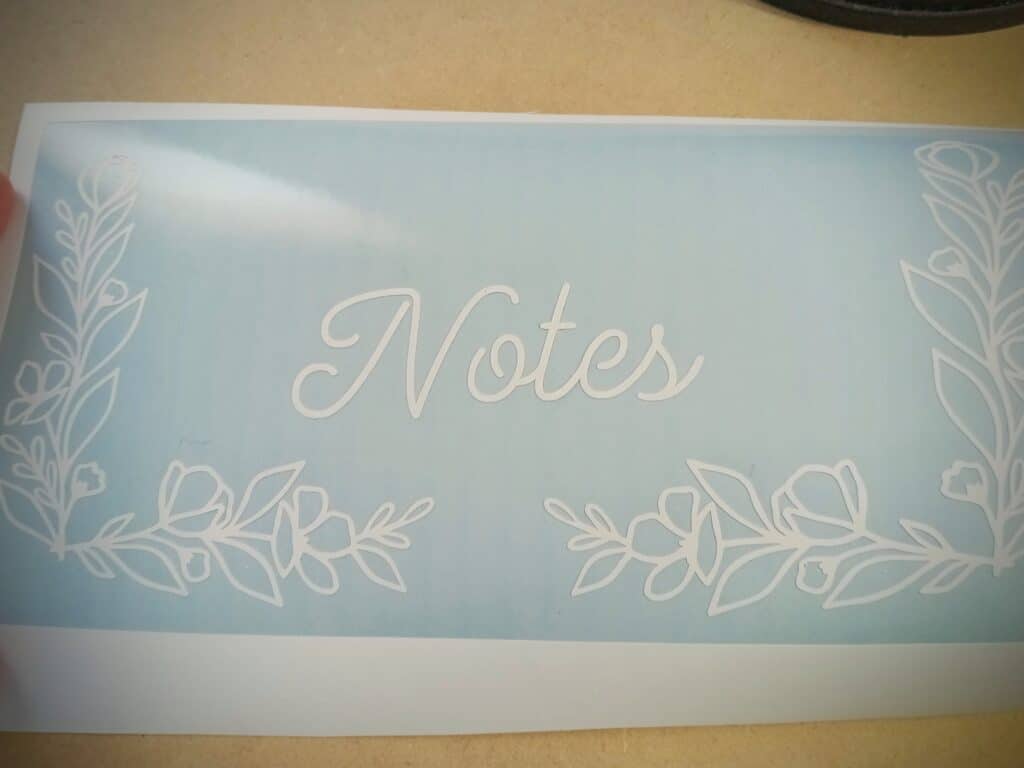
Once you have your entire design weeded. Double check to make sure that you have all the areas cleared that need to be cleared. Check you design against your original design on the screen.
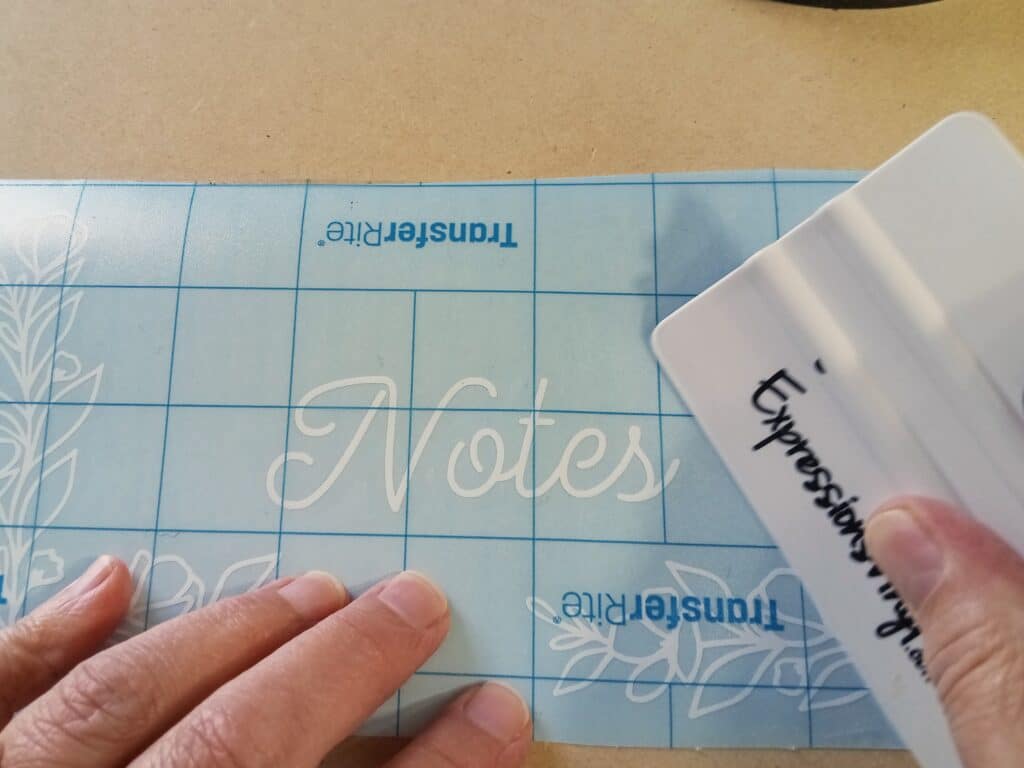
Step Three
Apply Transfer Material. This is a sticky film that will lift your design off the backing and you’ll be able to press it down to your surface. I like the TransferRite Material for most applications.
This worked fine for the clipboards. Be sure to use your scraper tool to burnish well and work slowly. This step is essential in making sure that your transfer material picks up your design.
Step Four
Remove the backing from the vinyl and transfer vinyl to your surface
I didn’t get a good photo of this step, however I have more posts on working with adhesive vinyl.
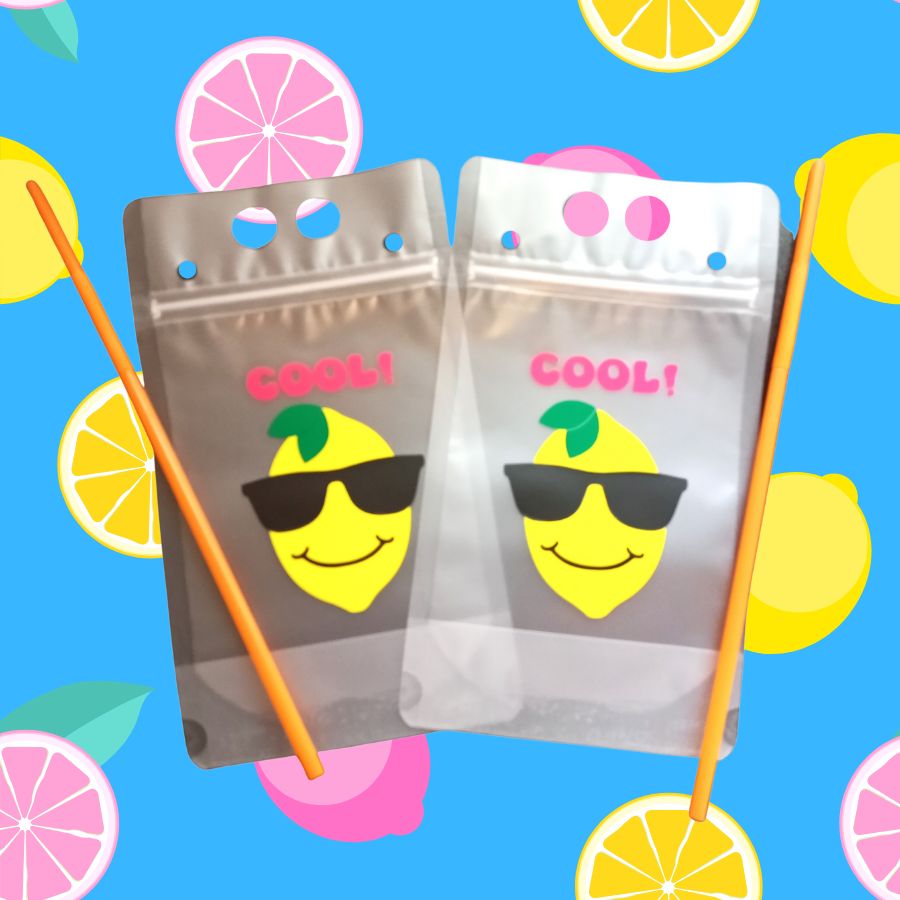
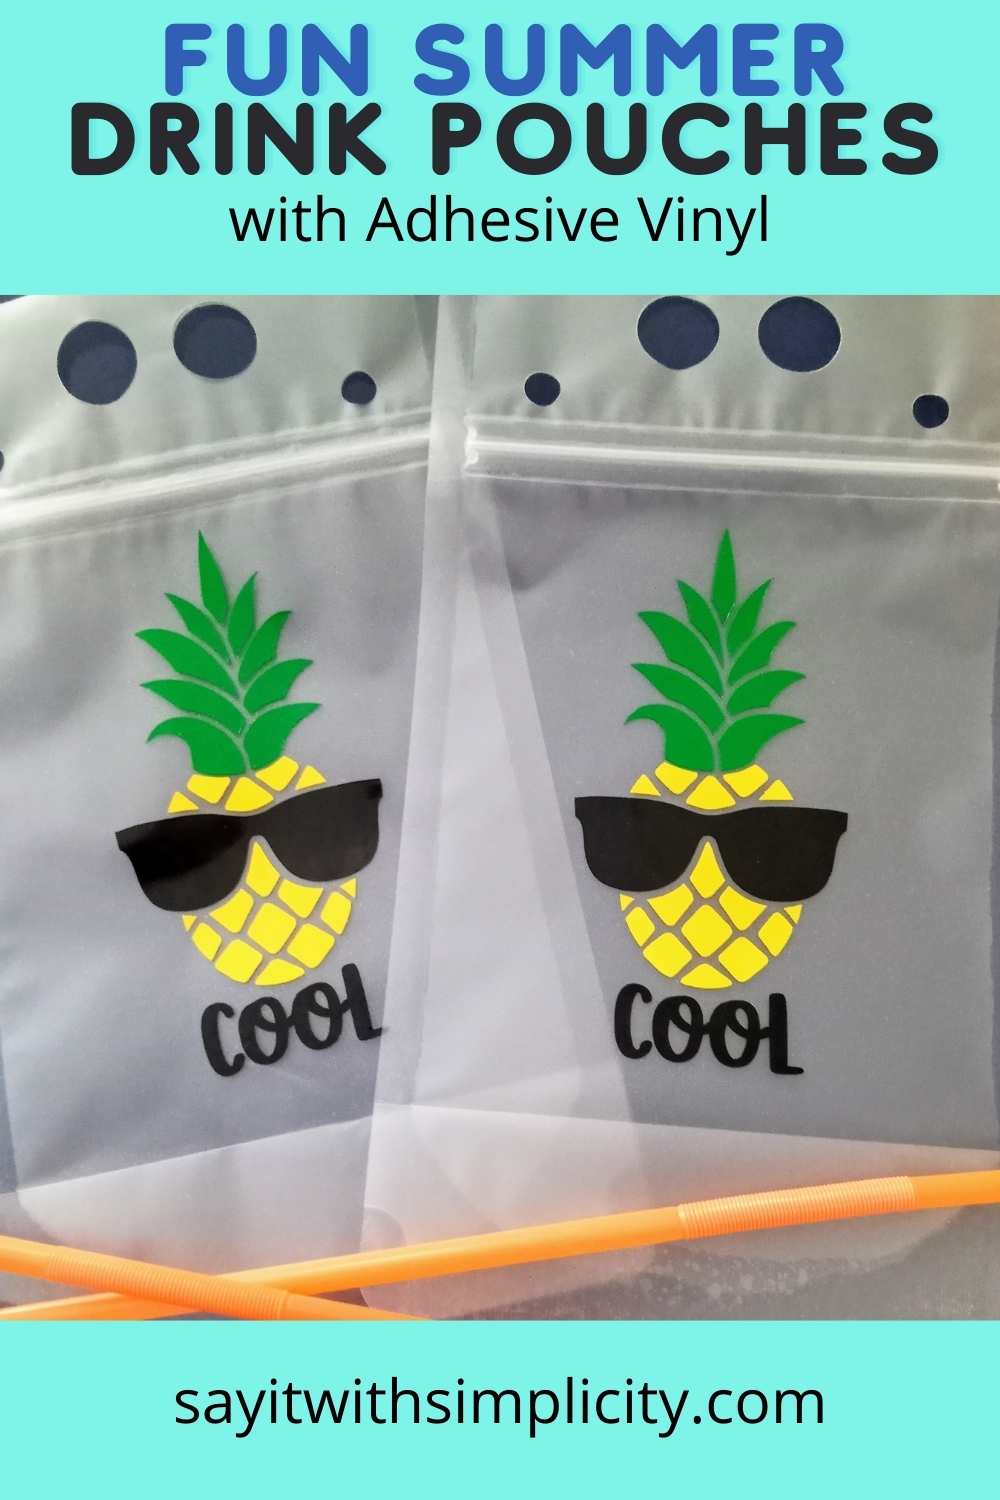
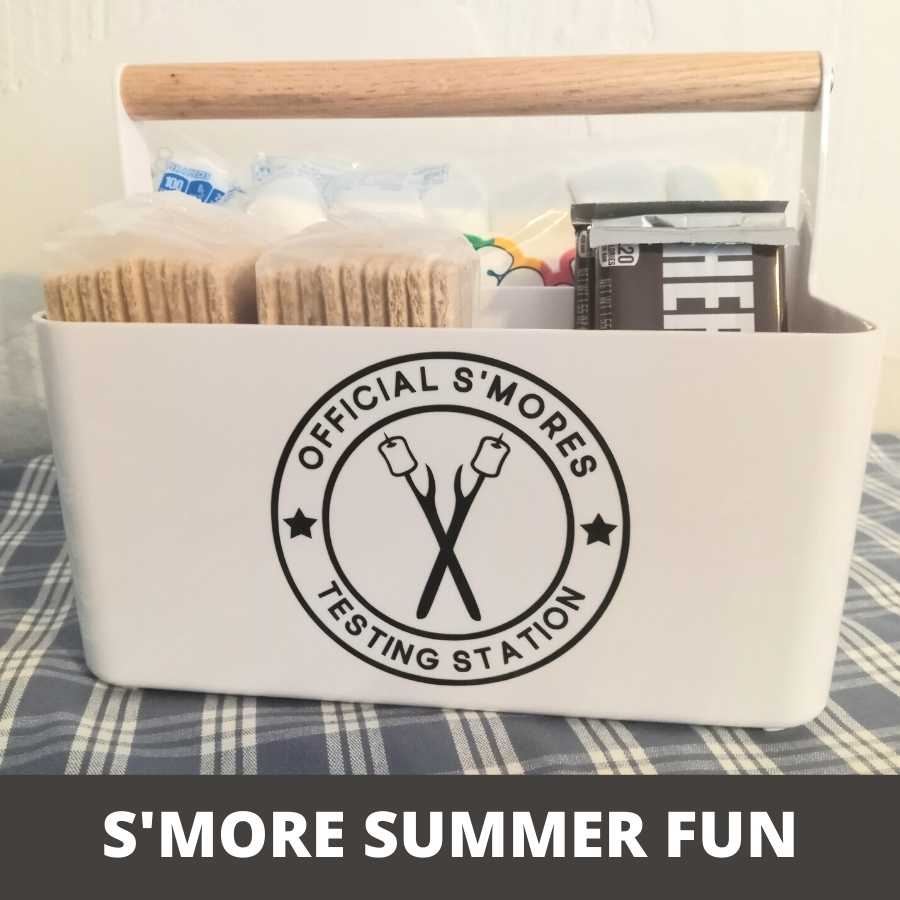
Stay Cool with Summer Drink Pouches
Be sure your surface is clean and free of dust and particles. I used a lint roller on my clipboard before transferring the design.
Now remove the backing from the vinyl.
Using fingers or a scraper tool works best to press the vinyl to the clipboard. Then carefully remove the transfer material.
You’re finished!!
I thought I might possibly have some areas lift from the surface, however, after 24 hours the vinyl was well adhered to the clipboard. So, if in doubt, check back later for the ultimate test.
You can use vinyl with so many different surfaces and I love the way I could glam up an ordinary clipboard!
If you make this project, I’d love to hear about it! You can share projects, and ask questions about Cricut Design Space and Silhouette Studio in the Say It With Simplicity Facebook Group. Hope to see you there.