Cricut Mug Press Unboxing: Important ?? Answered
I’m excited! This week I received my Cricut mug press so I thought I would share my unboxing and first experiences with you. This is not a sponsored post. The Mug Press was purchased by me and all my opinions are my own.
Posts may contain affiliate links. Thank you for supporting Say It With Simplicity.
Have you been waiting to buy the marvelous mug press? Maybe you’re still on the fence. In this post, I hope to answer some of my readers’ questions about the Cricut Mug Press and share my first experiences with it.
Pro Mugs in Minutes
From the side of the box, you can see the cute design of the Cricut mug press.
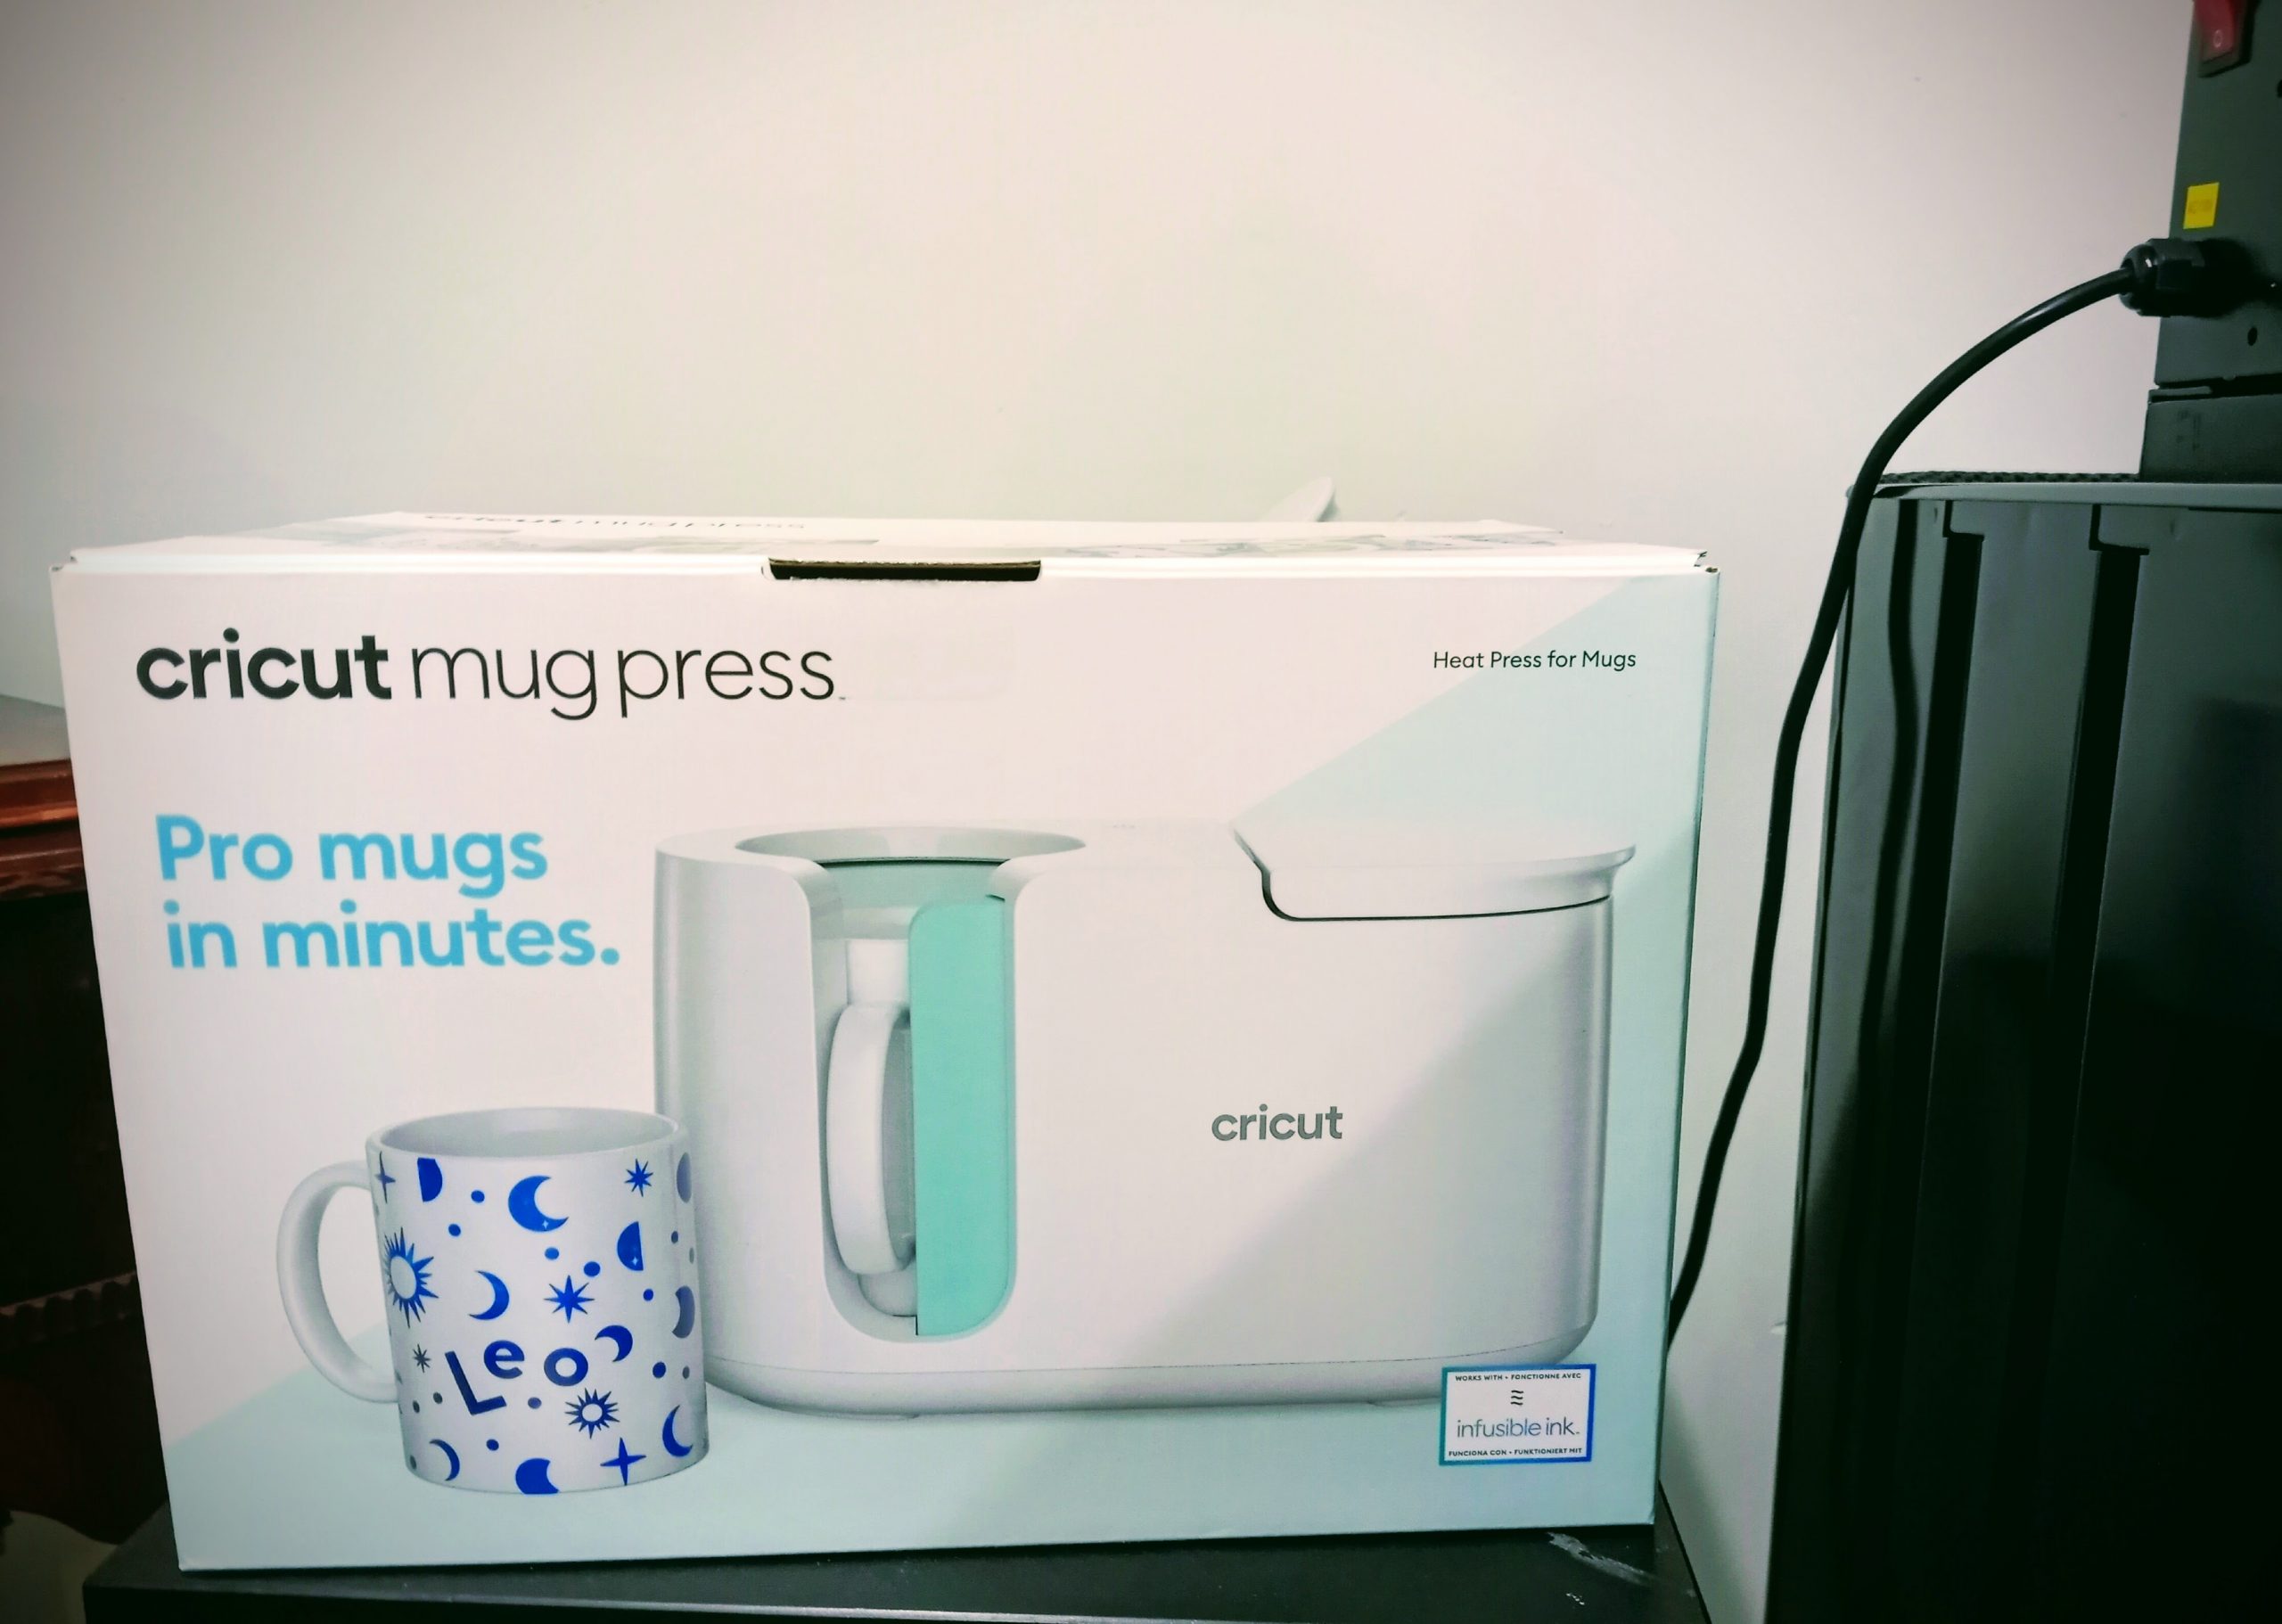
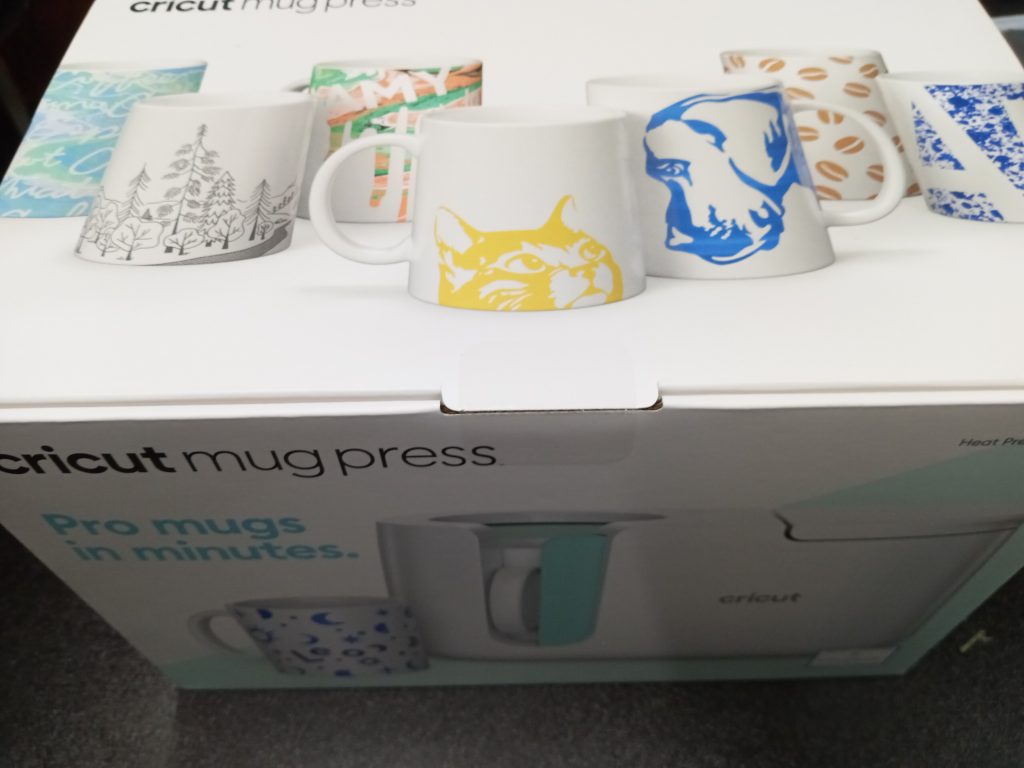
You can also see its claim that you can make Pro mugs in minutes. On the top of the box, you have photos of beautiful mugs that are tempting, to say the least.
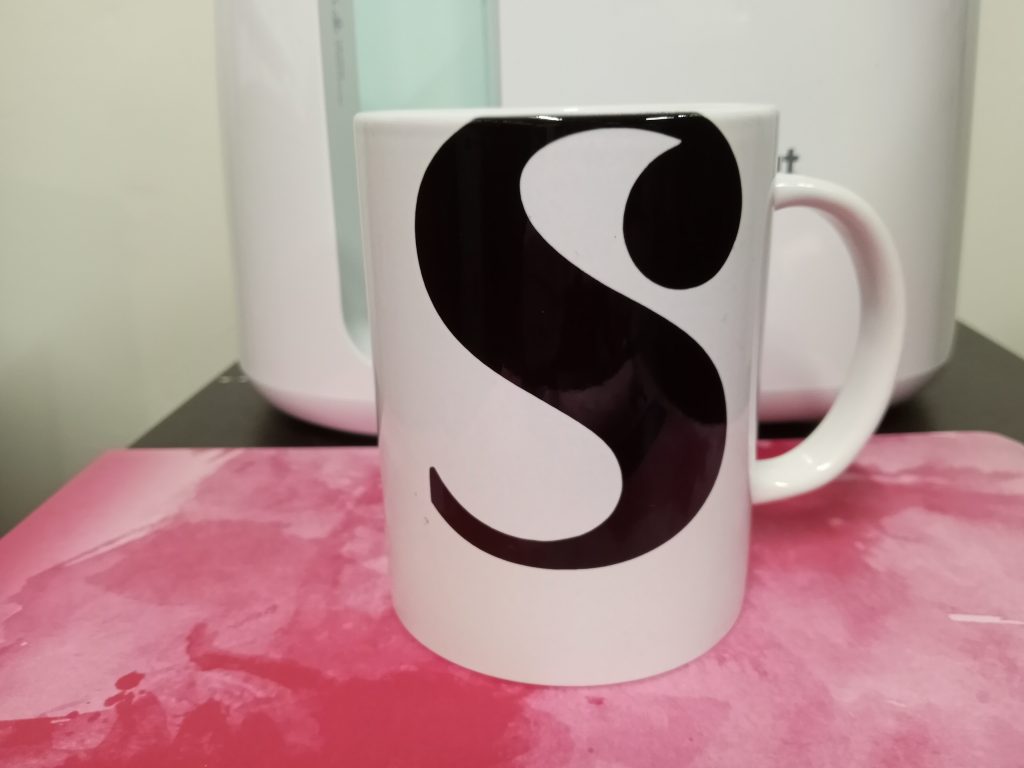
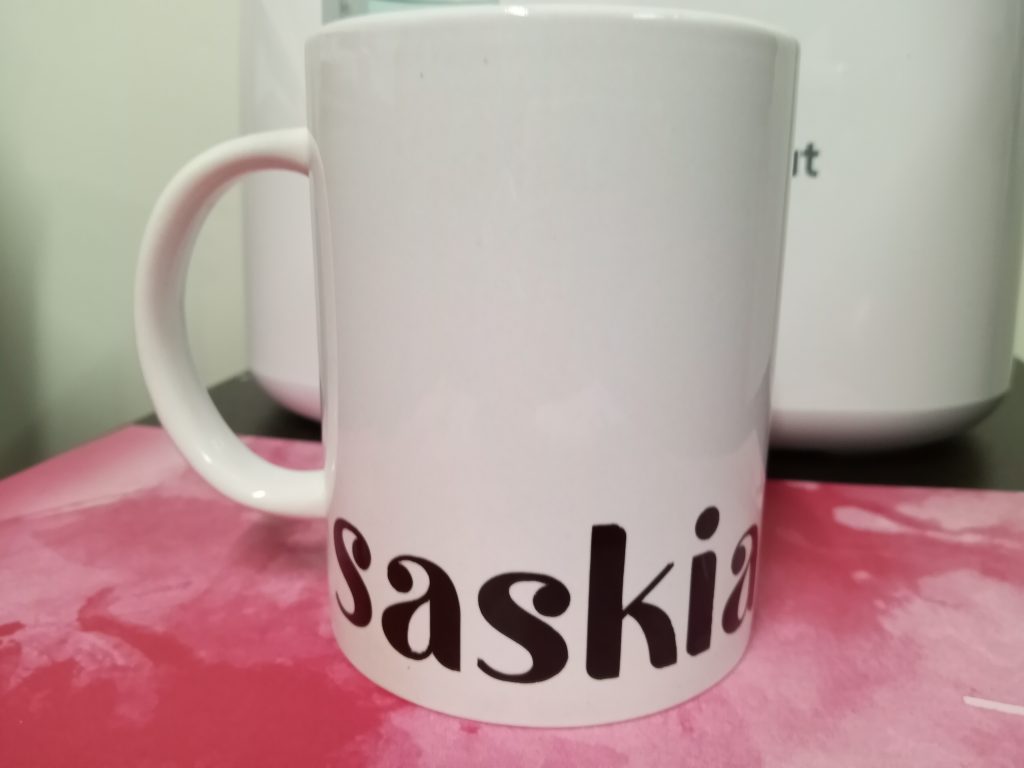
I made my first mug using infusible ink using a simple design I saw on Pinterest. I think it turned out pretty cute! One question you may have is, “Do you have to use infusible ink with the mug press?” The answer is “No.” But it is a way to start using the mug press unless you have a printer that’s set up for sublimation printing. We’ll talk about that a little later in the post.
Unboxing and Package Contents
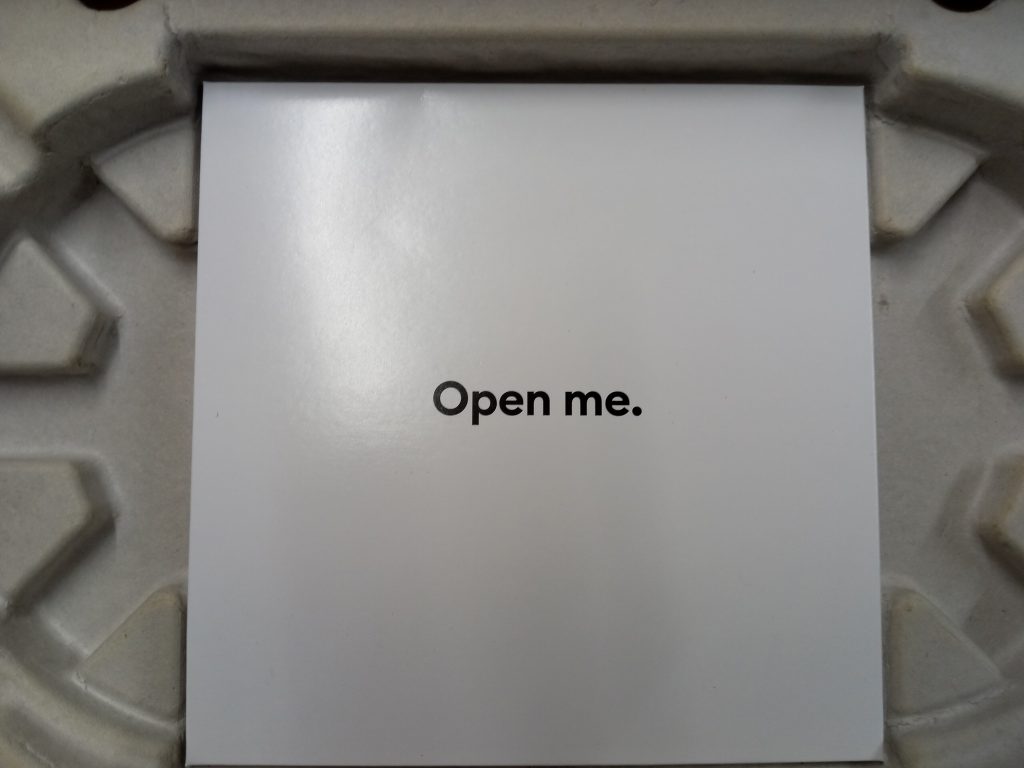
Upon opening the box, you’ll have this little package. This is one you’ll definitely want to pay attention to! It contains the basics that you’ll need to set up your mug press so you’ll want to open it right away.
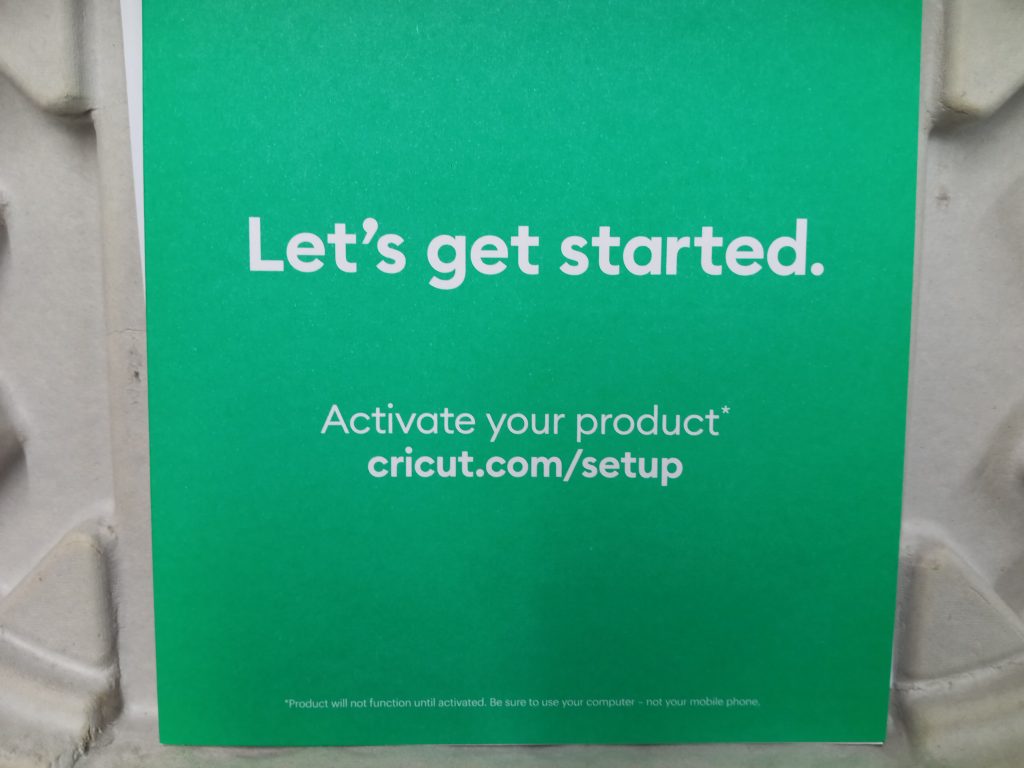
I watched some videos about setting up the mug press, so if you’ve already done that, you may already know what to expect, but inside you’ll find this little green folder. On the front, you’ll find the URL for your set-up instructions. There is also a warranty folder here. You may want to read and keep this for your records. Upon activation, your product will be registered in your Cricut account.
You will need a compatible Windows/Mac computer with a USB Type-A port. We will get into the “Why?” of this in a minute.
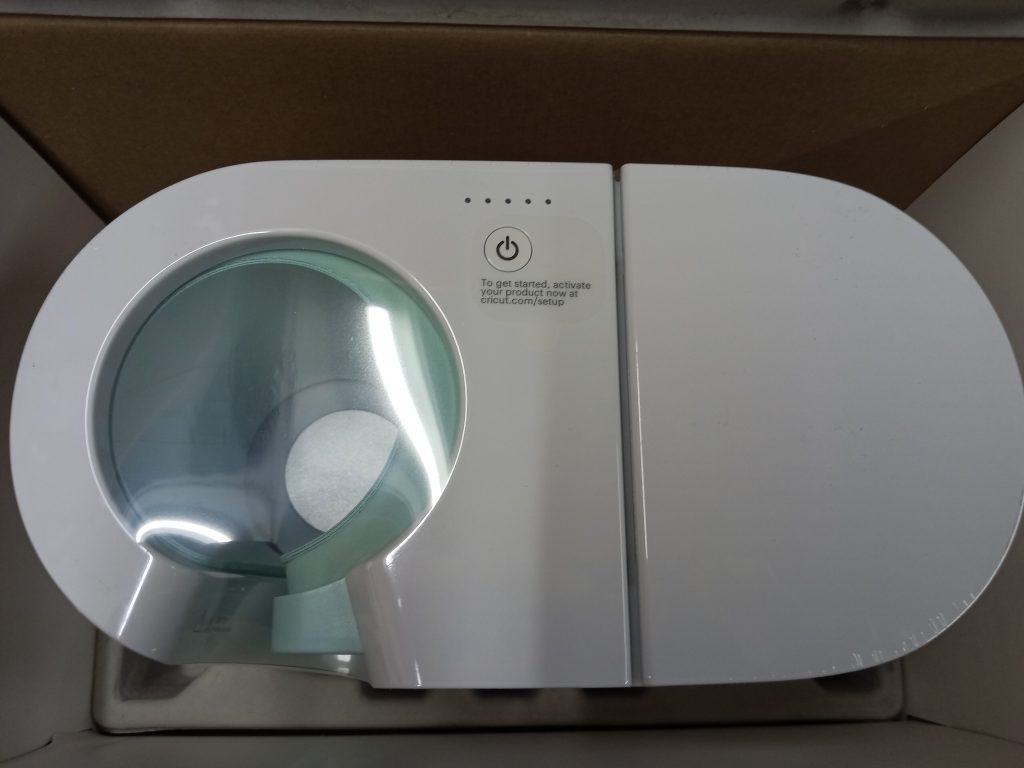
In the box, you also have your mug press. It’s all packaged nicely and of course, you’ll want to remove all the packaging and shrink wrap before you get started.
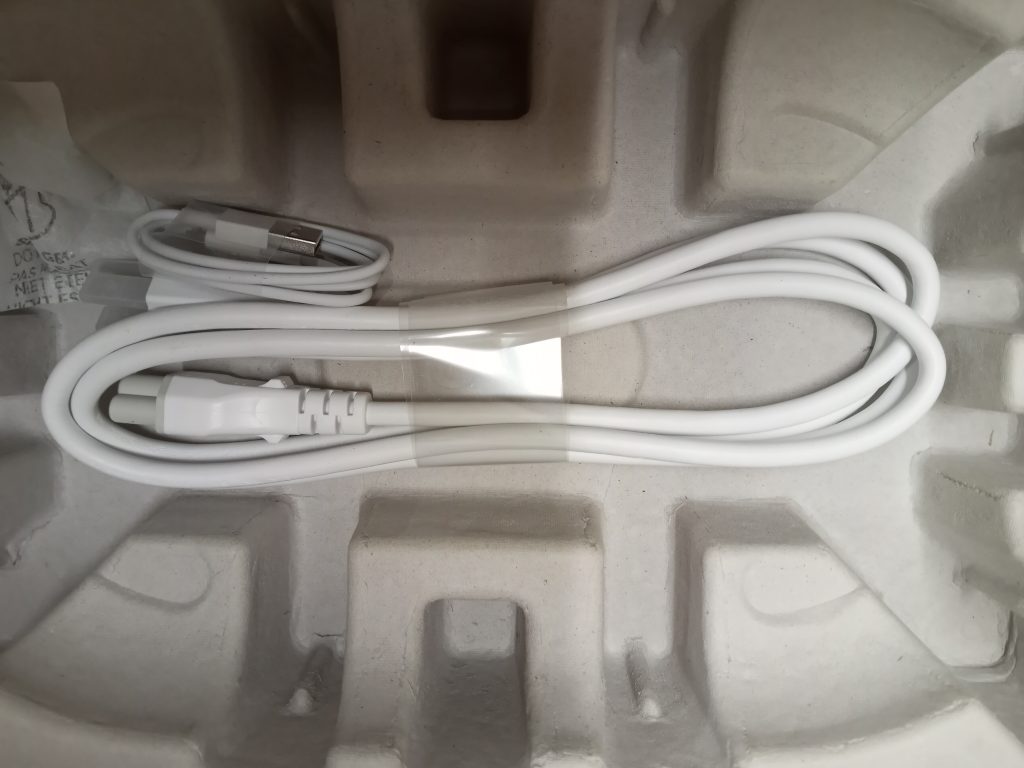
At the bottom of the box, you have your power cord. You also have the USB cord that you need to activate your mug press. This updates your product firmware and also registers the mug press as you go through the set-up process.
Setting Up Your Cricut Mug Press
One thing Cricut does well for its users makes product set-up pretty easy. When you go to the set-up URL, you’ll follow a set of on-screen prompts that will help you to set up your mug press in no time at all.
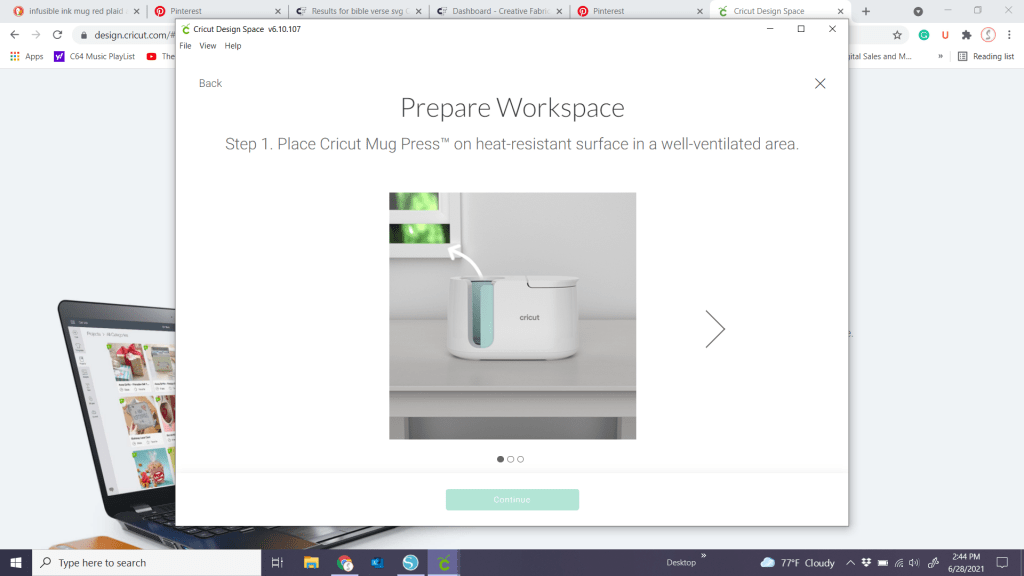
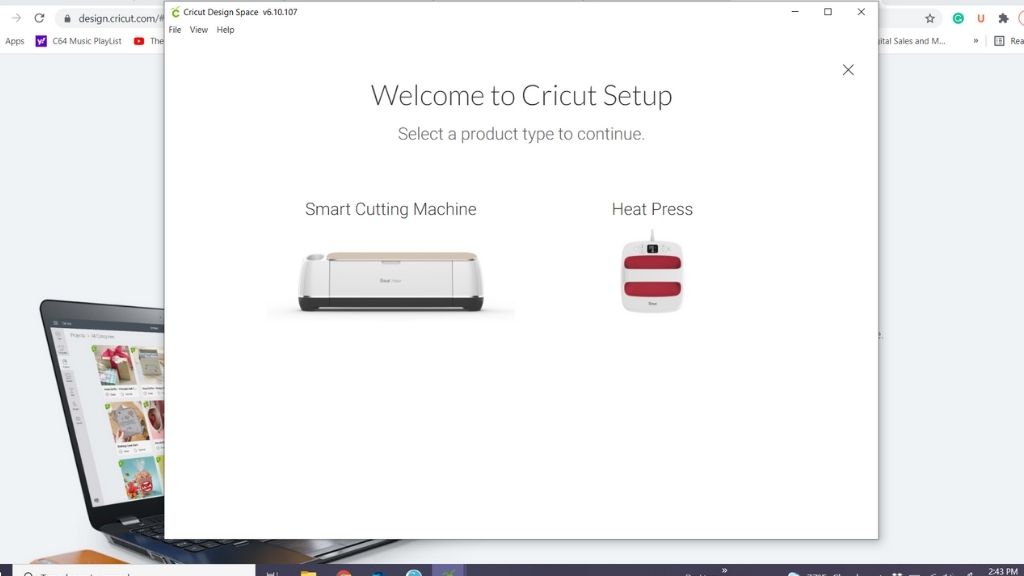
One of your first screens will look like this and you’ll choose Heat Press. The mug press is a type of heat press.
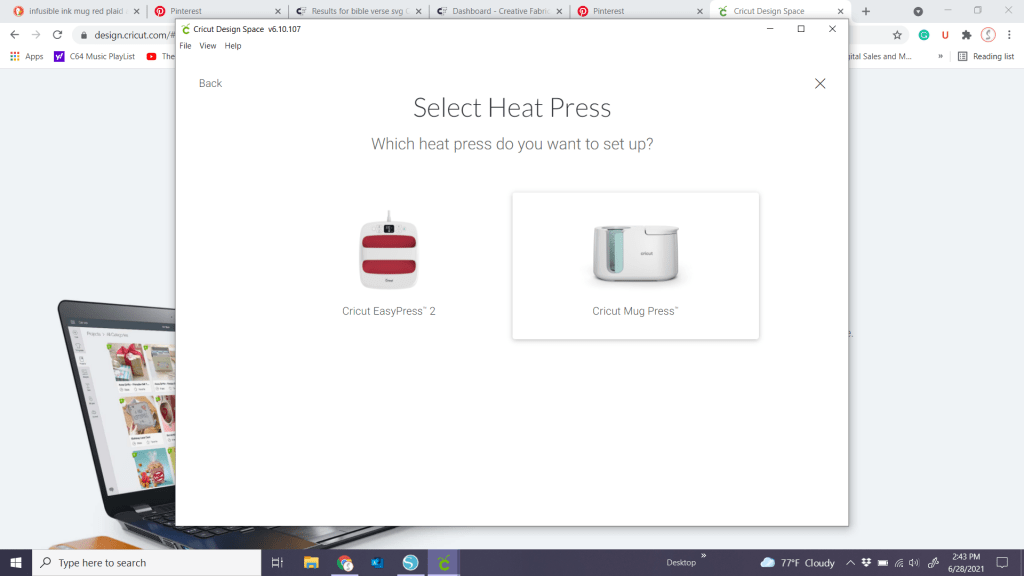
It will show you which heat presses to choose from. Of course, you’ll choose the mug press.
You’ll continue to follow the on-screen prompts. It really only takes a few minutes. As I already mentioned, Cricut does really well with product support when it comes to setting up new products. I’ve always taken the time to set up their products according to the instructions and have never had a problem.
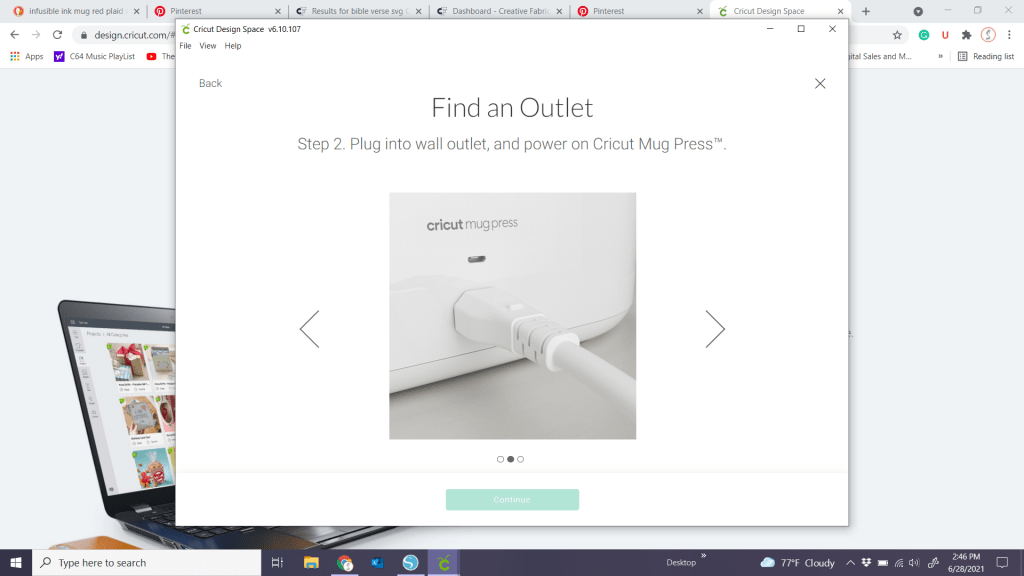
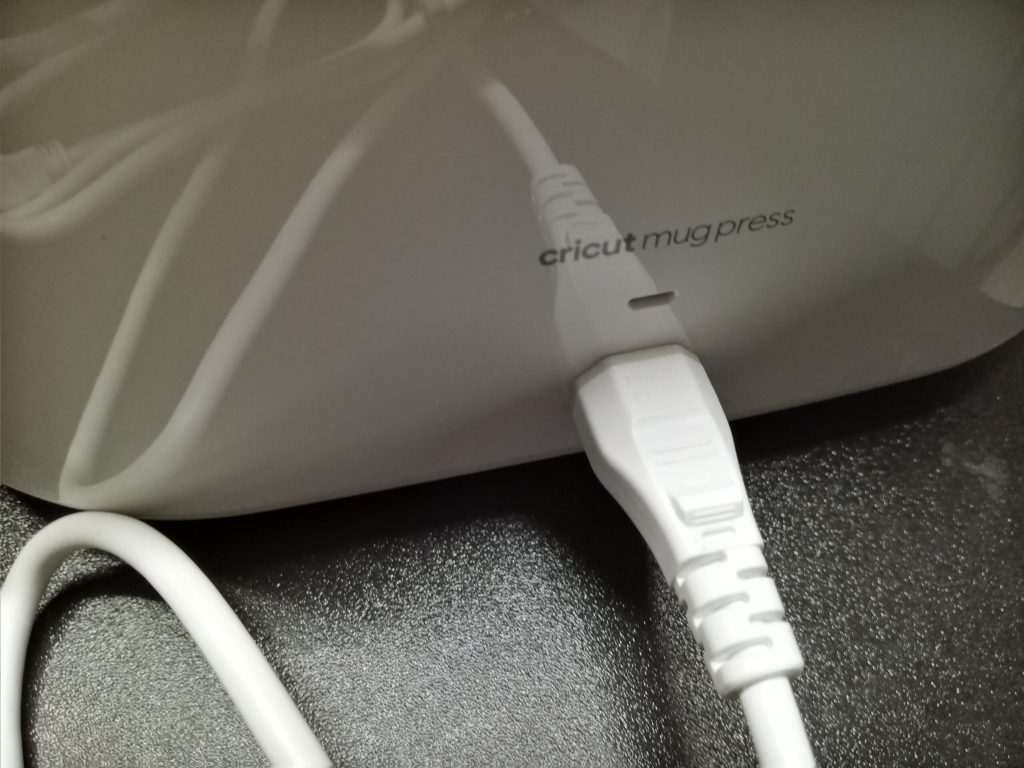
And here is just one more screenshot of powering on the Cricut Mug Press. I haven’t pushed the power button yet, but you can see it is right on top. Easily accessible.
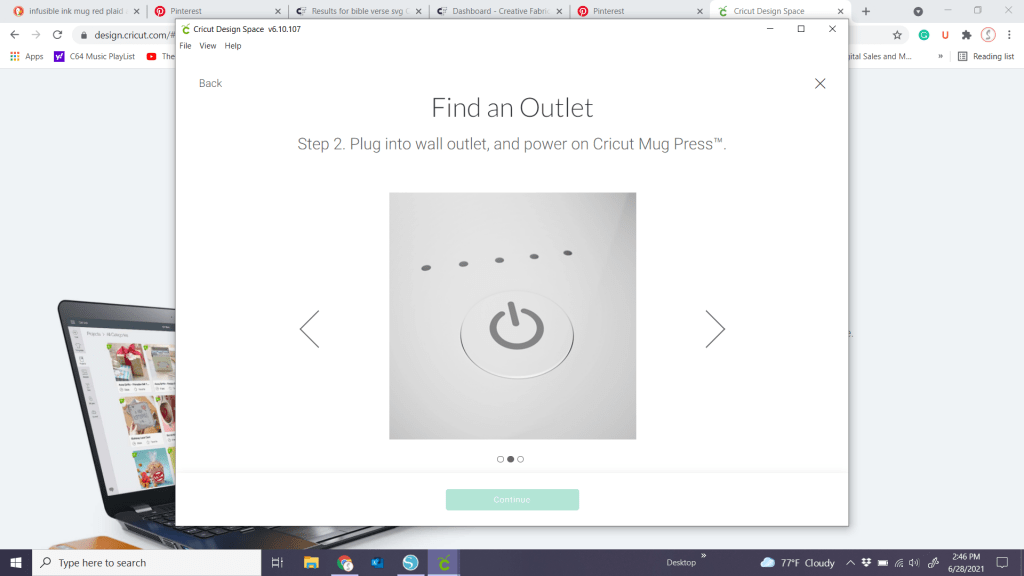
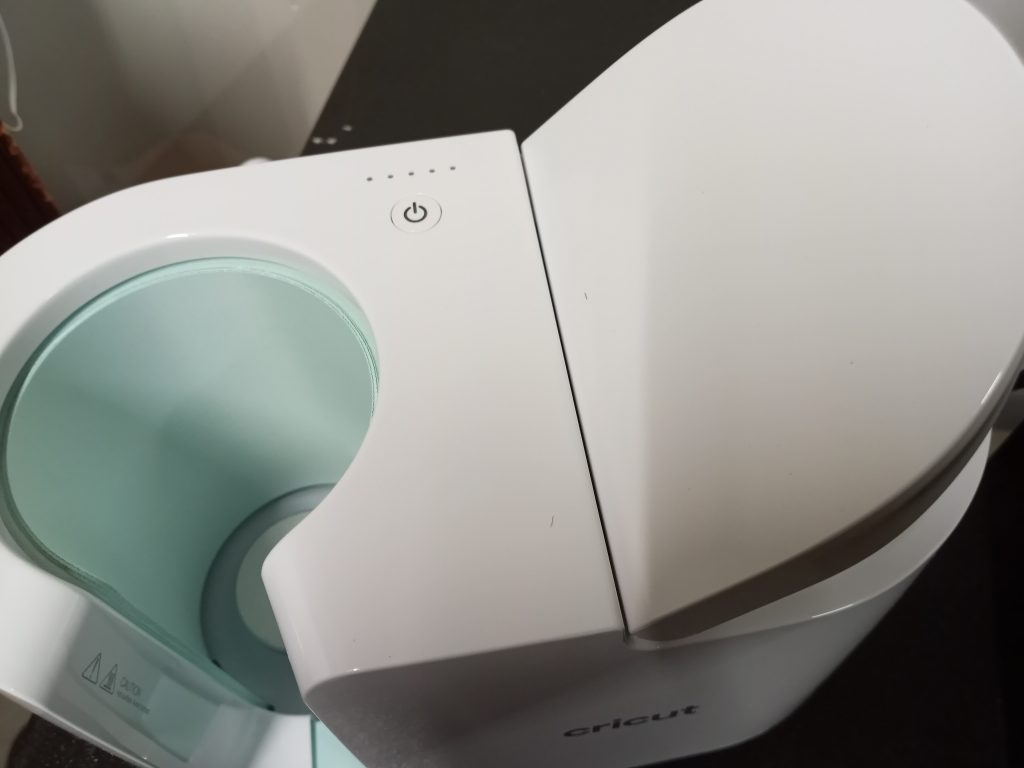
These are just a couple of the examples of the screen prompts you’ll have as you set up your Cricut Mug Press. The whole process takes just a couple of minutes. Everything is very easy. You’ll be on your way to using your mug press in no time!
Do I Need the USB Cord to use the Cricut Mug Press?
I’ve seen some misunderstanding about this step so I just wanted to clarify. Once this task is accomplished you will not need the USB to use your mug press.
There is a list of FAQs in regard to the Cricut Mug Press in the Cricut Help Center. You can find those on the Cricut Blog.
You’ll get an on-screen prompt for using the USB cord that came in your package. As mentioned earlier you will need a computer with a USB port for this step. I also noticed that the mug press was registered in my Cricut account as one of my machines. There was no additional work on my part.
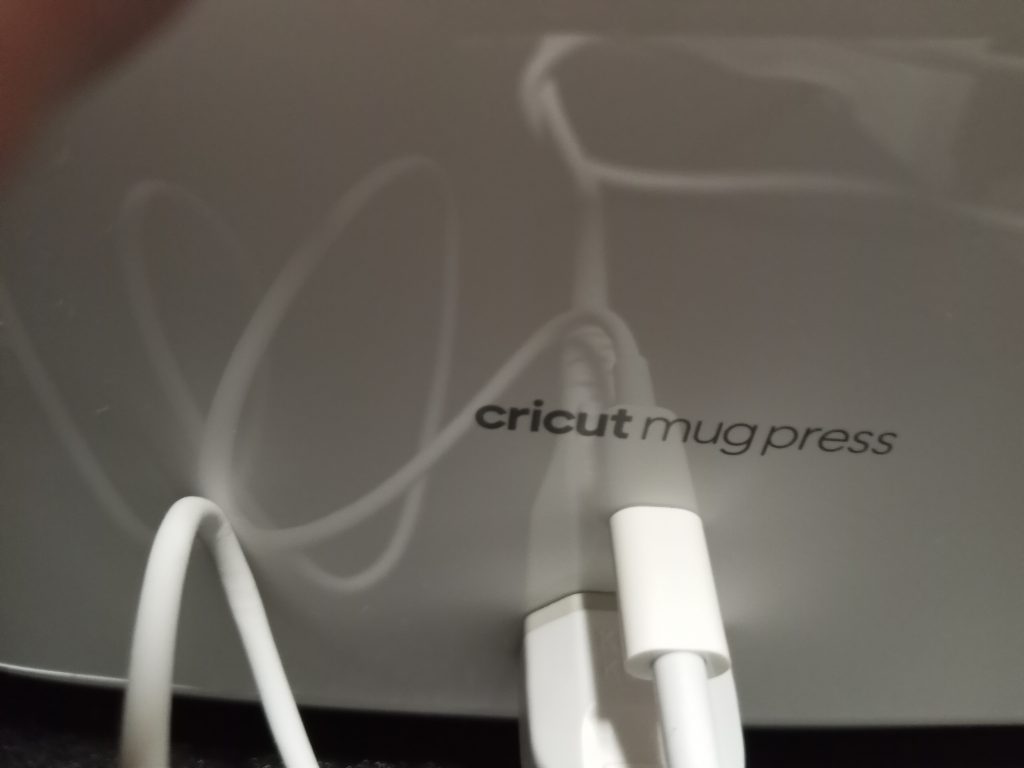
The USB plugs in just above the power cord and the other end into the USB port on your computer. Once you’re finished activating your press, put the cord away for safekeeping. You won’t need it for making mugs.
Ready to Use Your Mug Press!
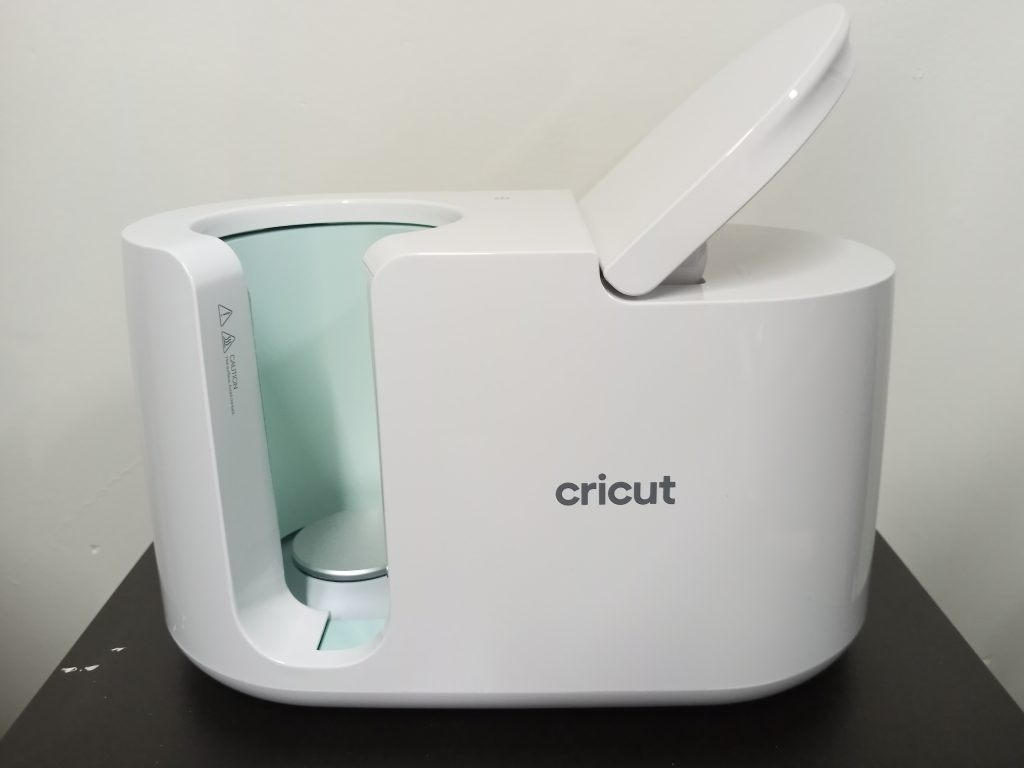
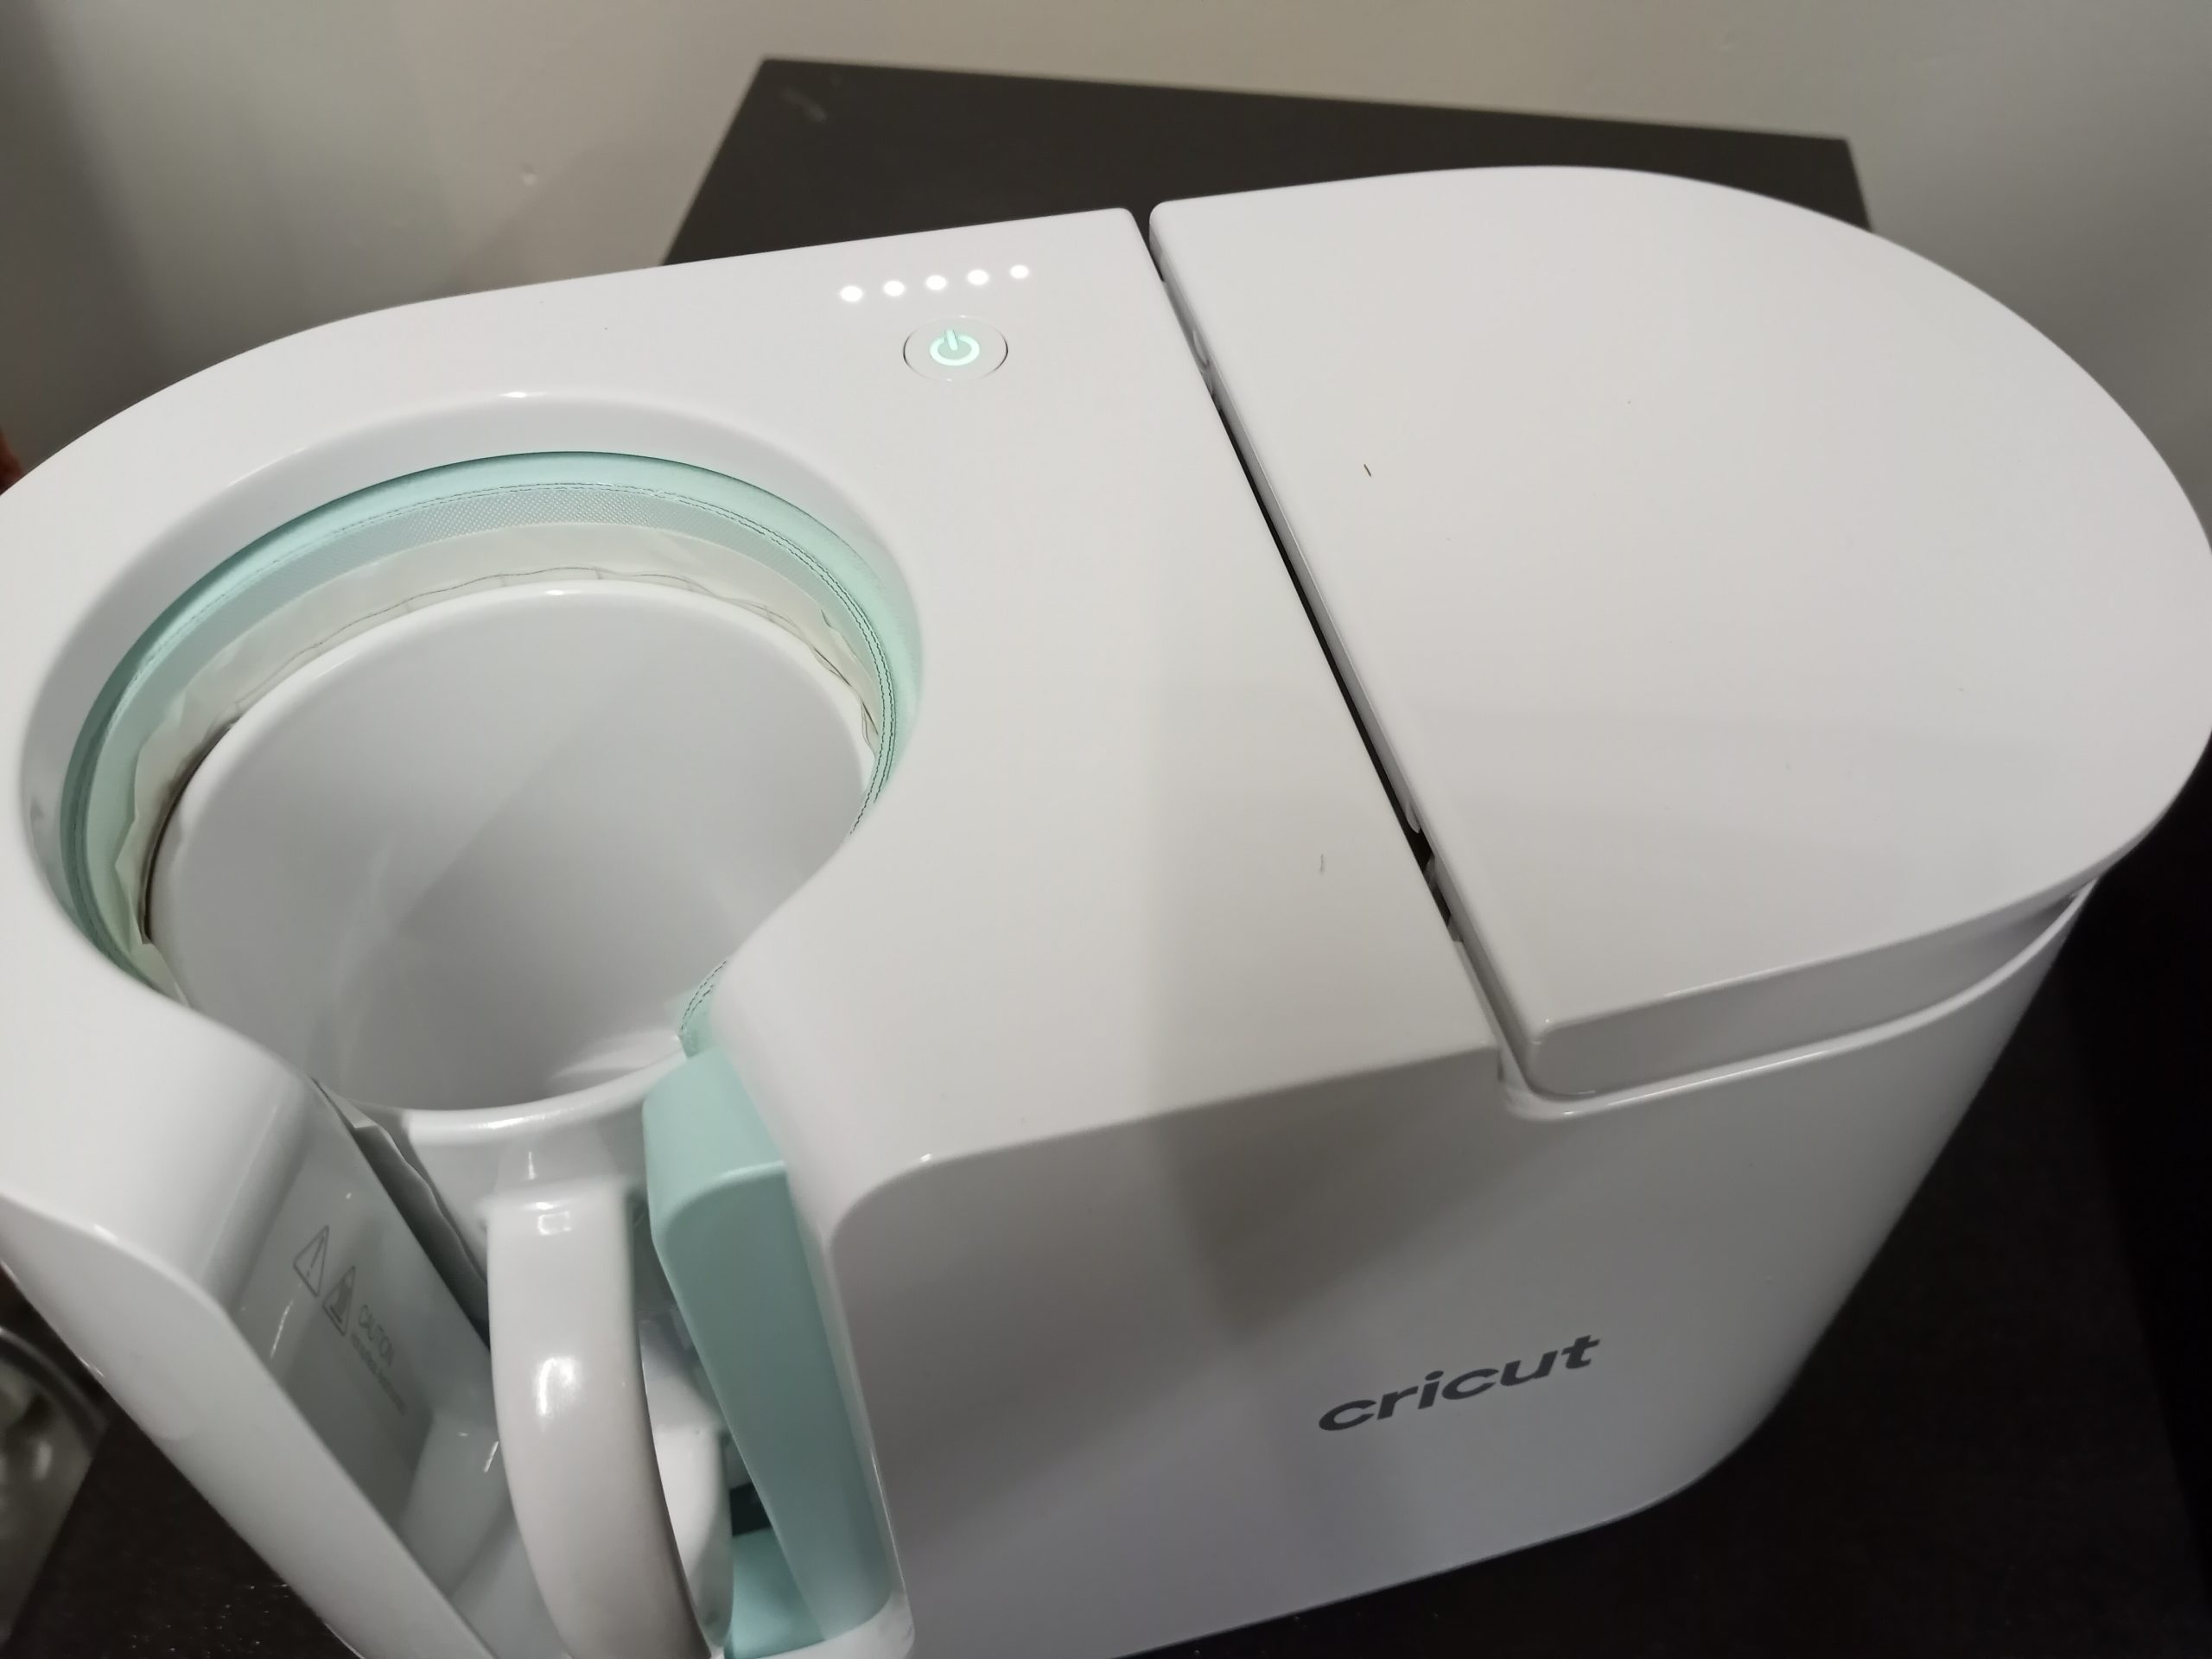
Once you’ve followed the on-screen prompts to set up your mug press you’re ready to start creating mugs. You’ll want your mug press on a heat-resistant surface. I have a sturdy old office cabinet that works well for me. It has caster wheels so that I can move it and there is storage below. But one of the nice things about the mug press is that it is very lightweight and has a small footprint for easy storage.
I would suggest is to have some sort of dust cover for when the press isn’t in use. There are Etsy sellers that have created custom sewing patterns. Some people are using small vinyl coolers for dust cover, storage, and portability.
Facebook groups are a great way to get to know your press. There are some unique tips, tricks, and hacks in some of these groups. I’m always picking up a tip or two.
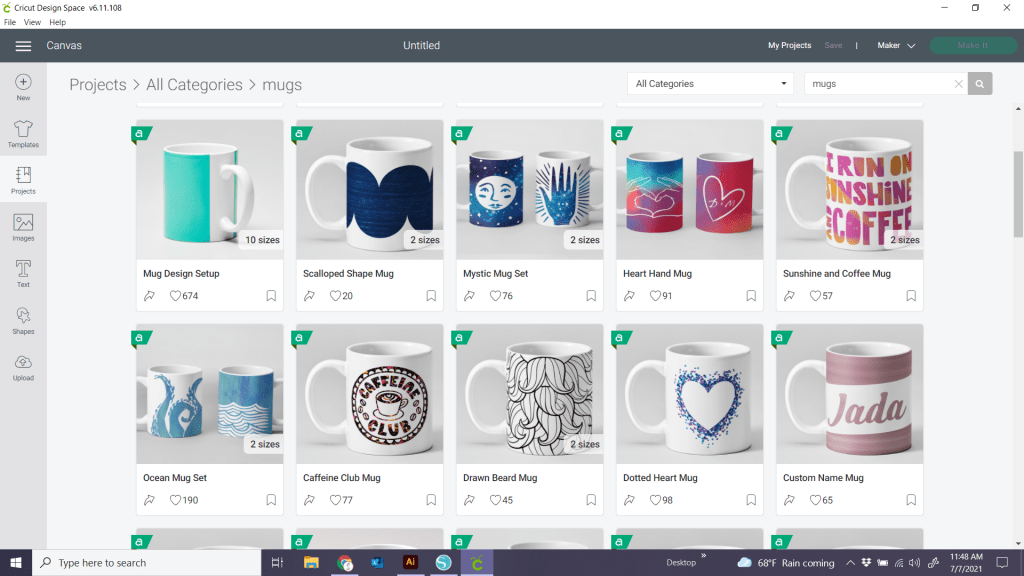
Where Do I Find Mug Templates in Cricut Design Space
We’ve covered the unboxing and setup of our Cricut Mug Press. Now we are ready to design some mugs. This isn’t by any means meant to be a full tutorial on creating your first mug. But if you go to “Projects” and type “Mugs” in the search bar, you can find some mug projects that will work with the infusible ink. Many of these would make an easy first project.
On the upper left of the photo, there is also a blank template option. You could use your Cricut Access subscription to add images and create your own design. Text designs would work as well.
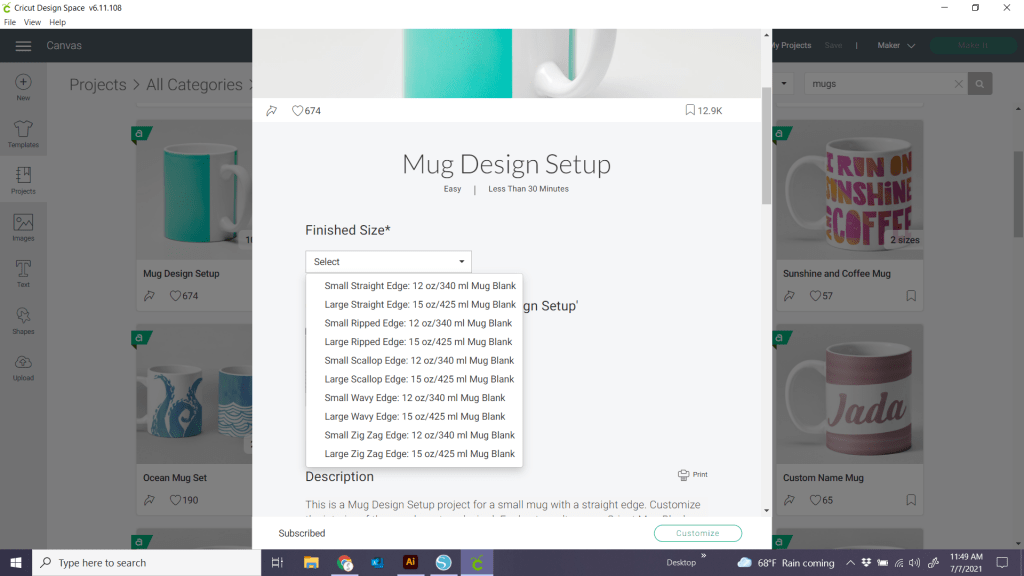
If you choose the blank template option there is a drop-down menu for different size mugs and edge styles.
Here is what the 15 oz mug template looks like. I’ve dropped in a few of the Cricut Cutie images. You can see where these line up on your mug. The mug alignment image can be deleted before sending your image to be cut from your infusible ink.
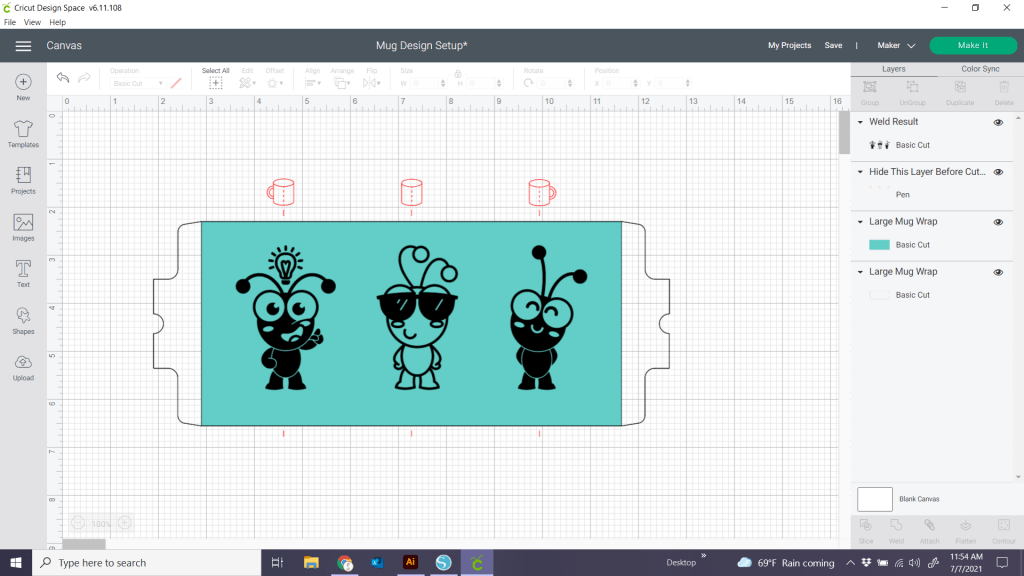
You can also use infusible ink pens. We’ll cover this in another post, but you’ll want to have Laser copy paper, your light grip mat, butcher paper, and heat-resistant tape when using the infusible ink pens. Drawing freehand with infusible ink pens is also an option. The template for the 15 oz mug is about 8.75″ x 4.25″. Keep in mind that any lettering would have to be mirrored, so you may want to stick with images only for your hand-drawn designs.
Can You Make Mugs Without Infusible Ink?
You can make mugs without infusible ink. You will need a printer that can use Sublimation Ink. I purchased an Epson ET2720. As these get a little more difficult to find, the ET2760 is also a popular choice. Getting into sublimation requires a bit more of an investment. But after a few awesome mugs, I was hooked!
You’ll want to be sure to set up your printer with sublimation ink right from the start and go through the printer cartridge alignment. Then you’ll want to tweak your printer settings for sublimation. I watched a very good YouTube video on this and was so glad that I did.
Here is the list of supplies that I purchased for Sublimation. Keep in mind that sublimation products are not limited to mugs only. You can sublimate on many kinds of products. Shirts, socks, totes, pillows, puzzles… These are just a few things you can use sublimation prints on.
Supplies
- Sublimation Printer Paper A-Sub Brand
- Hippo Sublimation Ink
- Butcher Paper
- Lint Roller (This is a preparation step in getting your mug ready. You want to make sure there is no lint or packaging debris on your mug before pressing your design)
- Cricut Heat Resistant Tape (this is a great product to stock up on when it’s on sale. Save even more if you are a Cricut Access Member)
- Images or Designs (I use Design Bundles or Creative Fabrica) There are also many unique designs that can be purchased from Etsy.
Do You Need To Use Cricut Brand Mugs?
The Cricut brand 15 oz mugs were used to create my first mugs. One question you may ask is, “Do I need to use Cricut Mugs with the mug press?”
You do not need to use Cricut brand mugs, but you do have to use sublimation blanks. Grabbing mugs from Dollar Tree will not work with Infusible Ink or sublimation prints.
I can’t vouch for any particular brand at this point, but I did find a couple of companies that sell mugs in bulk and I’ll share those below.
Will The Mugs I Make Be Dishwasher Safe?
Yes, the mugs made with Infusible Ink or Sublimation are dishwasher safe and microwaveable.
Where Can I Get Designs?
The sky is the limit with designs. There is so much you can do with fancy edges, text, Cricut Access images, and the many colors and patterns and Infusible Ink. When you get into sublimation there is another door that opens with design and color. What do you want to create? Do you want a special gift? How about a photo mug? Do you want to promote your business? The possibilities are endless!
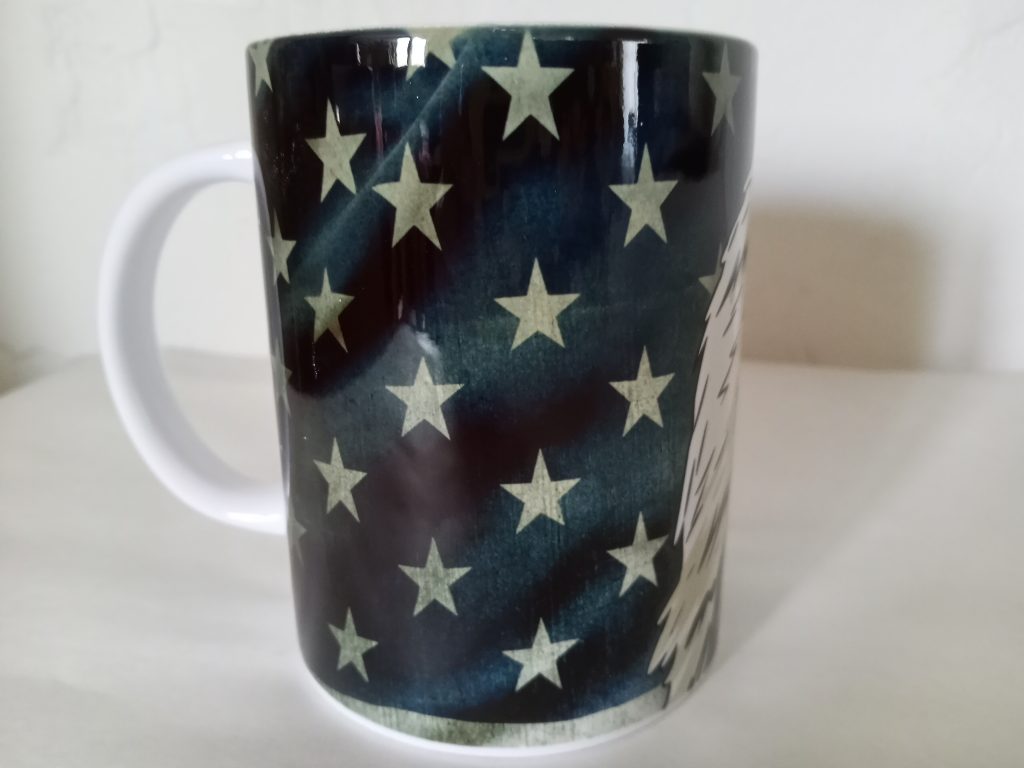
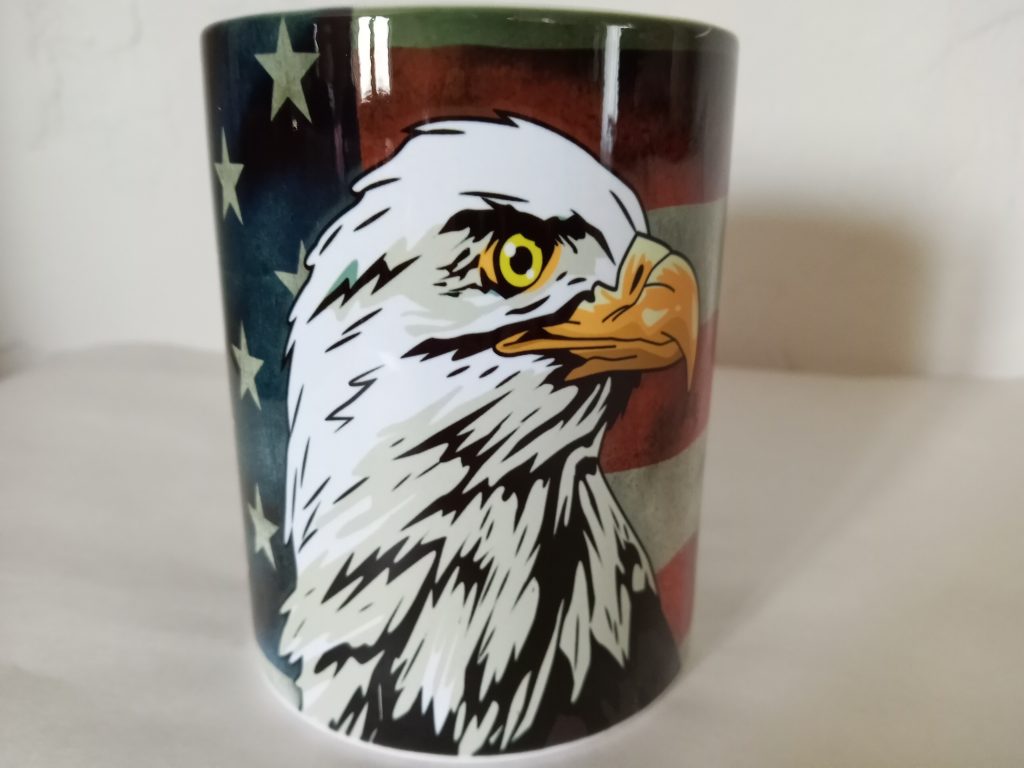
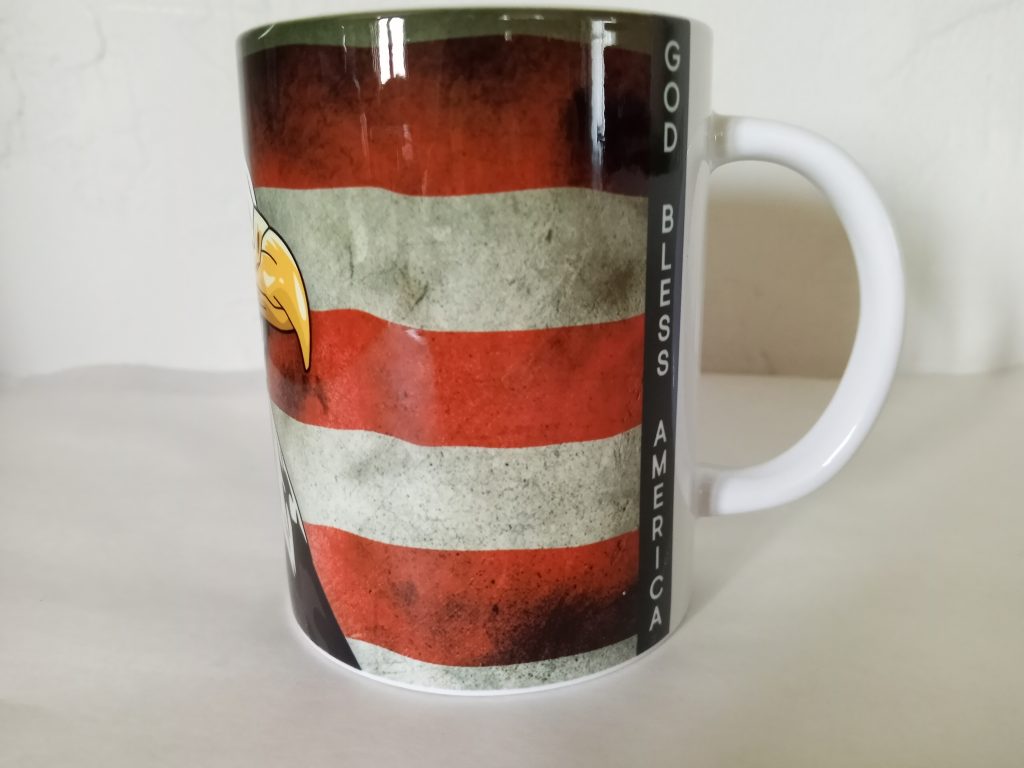
The mug below was one of my first sublimation mugs. The eagle design was one I purchased from Etsy.
The next mug was one that I designed myself in Adobe Illustrator.
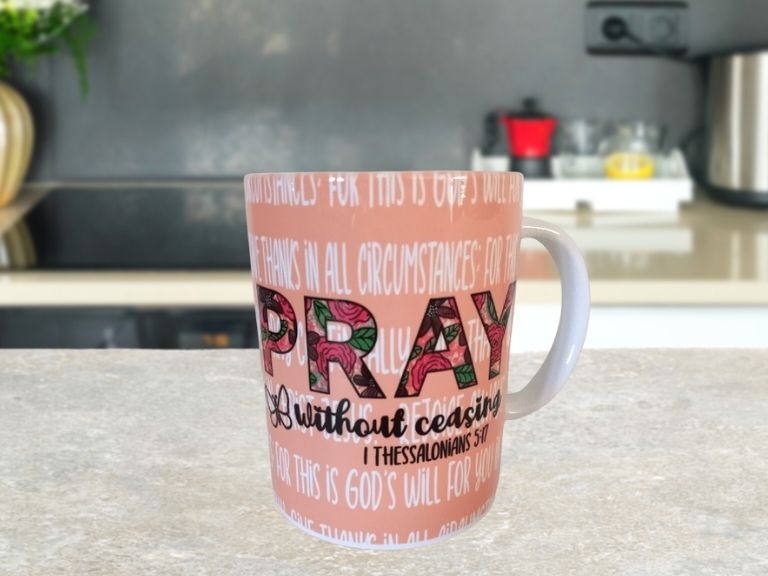
Lastly, I created a mug with a full mug wrap design that I purchased from Design Bundles. I love how this one turned out. The colors really pop!

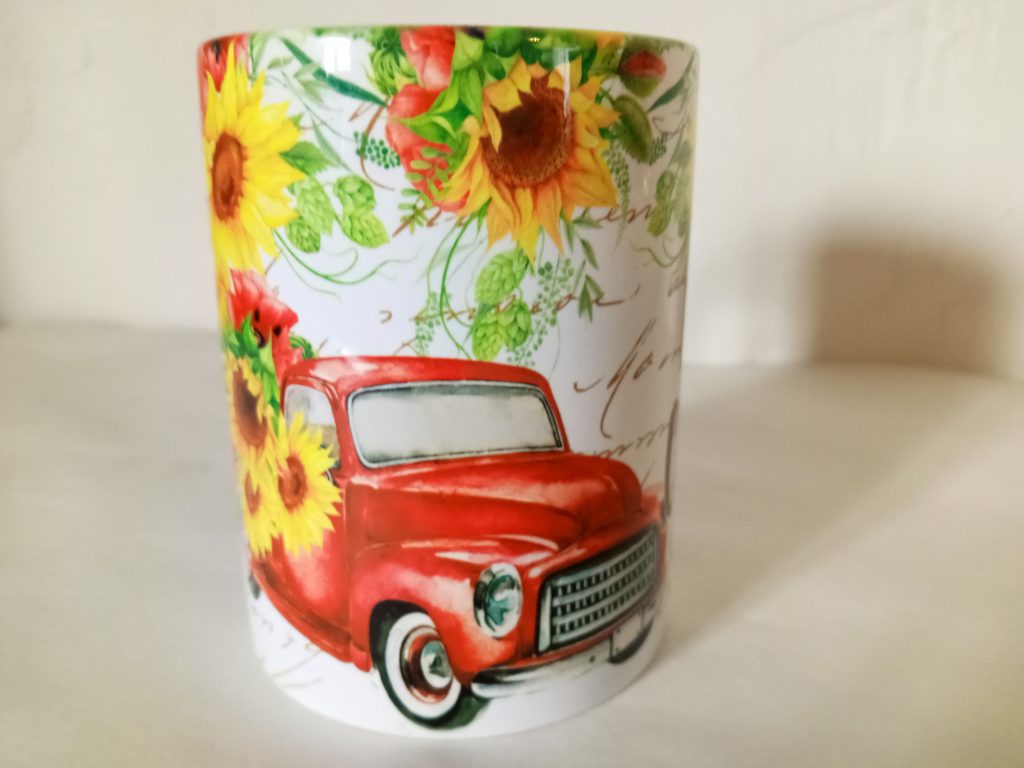
Can You Make Professional Mugs in Minutes?
It’s clear that the Cricut Mug Press is a great tool for creating professional-looking mugs. I’m in love with mine. I’ve joined a few Facebook groups and I’m inspired by all the wonderful creativity.
It takes time to prepare your Infusible Ink or your Sublimation designs and get them ready on your blank. As far as time in the mug press, it is very short. I’d say 5-6 minutes tops. You can assembly line your steps or do one special mug at a time. It’s totally up to you.
Things to Think About
Pros
- Easy to set up
- Compact and Light Weight. Perfect to take with you for a group craft night or weekend retreat.
- Easy to use
- Plenty of groups and tutorials for support
- Entry-level with Cricut Infusible Ink and Infusible Ink Pens
- Vibrant Professional Results
- Not limited to Cricut brand blanks
- Get a discount on the Mug Press and Supplies if you are a Cricut Access Member
Other considerations
- Some people may find Infusible Ink Limiting and Expensive-I’m not sure this is something that I would consider using over the long term for creating professional mugs to sell
- Some people find Infusible Ink difficult to work with. My experiences have been pretty positive, but I’ve only used bold images and fonts. I’ve seen some gorgeous Infusible Ink mugs in some of the groups I’m in, so it is possible to have amazing results!
- Cricut Mugs have been in high demand and have often been out of stock. Will this high demand be resolved soon? I’m not certain, but I’m going to continue to look for other sources of blanks.
- If you’re serious about sublimation, there are investments in other equipment and materials to consider
- The Cricut Mug Press is not the only mug press available and you may be able to get started for less if you don’t mind a more industrial looking press. Just be sure that the specifications of any machine you buy meets your needs.
Compatible Blanks in Bulk
I’m not affiliated with any of these companies. I’m providing these links for your information only.
- Colman and Company
- 143Vinyl (flat rate shipping and low free shipping minimum)
- Coastal Business Supplies
What Do You Think?
Did I answer some of your questions? Are you ready for the Cricut Mug Press?
I hope this was helpful in answering at least some of them. If you’ve been on the fence about purchasing a mug press, I hope I’ve helped your decision in some way.
Thanks for stopping by today and have a wonderful day!


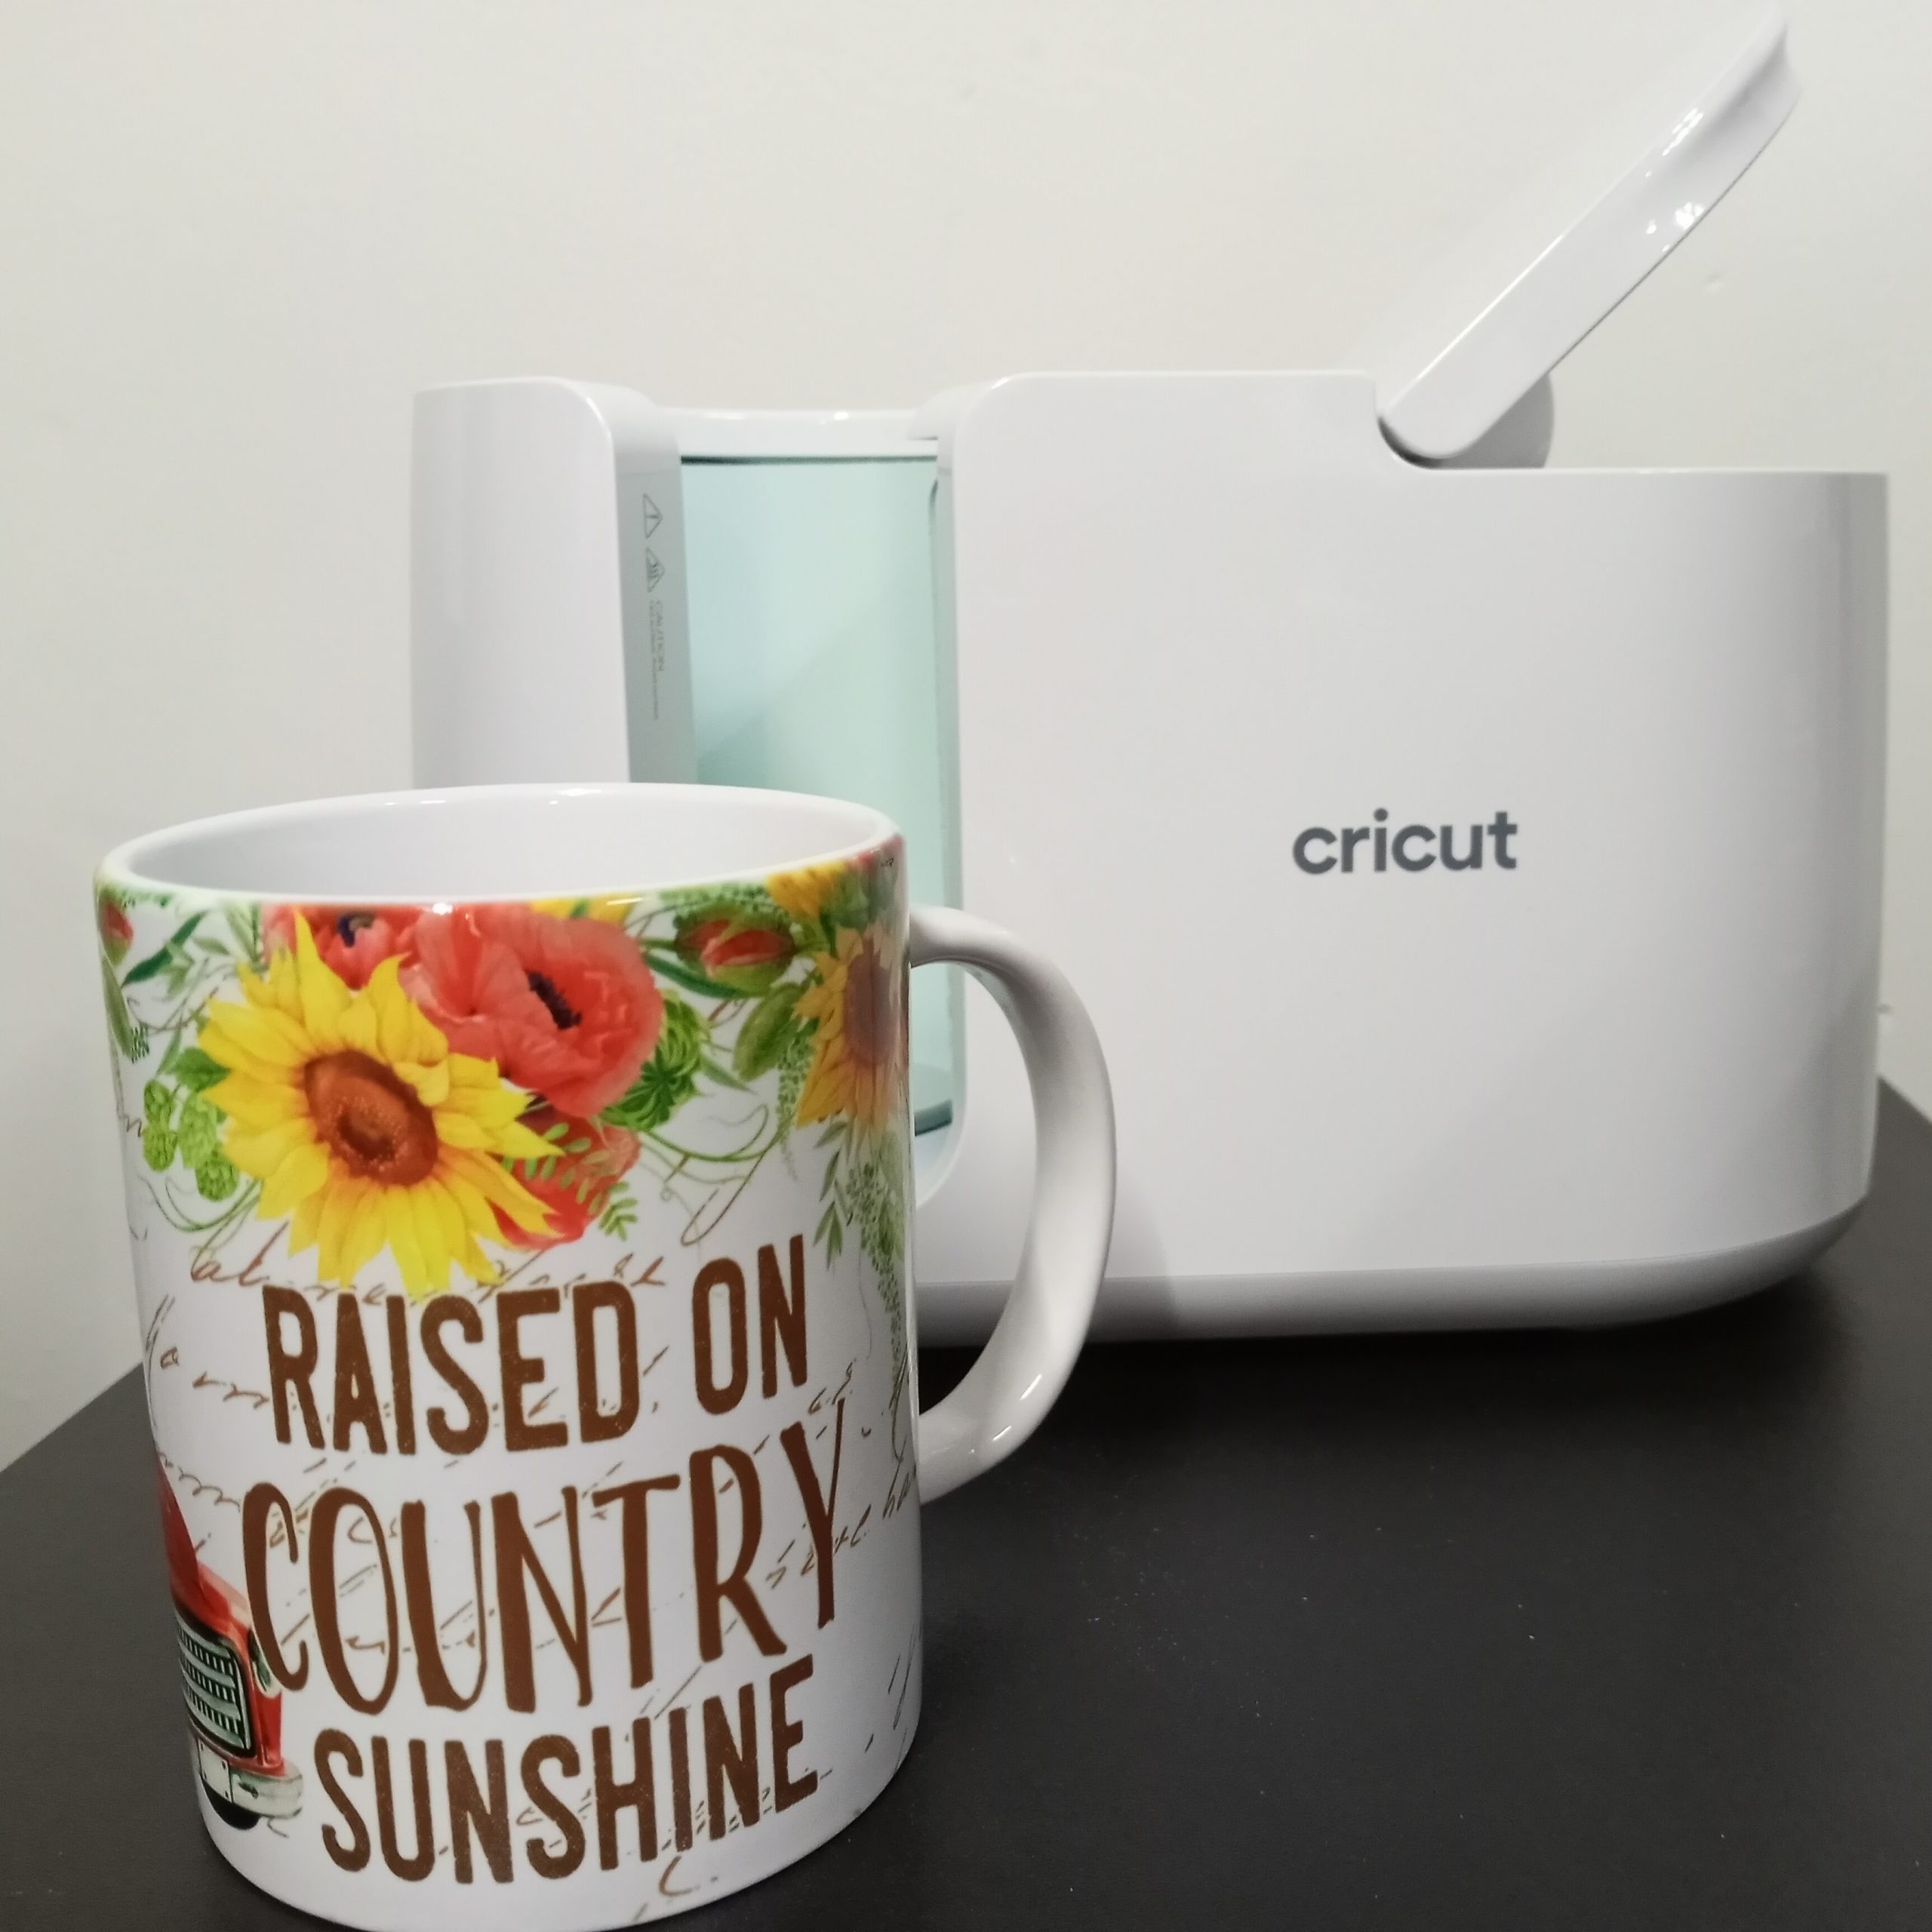


Very nice overview and explanation. Just got my mug press and I am not planning on a sublimation printer, YET!!!
Enjoy your mug press Shirl! I’ve seen some amazing mugs done with infusible ink. Be sure and share your creations in the Facebook group! I’d love to see them.