Reclaimed Wood Ornaments for Rustic Elegance
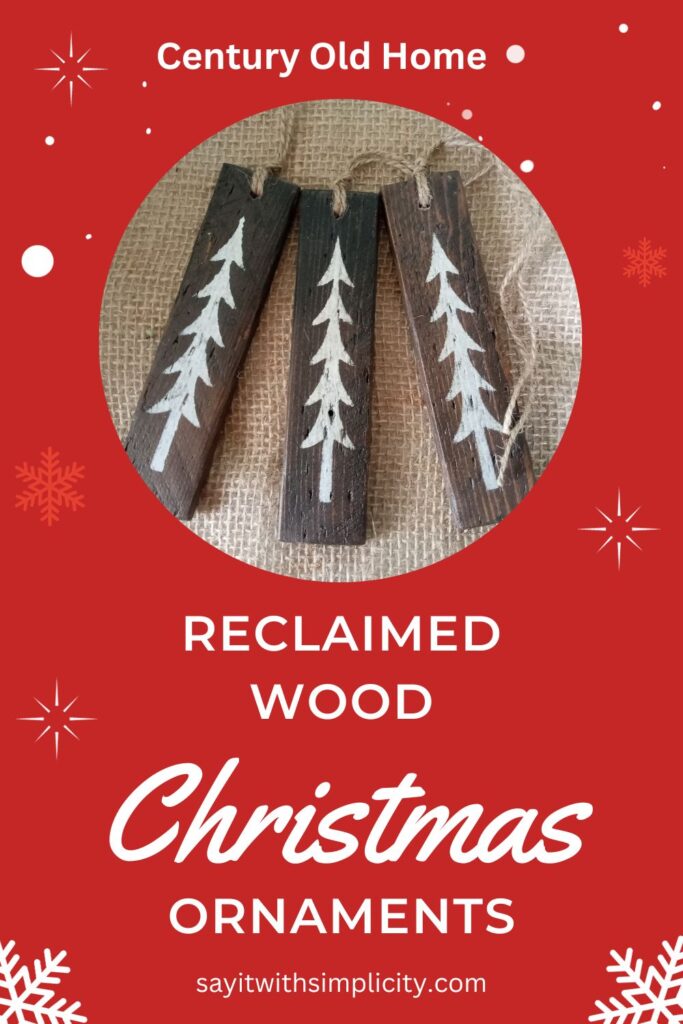
Hey there, crafty friends! Ever wondered what happens when a not-so-fancy house meets a Silhouette Cameo and a touch of Christmas? Well, you’re in for a treat! In this blog post, we’re spilling the cocoa on how we turned some old house scraps into the coolest Reclaimed Wood Christmas Ornaments, thanks to our Silhouette Cameo.
As an Amazon Associate, I earn from qualifying purchases.
The Heart of the Project: A Century-Old Home
So, our house might not make it onto “Fixer Upper,” but it’s been our cozy home for over 30 years. When we decided to do a little reno, we uncovered lots and lots of lath that was practically begging for a second act. And what better way to give it new life than turning it into Christmas ornaments?
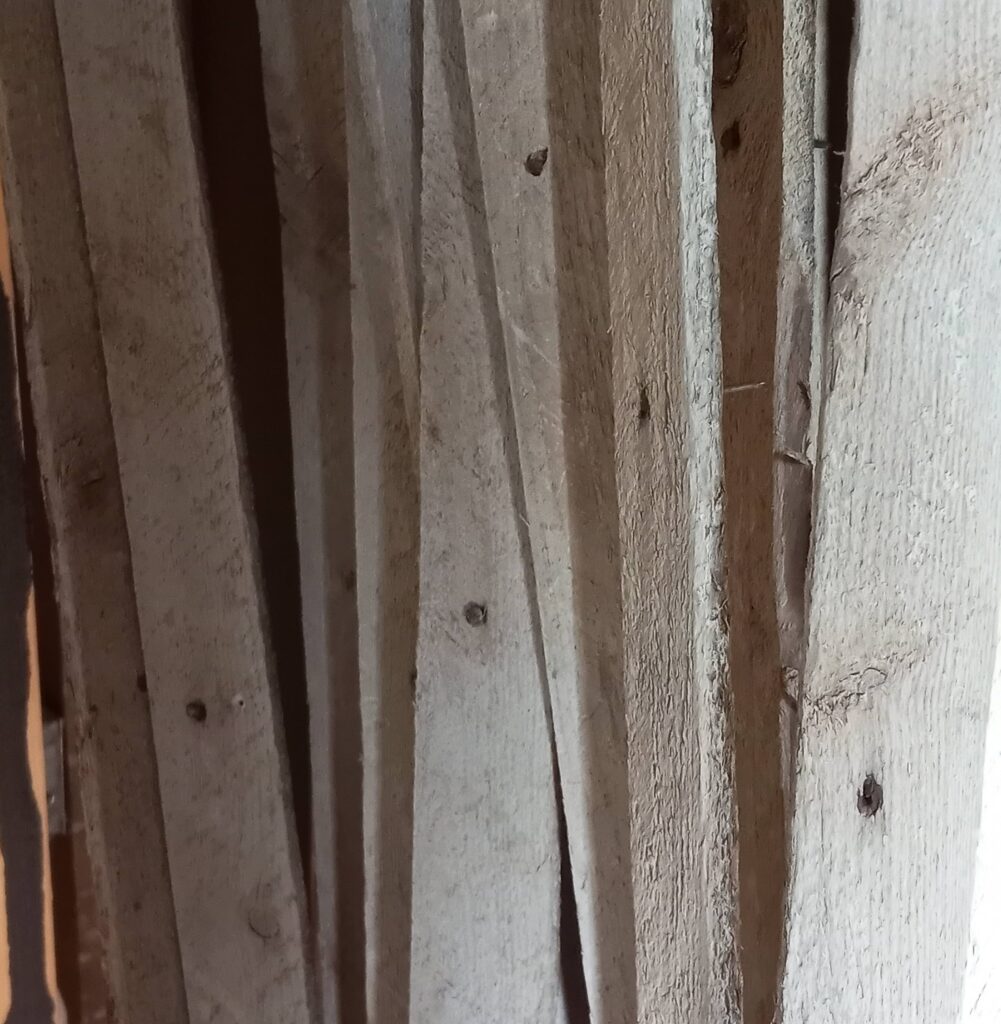
Crafting with Character: The Reclaimed Wood Journey:
The wood we used for these ornaments is anything but ordinary. While we sanded away splinters, we purposefully left knots, nail holes, and chips intact, embracing the imperfections that make each piece truly unique.
When it comes to crafting, I’m all about embracing the imperfection. Sure, we sanded down the splinters, but those knots, nail holes, and chips? They’re practically part of the family photo now. Each ornament has a story – and trust us, it’s not always the kind you’d put on a holiday card. But hey, that’s what makes them special, right?
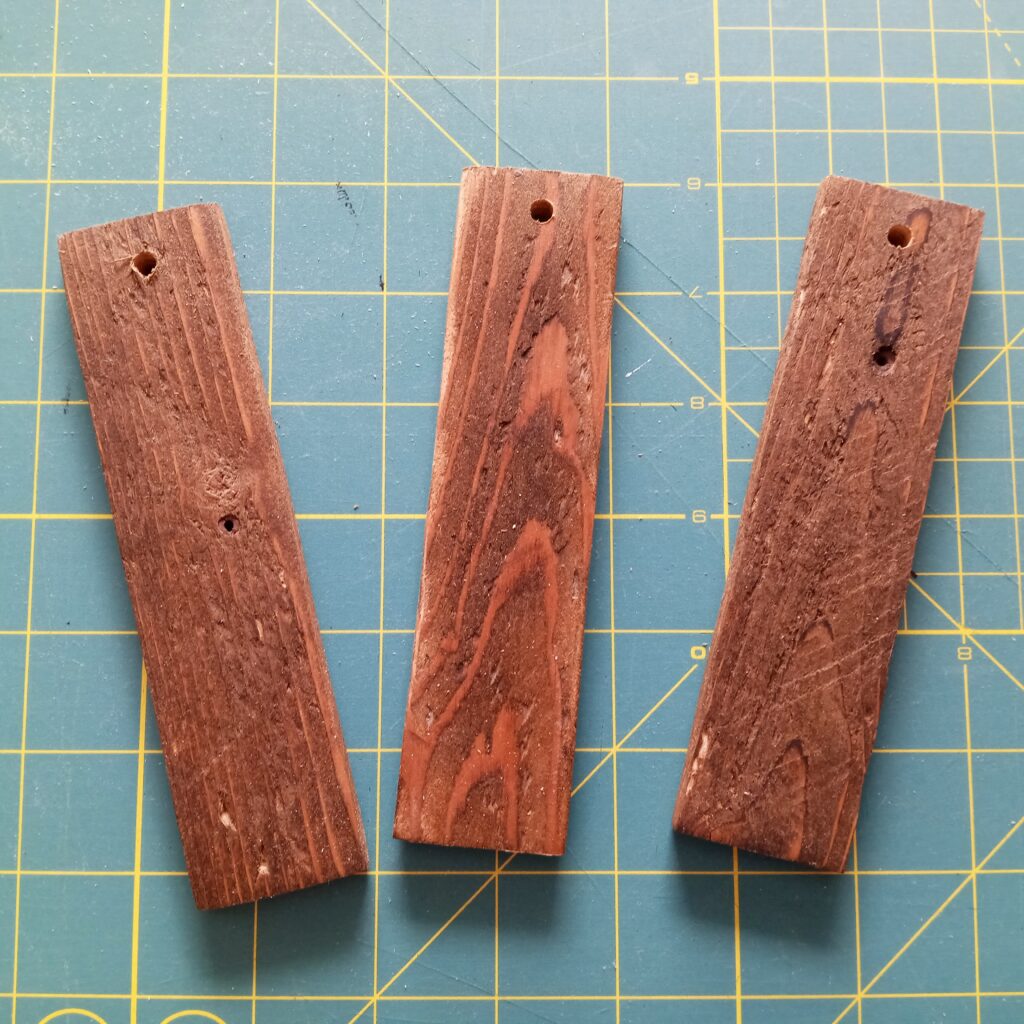
I used the miter saw to cut all my lath pieces to length. Then I used the drill press to add the finishing touch to these ornaments. I love the drill press for getting the holes at the top of the ornament lined up in the middle. Now they were ready to welcome the rustic charm of jute twine and were perfect crafting blanks for the rustic Christmas Tree Ornaments.
Silhouette Cameo: Our Crafty Co-Conspirator:
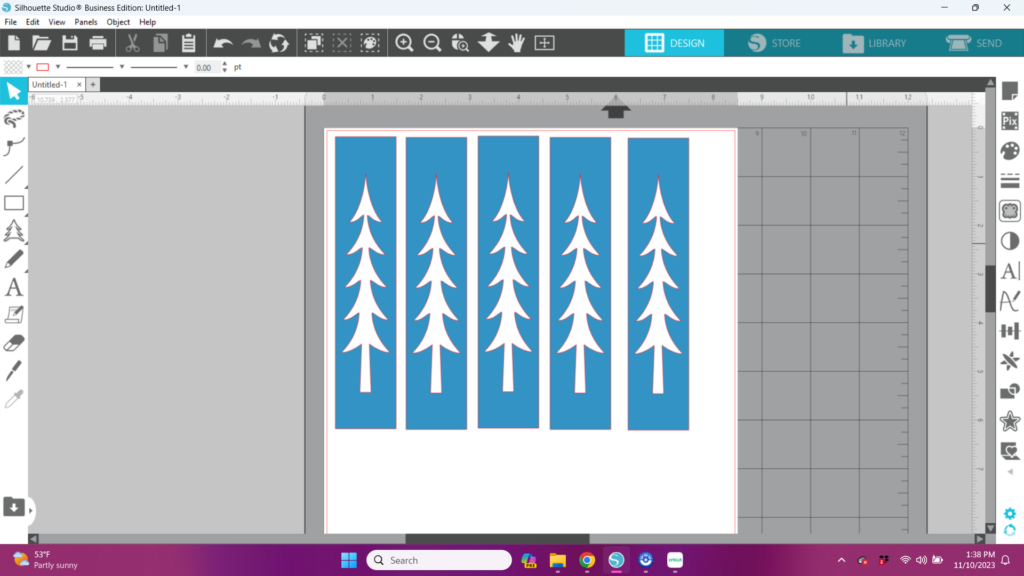
Enter the Silhouette Cameo, the unsung hero of my crafting escapades. I hopped into Silhouette Studio and got my creative juices flowing, designing my own unique design for these ornaments. After wiping off the dust from our home renovation, I fired up my Cameo 4 and cut some stencils from 5 mil mylar. I used the “Stencil Material” cut setting. Always test cut to avoid wasting materials.
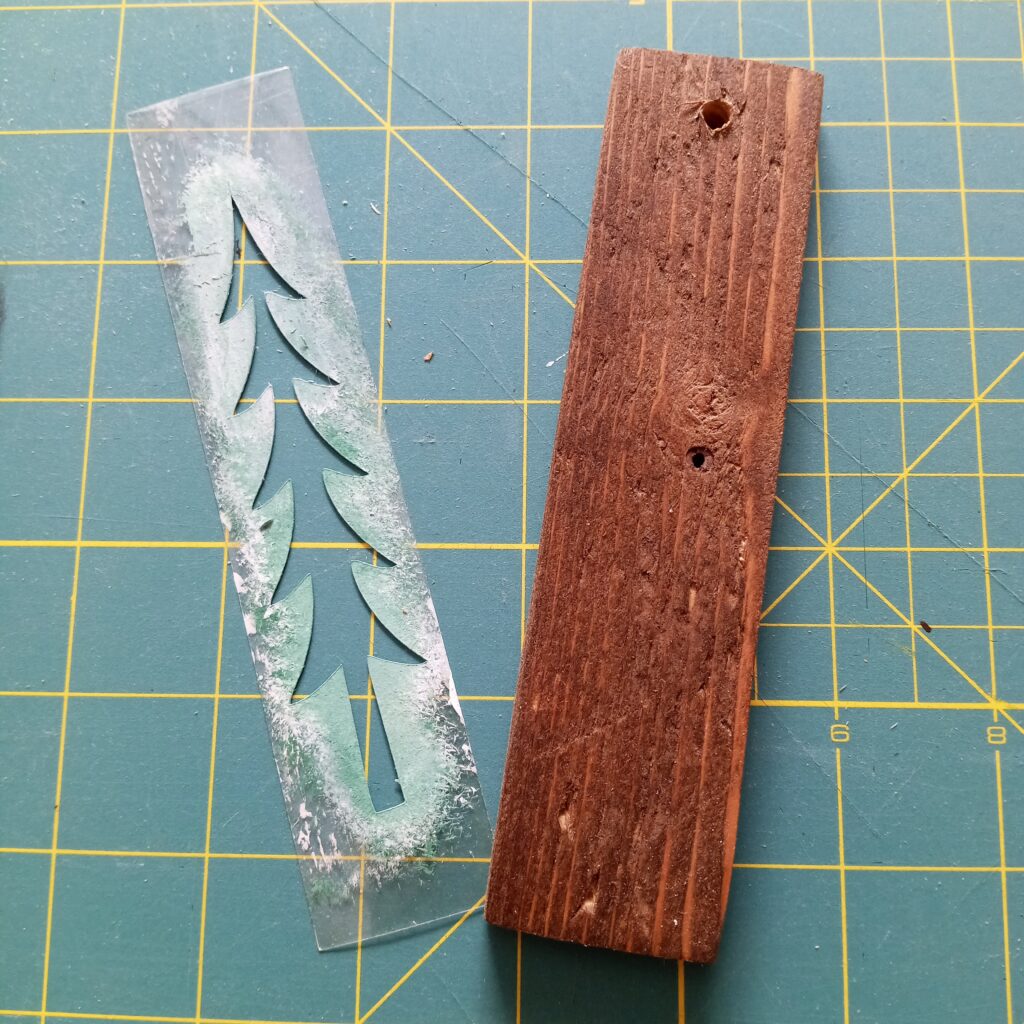
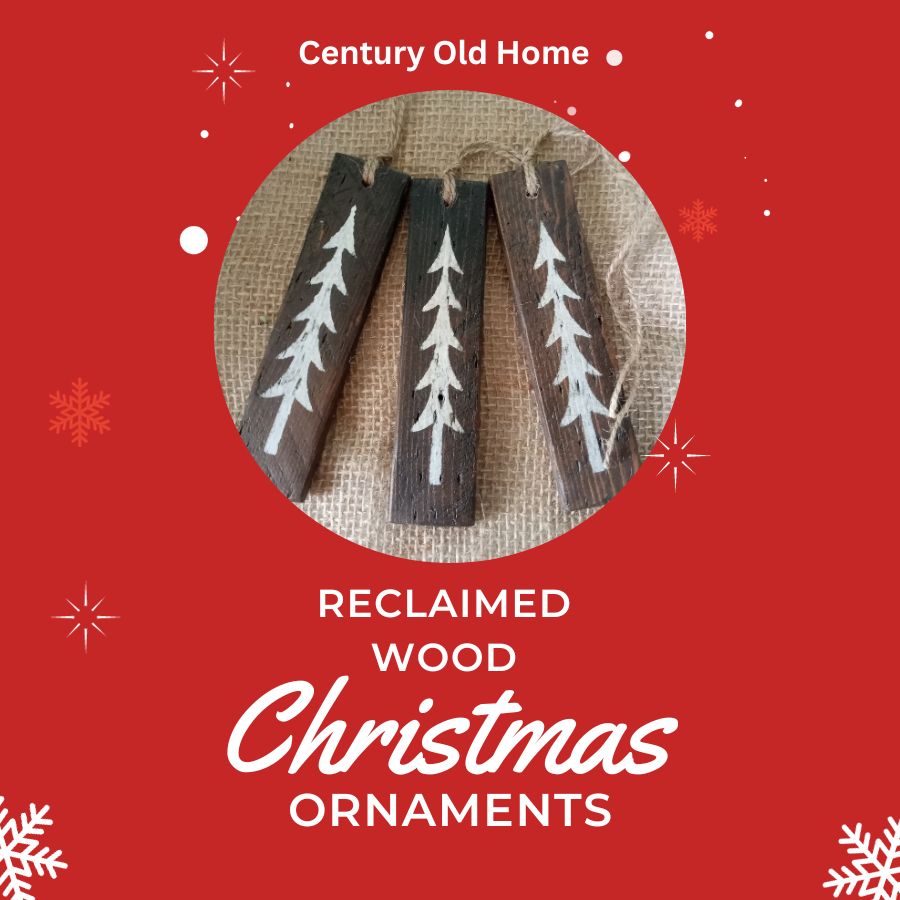
Next I used my stencil and a stencil brush to paint the trees using white chalk paint.
In no time, I had turned that old, rough wood into trendy ornaments. It’s amazing how a bit of over thinking and a trusty machine can give new life to forgotten materials!
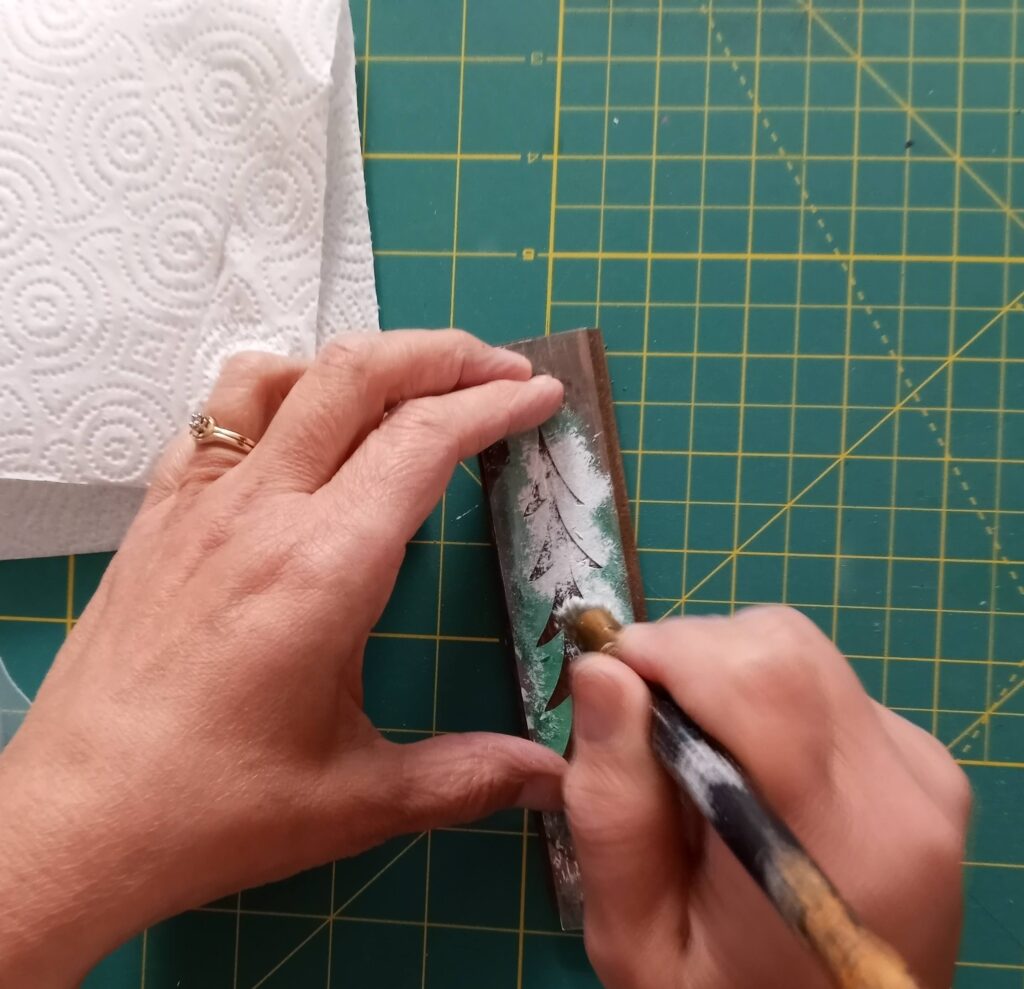
Finally I used Dixie Belle Matte Clear coat to give my ornaments a protective top coat. This will keep them looking nice for years to come.
How to Paint Wood Signs with Vinyl Stencils
Creating Signs from Scrap Wood
Reclaimed Wood Ornaments Unwrap a Small Part of Our History
As we decorate with our Reclaimed Wood Christmas Ornaments, we know that each piece is like a tiny chapter from our home’s story. It might not be a mansion, but it’s got heart, just like these ornaments. From our humble home to yours, may your holidays be filled with warmth and a sprinkle of DIY joy!
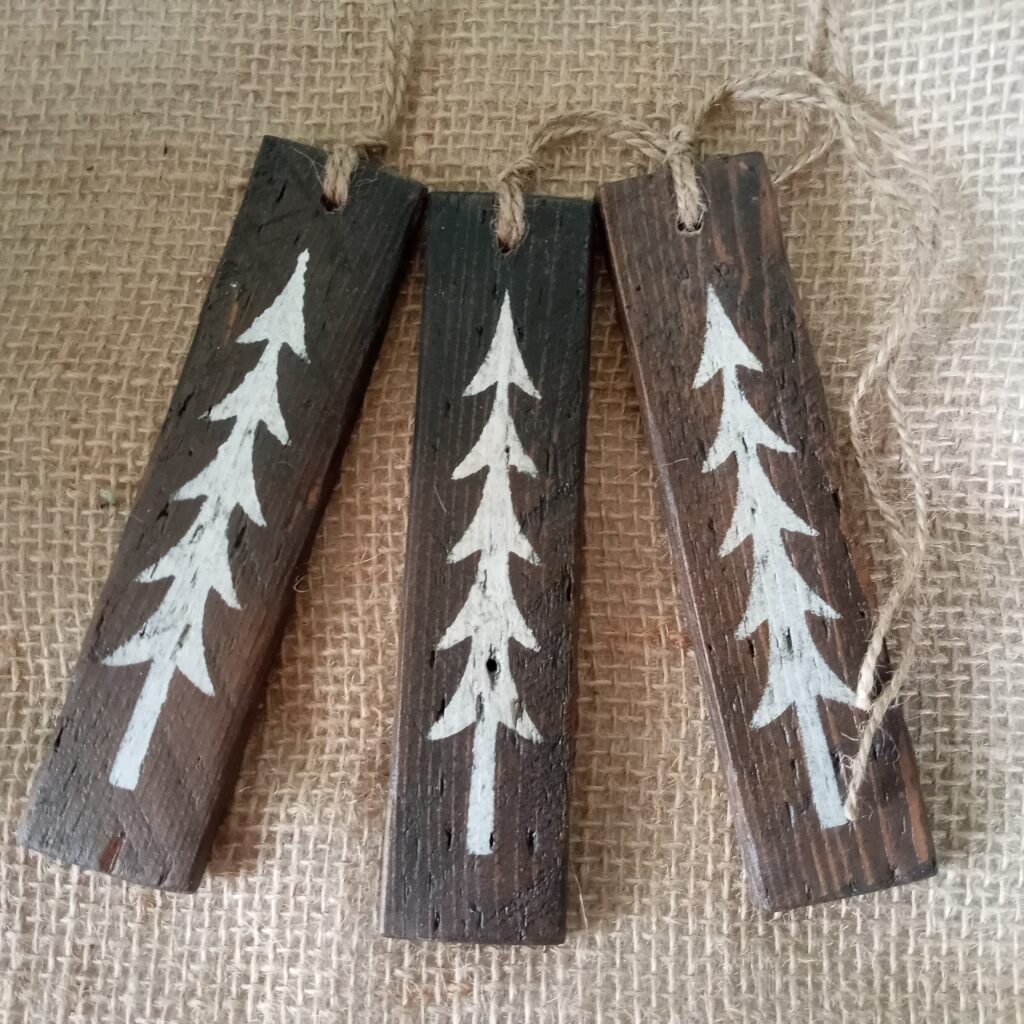
If you would rather purchase than make a set of these wood ornaments, see our Etsy Shop for more details.
