Rabbit Feed Sack SVG
Create an Easy Spring Farmhouse Project
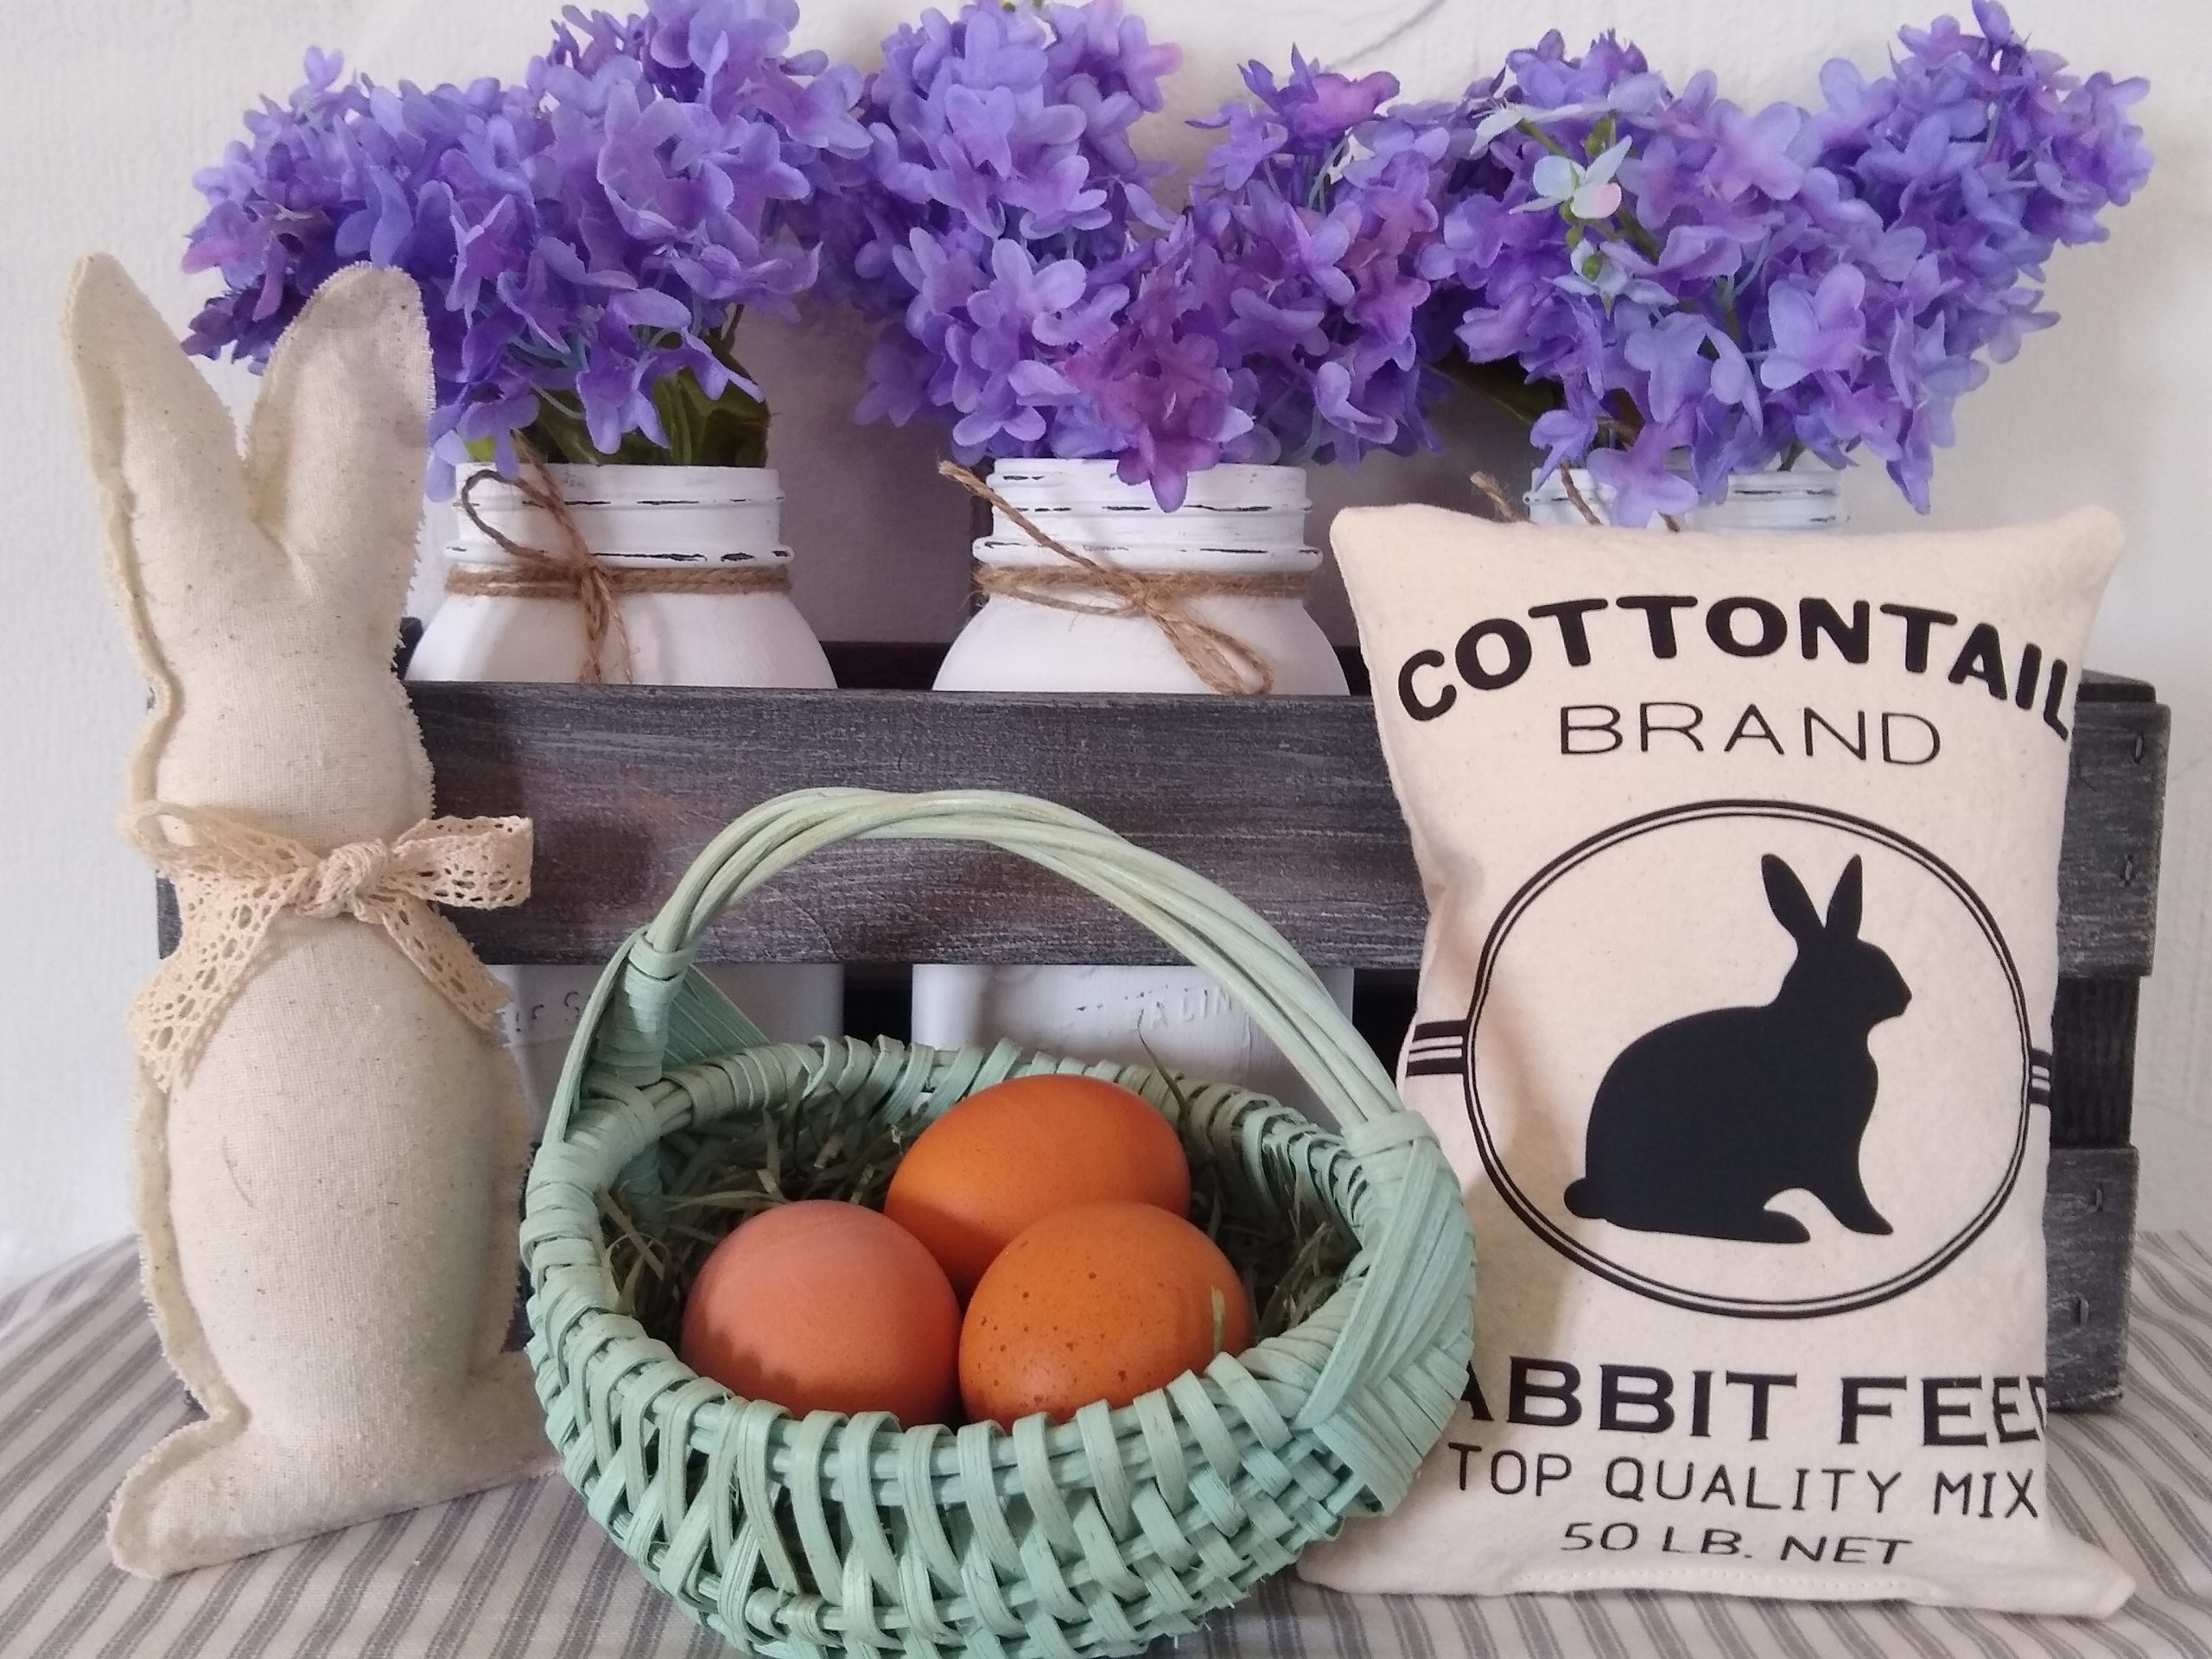
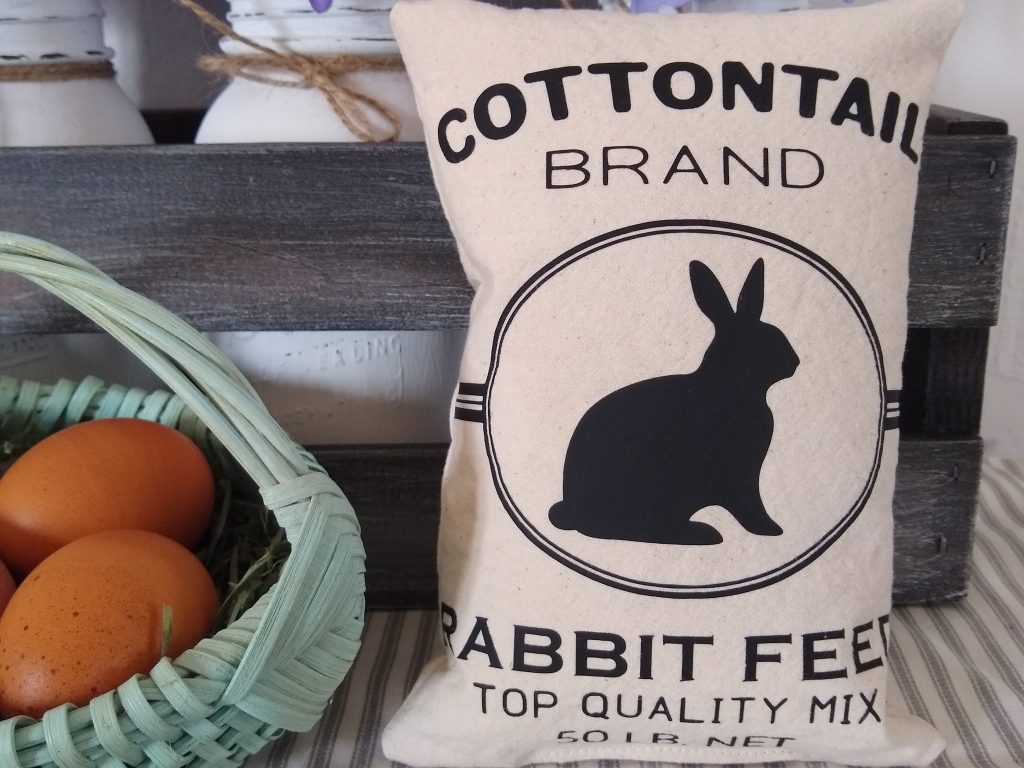
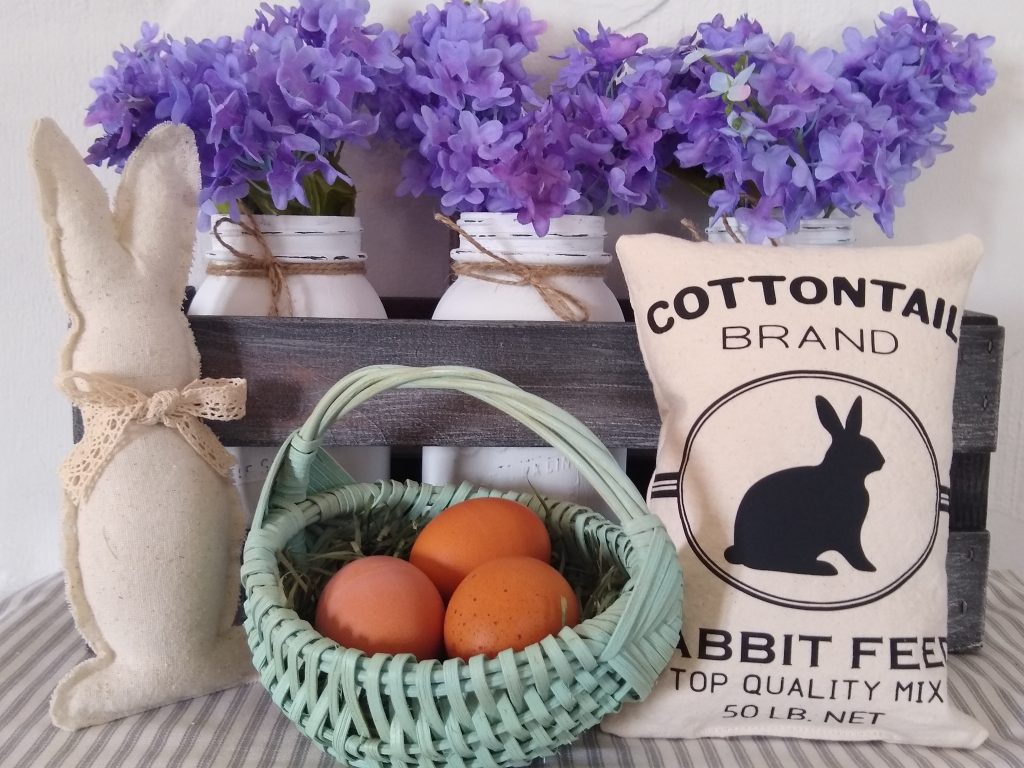
Hey friends! I used a Rabbit Feed Sack SVG that I created to make an adorable little feed sack for spring decorating.
This is super simple to make with your cutting machine whether you have a Silhouette Cameo or Cricut.
I shared this project on my YouTube Channel and you can check out a quick video tutorial HERE.
Super Easy Heat Transfer Vinyl Project
Using heat transfer vinyl makes this project super quick and easy. Plus it was a scrap buster for both vinyl and fabric.
I had a small piece of heat transfer vinyl that worked out perfectly for this project. The design was cut at about 5.5 inches wide by 6 inches tall. So if you have small bits and pieces you could certainly use them for this project.
Fabric for the Feed Sack
The sack is made from two pieces of heavier muslin that were cut at 6 inches wide and 8.5 inches long.
I love the look of this muslin because when you wash it it gets kind of wrinkly and gets that “old feed sack” look. It’s not as rough as something like burlap or drop cloth so the heat transfer vinyl adheres really well.
Cut at the 6 x 8.5 inch size gives you room to sew a quarter-inch seam allowance all the way around the edge. You could also use hot glue or fabric glue for a no-sew project.
Materials and Tools:
- Heat Transfer Vinyl. I used Black
- Muslin or other fabric
- Pillow Stuffing, Poly-fil works great and is easily available. You could also take apart a pillow. Whatever works best for you.
- Cutting Machine-Cricut, Silhouette, Brother
- Cutting mat
- Vinyl Weeding Tools
- Heat Press, Easy Press or Iron
Using the SVG to Make the Rabbit Feed Sack
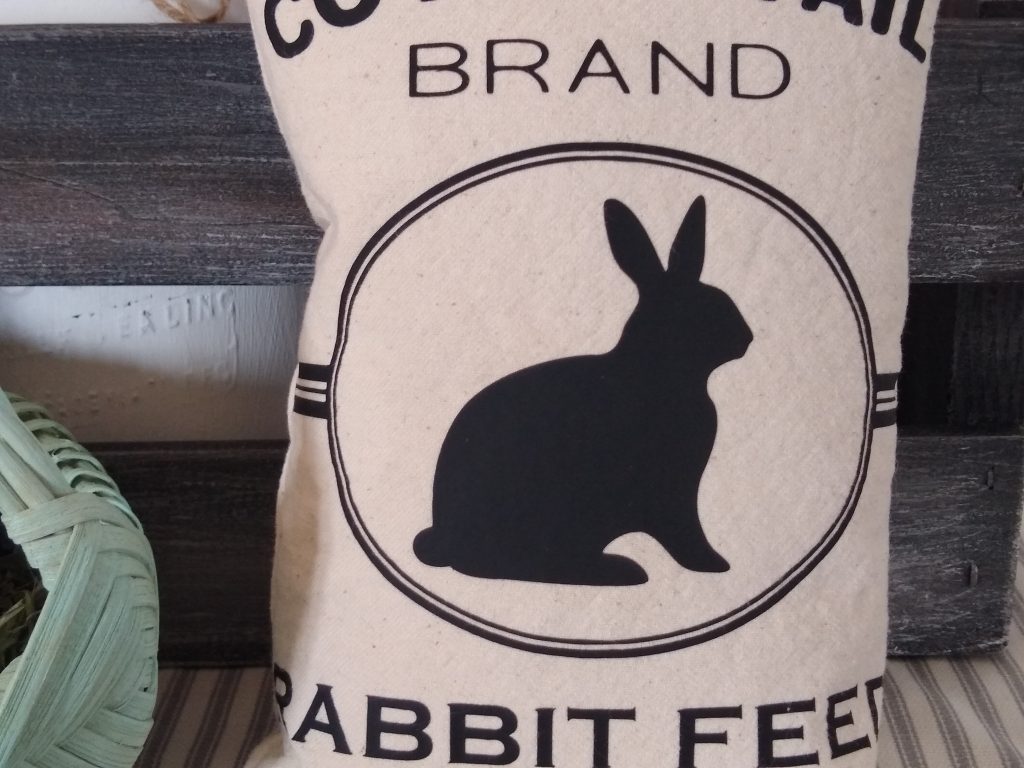
Place you SVG image inside your machine software and size to 5.5 x 6 inches or desired size for your fabric choice. For a quarter inch seam allowance on both sides, you’ll want to make your fabric 1/2 inch wider than your image and lock the proportions.
I like to create a weeding box around my image. This can be a simple rectangle and just helps to get the image centered on the project.
Be sure to mirror your image before cutting when using heat transfer vinyl.
Place your heat transfer vinyl with the shiny (carrier sheet) side against the mat.
Select the cut settings for the vinyl you are using. Many of the vinyl vendors will have recommended settings on their websites. I usually select the default settings for Heat Transfer Vinyl Smooth (Silhouette) and Heat Transfer Non-Cricut (Cricut Maker) and this has worked well for me when cutting a smooth heat transfer vinyl.
Cut your image and weed your vinyl. Weeding is removing all of the vinyl that you don’t want and keeping all the images and text that you want to transfer to your project.
Transfer your vinyl to one of your pieces of fabric using your heat source.
Sewing The Fabric Feed Sack
I wanted my feed sack to look realistically full, so I created a little pillow of sorts. Those bunnies get hungry right?
Lay the fabric with your heat transferred image right sides down on your other piece of fabric and sew a 1/4 inch seam allowance all the way around. *Leave a small amount of room at the bottom for turning your sack right side out and stuffing.
Turn, pull out the corners, and stuff with Poly-fil or your preferred stuffing. Hand or machine sew at the bottom. Fabric glue or hot glue would also work.
Now that you’re done, make an arrangement with your little feed sack pillow and enjoy. This would work great for tiered tray decor or in a simple centerpiece. I love how this turned out.
Be sure to grab your free SVG with the button below.
Not a member of our e-mail list? Be sure to sign up for updates and special offers on resources that you’ll find valuable in your crafting journey.

