Joy to the World Sign with Silhouette Cameo
In the hustle and bustle of our daily lives, finding moments of joy can be like discovering hidden treasures. For me, I find joy in the creative process, and recently, I embarked on a crafting adventure that brought a delightful “Joy to the World” sign into existence. As I painted, stenciled, and adorned a simple 2×6 piece of scrap wood, the lyrics of the timeless Christmas carol echoed in my mind.
The Christmas Carol’s Roots
“Joy to the World,” a cherished Christmas carol, has a rich history steeped in tradition. Penned by Isaac Watts, a prolific English hymn writer, the lyrics were first published in 1719. Watts’ words beautifully capture the spirit of Christmas, celebrating the arrival of the Lord and encouraging every heart to prepare Him room.
The Melodious Adaptation
Fast forward to the 1830s, and the music for “Joy to the World” was composed by Lowell Mason. Mason skillfully adapted the melody from parts of Handel’s Messiah, adding a layer of musical brilliance to Watts’ timeless lyrics. The resulting composition has become an integral part of Christmas celebrations around the world.

Creating the “Joy to the World” Sign from Scrap Lumber
Materials and Tools Used:
- A 2×6 piece of scrap wood
- White acrylic paint
- A one inch paint brush
- Avery Stencil Mask
- Silhouette Cameo for cutting the vinyl stencil
- SVG design (available in my Facebook Group files section)
- Stencil brush
- Deco Art paint
- Jute twine
- Faux greenery from the thrift store
- Hot glue gun
Pro Stenciling Tip
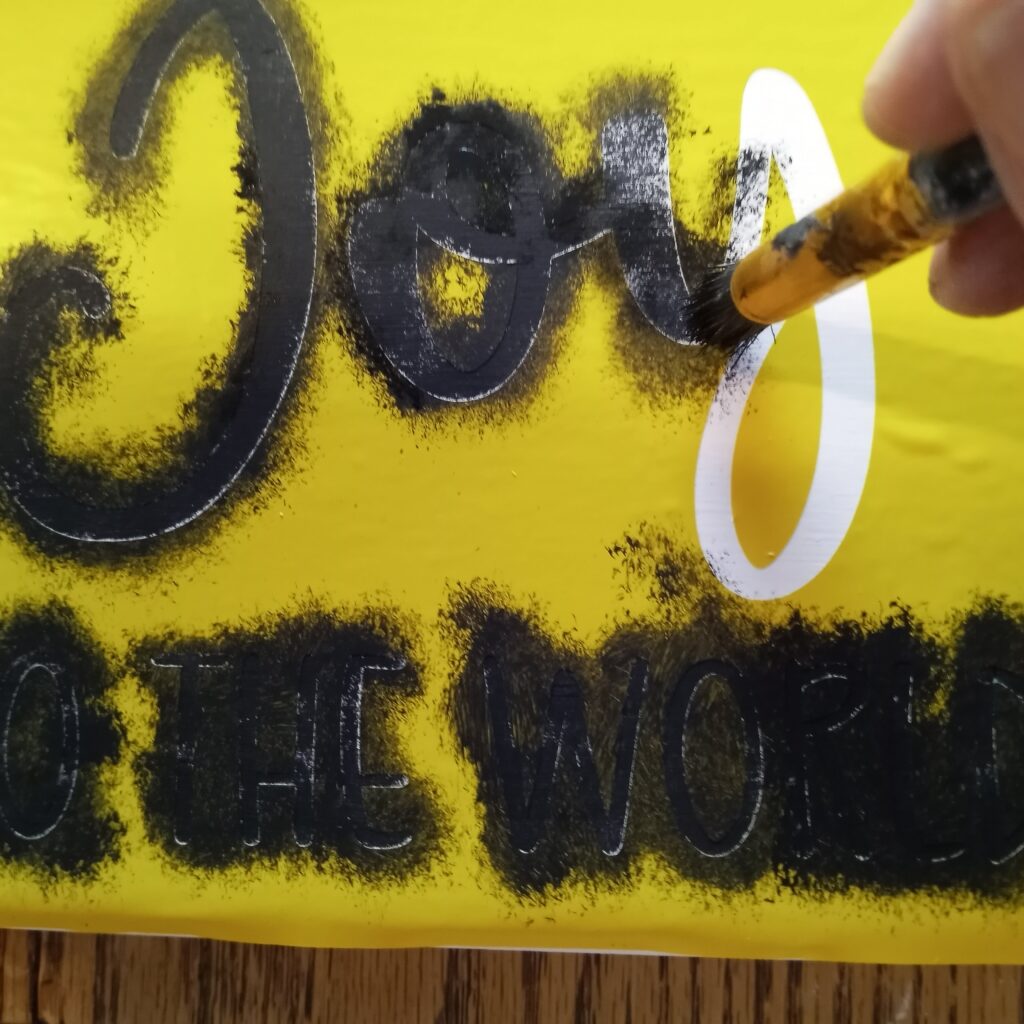
Less is More! Avoid messy bleeds by using a light touch and tapping off excess paint before applying paint to your stencil. Start with a really light paint coat and then go back over with light coats to fill in. Don’t let much paint accumulate at the edges of your letters and numbers. A little goes a long way in achieving crisp, clean lines on your crafting masterpiece. Happy stenciling!
My Creative Process for this Joy to the World Sign
- Choosing the Canvas:
Before I start any sign project, I like to think of my canvas. For my “Joy to the World” sign, I repurposed a 2×6 piece of scrap wood. This not only adds a rustic charm to the piece but also promotes sustainability by giving new life to otherwise discarded materials. - Painting the Canvas:
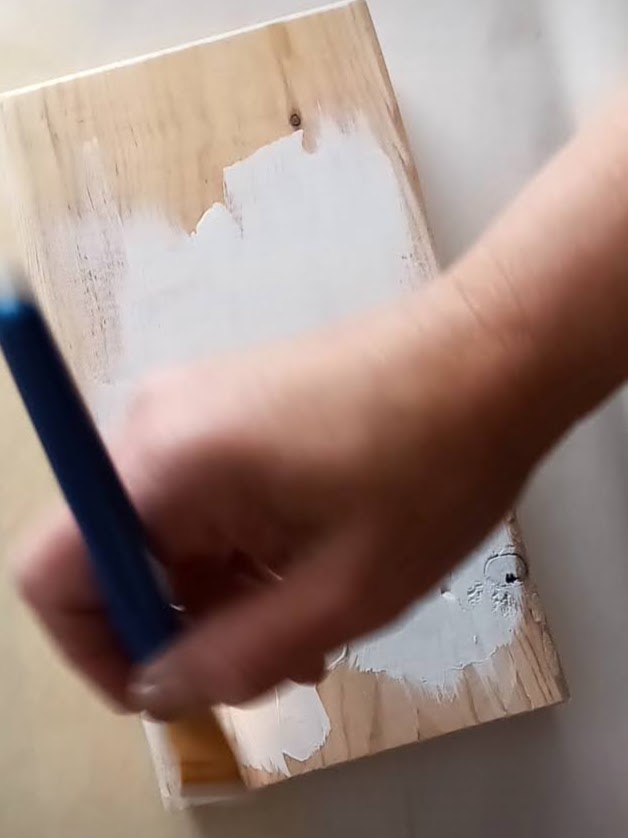
Next, I opted for a clean, timeless look by coating the wood with a layer of white acrylic paint. This provided the perfect backdrop for the festive message. - Creating the Stencil:
Armed with my Silhouette Cameo and Avery Stencil Mask, I designed a custom stencil. The design, is available in my Facebook group files section and is only available inside the Facebook group. - Applying the Stencil:
Precision is key when applying the stencil. I like to use TranferRite transfer tape for carefully transferring the vinyl stencil onto the wood. - Adding the Typography:
Using a stencil brush and Deco Art paint, I brought the words to life on the wood. This next step requires patience, a steady hand, and a light touch. But in the end is a crisply painted message that pops against the white background. - Finishing Touches:
Finally, I incorporated jute twine around the end of the sign. This not only enhances the rustic feel but also introduces a subtle, natural element. - Bringing in Nature:
Rather than buying something new, the finishing touch involved a trip to the thrift store. There I found faux greenery to complete my project. A few carefully placed sprigs, secured with hot glue, added a festive and welcoming touch.
How to Paint Signs with Vinyl Stencils
Garden Shed Sign from Reclaimed Trim

I enjoyed creating this project for my home and family. May this humble “Joy to the World” sign serve as a reminder that even from scrap pieces, beauty and joy can emerge. As we gather with loved ones and celebrate the season, may the joyful message of this sign find its way into the hearts of our family and friends this Christmas.


