Monday Minute #1: Easy Rustic Photo Frame
Easy DIY Rustic Photo Frame
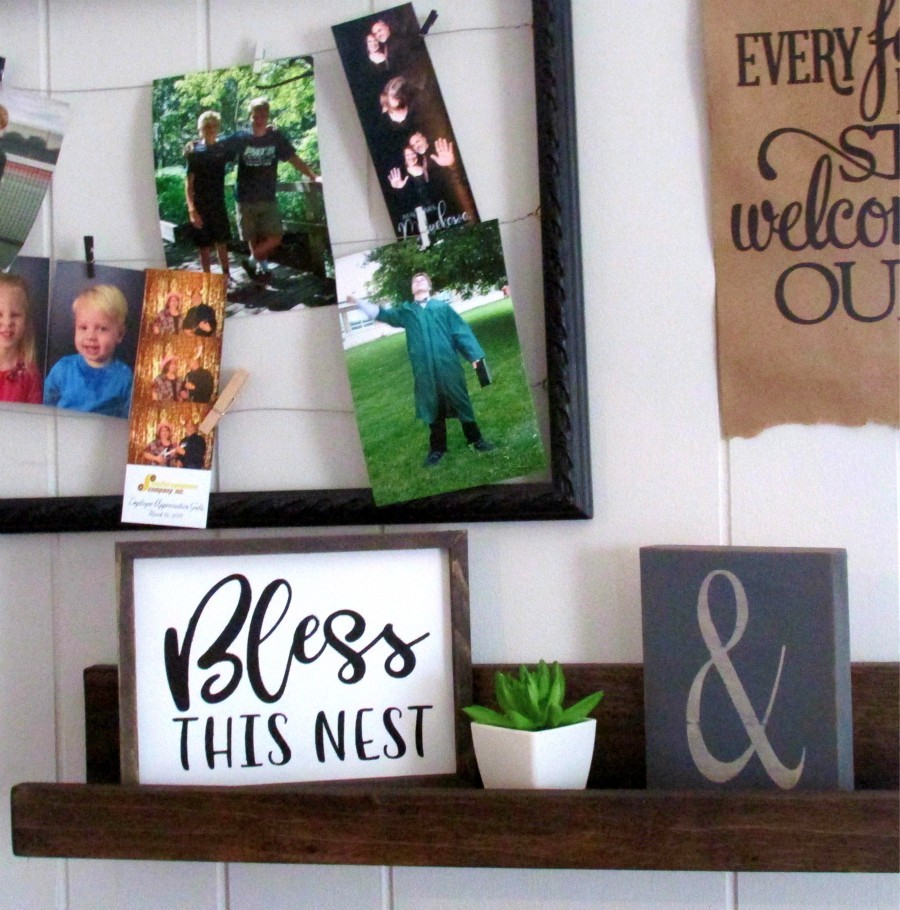
This easy DIY rustic photo frame was a way to use up a little scrap lumber we had sitting around and a great addition to a gallery wall that I’m trying to create.
Making the Photo Frame
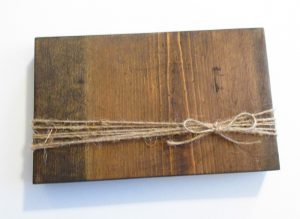
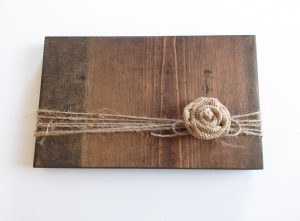
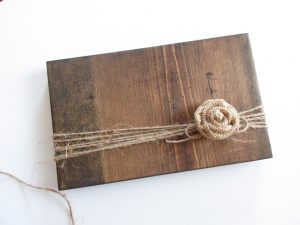
I started out with a lumber scrap that is about 8 1/2 inches x 5 1/4 inches. I evened out the edges on my miter saw. My saw is an older Craftsman saw that we purchased at Habitat for Humanity, and it gets quite a bit of use.
Over the weekend I created a rustic shelf, a sign blank and a rustic towel bar, and it wasn’t to difficult to throw a scrap piece in with the mix of things I was working on. I stained my board with Min Wax Jacobean and I love the little bit of contrast that I get with the lighter color with the jute twine.
The twine was from the Dollar Tree. I wrapped it around my scrap board about 6-7 times.
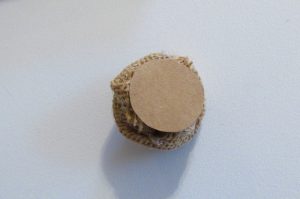
The Burlap Rose
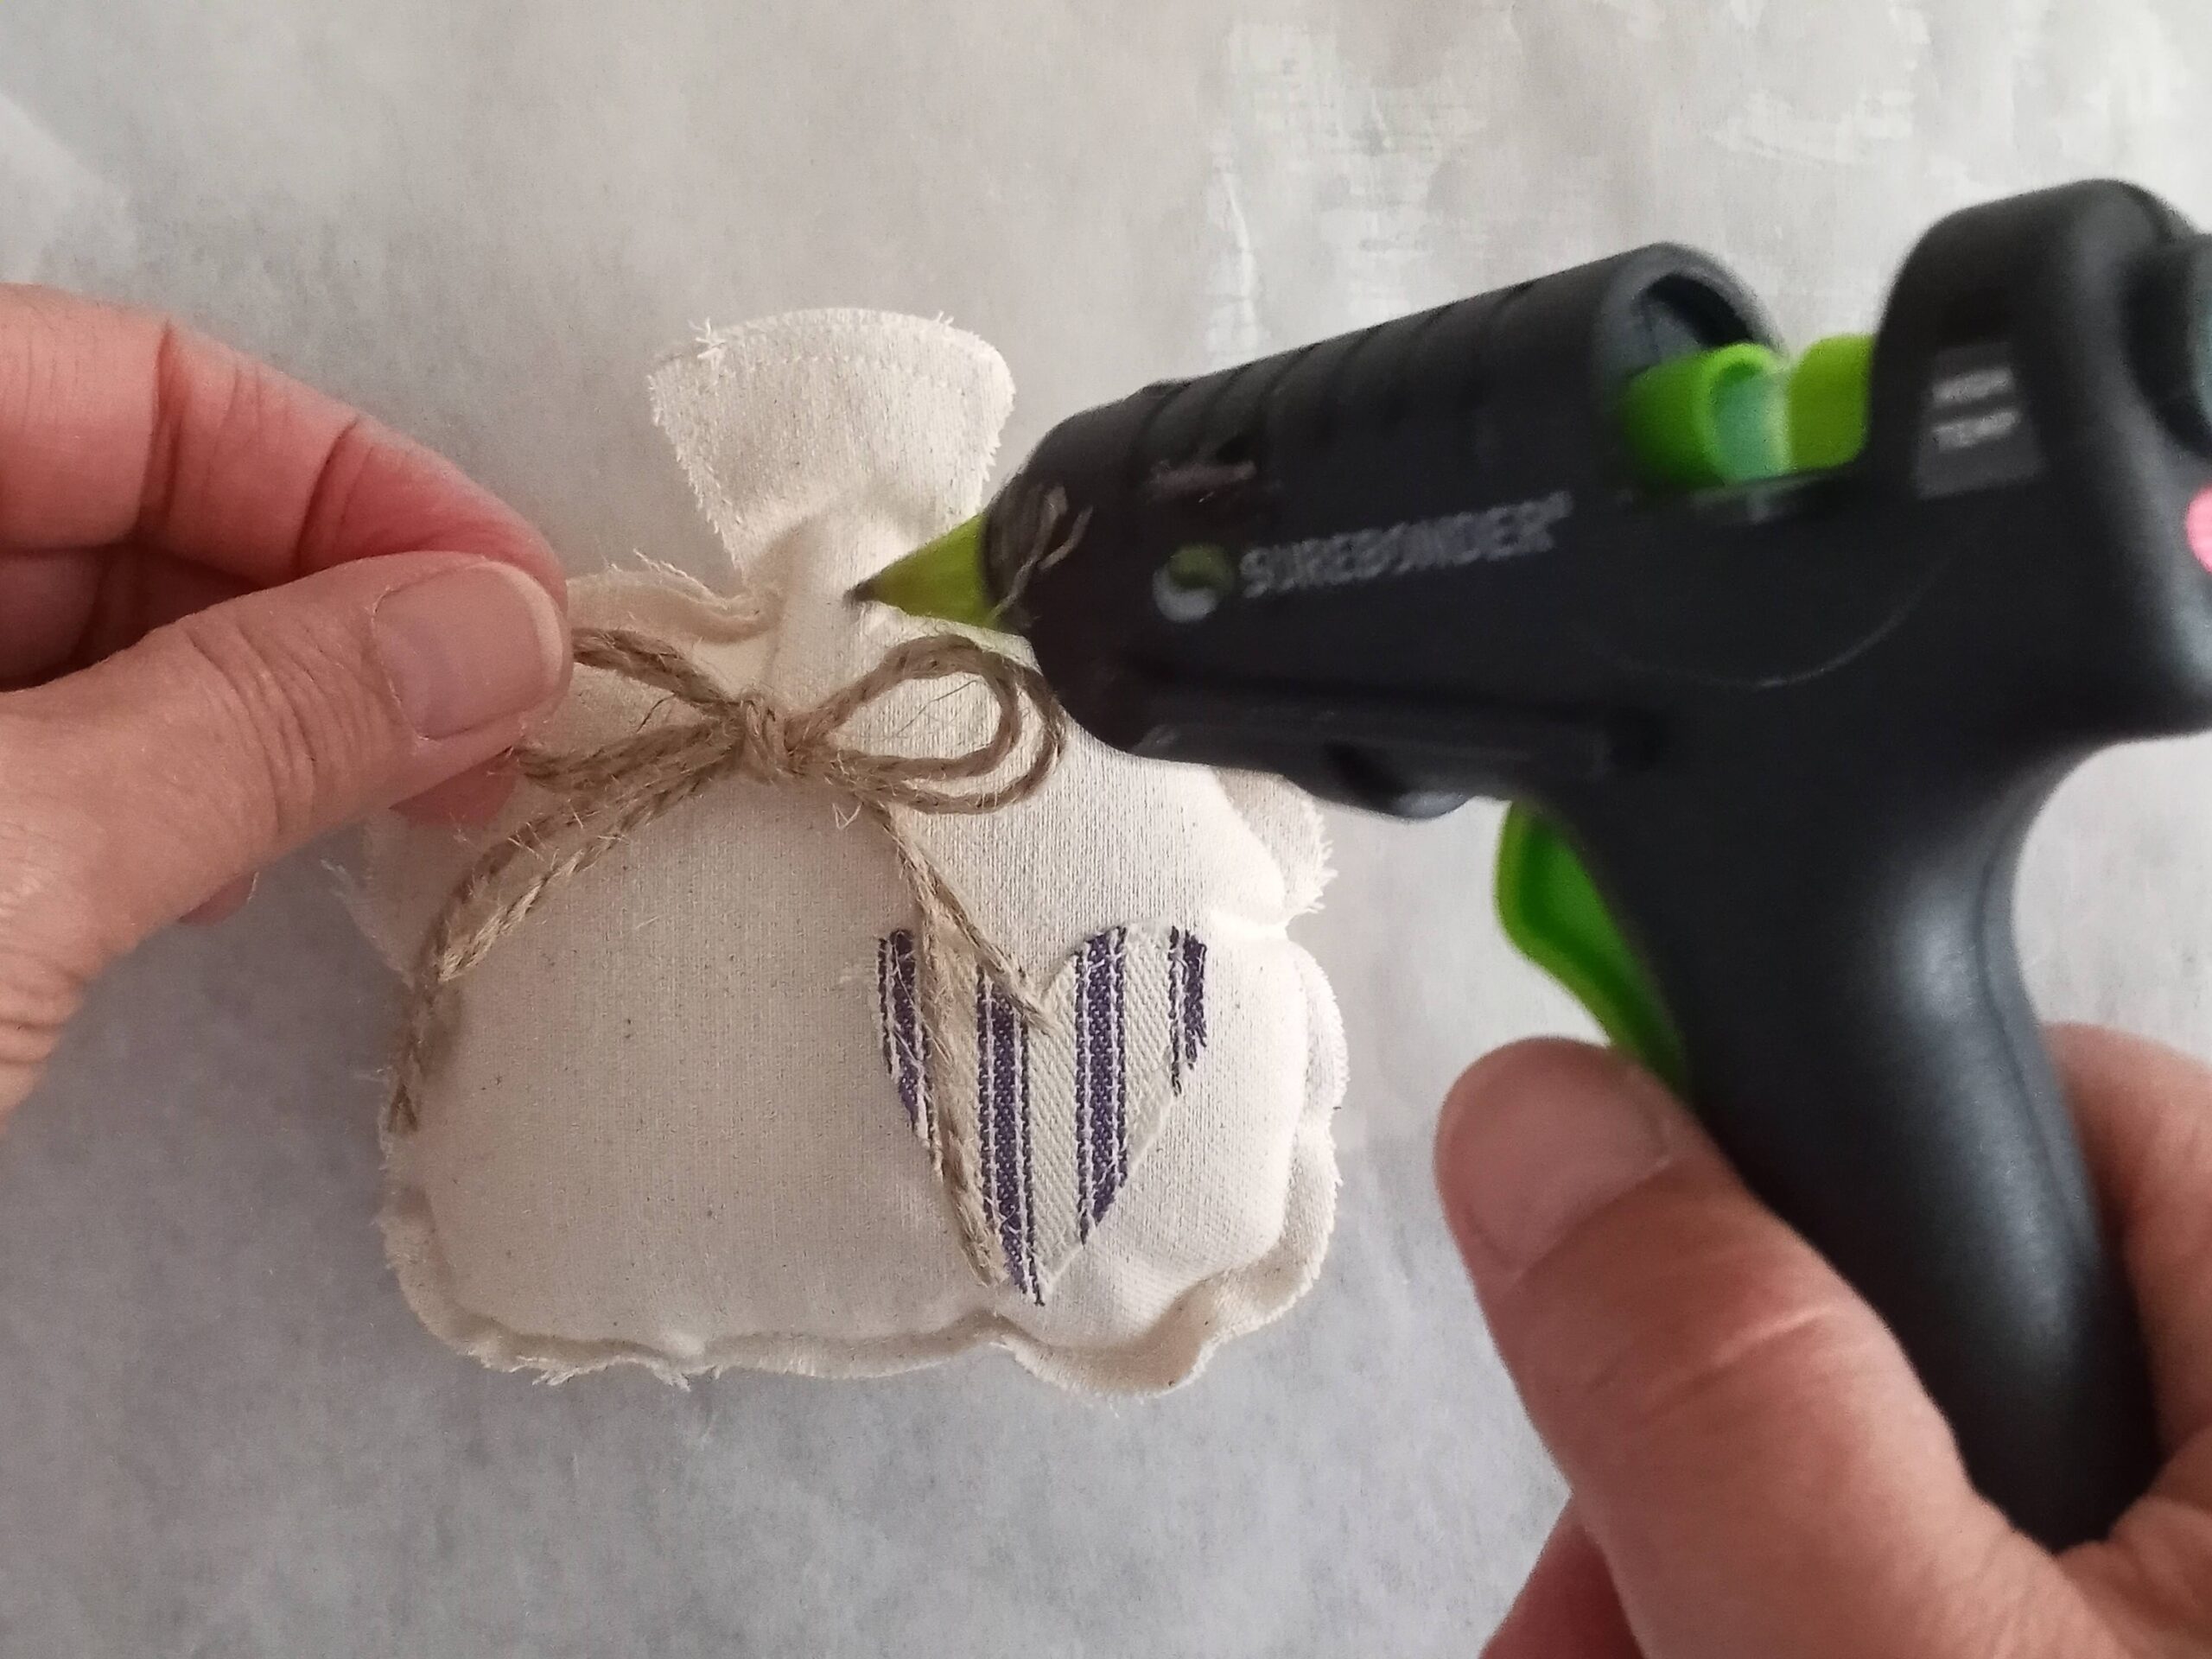
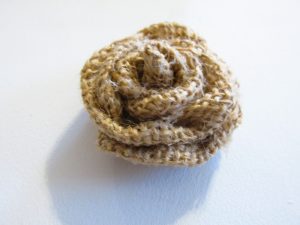
Next came the little burlap rose. Since I had never made this type of burlap flower, I looked around for a few videos and tutorials and found a couple that were helpful to me.
Mine didn’t turn out anything like the ones that I saw, but practice is what it’s all about. I certainly can use some practice. Yep, you can see some hot glue, but not at a distance. I decided to go with it anyway.
I glued a little cardboard circle to the bottom to hold it all together. Plus I wanted to glue it to the twine and not the board. I might change it out for fall leaves later on.
Ya gotta love hot glue right? I think it’s the best thing that ever happened to crafting! So quick and easy. I glued my little flower to my twine and we’re done already!
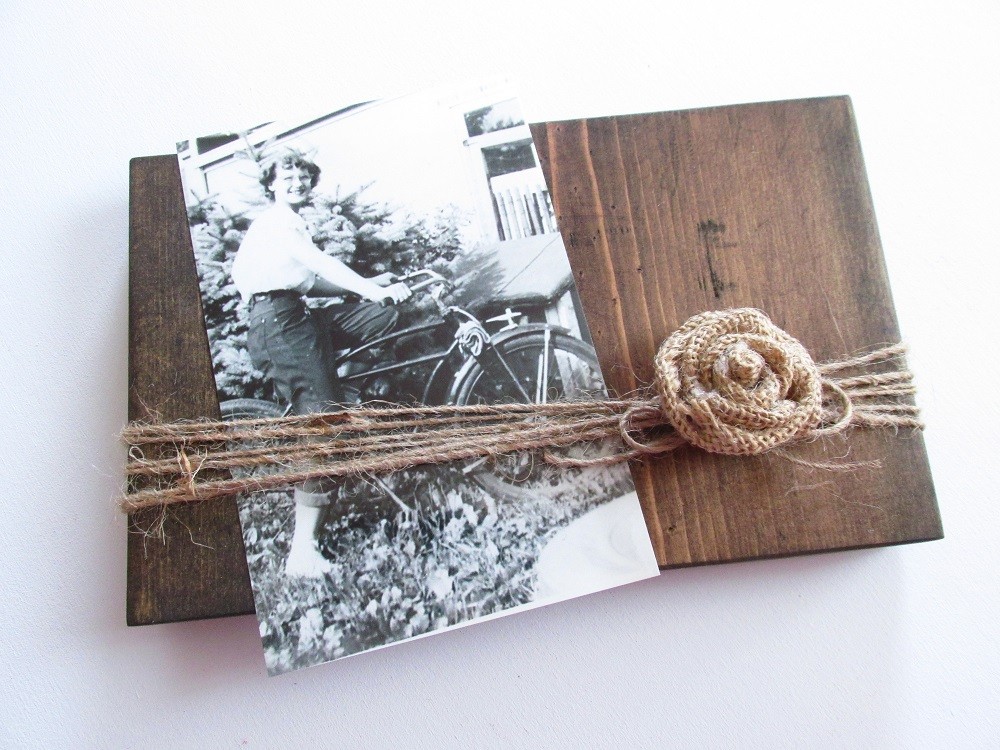
Even though it doesn’t fit well, I love this old photo of my mother-in-law when she was young. Love it! Maybe I’ll have to make another frame.
Thanks for stopping by Say It With Simplicity and we’ll see you next time.
Connie