DIY Seed Packet Tiered Tray Decor with Dollar Tree Canvas & Sublimation
Are you looking to add a fun, personalized touch to your home décor? In this tutorial, we’ll walk you through the process of creating a beautiful mock seed packet to use as part of your tiered tray display. Using a Dollar Tree canvas, sublimation ink, and a few tools like Cricut Design Space, you’ll have a charming piece of décor that’s perfect for spring, Easter, or gardening-themed décor!
This post may contain affiliate links. As an Amazon Associate, I earn commission from qualifying purchases.
Materials Used for this Project
- Dollar Tree Canvas (4×6 inches)
- Sublimation Spray (Used for prepping canvas for sublimation)
- Hippo Ink (Sublimation Ink)
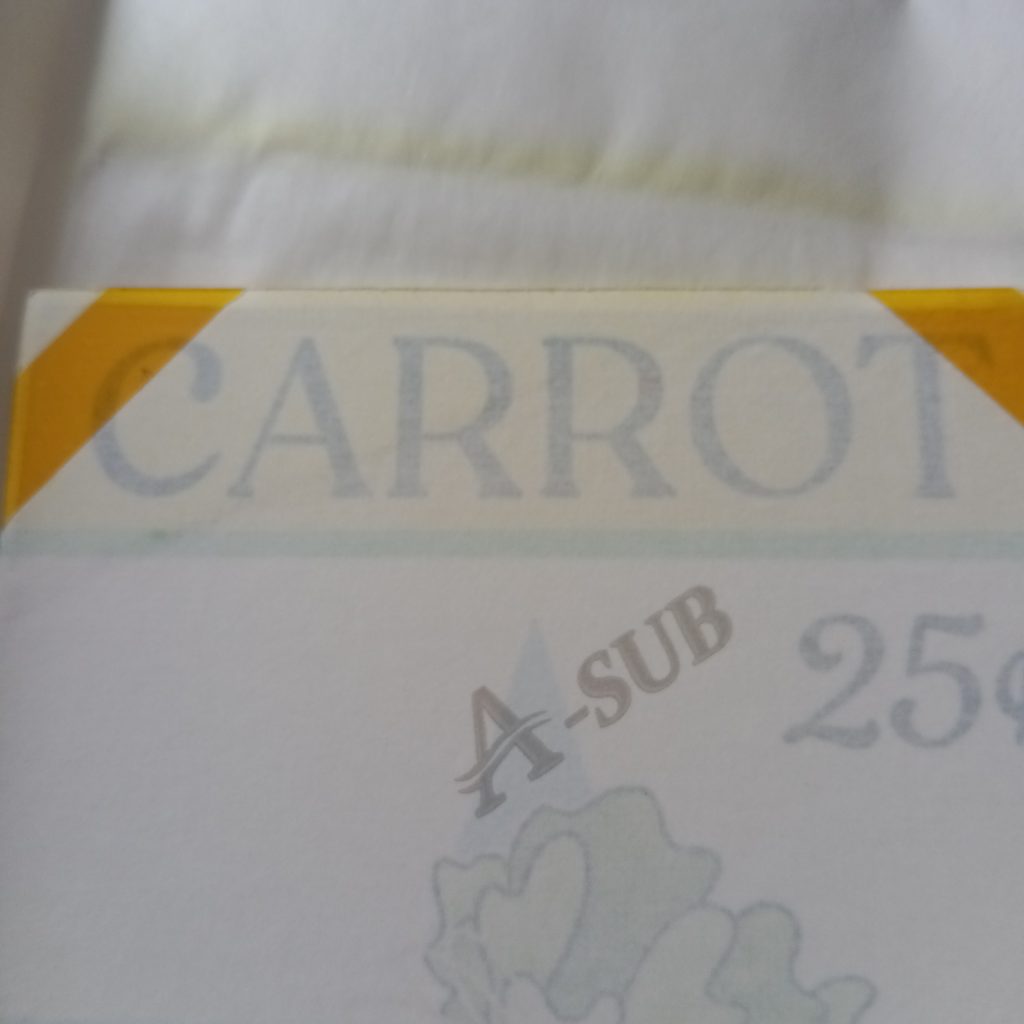
- A-Sub Sublimation Paper
- Sublimation Printer (mine is an Epson Eco Tank Printer-converted)
- Heat Resistant Tape
- Cricut Design Space (for designing your seed packet)
- Heat Press or EasyPress (for transferring the design)
Instructions:
Step 1: Prepare the Canvas
For this project, I used a 4×6 inch canvas from Dollar Tree. It’s an inexpensive but versatile size for many craft projects, and it worked out perfectly for this sublimation!
Before you start sublimating, you’ll need to treat the canvas with a sublimation spray. If you feel that you can skip this step, you might want to reconsider. (I did my first one without sublimation spray, it wasn’t nearly as nice) Be sure to follow the instructions that come with your product.
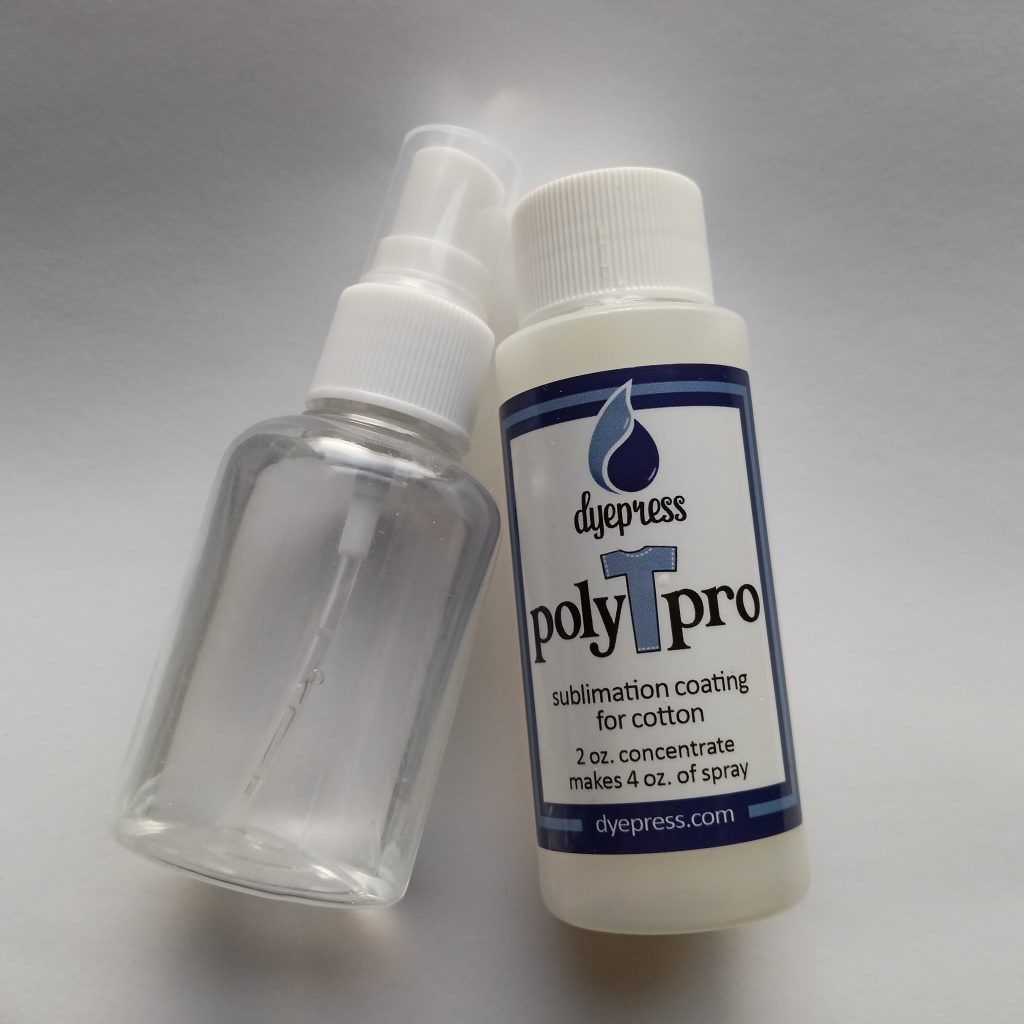
This spray helps the ink bond properly to the surface, ensuring you get vibrant, long-lasting prints. Apply an even coat and let it dry completely. You can do a couple of light, even coats for more coverage and intensifying your sublimated image. This will not be going through the laundry, so you don’t need to worry that it will wash out.
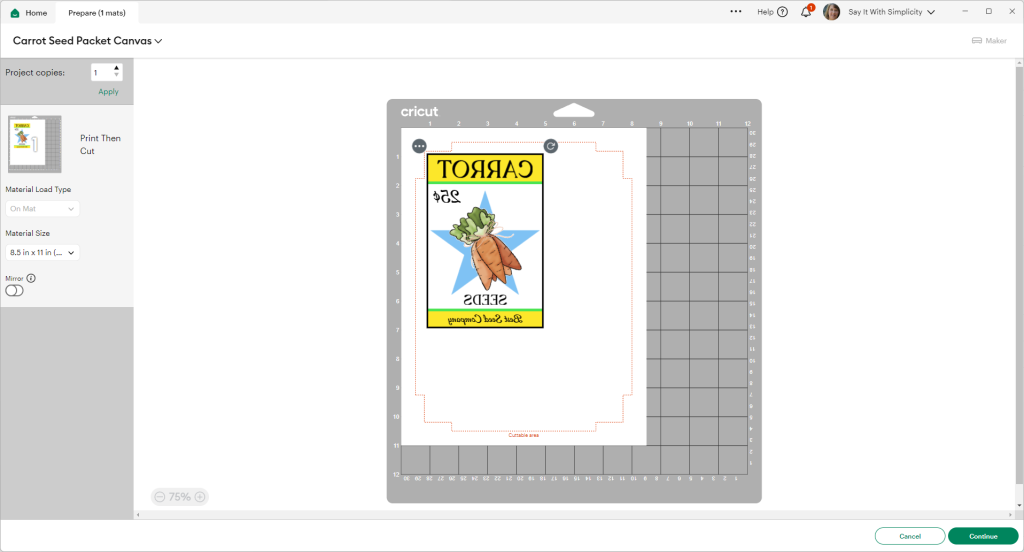
Step 2: Create Your Seed Packet Design in Cricut Design Space
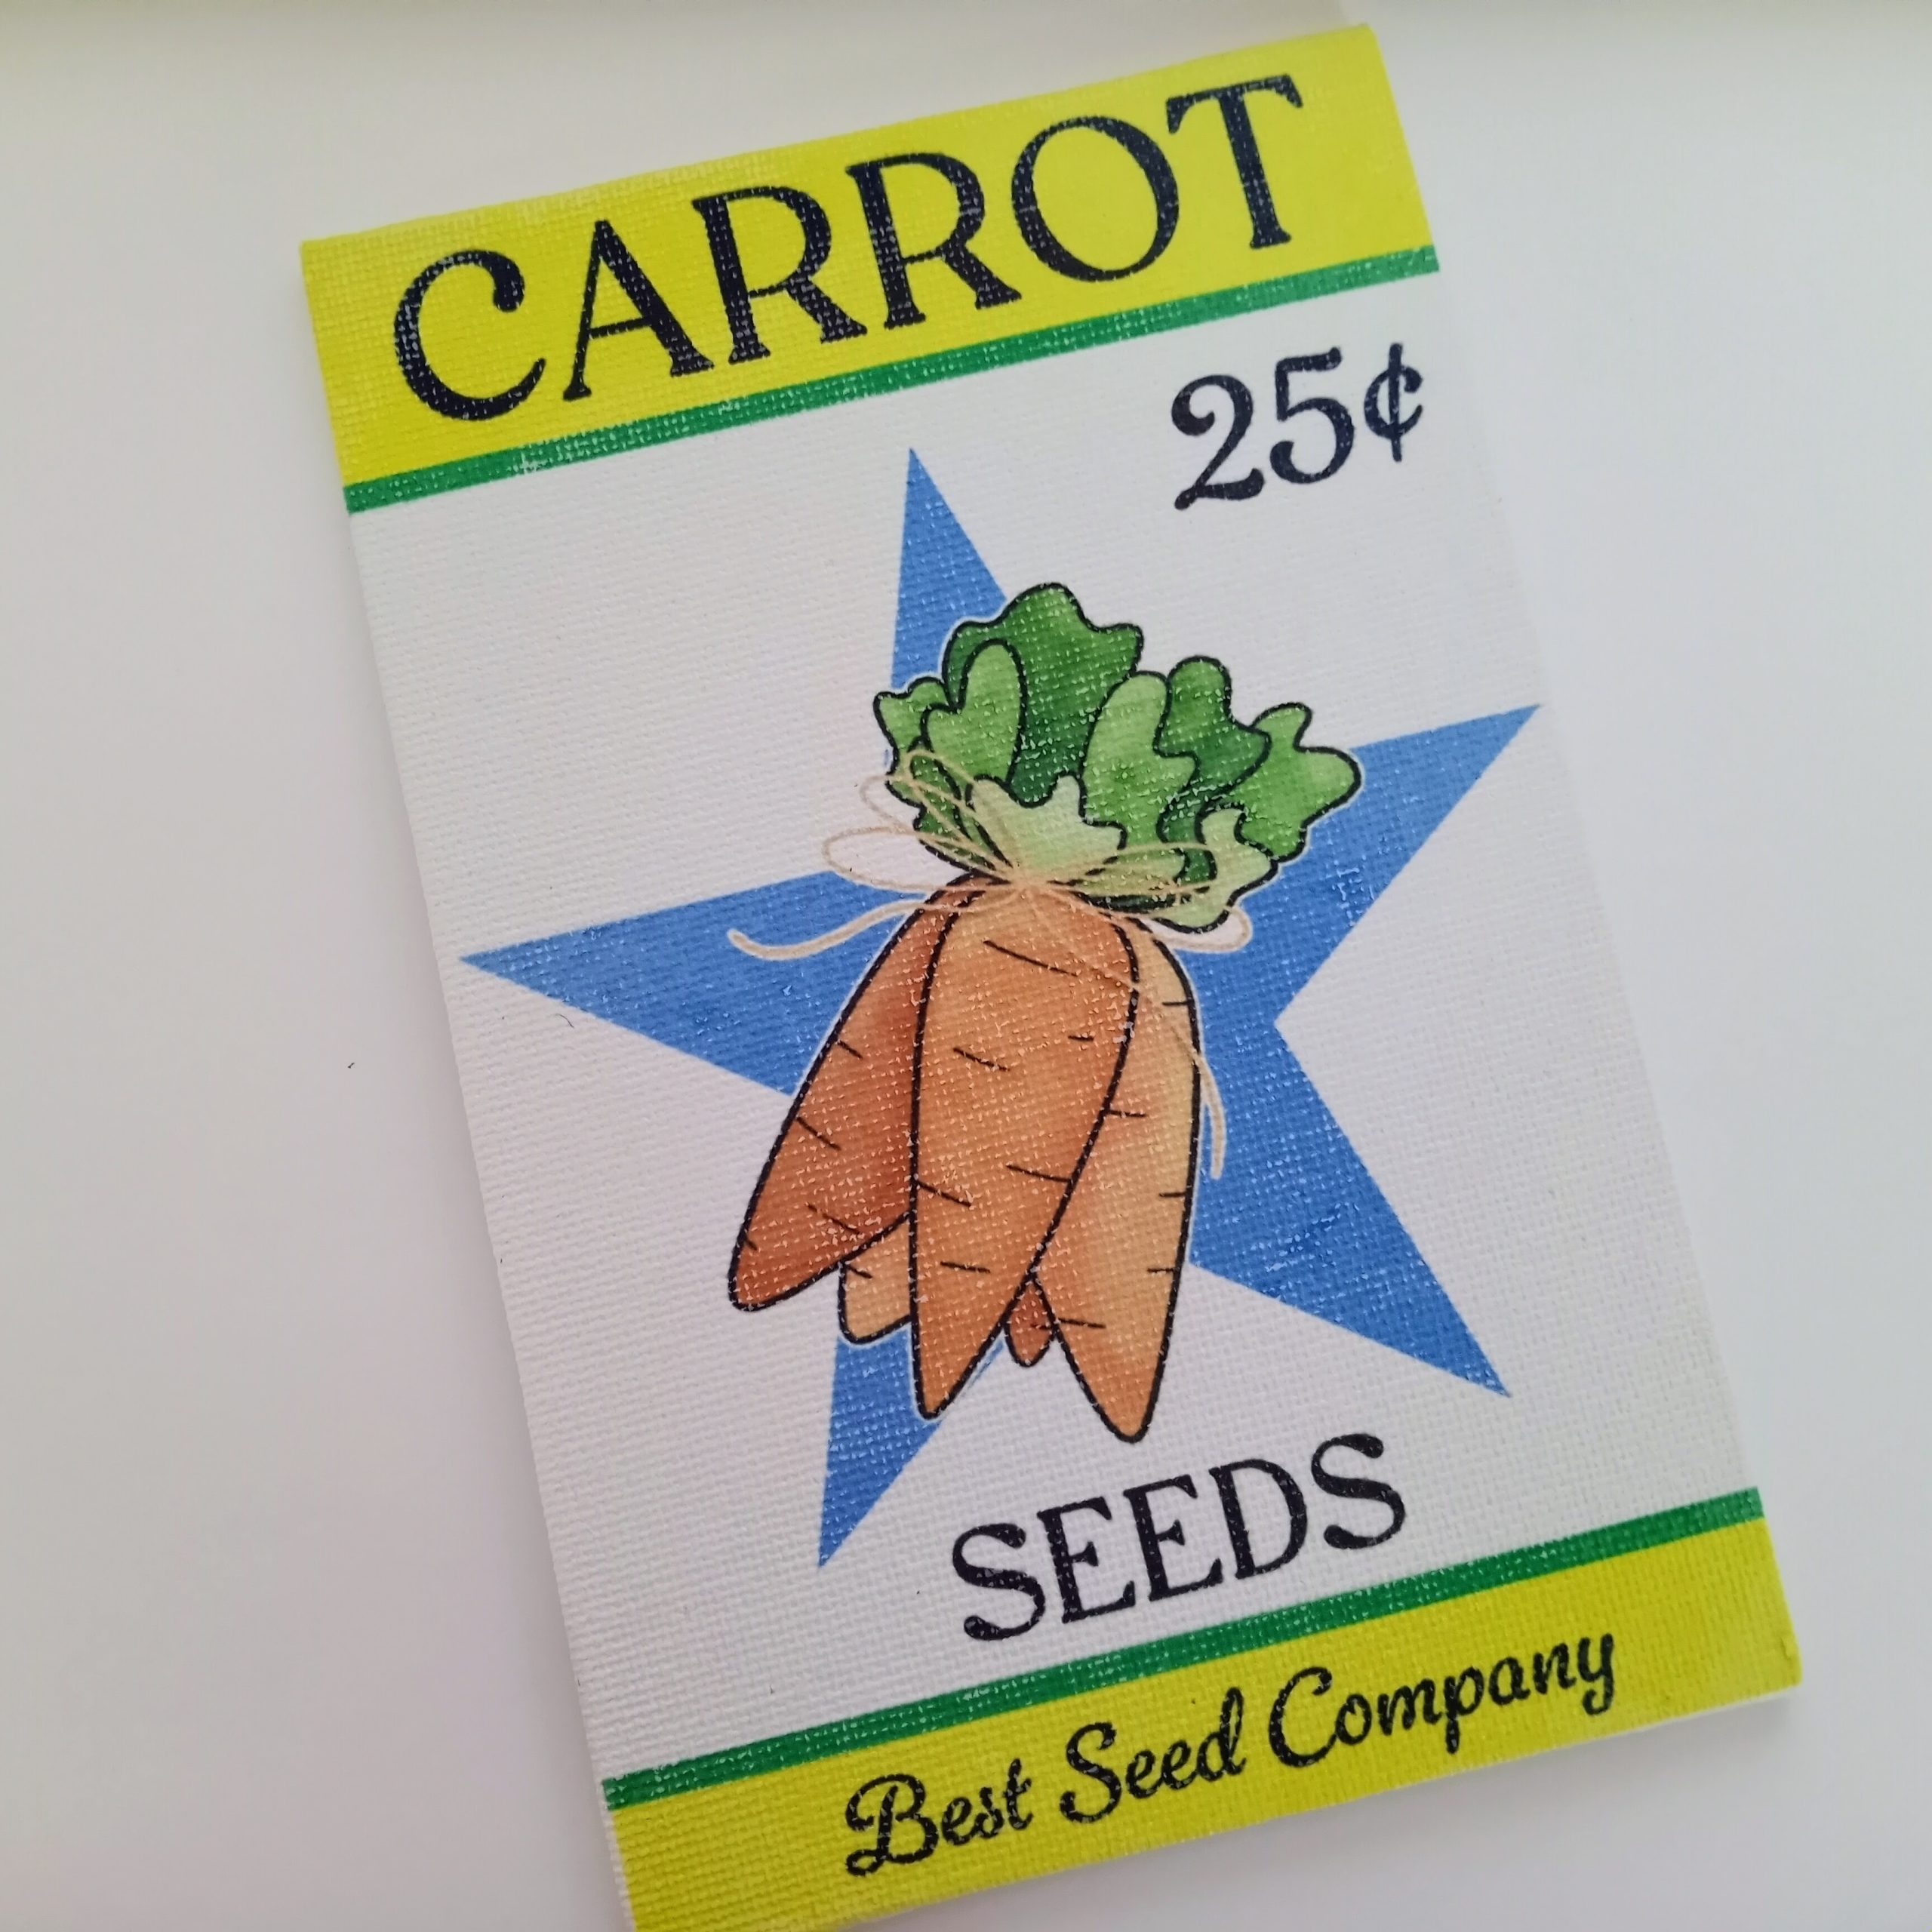
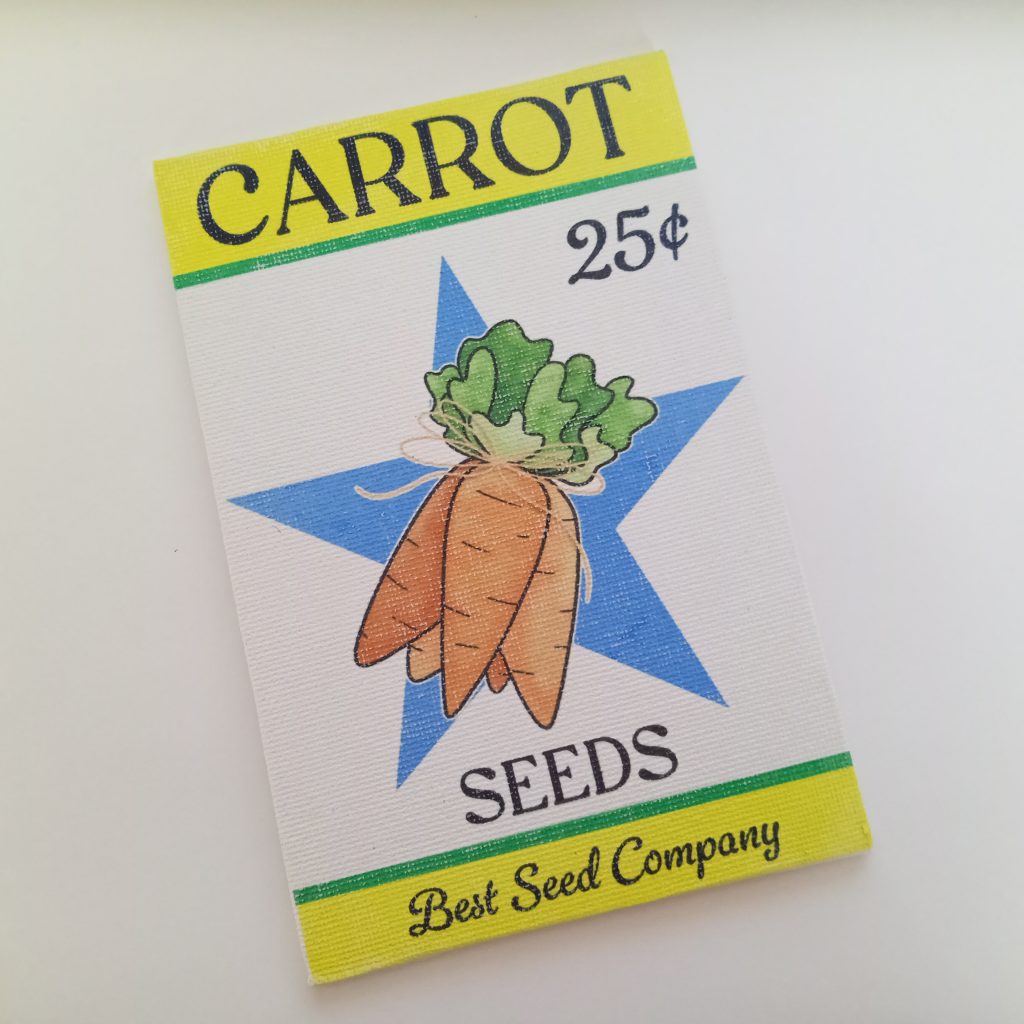
Using Cricut Design Space, I created a fun and whimsical mock seed packet design. This is a great opportunity to get creative! For my design, I wanted to use elements that create the look of an authentic seed packet. While I made a carrot seed packet, you could customize this design for other veggies, or even flowers. You could also change any of the colors to suit your needs.
Customizing is easy. I have the image flattened for my print and cut. You’ll want to unflatten first. (button on bottom right) Then simply go into the layers panel on the right side. Select the item you want to customize, change the color using the color picker in the operations panel at the top of the page.
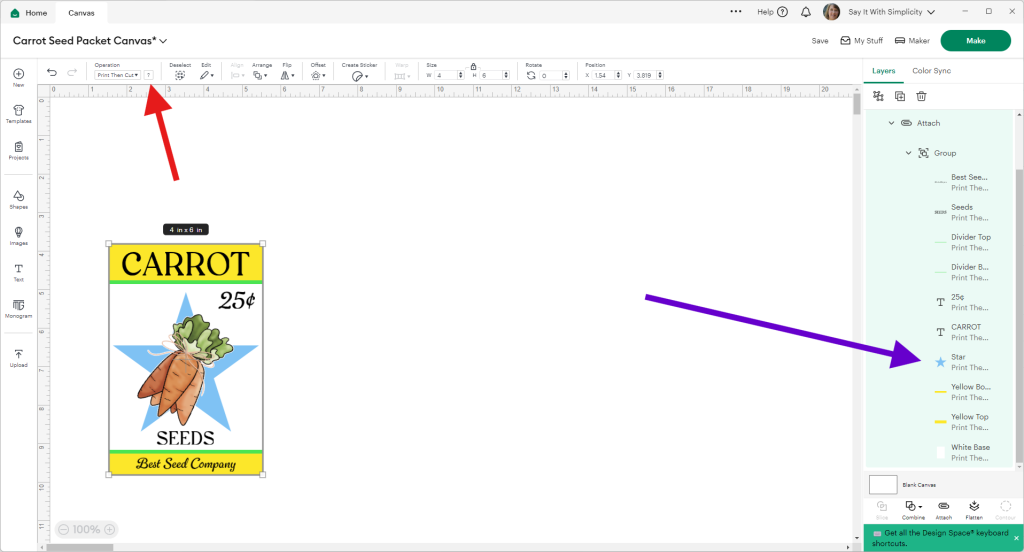
I used elements and fonts from Cricut Access, but Cricut Design Space allows you to upload images or create your own graphics. You can choose elements like vintage seed packet illustrations, floral graphics, and bold typography to make your packet stand out.
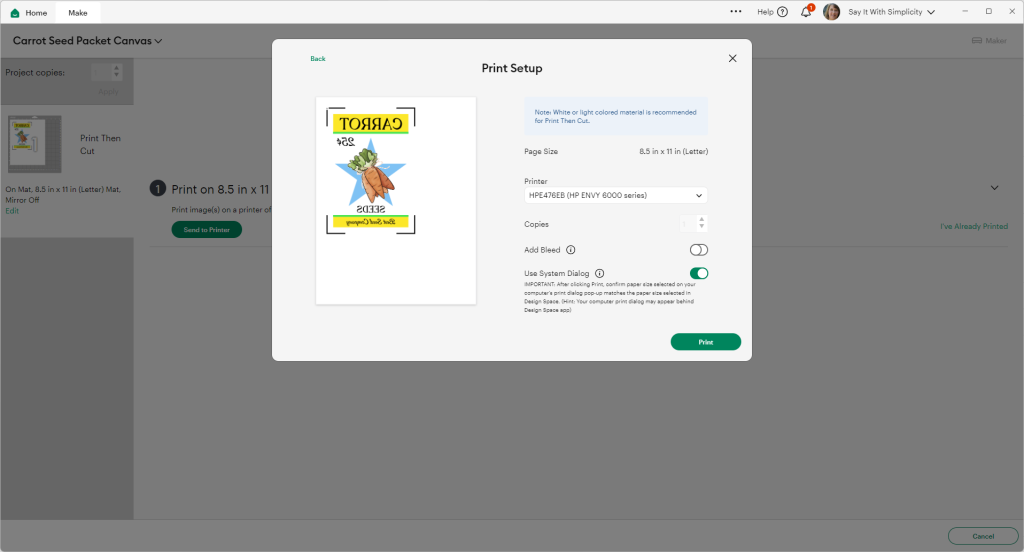
Step 3: Print the Design
Next, we’re going to print the design using sublimation ink. I used Hippo Ink and A-Sub sublimation paper, which works wonderfully with my Epson EcoTank 2720 printer that’s been converted for sublimation printing.
When printing, be sure to mirror your design. This ensures that the image will appear correctly when transferred onto the canvas.
Follow the prompts in Cricut Design Space for printing your image.
I turned off the bleed and used system dialog so that I could use my preset preferences for the printer.
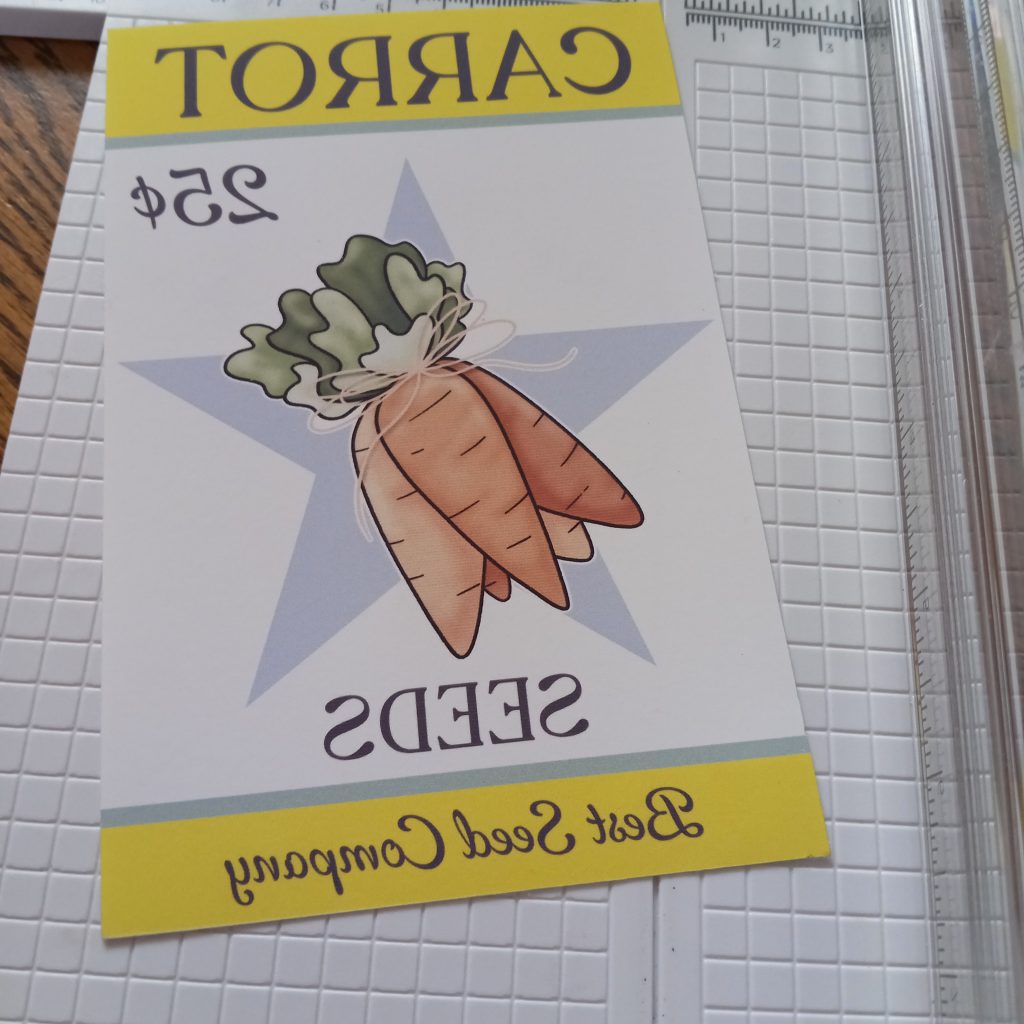
Once your design is printed, trim the design to fit the 4×6 canvas size. I used my Cricut Trimmer that works wonderfully for projects like this.
Step 4: Transfer the Design to the Canvas
Now comes the exciting part! Using a heat press you’ll transfer the design to the prepared canvas. I used a heat press setting of 400°F for about 45 seconds. Place the design face down on the canvas, secure on all sides with heat resistant tape, cover with butcher paper, then use the heat press to apply even pressure and heat. The heat will allow the sublimation ink to bond with the canvas.
Be sure to follow all safety guidelines and use protective paper between the canvas and the heat press to avoid any unwanted marks or discoloration. Once done, carefully remove the design from the heat press and let it cool before touching.
You can see the yellow that transferred to my butcher paper. You certainly don’t want this getting on your heat press. I used two layers of butcher paper on top and two on the bottom.
Step 5: Allow to Cool and Remove the Sublimation Paper
Now the big reveal happens. I like to allow my designs to fully cool before removing the sublimation transfer. I love how this cute carrot seed packet turned out.
Step 6: Assemble Your Tiered Tray Display
After the sublimation transfer of your DIY seed packet is complete and the canvas has cooled, you’ll have a beautifully printed seed packet ready for display. I used a 4×6 inch canvas to keep the design compact, which is perfect for the small shelves of a tiered tray.
Now, arrange your seed packet canvas on your tiered tray along with other spring-themed items like faux plants, mini garden tools, or decorative flowerpots. This project is versatile, and you can make multiple seed packet canvases for a colorful and cohesive look.
Additional Tips:
- Customization: Don’t be afraid to customize your seed packet design further by adding different text or graphics. Try adding a personal touch like the family name, a fun quote, or a seasonal greeting.
- Other Canvas Sizes: While I used a 4×6 canvas for a compact display, feel free to experiment with larger or smaller canvases for different visual effects and larger displays.
- Seasonal Variations: Change up the design for different seasons. For example, you could create flower-themed seed packets for special events like Mother’s Day or a garden party!
Creating a sublimation seed packet display for your tiered tray is an easy and fun way to add a personalized, spring-inspired touch to your home. With just a few materials and some creativity, you can make a beautiful piece of décor that’s perfect for your home or as a thoughtful gift. I hope you enjoyed this tutorial and that it inspires your next craft project!
Happy crafting!