Make Bookmarks with Canva and Silhouette Cameo
Creating your own custom bookmarks is a fun and creative way to add a personal touch to your reading experience. With Canva’s easy-to-use design tools and the precision of the Silhouette Cameo, you can print and cut a custom bookmark in no time. This, along with the durability of lamination sheets, you can make bookmarks that are both beautiful and long-lasting. Get ready to follow this step-by-step guide to craft your very own unique bookmarks with Canva and your Silhouette.
This post may contain affiliate links. As an Amazon Associate, I earn from qualifying purchases.
How to Create Custom Bookmarks with Canva, Silhouette Cameo, and Lamination Sheets
Materials Needed:
- Canva account
- Silhouette Cameo
- Cutting mat
- Bookmark size lamination sheets
- Quality color printer
- White cardstock
- Paper trimmer (optional)
Step 1: Design Your Bookmark in Canva
First, create a new design in Canva. Go to Canva and sign in to your account. If you don’t have a Canva account, you can register for a Free account.
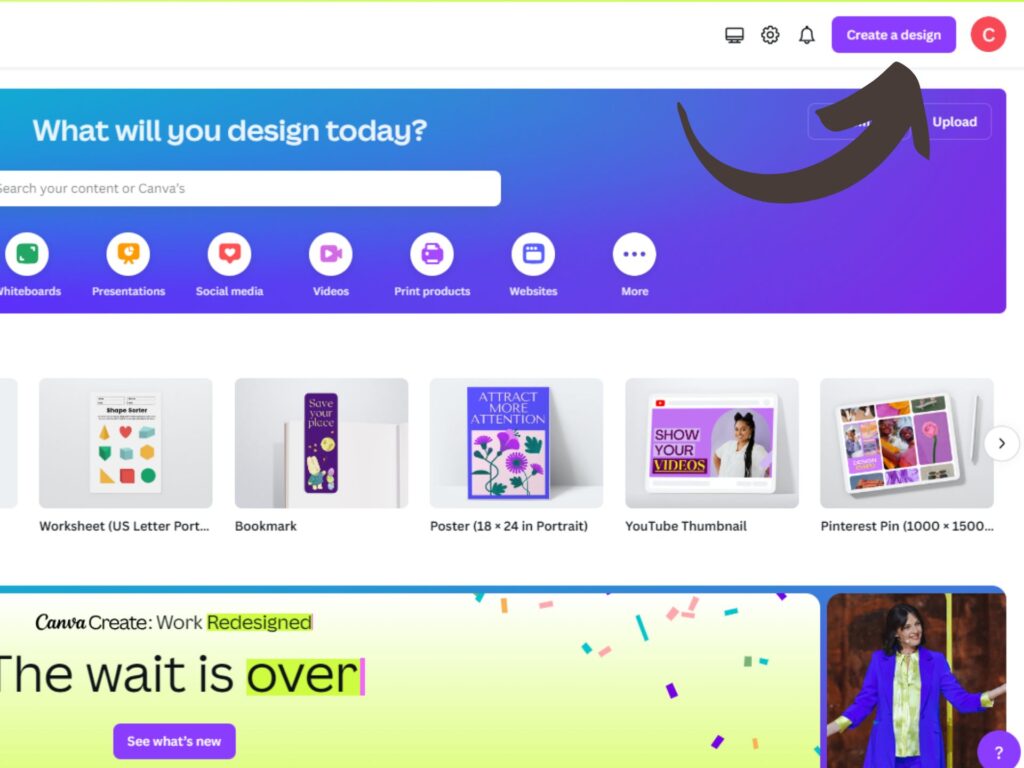
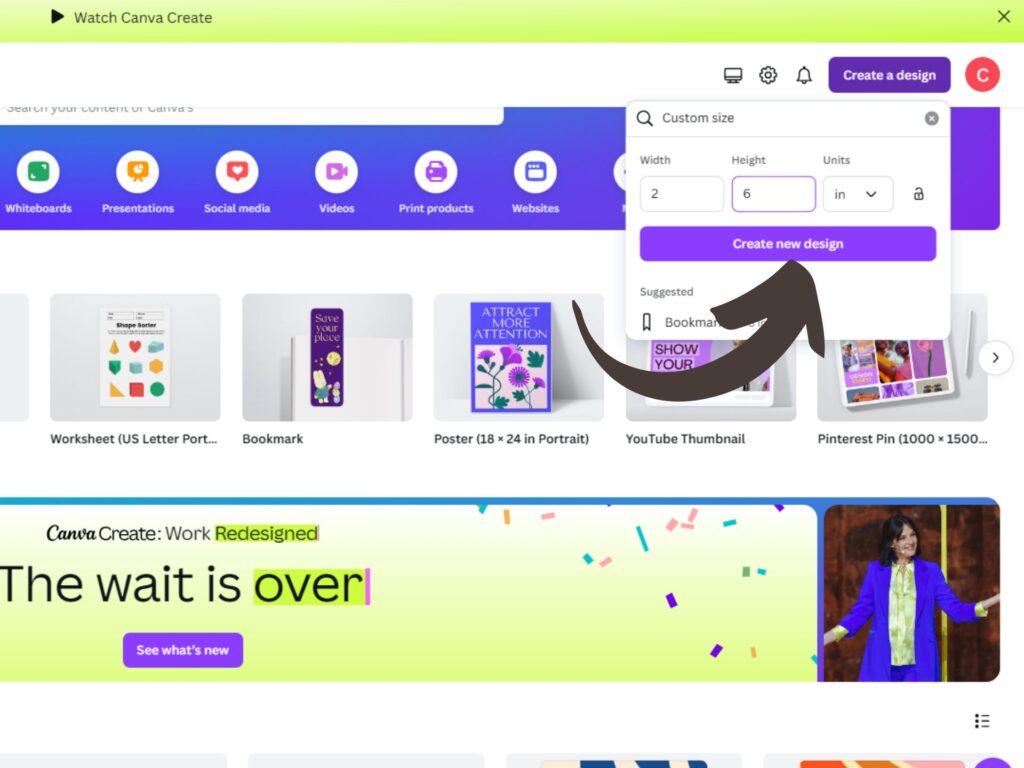
Once you’re in Canva, click on “Create a design”.
Next, select “Custom dimensions.” A typical bookmark size is 2″ x 6″. With these lamination sheets you could also create 2″x7″ bookmarks.
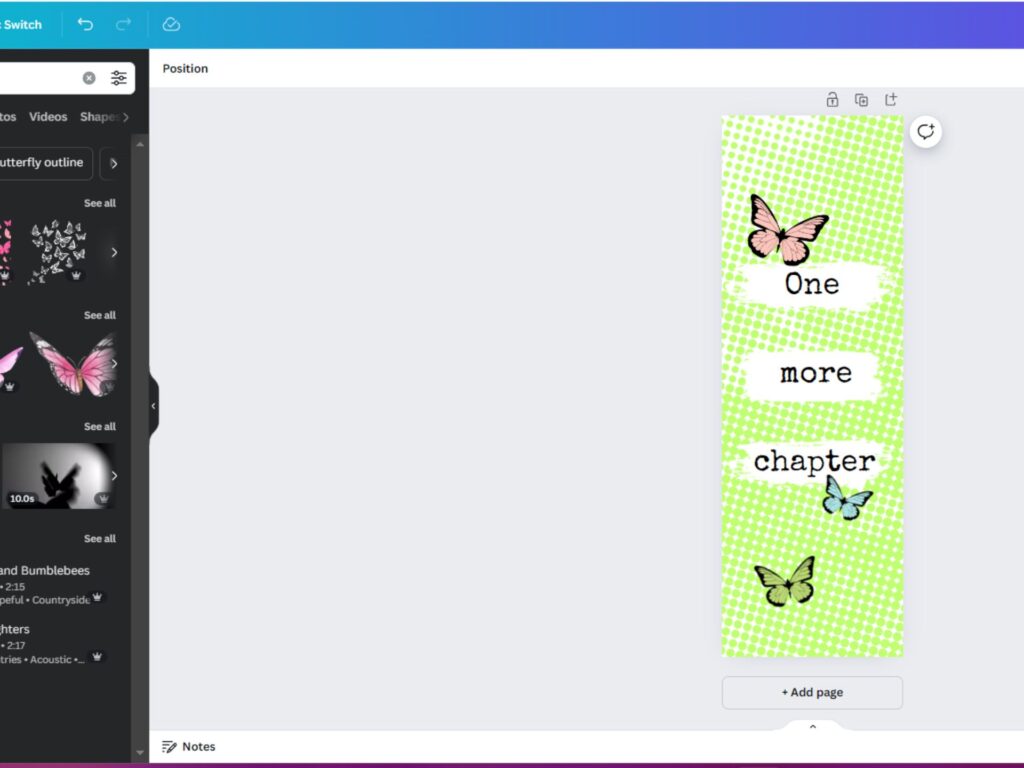
Next, design your bookmark. Use Canva’s tools to add backgrounds, images, text, and any other elements you like. You can also use some of the Canva templates and edit them to personalize.
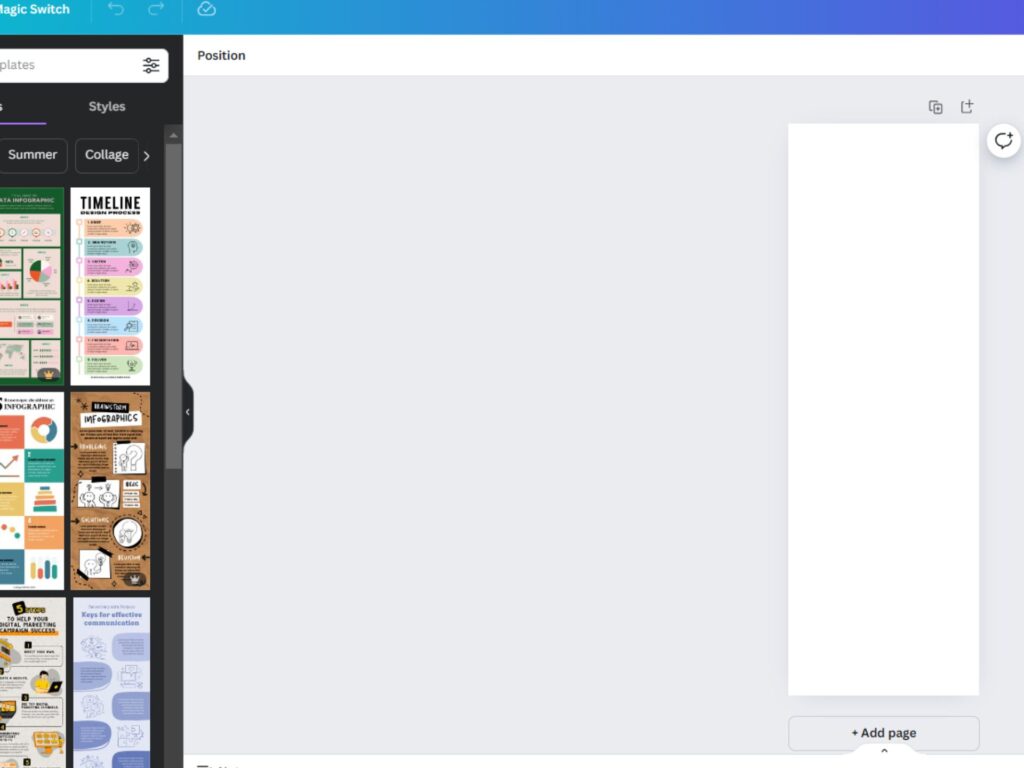
Be creative with your design, ensuring it reflects your style or the theme of your book or project.
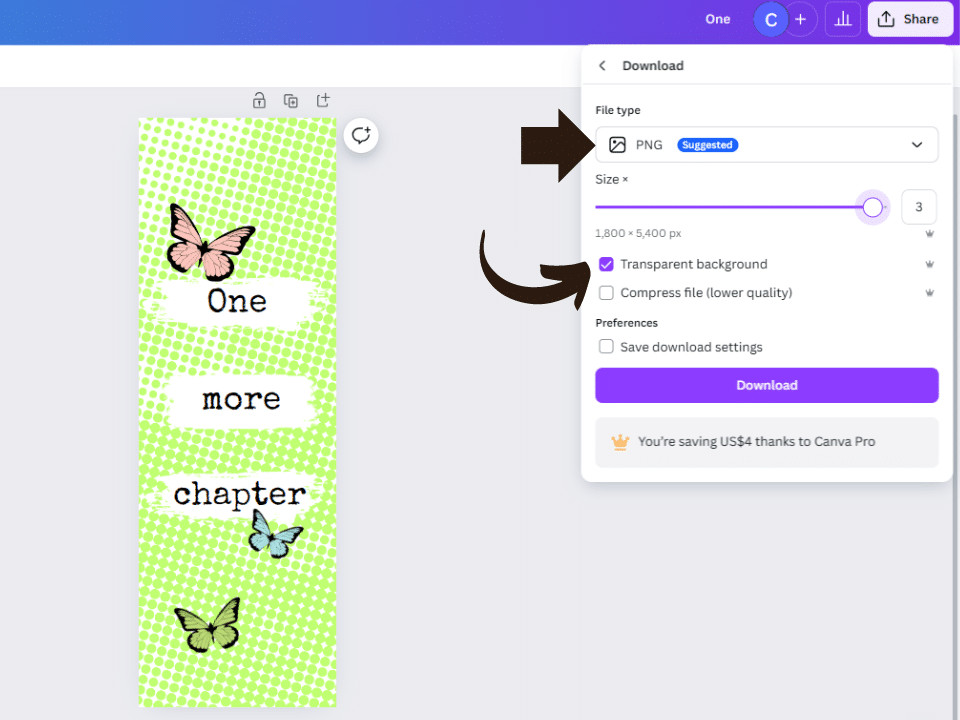
Once you’re satisfied with your design, you’re ready to click on the download button at the top right corner and use the right arrow to choose your download options.
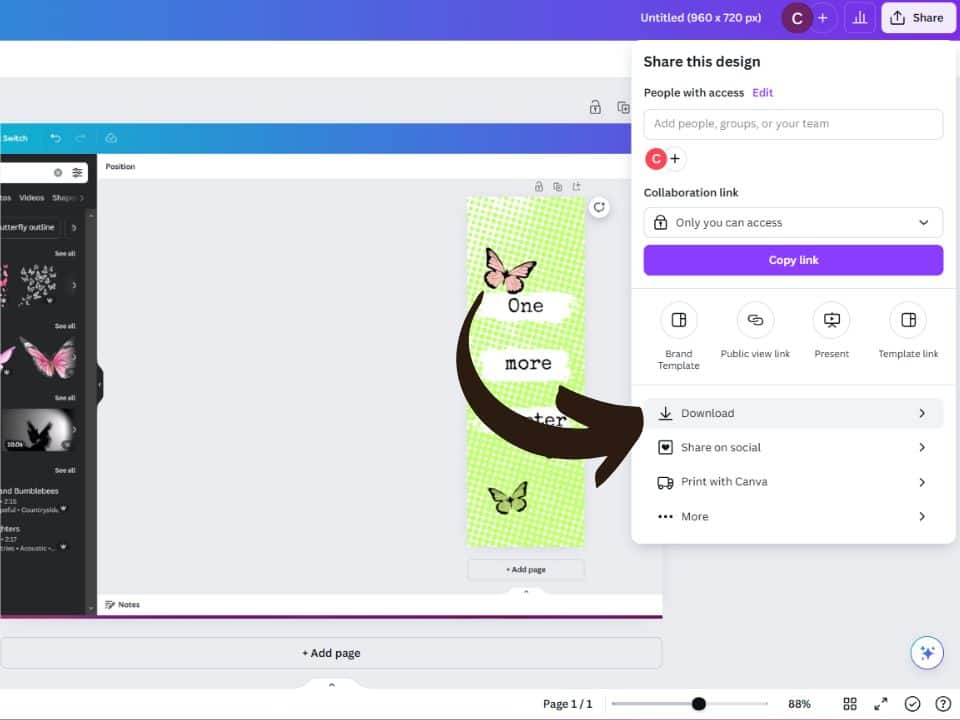
I usually choose to download the PNG option and make sure “Transparent Background” is checked. I also use the quality slider and choose 3x the size. This is an optional step, but you will get a high quality image and can downsize back to 2″x6″ in Silhouette Studio.
Step 2: Prepare Your Silhouette Cameo
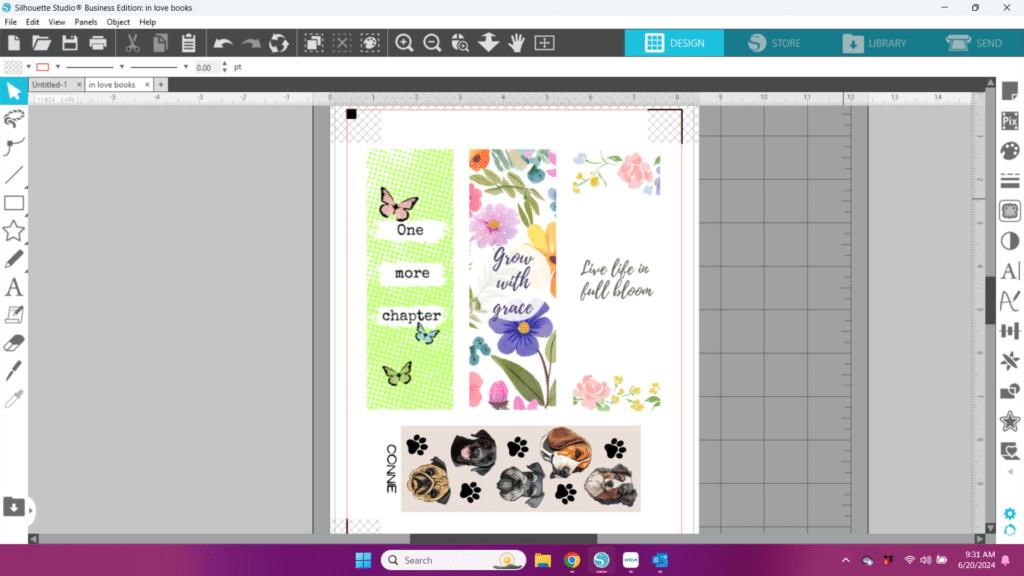
Now, open Silhouette Studio. Launch the Silhouette Studio software on your computer. Use the page setup panel icon on the upper right and choose a letter size design page.
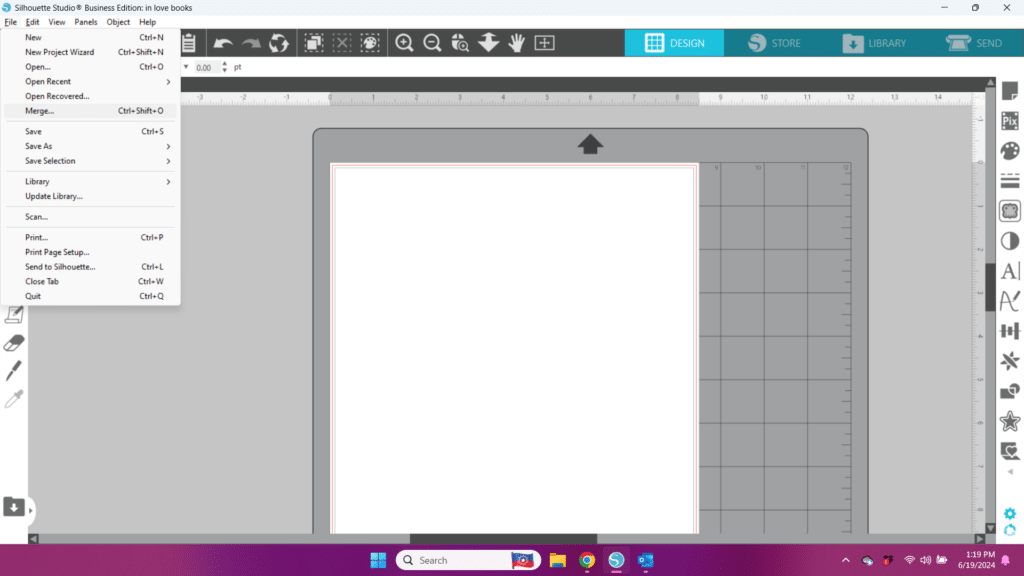
Next, import your design. Import your PDF design into Silhouette Studio. I usually use the “Merge” command from the “File” menu on the upper left hand corner of the program.
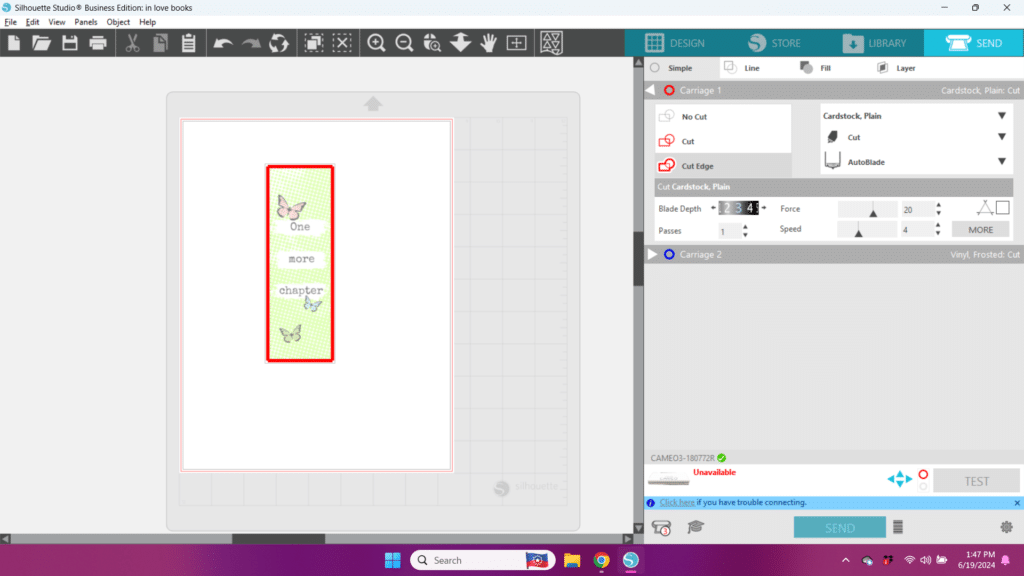
Next, set up your cut lines. Go to the send panel, click on your design, and choose “Cut Edge” to cut your design. You can also set your cut settings to “Cardstock, Plain”.
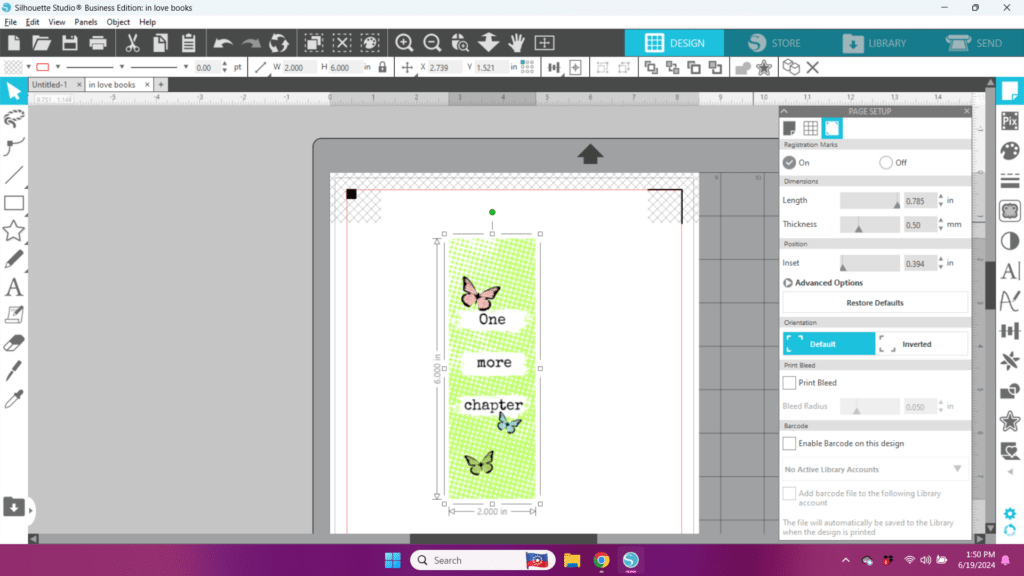
Go to page “Setup” and on the third tab over, turn on your registration marks. Your Cameo (or Portrait) will read these marks and know where to cut your design.
Go ahead and duplicate the one you created or use the “File>Merge” function to add other bookmark designs to your page. Fit as many as you can within the red cut lines and avoid the hash mark area of your page when positioning your designs.
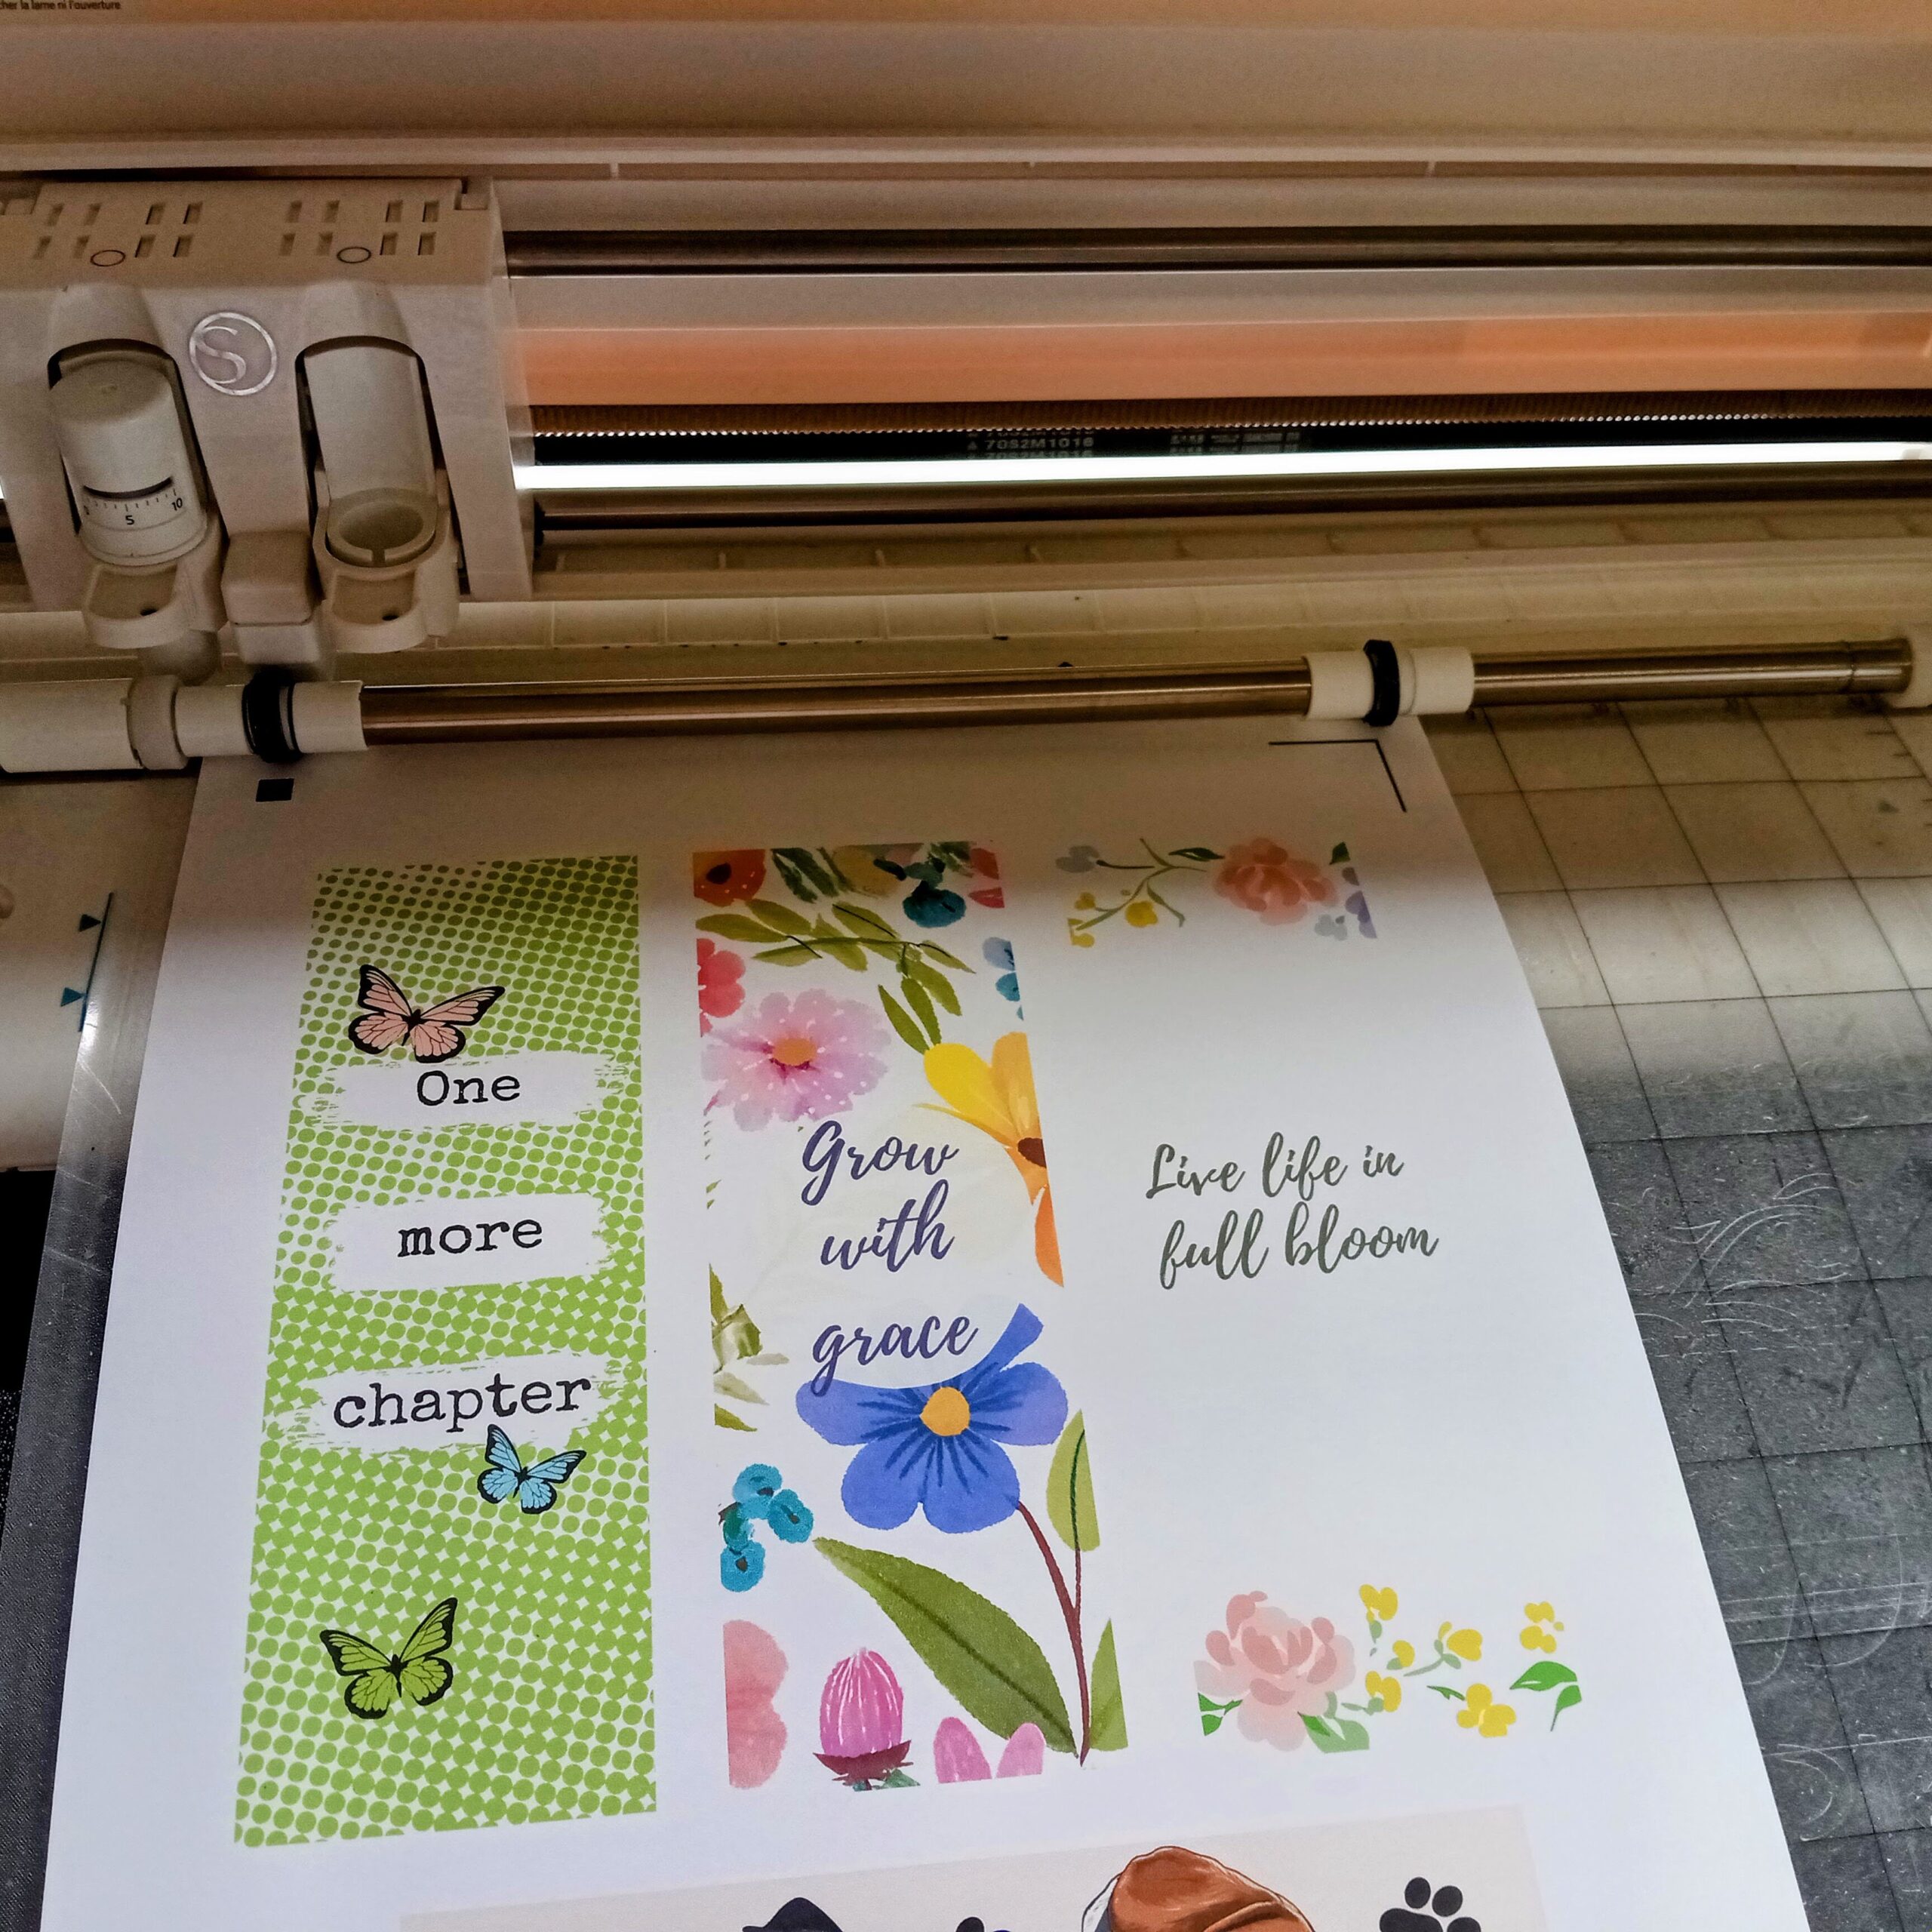
Now you’re ready to print and cut your bookmarks. Print your bookmark design on cardstock paper using your printer. I love the clear and vibrant printing of my HP Envy.
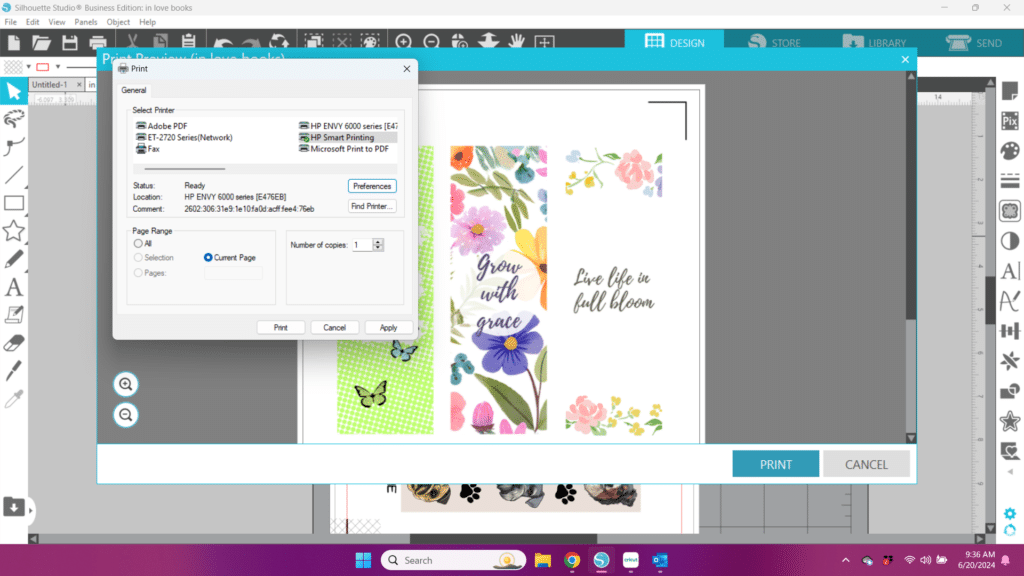
Place the printed sheet on your cutting mat and load it into the Silhouette Cameo. Send the job to your Silhouette Cameo to cut out the bookmarks.

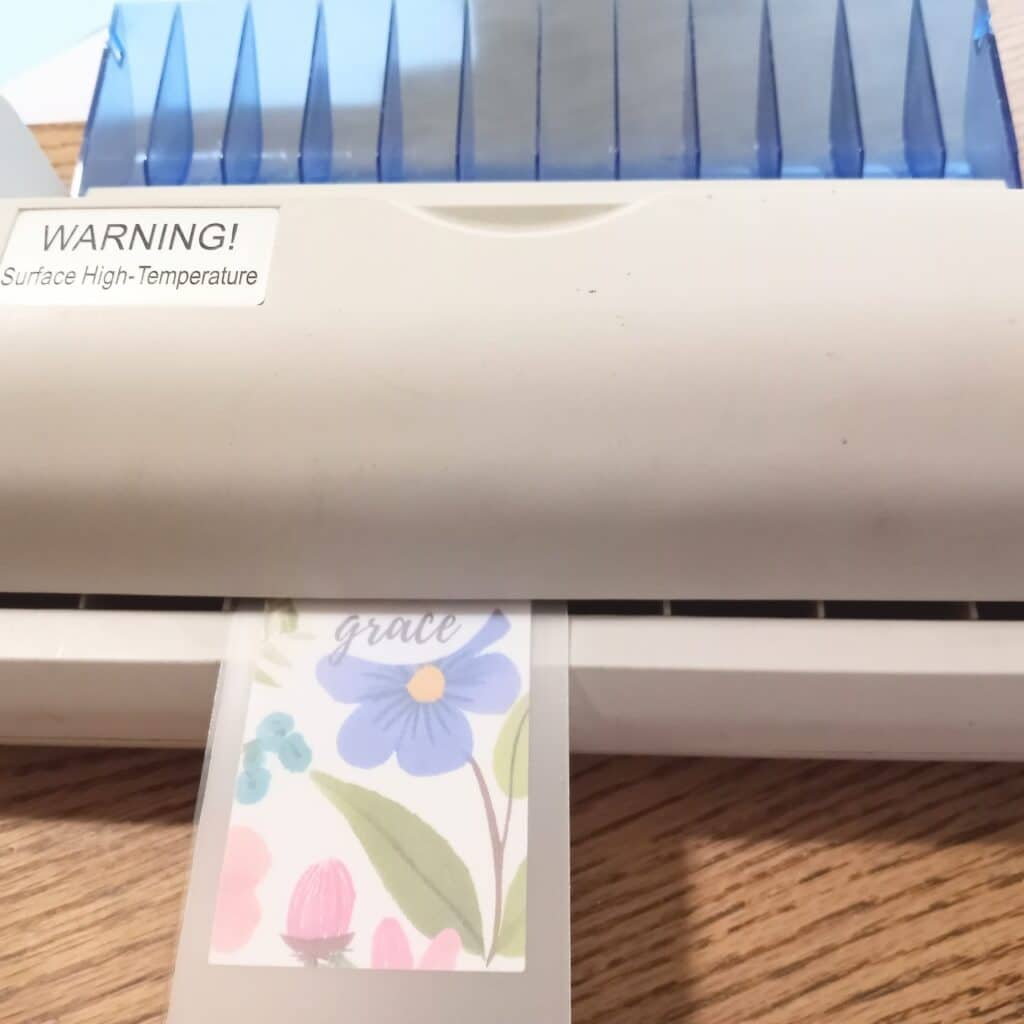
Step 3: Laminate Your Bookmarks
First, prepare the lamination sheets. Take your bookmark size lamination sheets out of the package.
Then, laminate the bookmarks. Open your bookmark lamination sheet. Place each cut-out bookmark inside a lamination sheet. Make sure it’s centered and smooth without any wrinkles or bubbles.
Next, seal the laminates. Follow the instructions for your lamination machine to seal the bookmarks.
Step 4: Trim the Laminated Bookmarks
If desired, cut the excess laminate. Use a pair of scissors or a paper trimmer to carefully cut around the edges of your laminated bookmarks, leaving a small border to keep the seal intact.
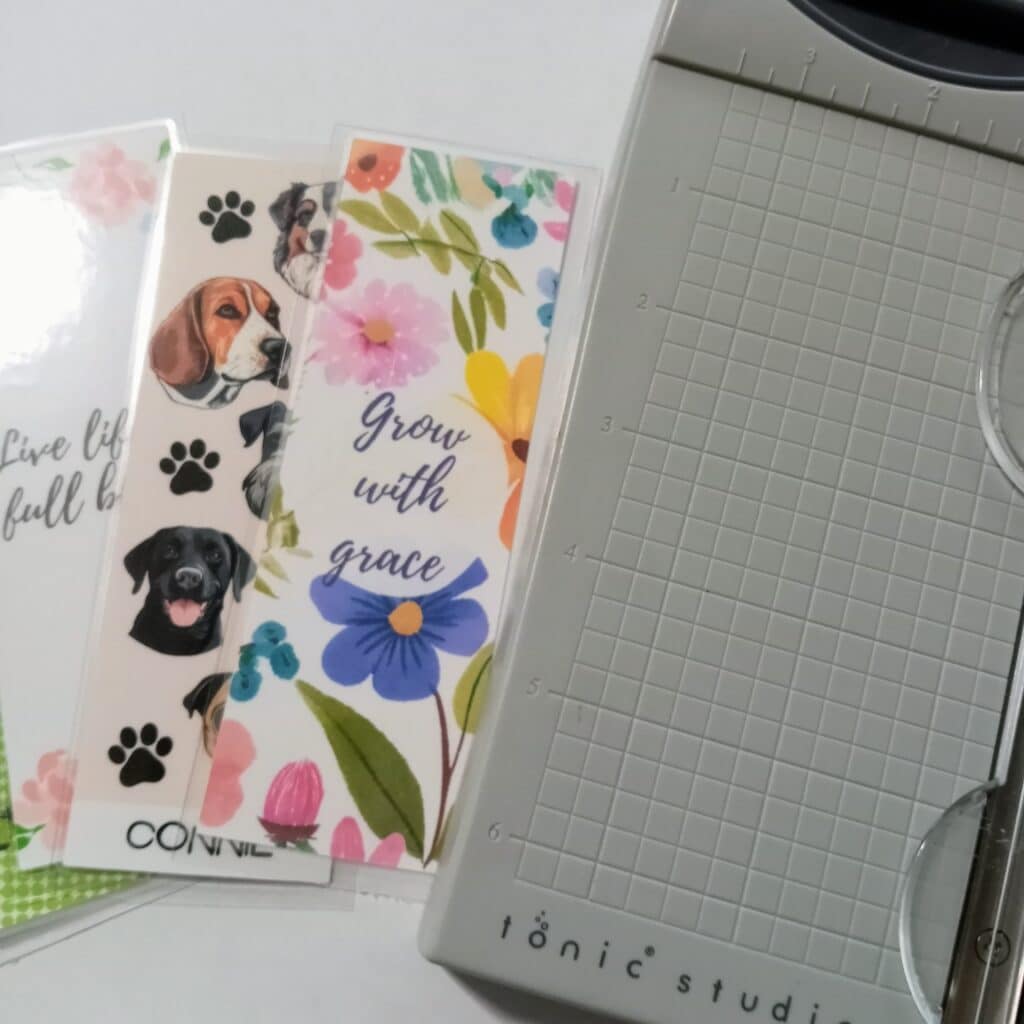
Step 5: Enjoy Your Custom Bookmarks
Finally, your custom bookmarks are now ready to use! Enjoy the satisfaction of using your own personalized bookmark in your favorite books or give them as thoughtful gifts to fellow book lovers.
Final Tips:
- Experiment with different designs and themes to match various books or occasions.
- Consider adding tassels or ribbons to the top of your bookmarks for an extra touch of elegance.
- Don’t forget to check out the bookmark size lamination sheets. These are wonderful and yield a very professional looking project.
By following these steps, you can create high-quality, durable bookmarks with Canva and your Silhouette. Let YOUR bookmarks showcase your unique style.
For a fun way to make bookmarks with your Cricut drawing pens check out THIS project!
Be sure to join the Say It With Simplicity Crafting Group on Facebook and share your unique bookmark designs. Happy crafting!