Make Farm Fresh Pumpkins Stenciled Signs
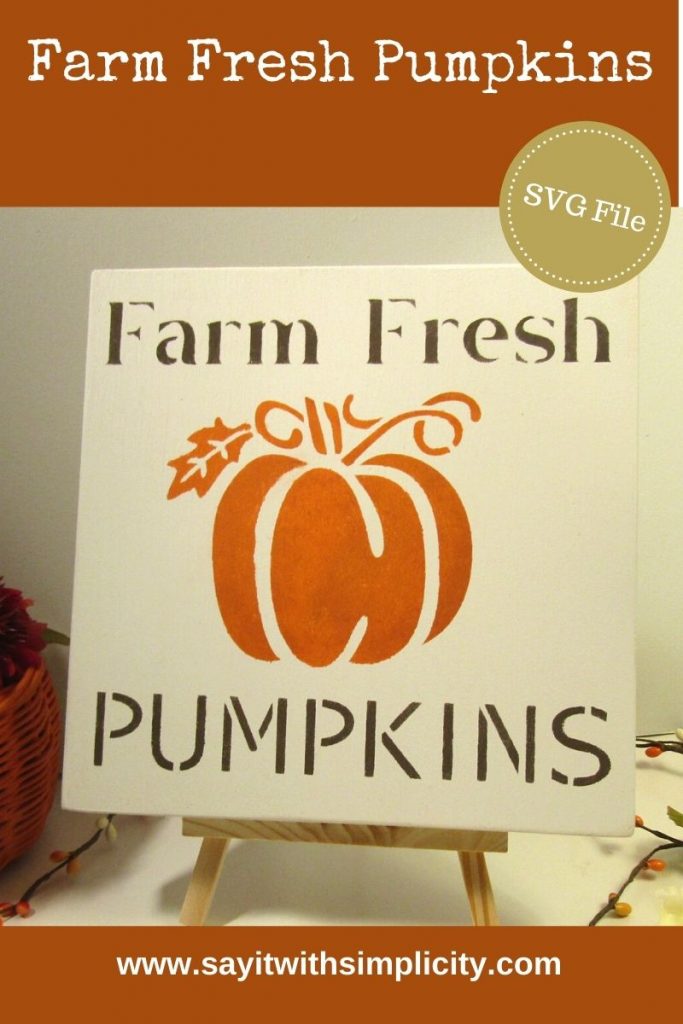
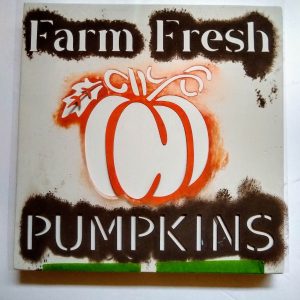
I love to hang on to summer as long as possible, but I know that fall is right around the corner. If you’re as excited as I am to start diving into the fall crafts, then Farm Fresh Pumpkins signs might just be what you’re looking for.
Make them for craft sales, gifts, your Etsy store and more…
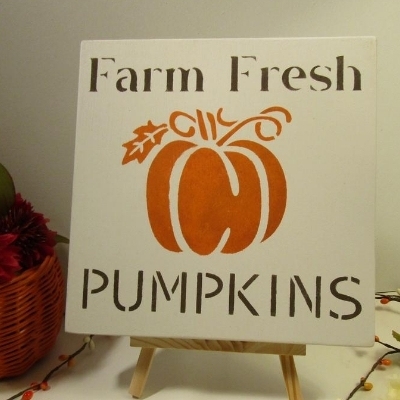
Be sure to check the bottom of the post to get your free SVG file for this sign.
As an Amazon Associate, I earn from qualifying purchases. This post contains affiliate links that help support my site at no additional cost to you.
Create Your Sign Base
I use premium pine boards for many of the signs I make. The sign shown in the photo was made on a 1″x 8″ board, so the actual size is about 7 1/2 square. You can use your choice of wood. Many sign makers use smooth plywood.
Hints and Tips: If you are making signs for resale, cut several signs, and prep them. Then paint all your like-colored base coats at one time.
Paint your board with your preferred paint. I like this Chalked Milk Finish Paint in Linen White. Spray paint, craft paints, other chalk finish paint, and many others can be used. Find what is available in your area and do what works well for you.

To apply my paint, I like to use a high-density foam roller. I think this gives the best coverage with the smoothest surface. If I’m going for a weathered or distressed look, I’ll often use an inexpensive paintbrush.

The High-Density foam rollers are a little more expensive, but are washable and can be used many times. No lint is left behind and they work wonderfully for prepping signs for painting. If there is only a short period between uses, I usually store my roller in a plastic bag so that it doesn’t dry out.
The Advantage of Reusable Stencils
I like reusable stencils. I probably don’t use them enough, but if you want to save money on vinyl and time, reusable stencils are a great way to go.
Weeding vinyl and transferring the design to the wood takes time. I also like the more vintage look of reusable stencils. You CAN paint in the bridges with a liner brush if you choose.
For this sign, I used transparency film. This cuts well with my Silhouette Cameo 3. I’ve also cut stencils from 6 mil mylar with my Cricut Explore and deep cut blade.
Duralar is similar to the transparency film in thickness and works well for reusable stencils too.



Tips for Stenciling
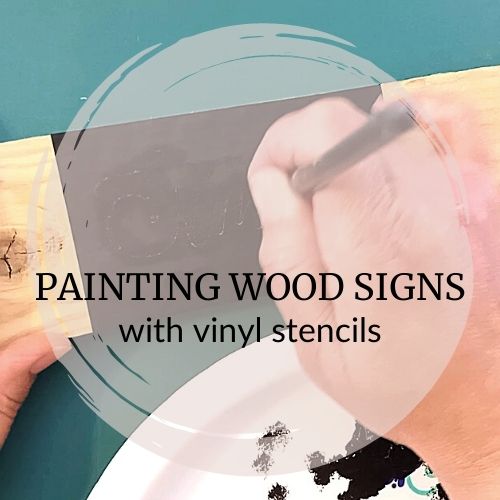
When using reusable stencils I like to use a stencil brush. The key to good coverage without bleeds is to use very little paint at one time.
I also like to use painter’s take to tape my stencil to the board.
Dip your brush into the paint and then blot some of it off onto another part of your pallet. I often use cheap paper plates for my pallets.
Use light, pouncing motions. Repeat areas as needed to build up the color.
I did three signs in a row with my stencil and could have used it for several more.
Finishing Your Sign
When I’m done painting a sign, I use a clear finish matte spray. My go-to for this is the Rust-Oleum Chalked Sealer. It’s a very easy way to give your sign a protective finish, especially if you are planning on selling them. Dry time is fast and there is virtually no cleanup. Just spray and allow it to dry.
Create Your Own Stencil Designs
I’ve made a YouTube video on how I create my own stencil designs. If you would like to have some hints and tips on how to make stencil designs in Silhouette Studio, I hope you’ll check it out.
Get Your Free SVG
I created an SVG for my Farm Fresh Pumpkins Sign Stencil. You can resize this in your cutting machine software so that it fits your sign. Be sure to grab it with the button below.
As an Amazon Associate, I earn from qualifying purchases.
Free SVG Library
While you’re here, be sure to check out my free SVG library, where you’ll find other designs to use for your project adventures. Thanks for stopping by today and have a wonderful and creative day!

