My New Paint Shelves from Pallet Wood
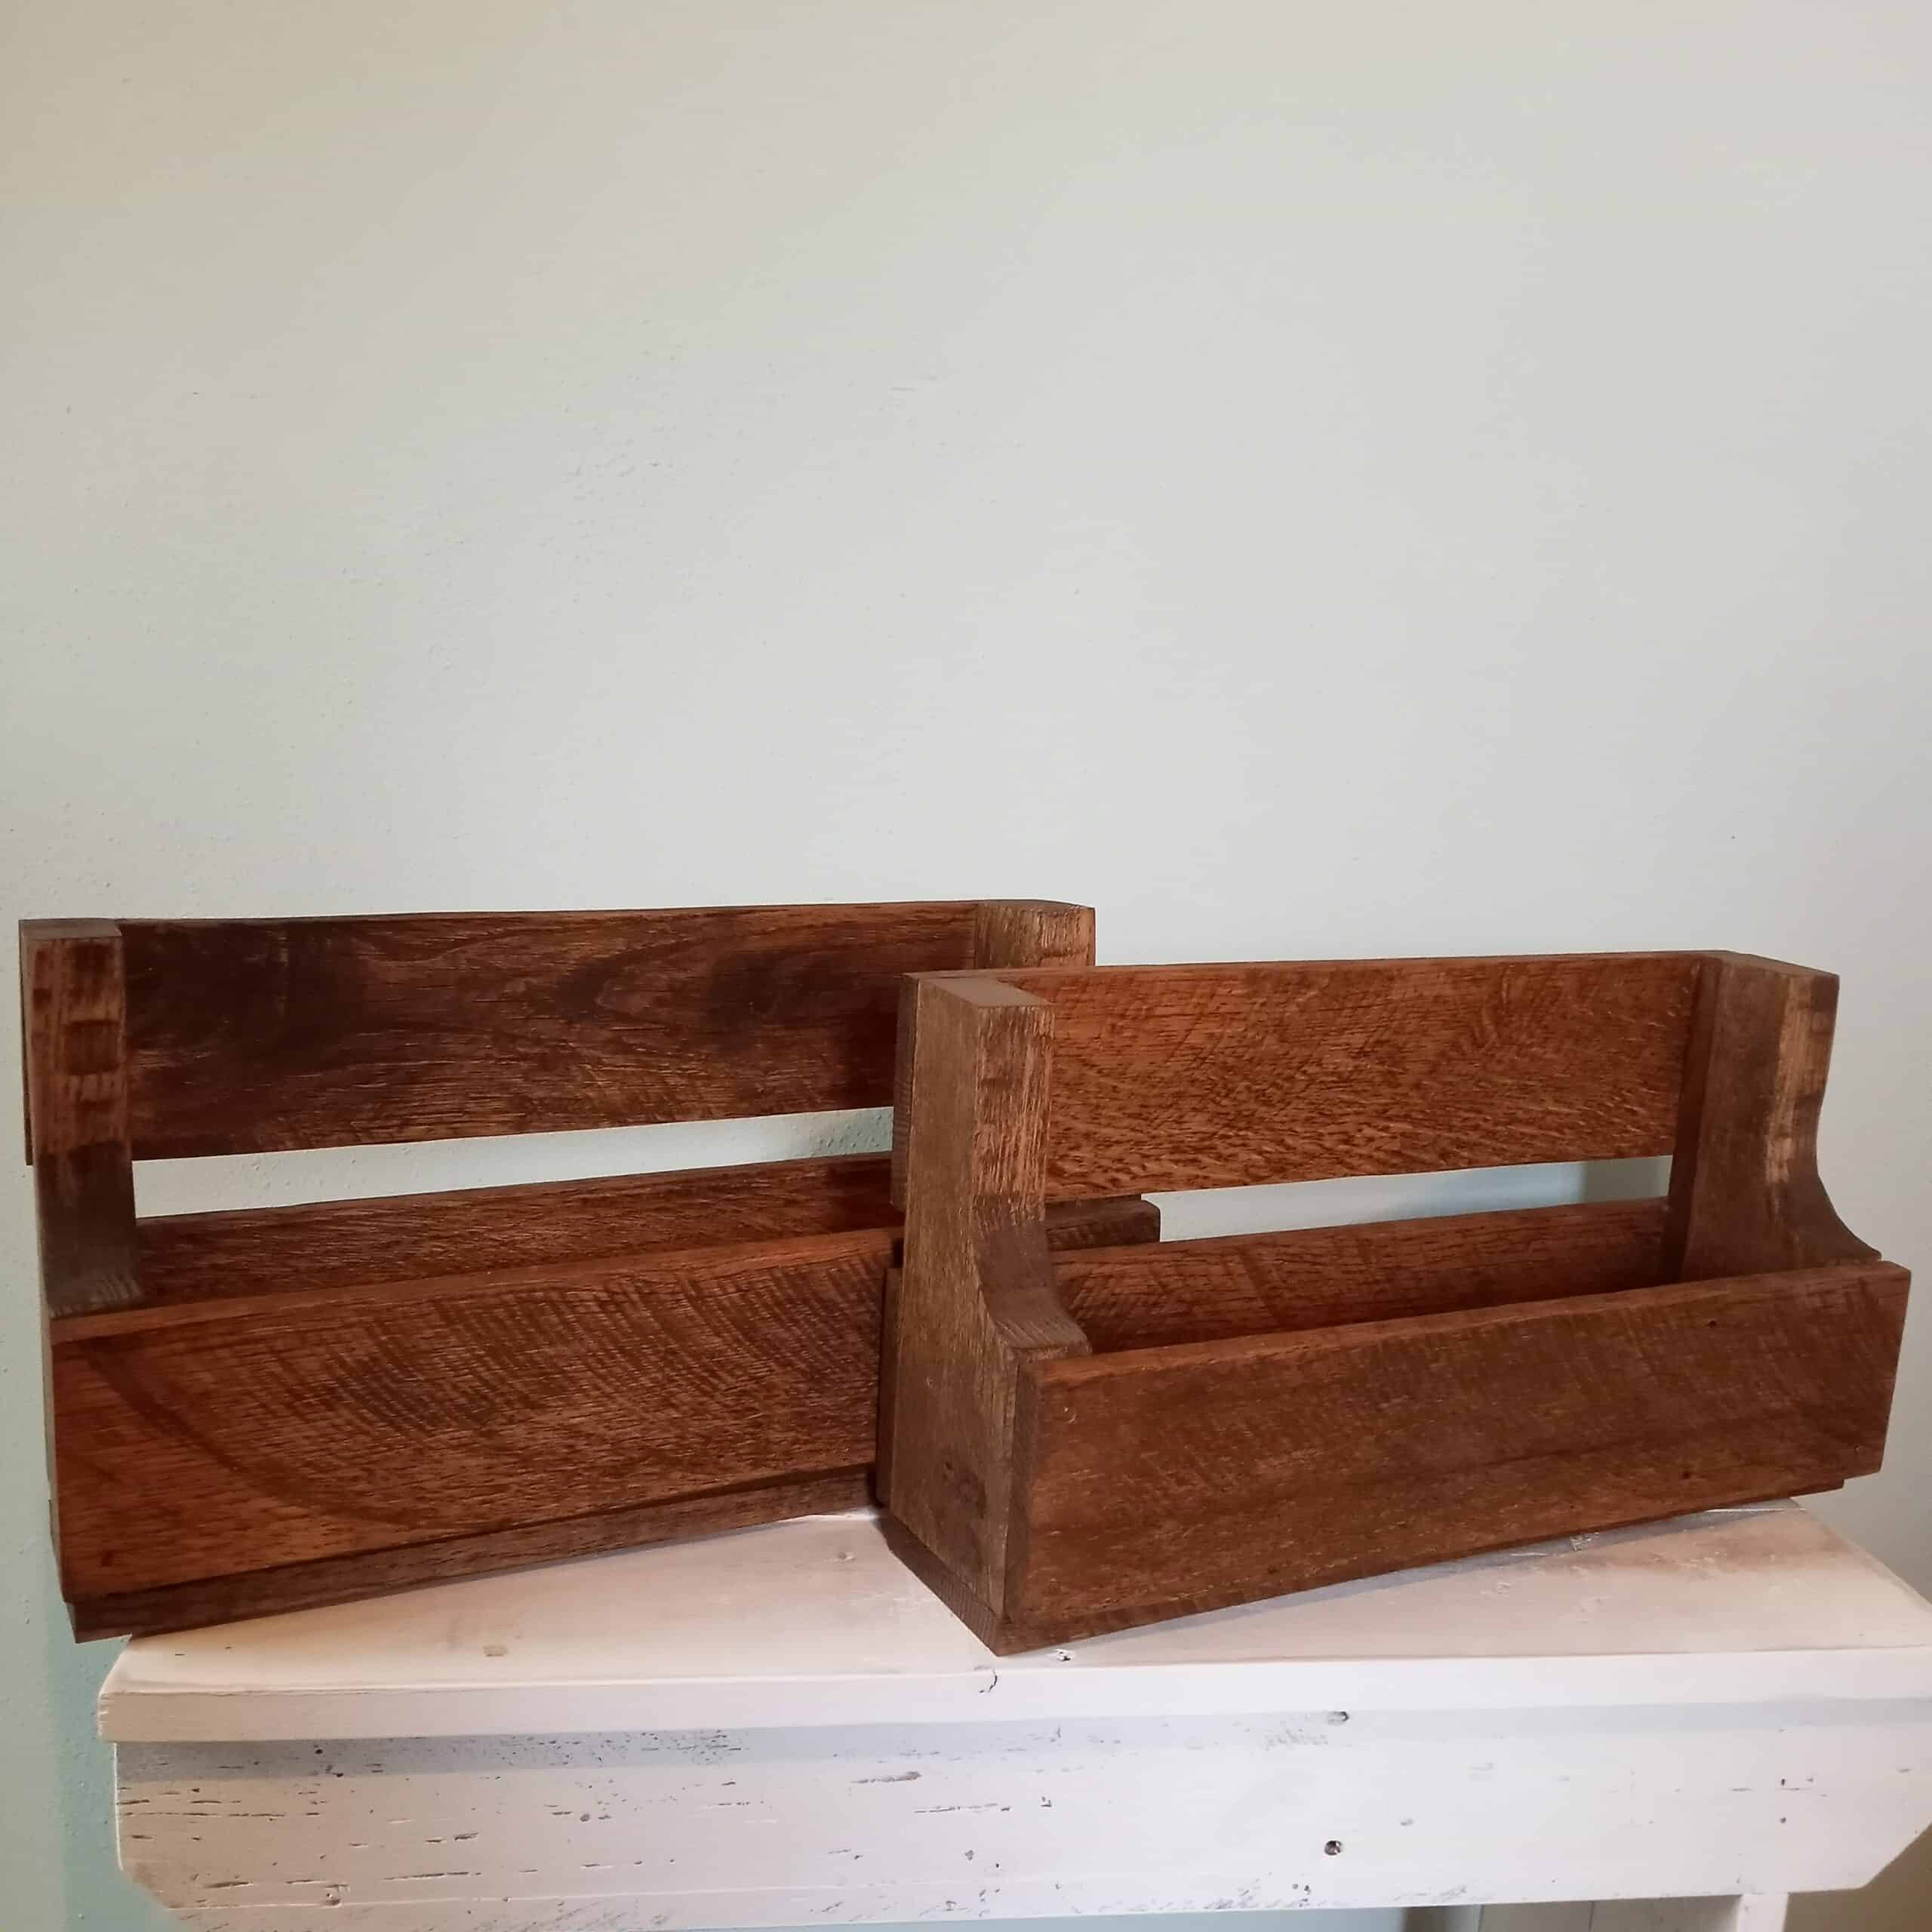
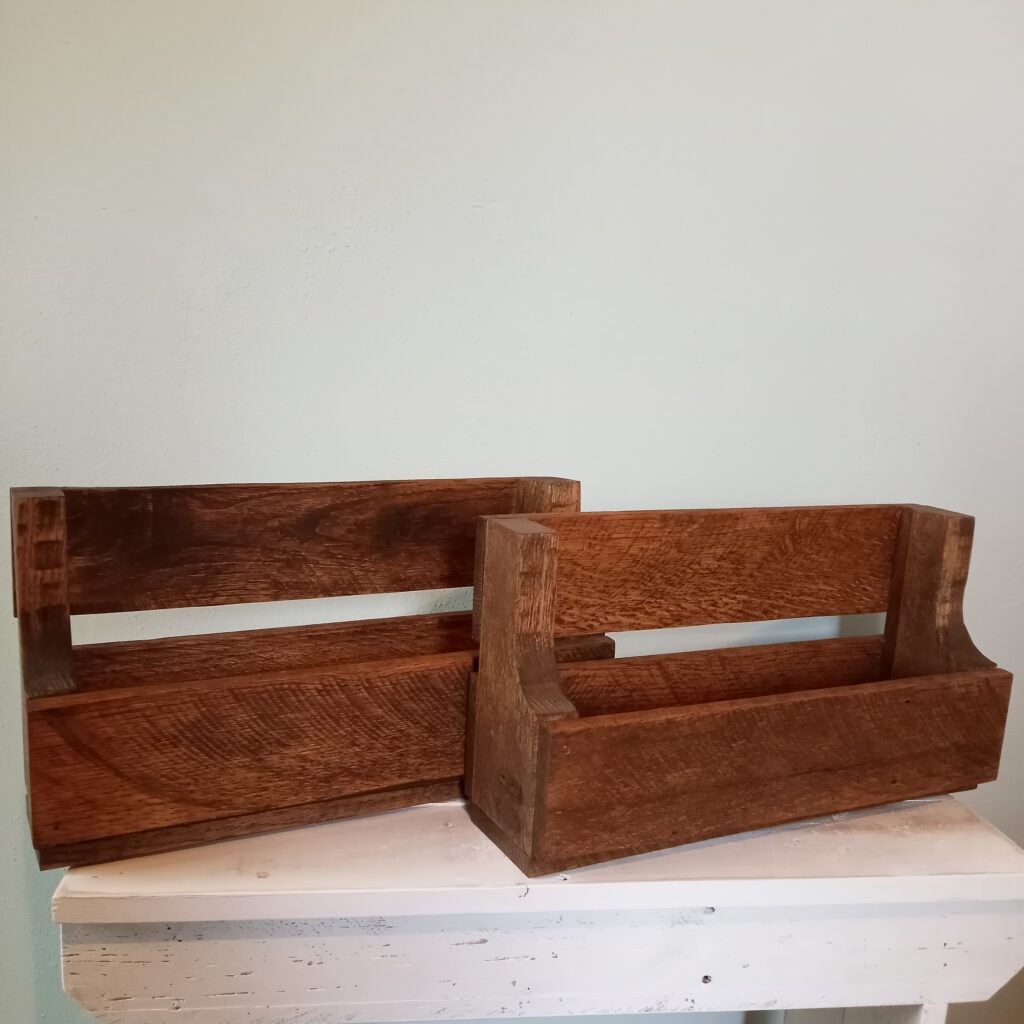
Wood pallets are a pretty easy item to find, and my husband has the type of job where he picks them up frequently. He always asks to the sure they are okay to take of course. Today I’m sharing these new paint shelves from pallet wood that I made for my latest project, my new craft room.
This post may contain affiliate links. As an Amazon Associate, I earn from qualifying purchases.
I’ve been longing for a craft room, a real craft room, for a long time. Now that the kids are grown I have the perfect opportunity to create one. The problem is, I need to do it on a very tight budget, and that means building some of my furnishings myself.
One of the things I love about making things with pallet wood is that it’s free! This way I can build some of the storage items and maybe spend a little on some and still stay within my budget.
I prefer to use the clean pallets rather than those that have been sitting out in the weather. Always check to be sure pallets have the heat treated stamp. These are safe to use.
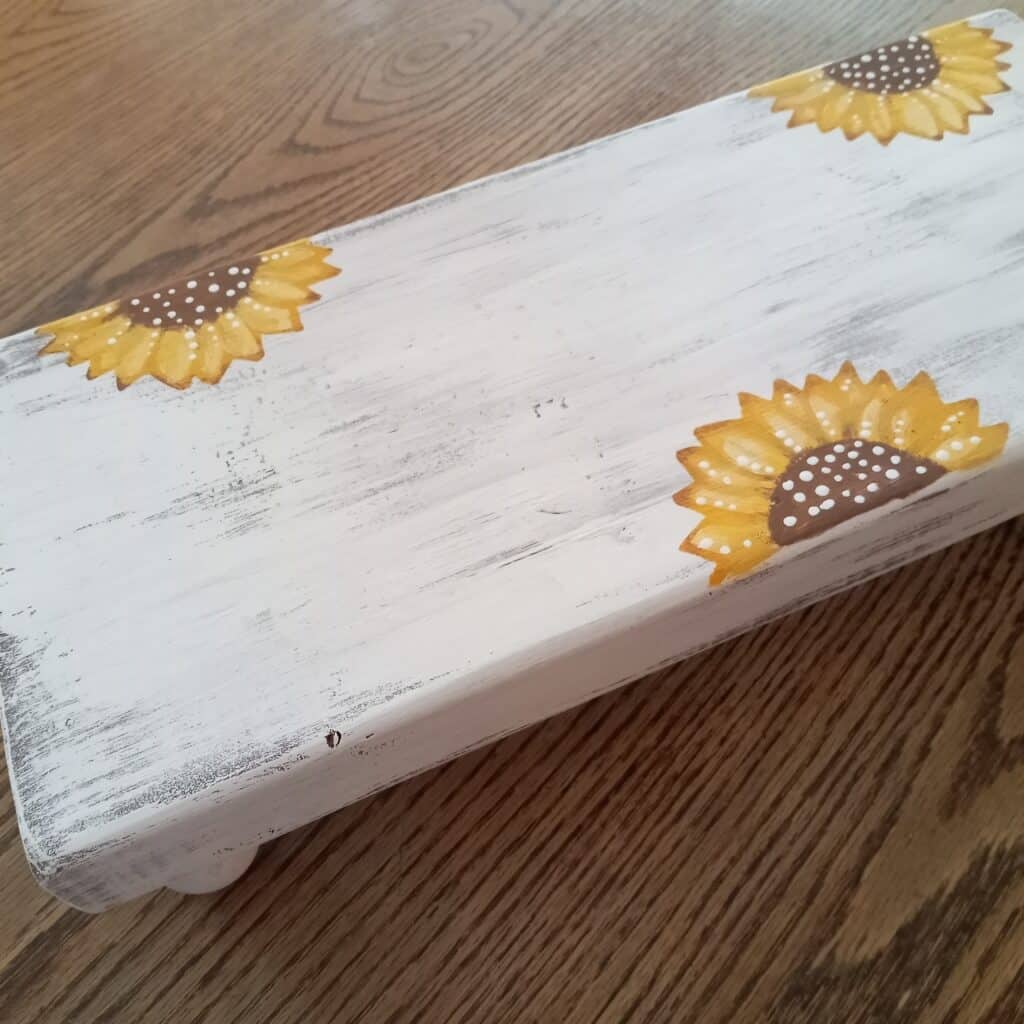
Pallet wood can vary from pine to more impressive hardwoods. Boards can also be wide or narrow, thick or thin. We’ve even had pallets that were made with 2″x6″ lumber. From one of the 2″x6″ pieces I added knob legs and created the sunflower riser below. So many possibilities!
Making the Paint Shelves from Pallet Wood
What you’ll need:
- 2 pieces cut from the pallet stringer
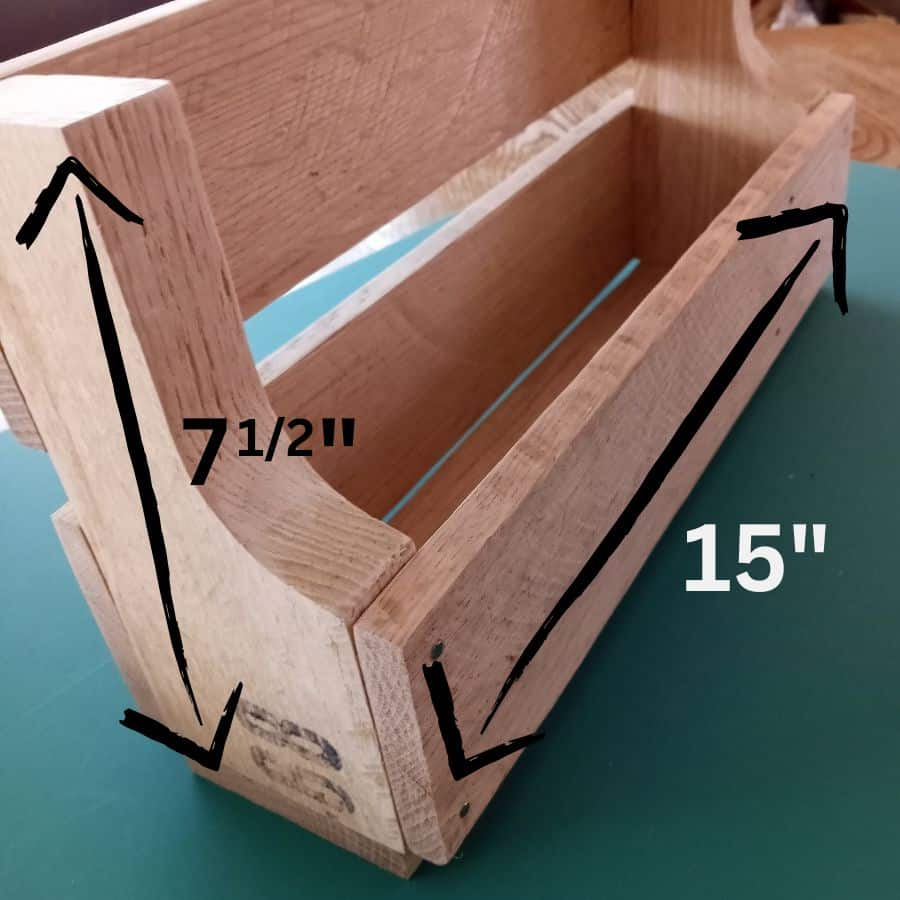
- 2 pieces at 15″ cut from deck boards for the back
- 1 piece at 15″ cut from deck boards for the front
- 1 piece at 15″ cut from deck boards for the bottom
- wood glue
- nails or brad nailer
- drill and drill bit
The deck boards from this pallet were 3 1/4 inches wide, and were only 1/2 inch thick. It came from a food processing plant and was very good quality.
I disassemble pallets with this pallet buster that I purchased on Amazon. It works great and saves lots of back muscle. Plus we end up with lots more usable wood using this tool. The next tool on the wish list is a nail remover.
I like the curved cutout area of these stringer pieces. From the stringer pieces I cut the ends of my shelves. I cut these at 7 1/2 inches tall. This way I was able to get two pieces from one end of the stringer.
Where you cut could vary depending on the condition of your pallet. Not all pallets have the same quality. Occasionally you’ll find a tree edge and other defects. These defects can be a great way to add character to your project, as long as they don’t affect your building process and the functionality.
You may also find cracked boards and of course deal with the nail holes. Cracked boards may sometimes be repaired by gluing and clamping. Nail holes can add more character. You’ll have to decide what you think is best for your project.
I used my compound miter saw for cutting all the pieces to length.
Sanding Your Pallet Wood
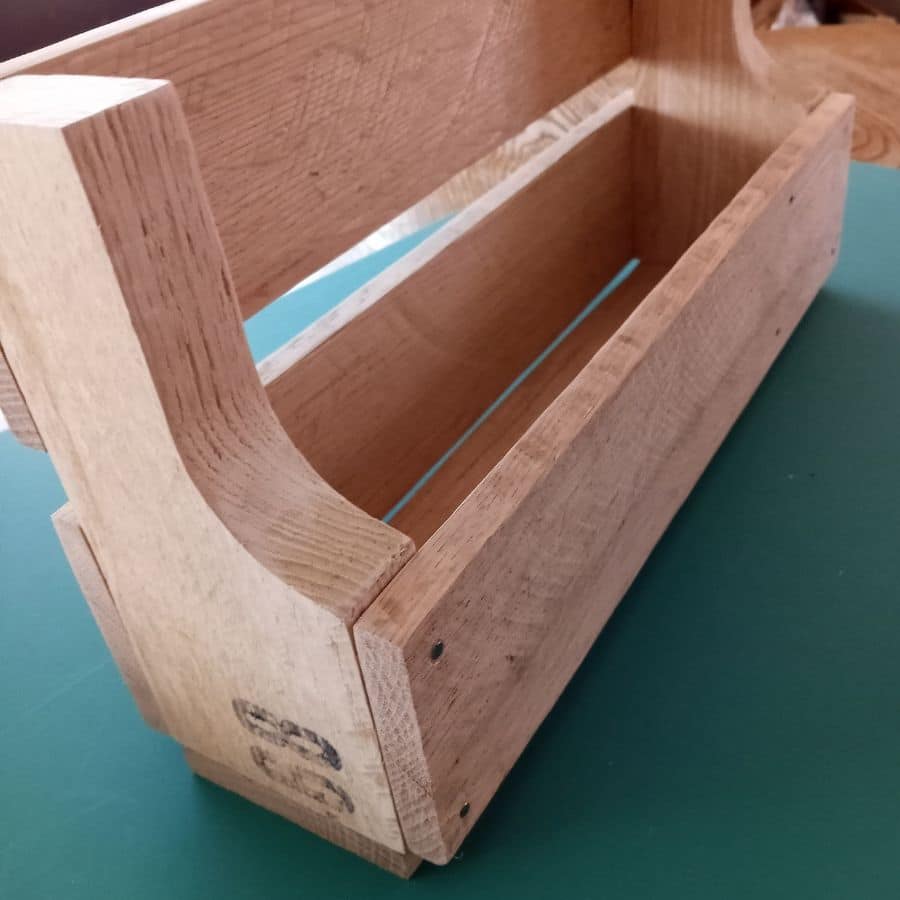
Sanding is a given for me. Some people like the more rustic look, but since I’m going to be using these in a craft space I like them sanded. The last thing I want is to grab paint and get a wood sliver in my hand. I didn’t however want to sand down those numbers on the end piece. I sort of liked the charm they gave my rustic wood shelves. My Orbital Sander makes sanding projects so much easier.
Building the Pallet Wood Shelves
Once I had all my pieces cut and sanded, next came the assembly. This is pretty straight forward and I didn’t take photos of the process. I predrilled holes for nailing. While I could have reached for the brad nailer, I decided to get out the drill, drill pilot holes and nail. This went quickly and the shelves were done in no time. I used a little bit of wood glue for extra durability.
These were nailed on in the following way:
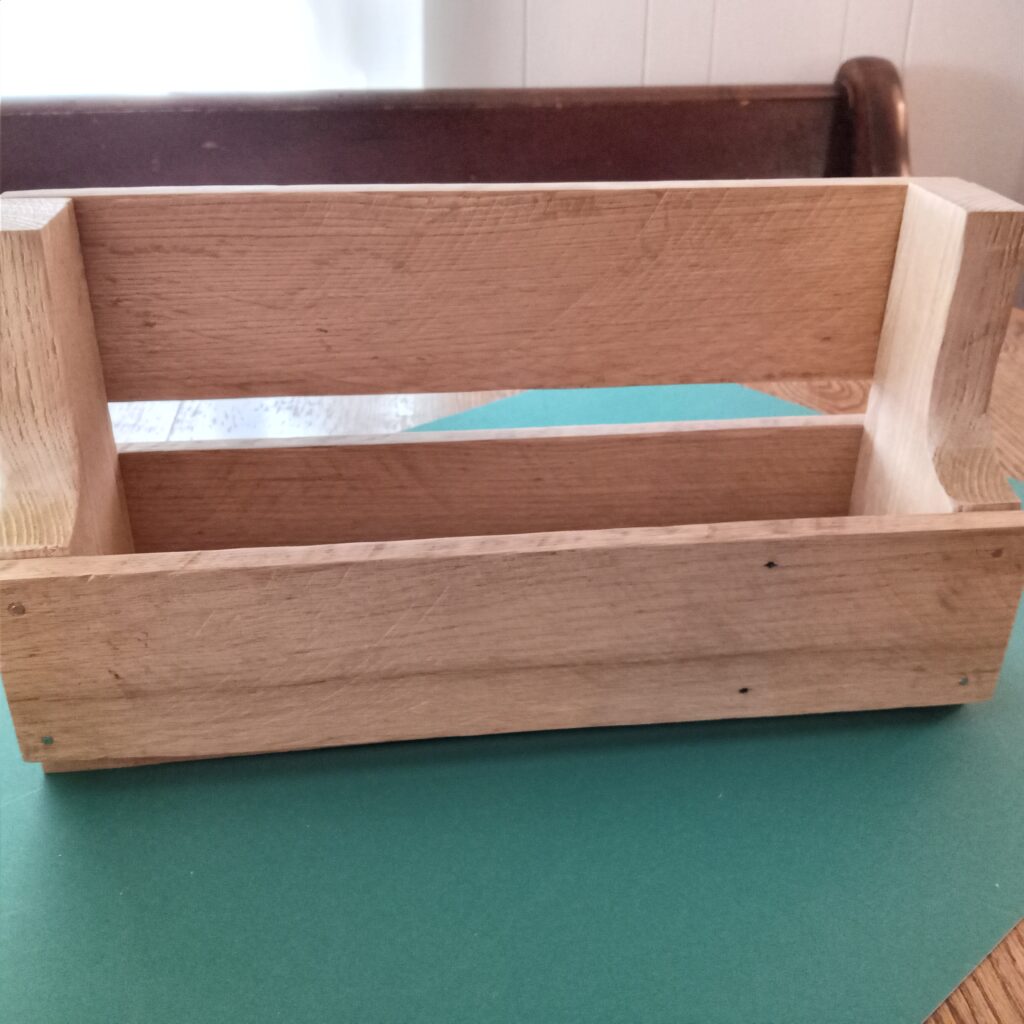
- One board was nailed across the front.
- Two boards were nailed across the back, one toward the top and one at the bottom.
- One board was nailed on the bottom.
Super easy! If you can reclaim some nails when you disassemble your pallets, great! If not use small finishing nails or whatever you have. Pre-drilling is best to keep your wood from splitting.
Finishing Your Project
Leaving your project with it’s natural finish is an option. You could seal with a wax or water based polyurethane and preserve the natural color. I like the natural color, but I decided to stain mine with Min Wax in the color Honey instead.
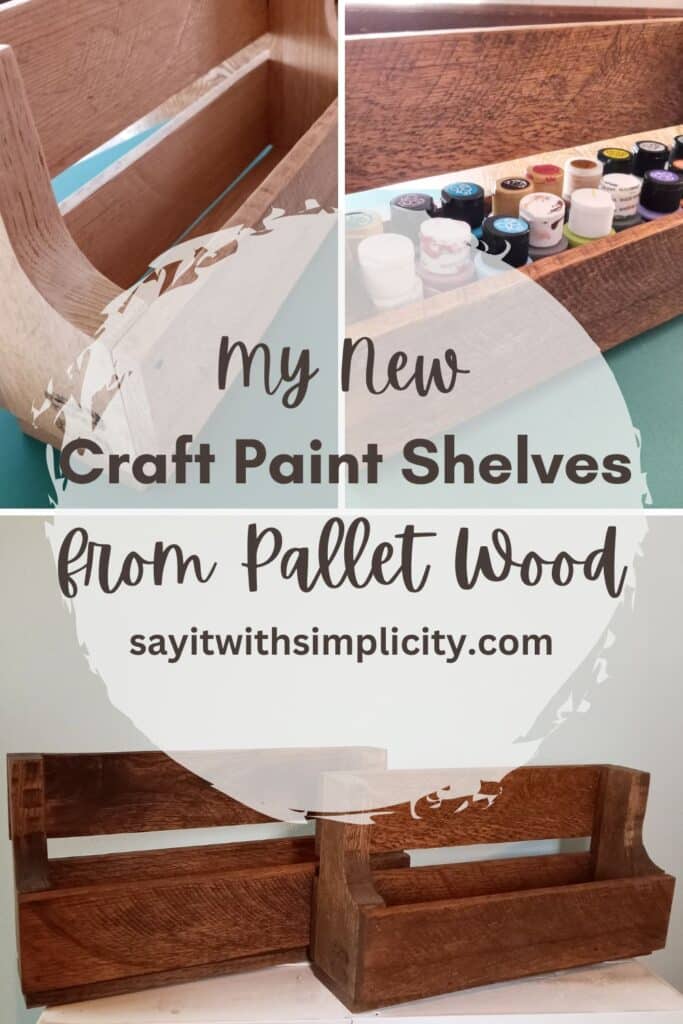
Once I had my process down for one shelf, the second one was easy. It turned out slightly taller because of where I had to cut the stringer. I’ll add “D-rings” to the back for hanging them on the wall when I finish updating this room in our 100 year old house. More to be revealed as we go, but what a great way to store my craft paints!

Have you built anything from pallet wood for your home? What do you think of these pallet wood shelves? Would they work out well for storing supplies in your craft room?
If you create a project like this, you’re welcome to join our Facebook Crafting Group and share it with the rest of the group. We would love to see your project shares and inspiration as we grow this crafting community.
Thanks for stopping by today and have a wonderful day!

