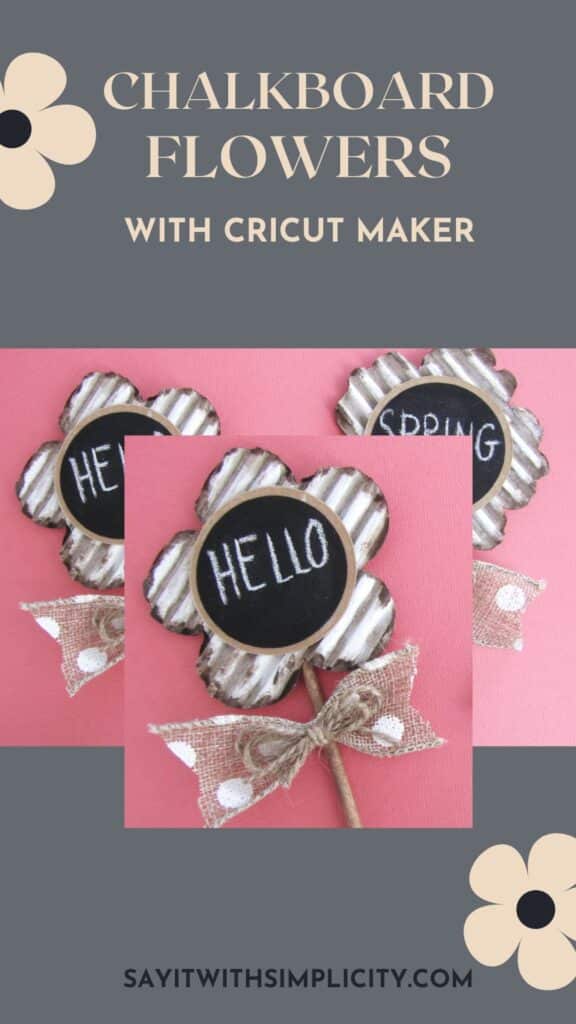
DIY Chalkboard Flowers with Your Cricut
These Chalkboard Flowers are a quick and easy project that you can make with your Cricut. Make one, two, or a whole bouquet. I labeled these as “plant pokes” when I shared them on my Cricut Profile, but with a little imagination, you could use them many different ways.

With the arrival of spring, I was inspired to create some spring crafts. I wanted something a little bit different that would use things I already had on hand at home. As I was breaking down some cardboard boxes, I remembered a couple of the projects that I’d created in the past with cardboard.
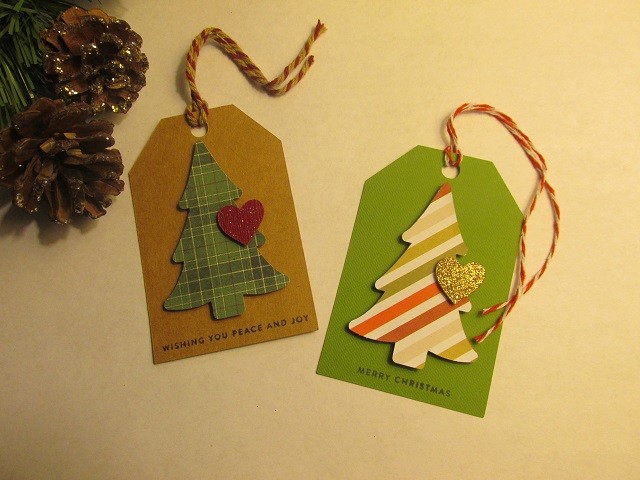
Let’s Wrap It: Cardboard Gift Tag With Cricut Maker
Rustic Valentine Cardboard Craft
Corrugated Cardboard Snowman Ornaments
How could I use similar techniques into something for spring?
Then one morning, while I wasn’t even thinking about crafts at all, the idea for these flowers popped into my head. Of all things, I was up pulling gross ceiling tiles down while remodeling a room upstairs in our 100 year old house. This room is going to be my new craft room. I’m so excited!
What You’ll Need to Make These Chalkboard Flowers
Cricut Maker, Mats, and other tools and accessories you use when crafting with your Maker.
Corrugated Cardboard with one paper face removed (or a purchased product made for this type of craft)
Flat Cardboard or heavy craft cardstock. This could be upcycled cereal box or other similar cardboard
DecoArt Americana White Paint or other craft paint
Antique Wax or Distress Ink for edges of flowers
Hot glue gun and glue sticks
My Project in Cricut Design Space
I wanted to share the project that I created in Cricut Design Space for these flowers. You could use any of the flower images that you like. In all honesty, the more simple designs work the best.
This project in my Cricut Profile.
How I Created the Chalkboard Flowers
First you need a piece of corrugated cardboard. A box flap, or any part of the box will work. You’ll want to remove the top layer of the cardboard. You can use a pick or knife to separate this layer away from the ribbed layer.
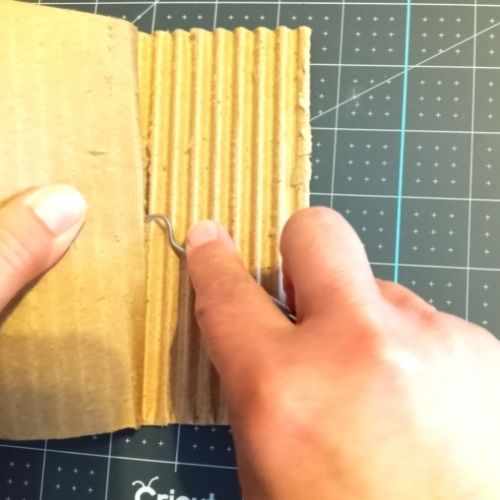
Preparing Your Mat
Next, you’ll lay your ribbed side down on your Cricut mat and tape around all four sides.
Load it into your machine and prepare to cut this layer.
NOTE** Be sure to move all the star wheels on your Cricut machine to the right during this cutting step.
I cut my corrugated flowers on the chipboard setting, with the knife blade. It took two passes. Pause your machine and check to see if you have a through cut. If you do, you can remove from the machine.
Depending on the order of your layers, cut the chalkboard vinyl on the “Chalkboard Vinyl” setting and the outer circle (larger circle) on the “Flat Cardboard” setting.
Assembly
The remaining part of the project is very simple.
All finished. Super simple!
Let me know what you think of this project. If you decide to make chalk board flowers, I’d love it if you would share them in the Say It With Simplicity Crafting Group on Facebook.