Cute Bird Valentines with Cricut
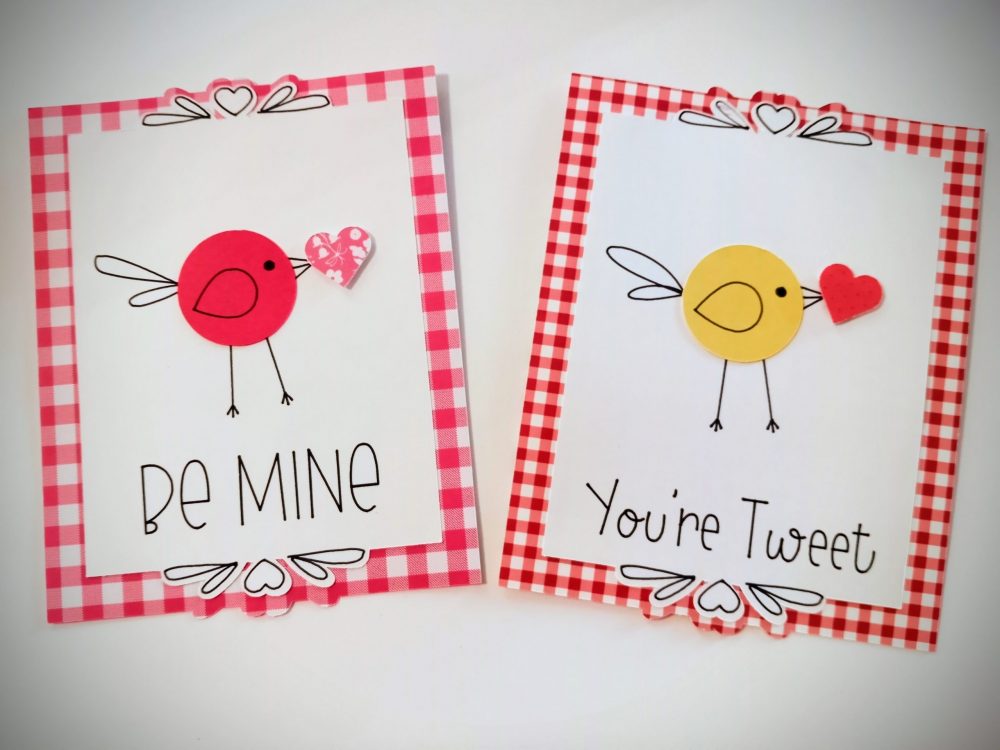
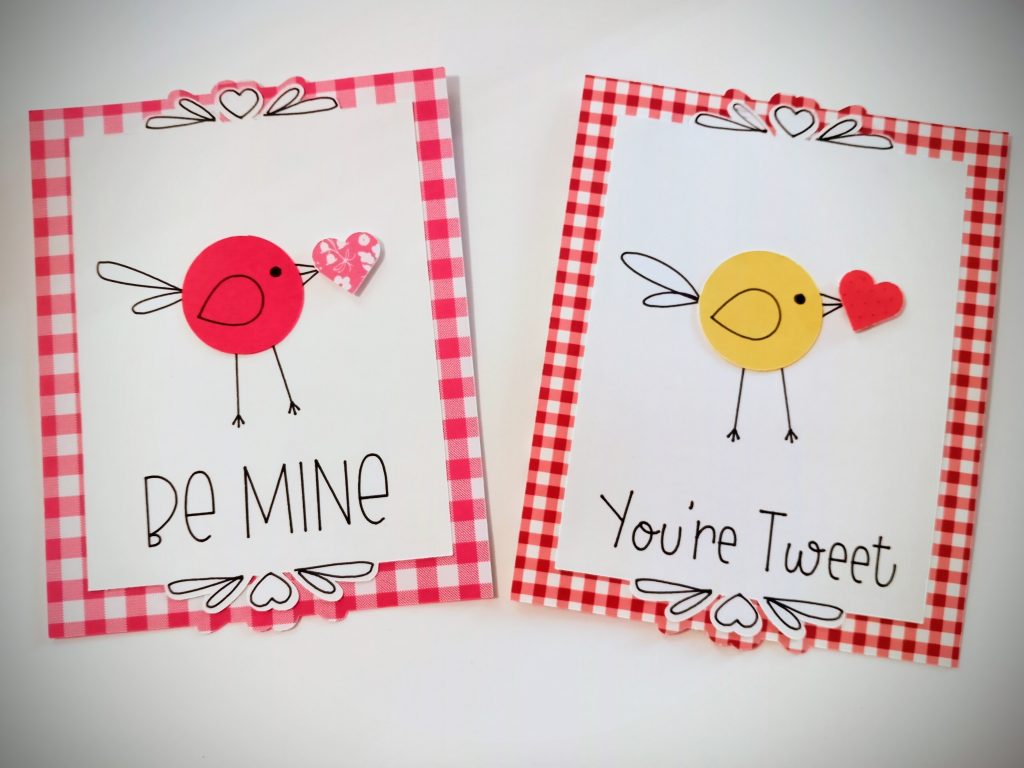
Today I’m sharing these cute bird Valentines for yet another Cricut drawing pen inspiration post.
You may have guessed it. I love my Cricut drawing pens. I enjoy using them so much that I feel like everyone needs to do more with drawing pens. So much so that I gave my daughter, who has my older Cricut Explore One, an Explore One Pen and Accessory Adapter for Christmas.
Yep, it’s addicting. Shortly after Christmas, she started sending me photos of her drawing pen projects.
If you haven’t taken the drawing pen plunge, you totally have to do it! So I’m here to enable you with a quick and easy project!
I shared these Bird Valentines in Cricut Design Space and I thought I’d share them here on the blog. I created this project in Cricut Design Space and they are super simple to make.
This post contains affiliate links. Thank you to all the faithful viewers who continue to support Say It With Simplicity.
You’ll need a few basic Supplies:
- You’ll need your Cricut. I have a Cricut Maker and really love this machine!
- White cardstock for most of the drawn portion of the bird Valentines.
- Colored cardstock for the bird body. This also has a drawing for the wing.
- Cricut Drawing Pens-I used only the black.
- Patterned cardstock for the back layer. I tend to like small patterns, gingham check, and dot patterned paper.
- Small piece of coordinating patterned paper or solid cardstock for the heart.
Link to the Bird Valentines
You can find the link to the Bird Valentines up above or HERE. This will open up and you can choose “Customize” or “Make It” in Cricut Design Space.
If you choose the “Make It” option, all the mats will be set up with the colors that I chose for the designs in Cricut. You can still use whatever paper and cardstock you want to replace these colors. I cut everything on the “Heavy Cardstock” setting with the fine point blade.
If you choose “Customize” you’ll be able to ungroup and detach so that you can change the text or font. Maybe you want to resize the images. Whatever your preferences are, then maybe the customize option is the best one for you.
This is a 4.25 x 5.5-inch card. It is not a book fold card, however. Simply let the machine do the drawing and cutting, then assemble.
Assemble Your Bird Valentines
Now that the drawing and cutting with your Cricut are done, it’s time to assemble these super cute bird Valentines.
Layer the bird body over the legs and beak on the white layer.
Glue or use a tape runner to adhere the white layer to the back (patterned) layer.
Use dimensional adhesive to “pop up” the heart and attach it near the beak of the bird.
Super Easy!
I hope you like this project. If you like this project, be sure to let me know in the comments! I’d be happy to share more of this type of project.


