Beginners Guide to Handcrafted Cards
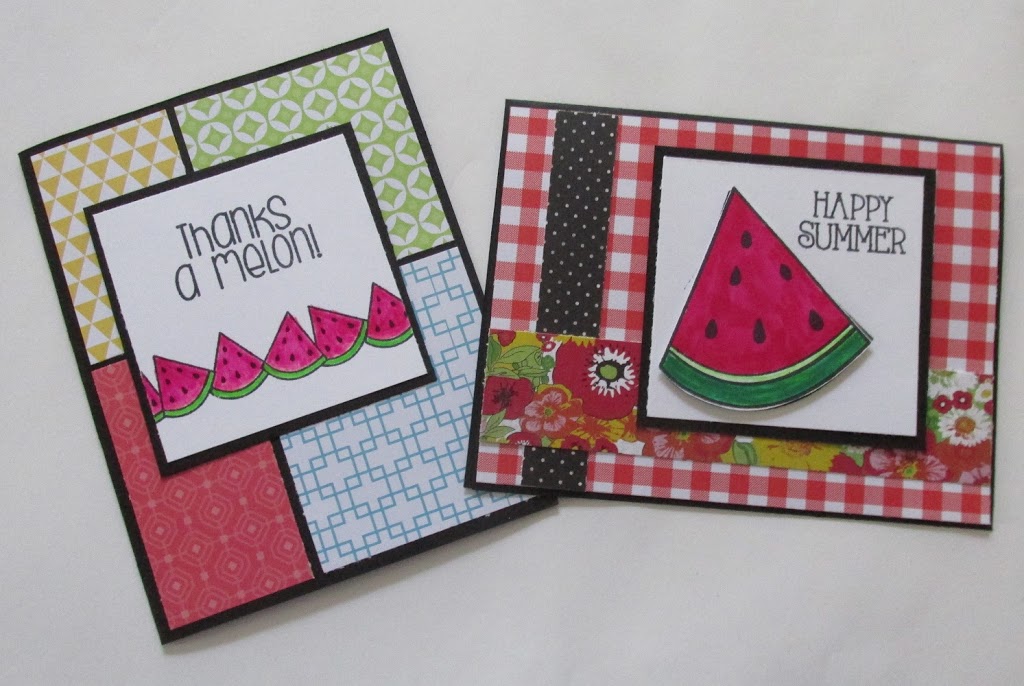 |
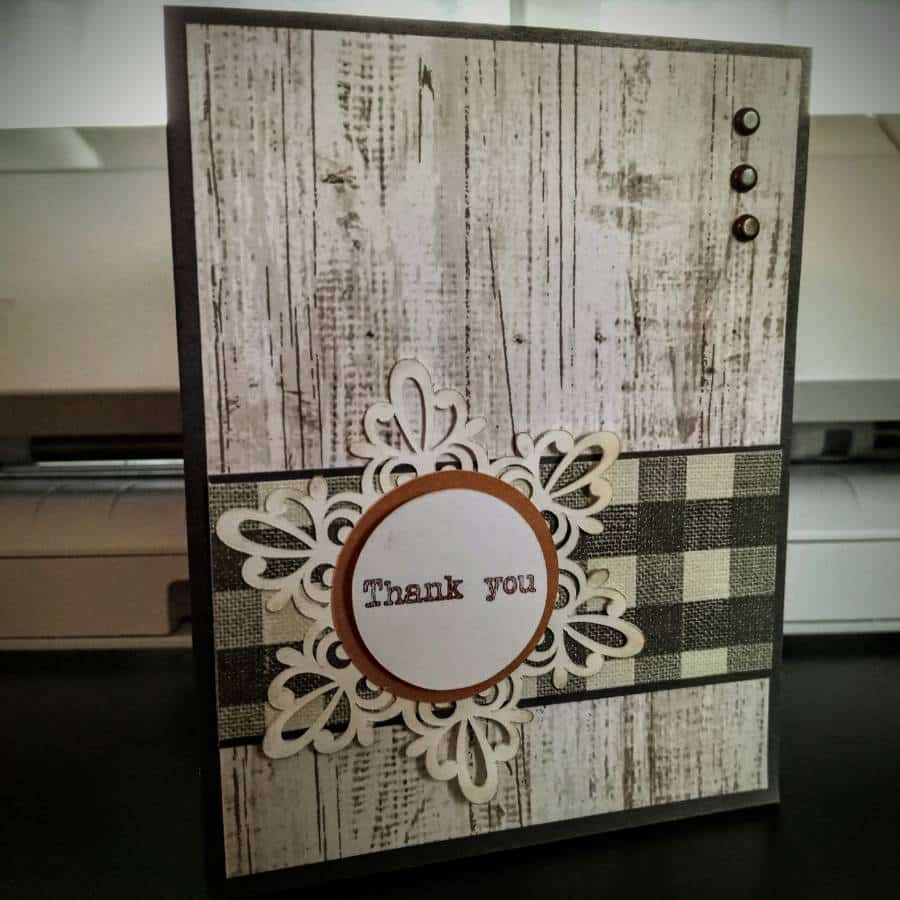
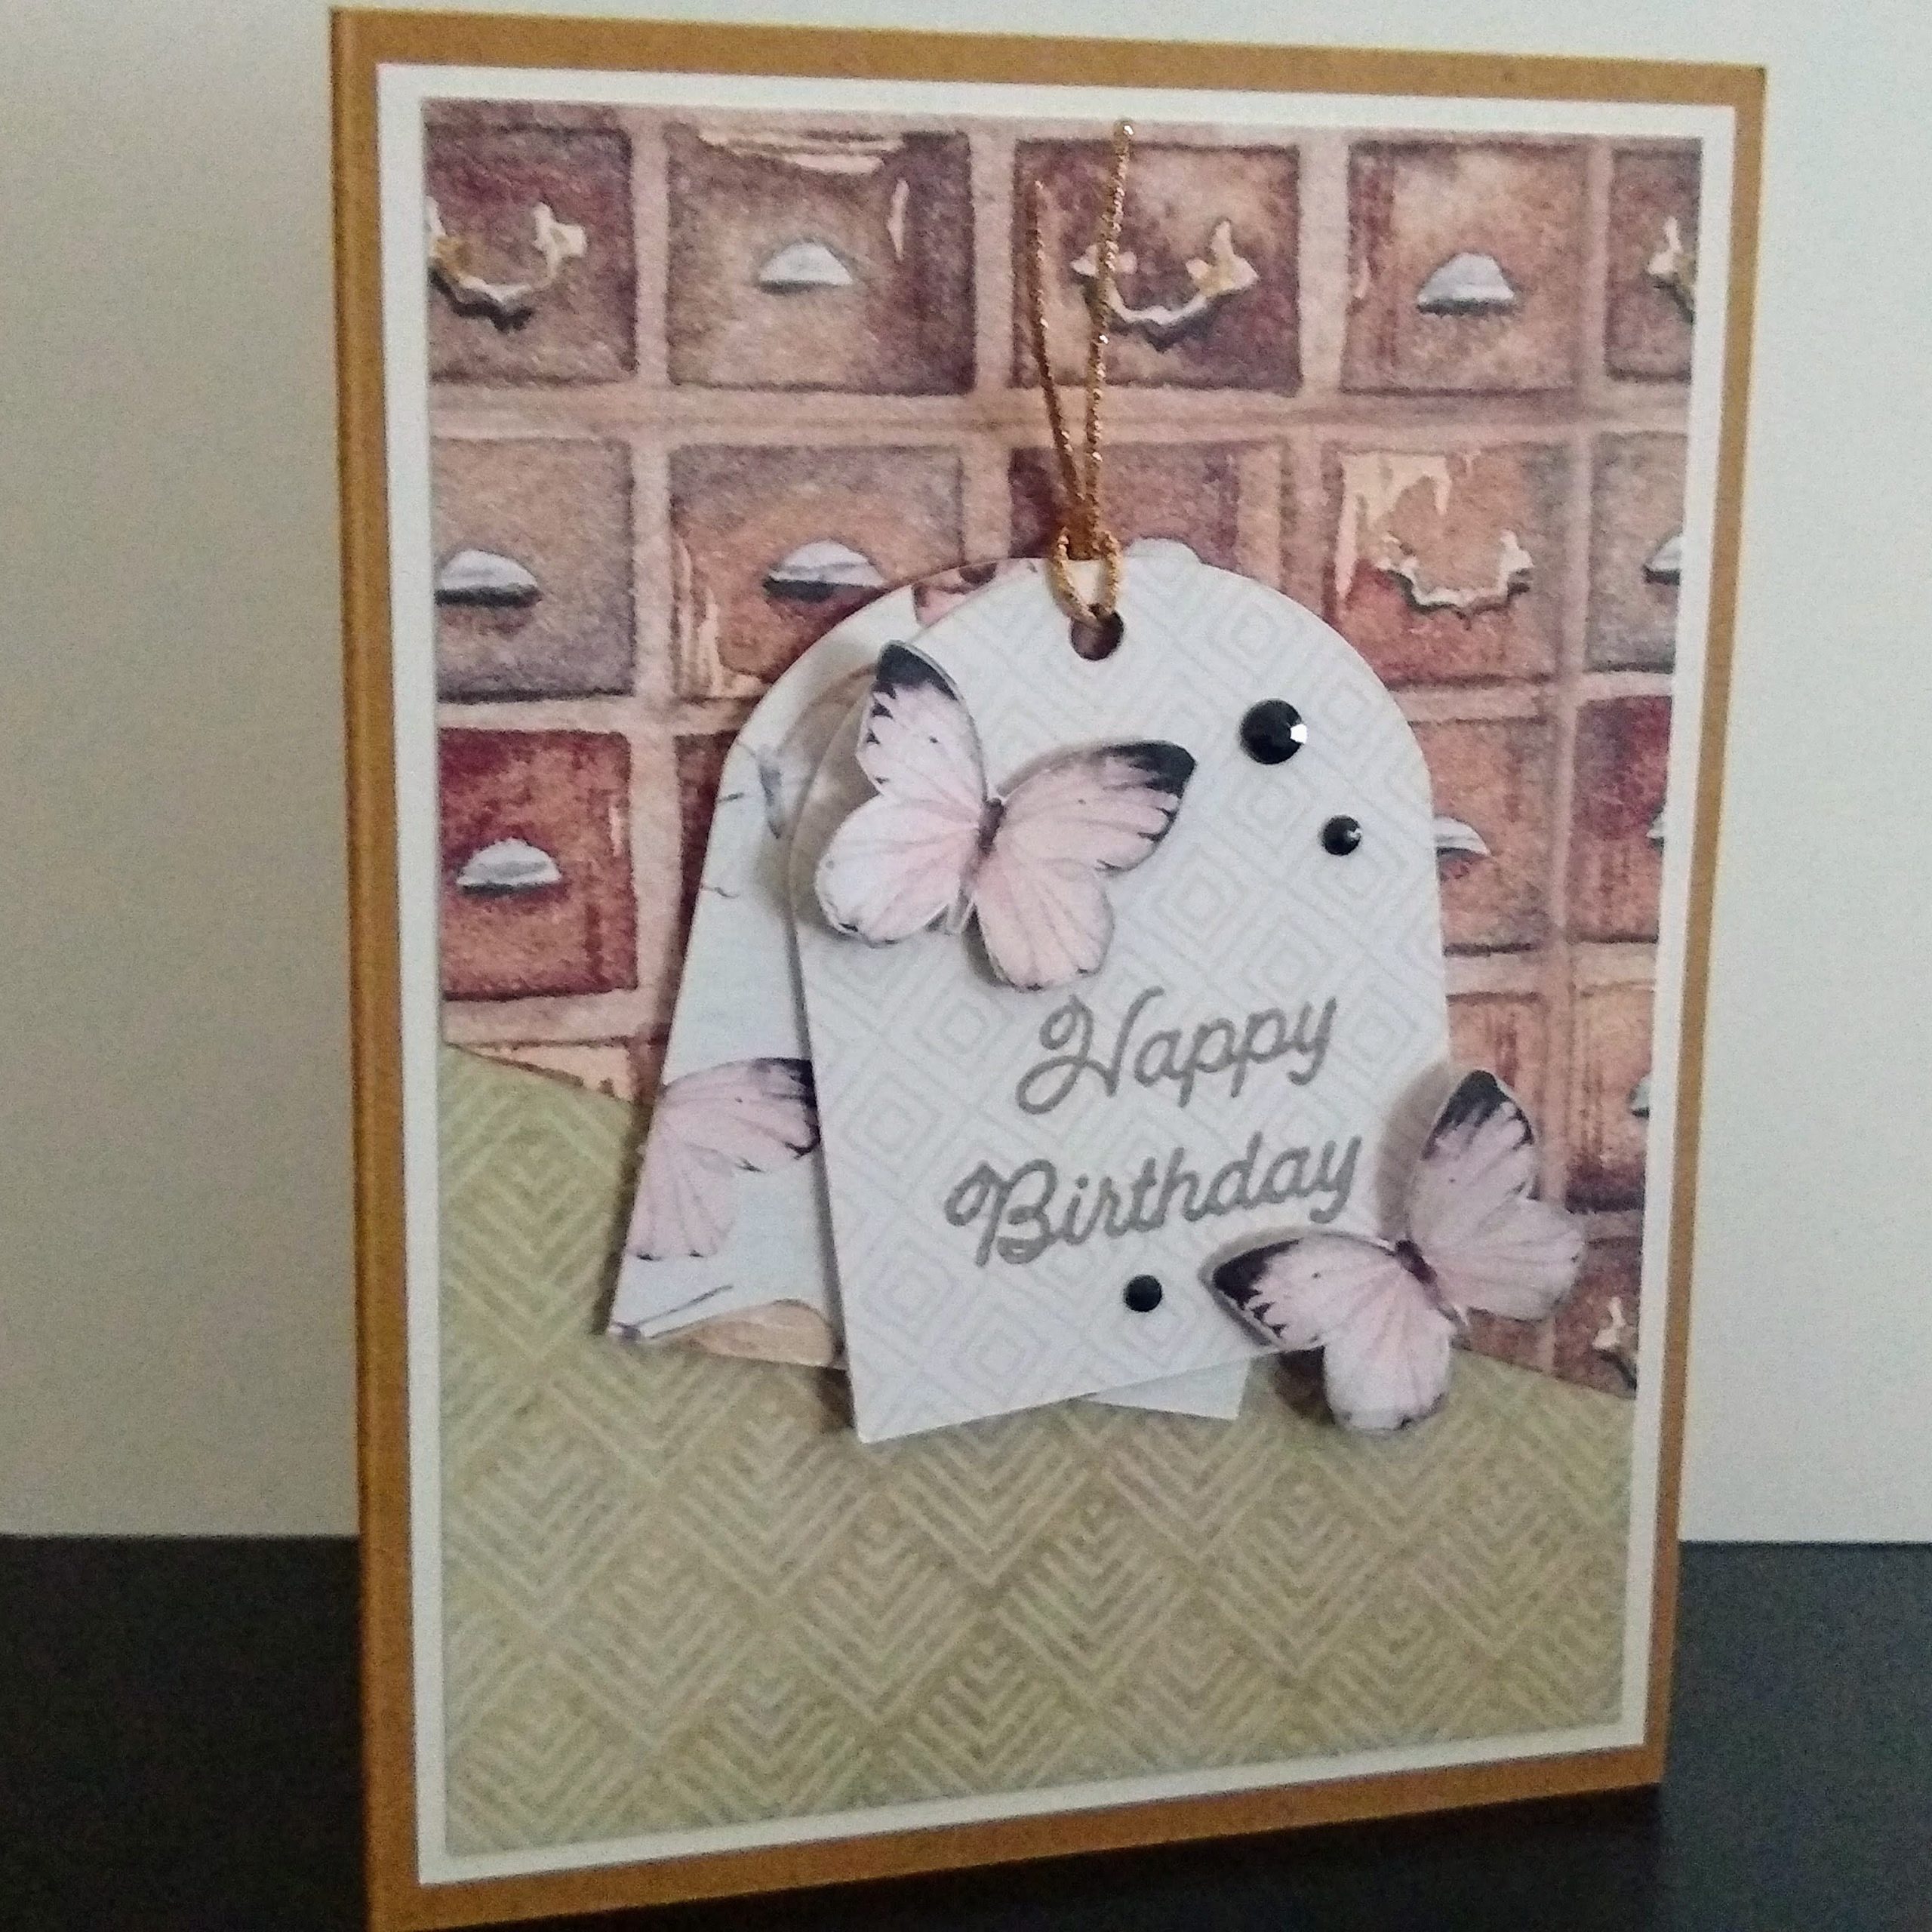
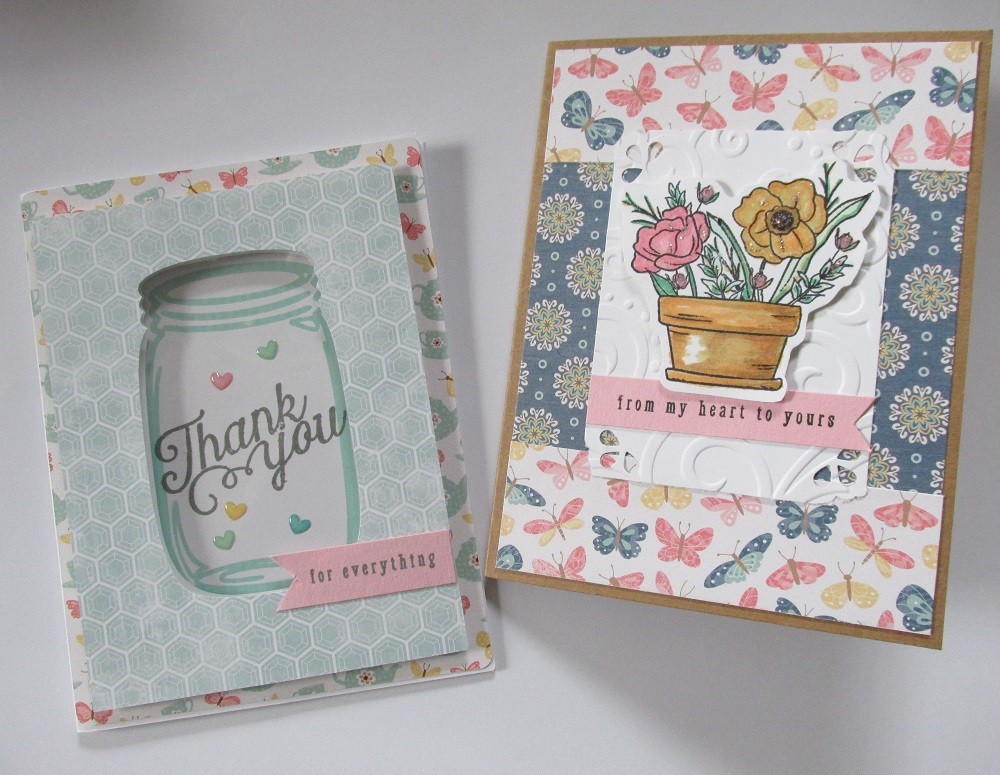
| Two simple cards made from basic supplies and one stamp set. |
It’s difficult for me to walk into a store and pick out a card. I’m sure it is for many of you as well.
The selection is often very limited, and if you find one that seems to have the perfect graphics and sentiment, you flip it over and gasp at the price. My first thought is “I’d be better off putting that money into the gift.” While there are many beautiful cards out there for purchase, they can be very expensive!
Handmade cards are a wonderful alternative. They are beautiful and many times less expensive than those that are mass-produced. Furthermore, someone who takes the time to make a handcrafted card is giving a little bit of themselves.
So, you’ve received a beautiful, handmade card and you’ve thought, “I wish I could do that!” But you’ve looked into it and felt overwhelmed by all the choices of supplies and tools. Then that inner voice begins to speak. “I’m not artistic enough for that.”
Perhaps you feel you don’t have time for a hobby, so you forget the whole idea. And the investment, you might feel you could buy lots of commercial cards for the cost of a few of those pricey tools.
It doesn’t have to be like that! I want to share with you how you a few basic tips that can take it up a level and turn a relatively small investment into cards that will be loved by those who receive them.
My Favorite Basic Tool
One of the tools that you’ll get the most use out of if you make handmade cards, is a paper trimmer. If all you have is scissors, pencil, and ruler, by all means, don’t wait to get started at crafting. But if you want to take your cards to the next level, a few simple tools will help you to do that.
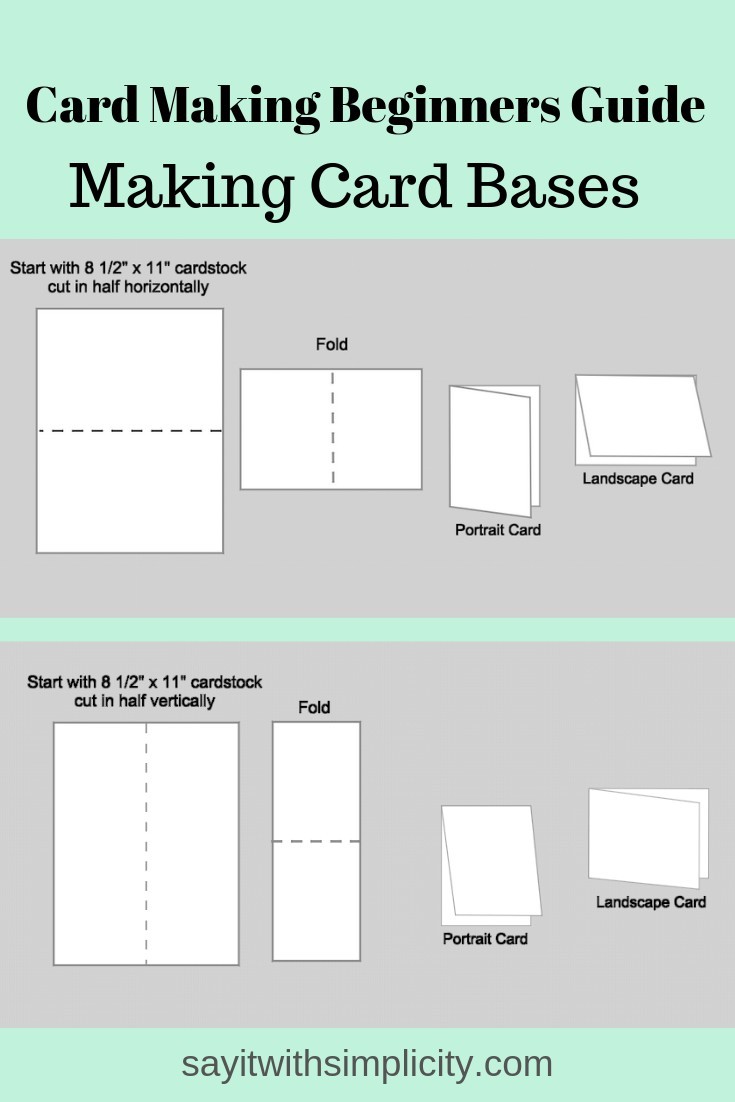
My first real tool, besides paper and a few stamps, was this paper trimmer. I now own more than one paper trimmer, but if you’re crafting on a budget, or trying to save space this is an excellent way to get started. You’ll be able to cut an 8 1/2 x 11-inch piece of card stock into two card bases, cut simple layers of patterned paper and card stock, and make simple cards, yet beautiful cards.
Choose a Quality Adhesive
The second tool I want to recommend today is a good adhesive. I almost exclusively use Art Glitter Glue. I used to use tape runner, but I feel that I get more mileage out of the art glitter glue. I also use a Scotch Advanced Tape Glider, and it’s a great tool if you want to assembly line a bunch of cards. If I had to choose one adhesive I’d still choose the Art Glitter Glue.
I’ll be sharing more on the topic of card-making, but for now, I wanted to leave you with just a couple of thoughts.
First and foremost, don’t worry about being perfect.
Look for inspiration, but make it your own.
This post contains affiliate links.
We are a participant in the Amazon Services LLC Associates Program, an affiliate advertising program designed to provide a means for us to earn fees by linking to Amazon.com and affiliated sites.