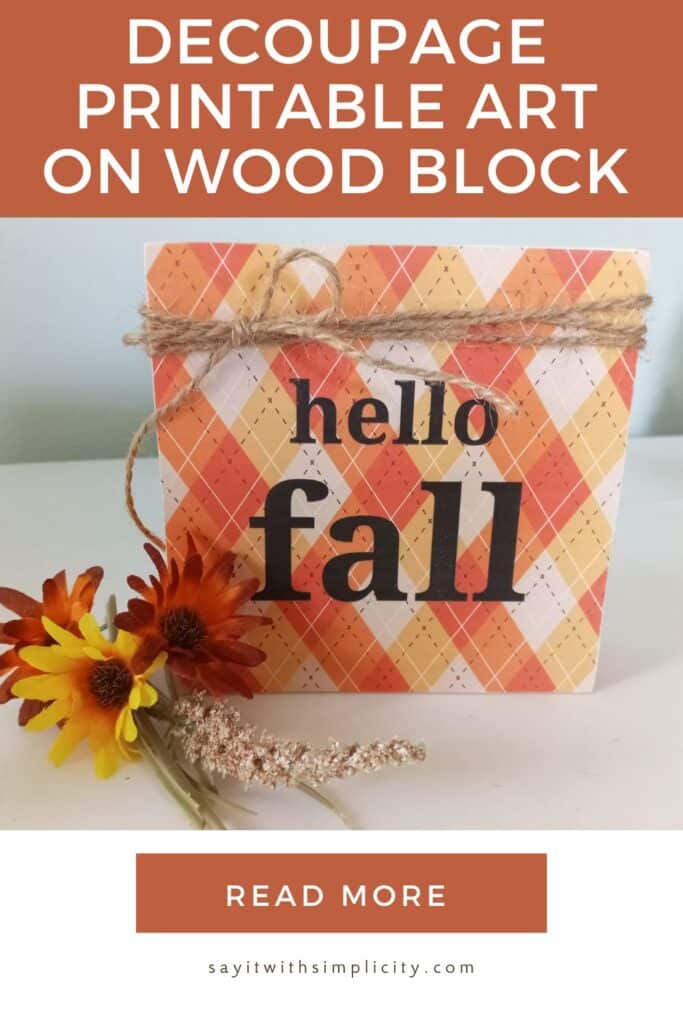
“Hello Fall” Wood Block with ModPodge and Printable Art
Welcome the cozy vibes of autumn into your home with a simple DIY decor project that anyone can make! In this tutorial, I’ll show you how to create a beautiful Decoupage Printable Art on a Wood Block using a printable design, ModPodge, and a unique decoupage method with an iron.
This easy craft is perfect for adding a touch of fall charm to your living space, and the best part is, it only takes a few materials and a little bit of time. Whether you’re a seasoned crafter or just looking for a fun weekend project, this guide will walk you through each step to create a lovely piece of seasonal decor you’ll be proud to display.
This post contains affiliate links. As an Amazon Associate, I earn from qualifying purchases. Thank you for your support of Say It With Simplicity.
One of the biggest challenges with traditional ModPodge techniques is dealing with bubbles that can form under the paper. This leaves your project looking uneven and unpolished. I chose this method of decoupage with an iron because it virtually eliminates those pesky bubbles. By applying heat, the ModPodge softens and adheres the printable smoothly to the wood block, creating a flawless, bubble-free finish. This technique not only makes the process easier but also ensures a professional-looking result that will hold up over time.
Materials and Tools List:
- Wood block
- Paint in choice of color
- Mod Podge
- Paint Brushes
- Foam Brush or Paint Brush for applying Mod Podge
- Iron or Mini Heat Press
- Parchment Paper
- Printable (You can grab my printable HERE)
- Sandpaper
- Scissors
- Jute Twine or Raffia
Instruction:
Prepare Your Surface:
Start by ensuring your wood block is smooth and clean. You can hand sand your piece or use an orbital sander. If needed, sand down any rough edges. Be sure all the dust is gone from the face of your project.
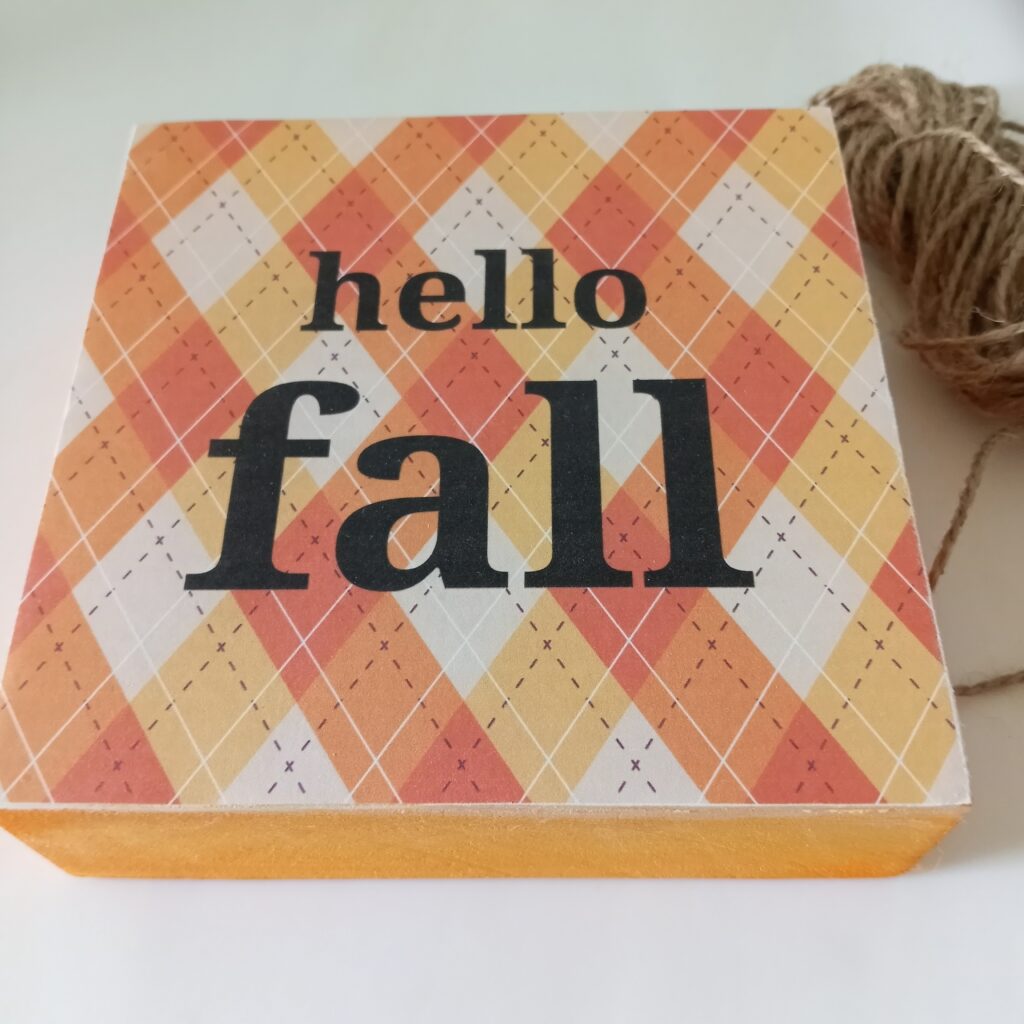
Next, paint the block with your chosen color and let it dry completely. If you are using a white or light colored print, you may want to consider using one color for the block edge and white for the face of your block.
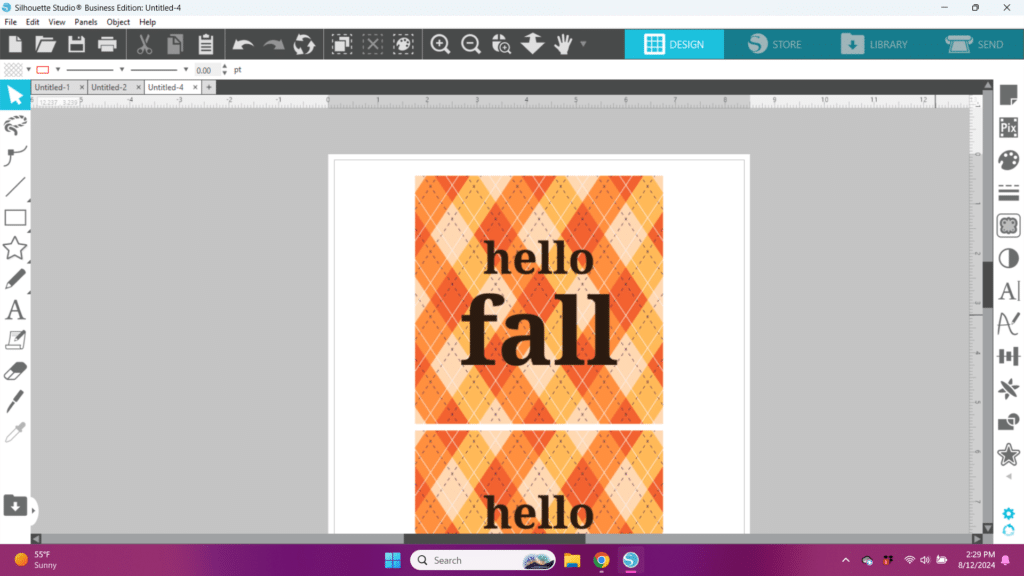
Print Your Design:
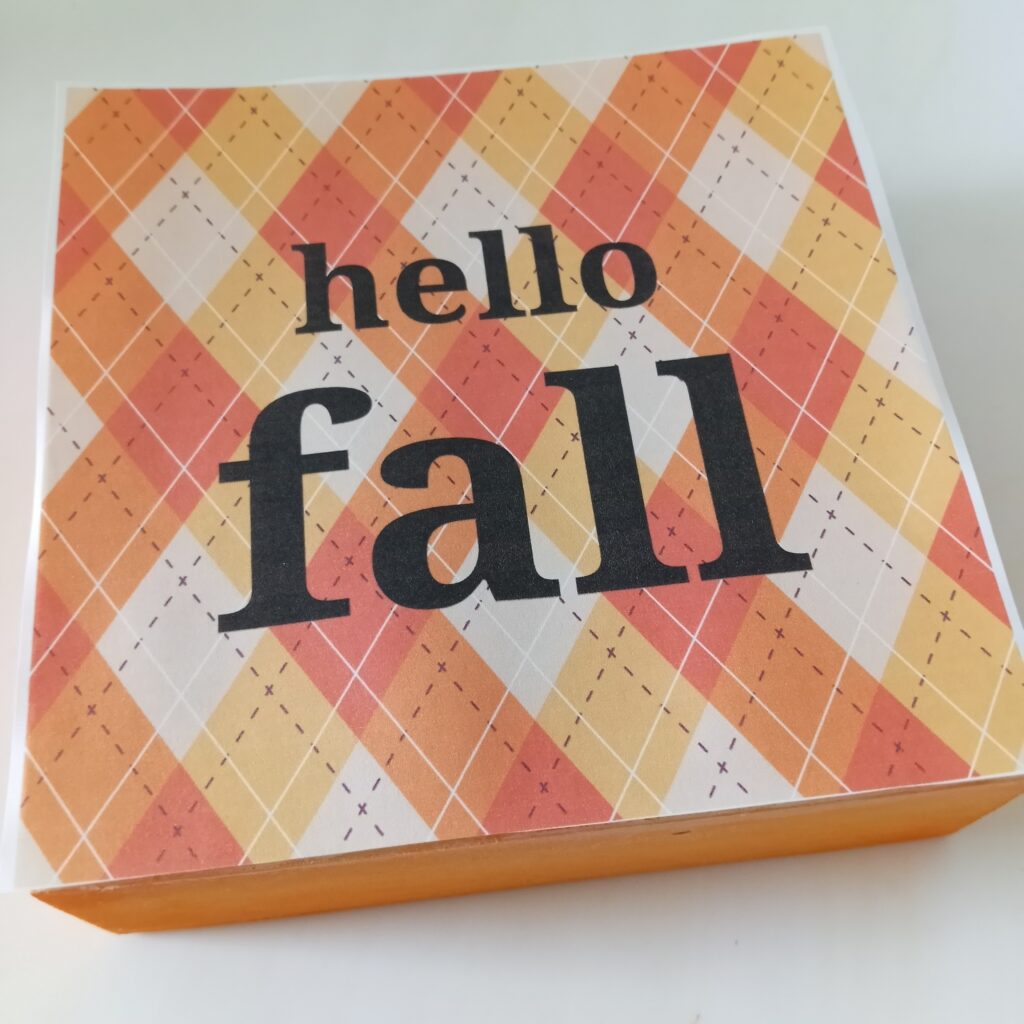
Print the “Hello Fall” Printable with your printer. I opened mine up in Silhouette Studio and printed from there. The original printable size if 5 1/2 inches square, but I sized mine down to 5×5 inches to fit on my wood block.
Make sure the ink on your print is completely dry before moving on to the next step. This takes a little longer than you might expect. If you have access to a laser printer, this is a great option to prevent your design from smearing. But use what you have. I used my HP Envy inkjet printer. Different printer inks will react in different ways, so be sure to always test your product on another print.
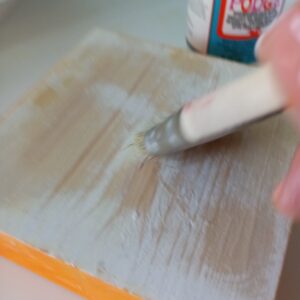
Applying Your Printable to the Wood Block
Once your printable is dry, apply a thin layer of Mod Podge to the surface of your wood block using a paintbrush or foam brush. Work quickly and evenly to avoid streaks. Allow this to become mostly dry but just a little bit sticky (not wet) to the touch.
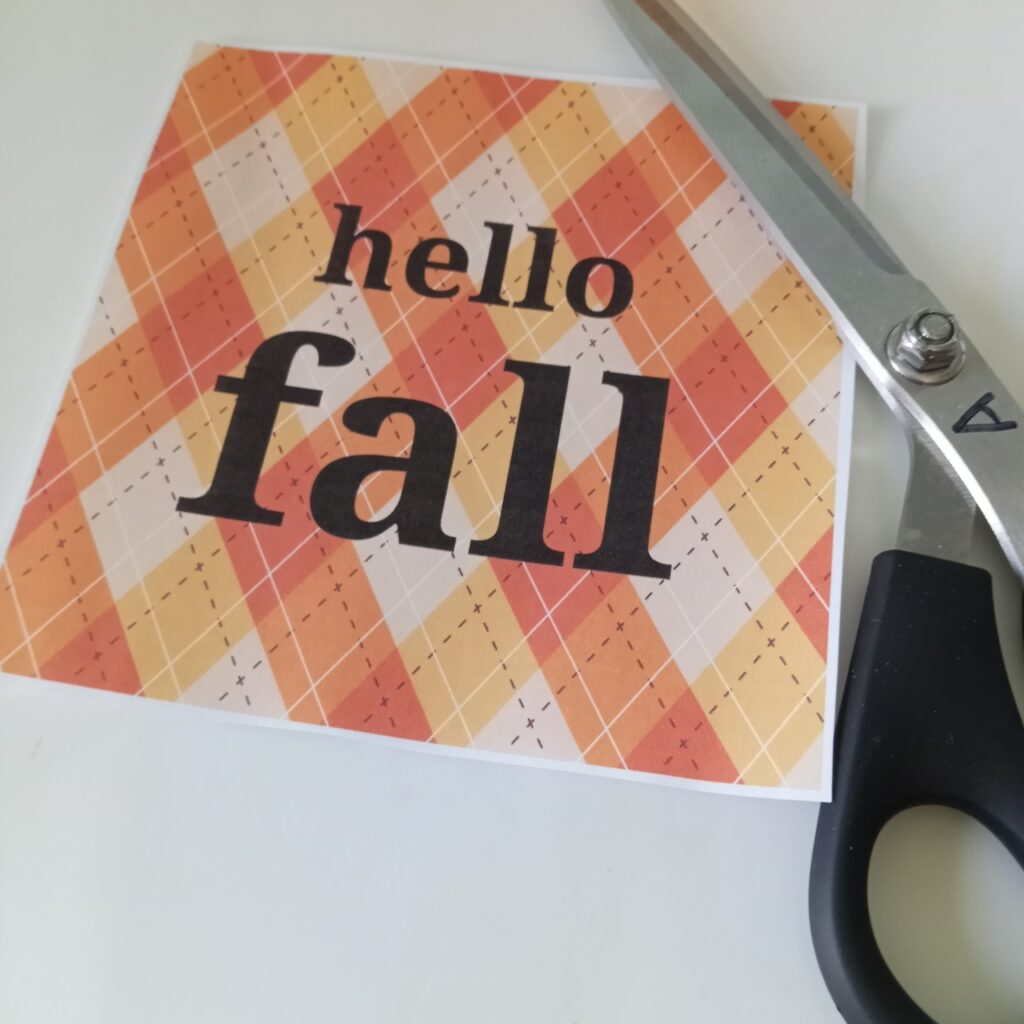
Cut out your printable with a scissors leaving just a tiny bit of white around the edge. We will sand the edges later.
Place your printable onto the Mod Podge-covered wood block. Smooth it out gently, ensuring there are no bubbles or wrinkles.
Heat Set the Decoupage:
Place a piece of parchment paper or a Teflon sheet over the printable.
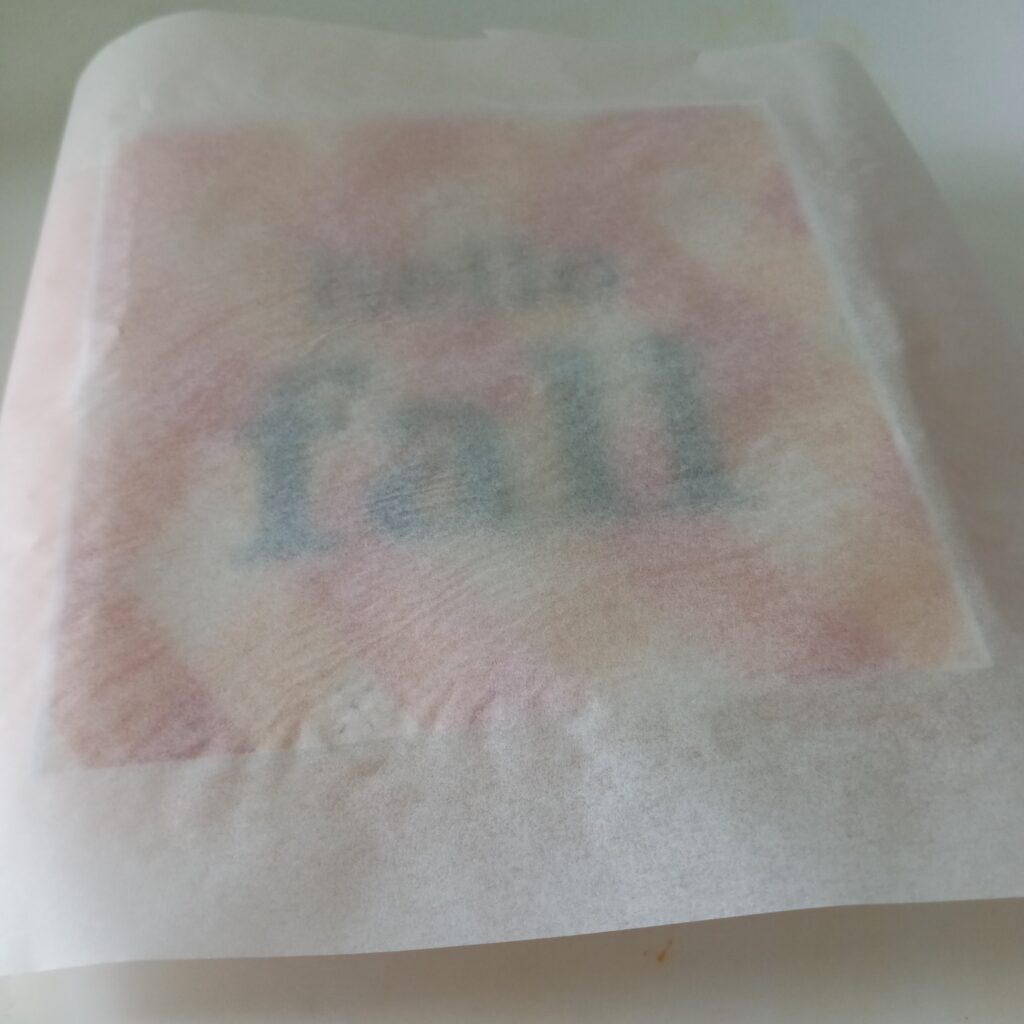
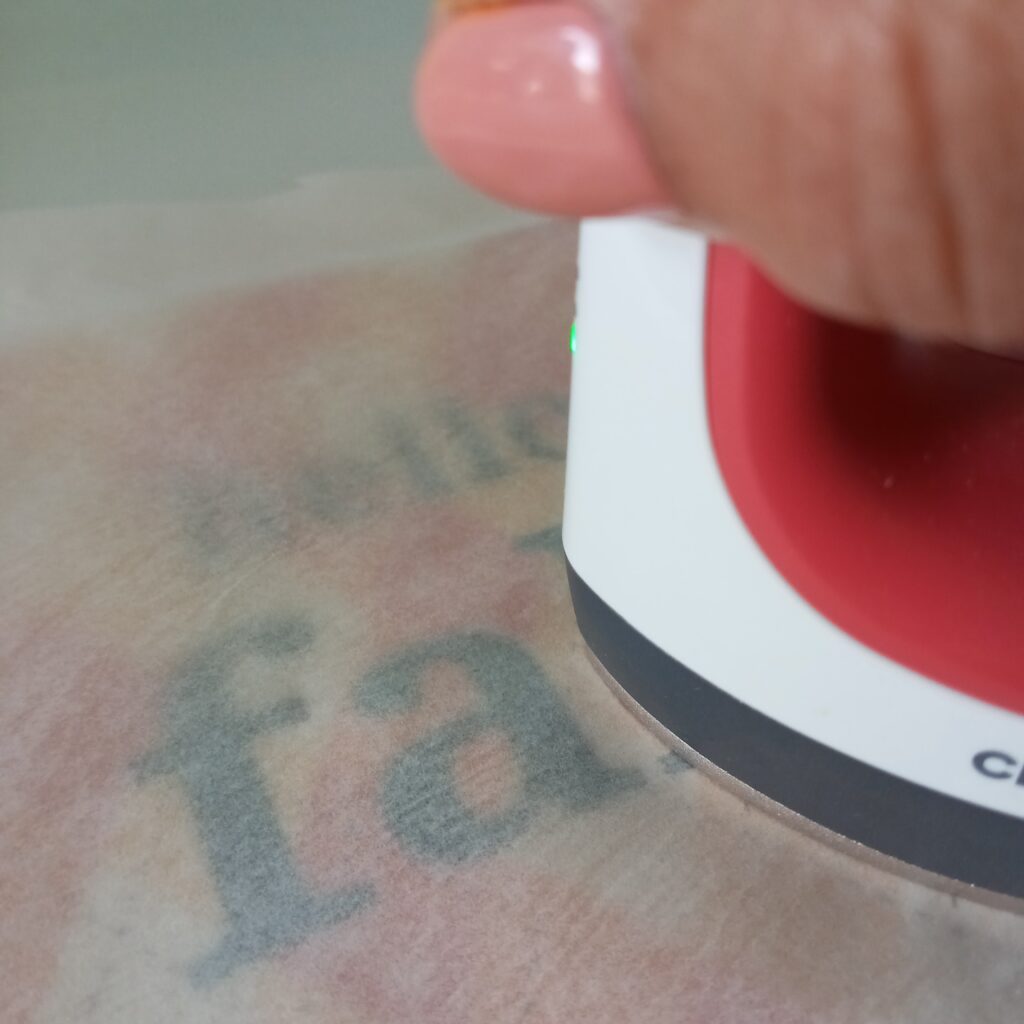
Use a warm iron or mini heat press to gently press down on the surface. I used my Cricut Mini Heat Press. To avoid creases and bubbles start at one edge and work your way to the other side using a small circular motion.
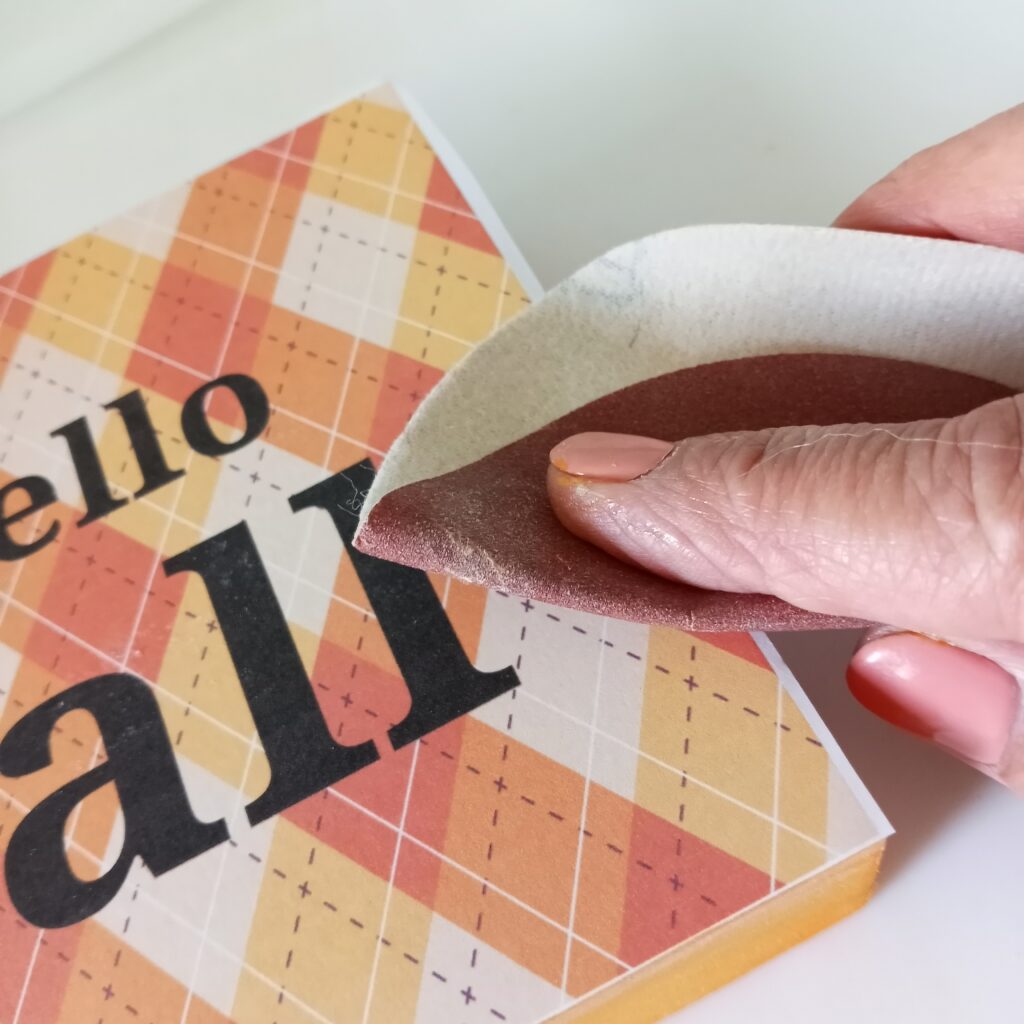
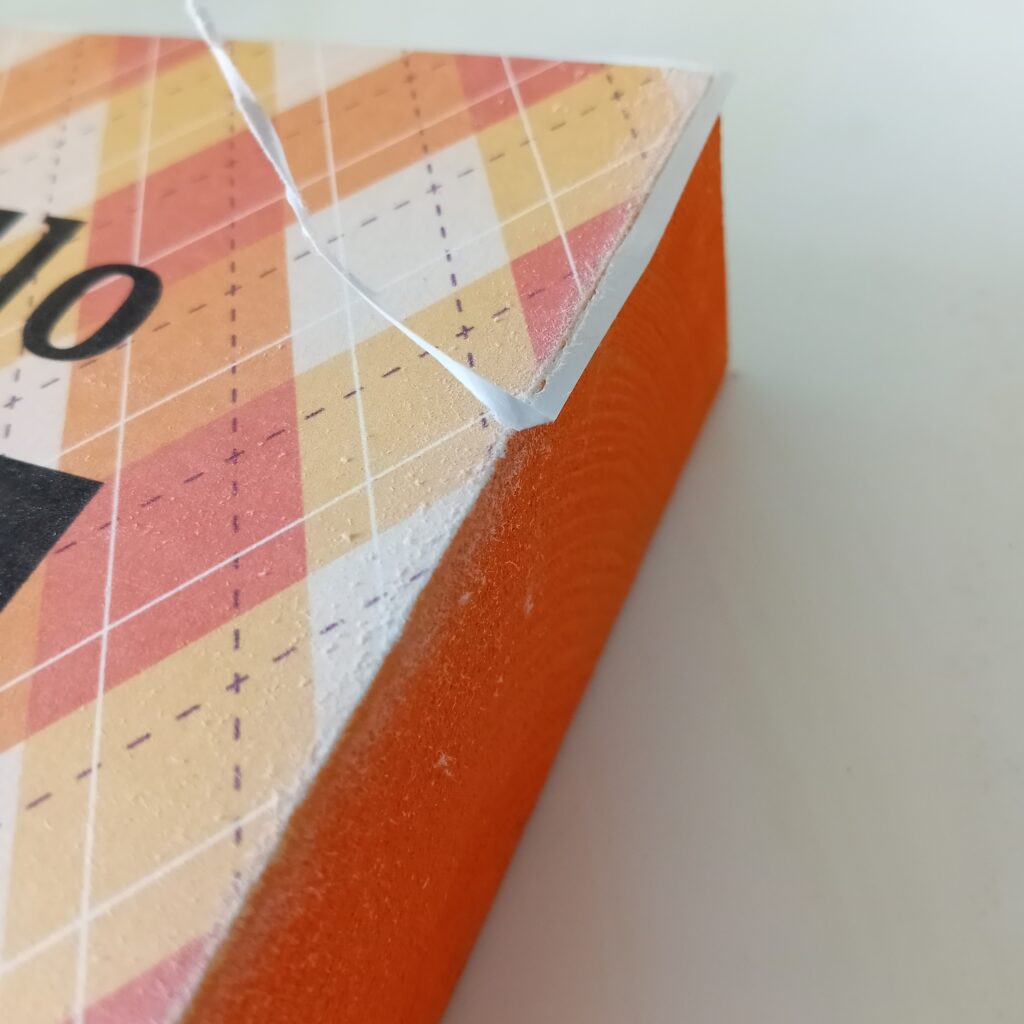
Sand the Edge of your Wood Block
For a nice crisp edge, sand off the edges that we left when cuting out our printable. Sand away from the center of the print, just on the edge os the wood block. This will “cut” the excess paper away from the edge for a clean look.
Add Finishing Touches:
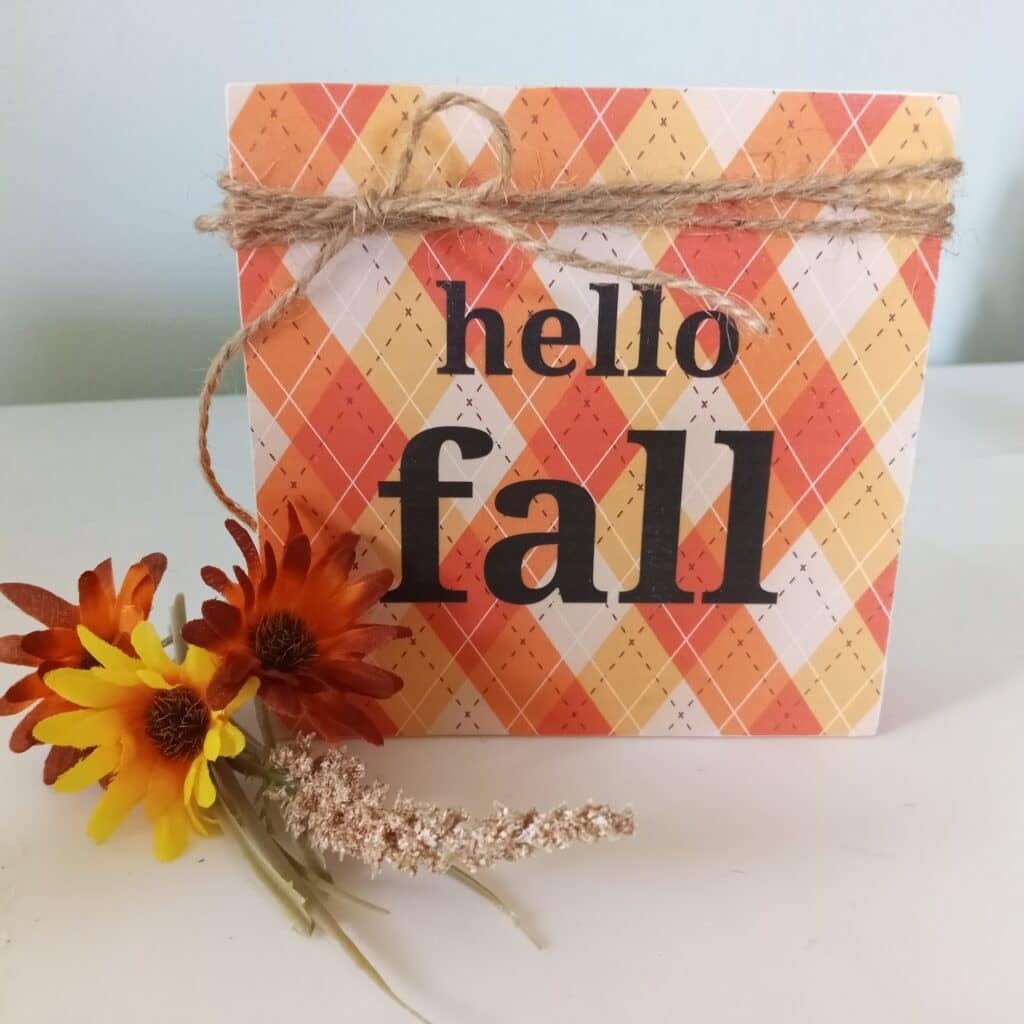
Wrap the top of your decoupaged wood block with jute twine or raffia, tying it into a bow for a rustic touch.
Optional: Additional Sealing:
If desired, you can apply clear acrylic spray sealer or a different topcoat to protect your finished piece. Remember to test whatever you use on an extra printable that you aren’t worried about ruining.
Display Your Finished Decoupage Printable Art on Wood Block
Your “Hello Fall” wood block is now ready to be displayed in your home as a charming piece of seasonal decor. These are great for seasonal tiered tray decor.
Tips:
- Test any new sealing method on an extra copy of the printable first to ensure it works well with your specific printer ink and materials.
- Make sure each layer of Mod Podge or sealer is completely dry before moving on to the next step to avoid smearing or streaking.
Following these steps should help you achieve a professional-looking finish without the frustration of smeared ink.
Have you tried this method of adding a printable to wood? What was your experience? What sealers worked best for you? If you try this project, be sure to share it to the Say It With Simplicity Crafting Group on Facebook.