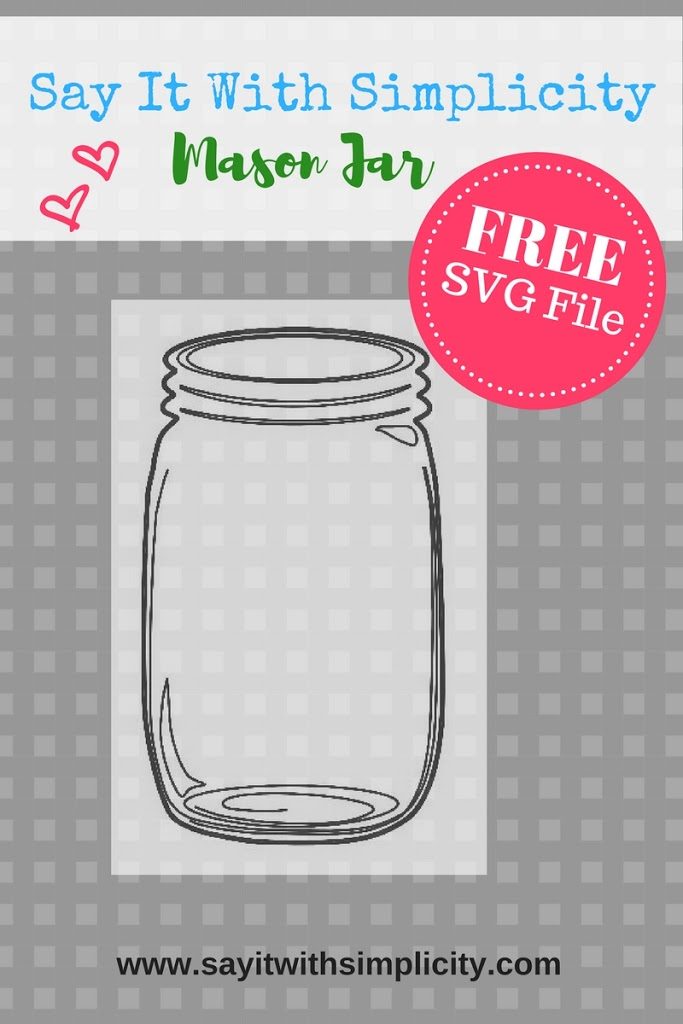
Free Mason Jar SVG File
This post may contain affiliate links and I may earn a commission when my referral link is used. Does it cost you more? Absolutely not! It does help me to earn an income while sharing my favorite resources with my readers**
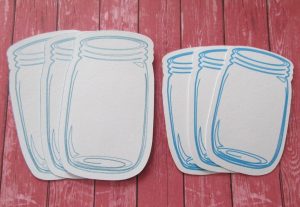
One of the first SVG files I created for my blog was the Mason Jar SVG file. Since then I’ve created hundreds of files to use on my own projects.
I love how this file turned out, and it is still the most popular freebie on the blog. Since the original posting, I’ve edited this file to make it more user friendly, but it still contains both a sketch pen file and a file that could be used for sign projects or even heat transfer vinyl projects.
Why Make Your Own Files?
- Unique Creations
- Saves money
- Potential to generate income
- Love the challenge of learning how
What Do I Need?
You will need to have a vector graphics program or app that will allow you to create and edit drawings and typography. Then you’ll need to be able to save them in SVG format to use in your cutting machine program.
These are some of my favorite apps:
Inkscape is a great way for creating SVG files, and there are some awesome tutorials out there for using it. The neat thing about Inkscape is that it is free software.
Adobe Illustrator is not free software. I love using Illustrator, but unlike Inkscape, it is not free.
Silhouette Studio Business Edition is another favorite for creating files. In Business Edition you can import purchased or free SVG files that you find online. You can also create your own SVG files in Silhouette Studio Business Edition. If you are a Cricut user you can use Silhouette Business Edition to create files to use with your Cricut.
Swing Design has some of the best prices on upgrades for your Silhouette Studio software. You can purchase the Business Edition HERE.
About this Mason Jar SVG File
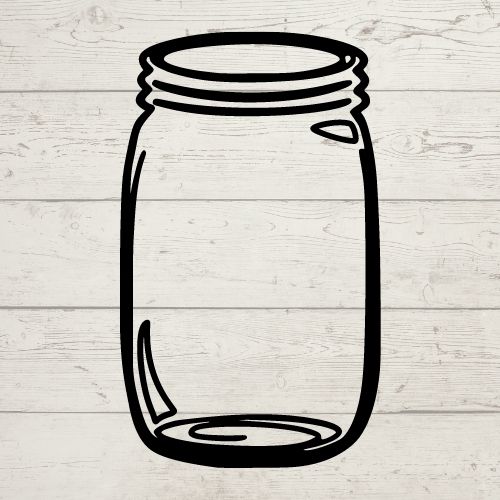
This file was drawn by me and created from scratch. I think it would be great for handcrafted cards or maybe even a sign.
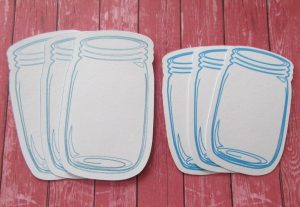
The file also works with print-and-cut or your Sketch Pens. The little tags below were made with this file. The three on the left were made using Silhouette Sketch Pens. The three on the right are print-and-cut.
I used the offset function to have a little margin around these images.
These images are some of my favorites and I think they would work well paired with some of your flower stamps or maybe you would like to use them for marking craft fair items. Making some small labels with sticker paper would also be fun.
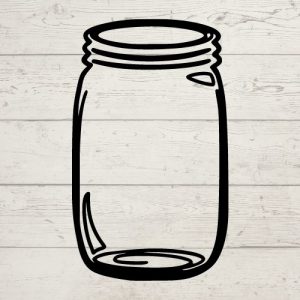
The button below will take you to the mason jar file and you will be able to access the SVG, DXF and PNG to use in Silhouette Studio or Cricut Design Space.
I invite you to share the pin for this product on Pinterest. Feel free to use this file for your personal use and small business projects.
If you make a project with this file, I’d love to see how you used it! Join my Facebook group to share your project and inspire others.


how do i just cut a border around the printed mason jar. i do not want the mason jar cut in the same places that was printed. just the outline of the mason jar can you help please. thank you
In both Cricut Design Space and Silhouette Studio, you should be able to use the offset function.
In Silhouette, create the offset you would like. Release the compound path on the offset and you can select all of the offset and hit weld, or just take out the pieces and delete them. Align the Mason Jar and the Offset. In Silhouette Studio when you go to cut, choose “No Cut” for the Mason Jar and then cut just the offset. Be sure you have your registration marks on. Print, then put on your mat and cut.
If you are in Cricut Design Space, you’ll do your offset. Hide contours that you don’t want to see. Align your images. Set the offset to Basic Cut. Set the Mason Jar Image to Print and Cut. Select Both. Attach. Make It.
Hopefully, this makes sense, if not I can help further. Maybe a short video would be better. Let me know.
Connie
I’m rather new to cricut. I’ve seen some cards that have the mason jar on them, and they are so cute. I don’t understand how you do it. If you were making a card, would you use white card stock, and make it a print then cut? (Which I have never done). I just can’t seem to grasp how it would work. Maybe it’s two cuts? One with white for the jar, and one with black for the lines that make it look like an awesome jar? HELP??
Thanks for writing Kathi! I think for starters, a print and cut would work well. Popping it up on some foam tape would give it dimension. I would use the white card stock. You could use markers or colored pencils if you want to do a little shading. If you are using the SVG in Cricut, you could change your lines to any color you want. I think there are many things you could do, like stamping inside your print and cut image or adding some of the layered flowers to your card. The technique for the card on the left is a bit more complicated, but if there was interest, I could do a video or create a cut file for this card. https://sayitwithsimplicity.com/thank-you-cards-simon-says-stamp-kit/ Let me know what you would like to do and would try my best to help.