How to Make Homemade Stamps with Craft Foam
Craft foam is an easy product to work with and has many fun uses. Today I’m going to share one that I found.
Making Your Own Stamps with Craft Foam
Craft foam is a material readily available in craft and other stores. Crafting with it is easy because it cuts easily with a scissors and is a great crafting material for kids to use.
I’ve been interesting in using it for some of my handmade cards, so I picked up a sheet of it at a local craft store, just to try it out.
At first I tried cutting it with my Silhouette Cameo, and it worked to a point. I experimented quite a bit with settings, but never got it to cut clean through. I leave my marginal success for another blog post.
Having spent enough time goofing around with cutting it on the Cameo, I decided to cut a piece with a scissors and just try stamping with it.
Clear Stamped Images
Once the little trial stamp was all inked up, it stamped a nice clear image. I stamped a few triangles on a plain piece of printer paper and liked what I saw. Then I decided to make a stamp that I would be able to use for a handcrafted card.
Materials You’ll Need for Making Your Stamps
- Craft foam
- Sharp scissors or craft knife
- Small piece of wood or your acrylic stamp blocks for mounting your stamp
- Tape runner or glue to adhere the stamp to your block
If you want to make your stamp a little more permanent, you could use a small piece of wood block. I had some scraps of wood from a recent project and used tacky glue to adhere a little Christmas tree to the wood.
For this tree, I simply cut one larger triangle and then cut it into spaced, smaller triangles. If you have a scrap piece of wood, glue it down with some tacky glue and it’s ready to use.
I was going for a quick experimental project. Next time I’ll sand the edges.
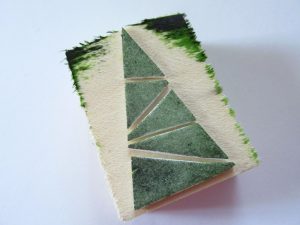
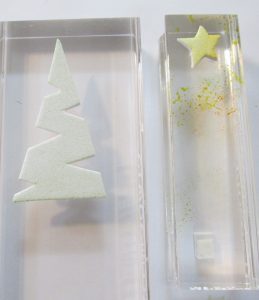
The next tree was made from a triangle with little pieces snipped from the sides with a scissors.
You can mount these temporarily to a acrylic block using some glue dots, tape runner or double sided tape. I decided that my tree needed a star, so I just cut one out with a craft knife.
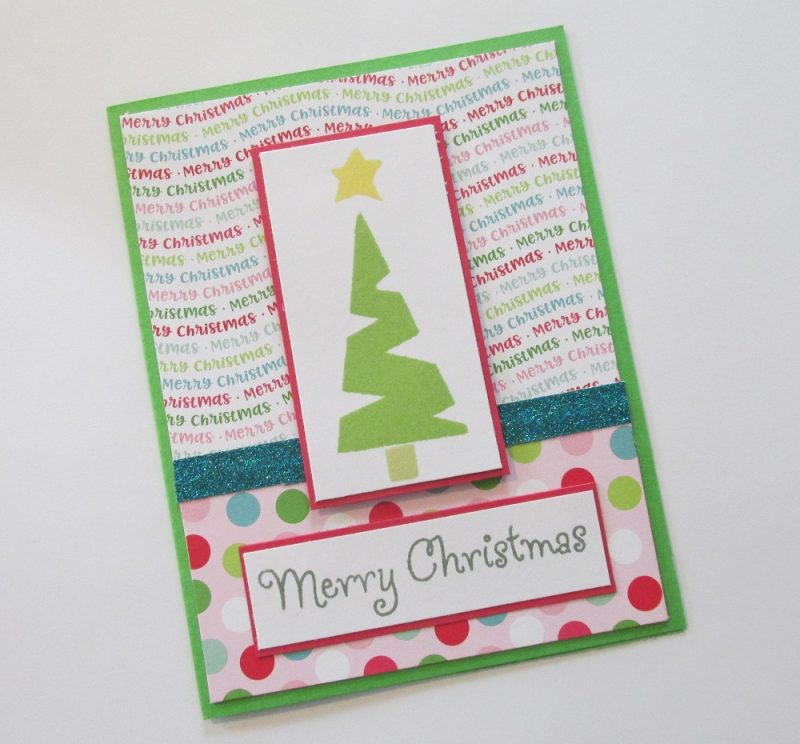
You may wonder about the quality of the stamped images. Not a problem. I used my image to make up a quick card for the Christmas in July Challenge at Send a Smile 4 Kids.
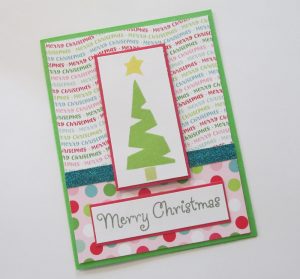
I love this technique because it’s so versatile. Use your stamps on tags and other projects. You’re only limited by what you can dream up. This would be a great project for kids to make cards for friends or teachers.
Anyone can create homemade stamps for a quick and easy card.
Hope this tutorial was helpful. I hope you’ll enjoy making some stamps of your own. Thanks for stopping by and enjoy creating for your home and family!

