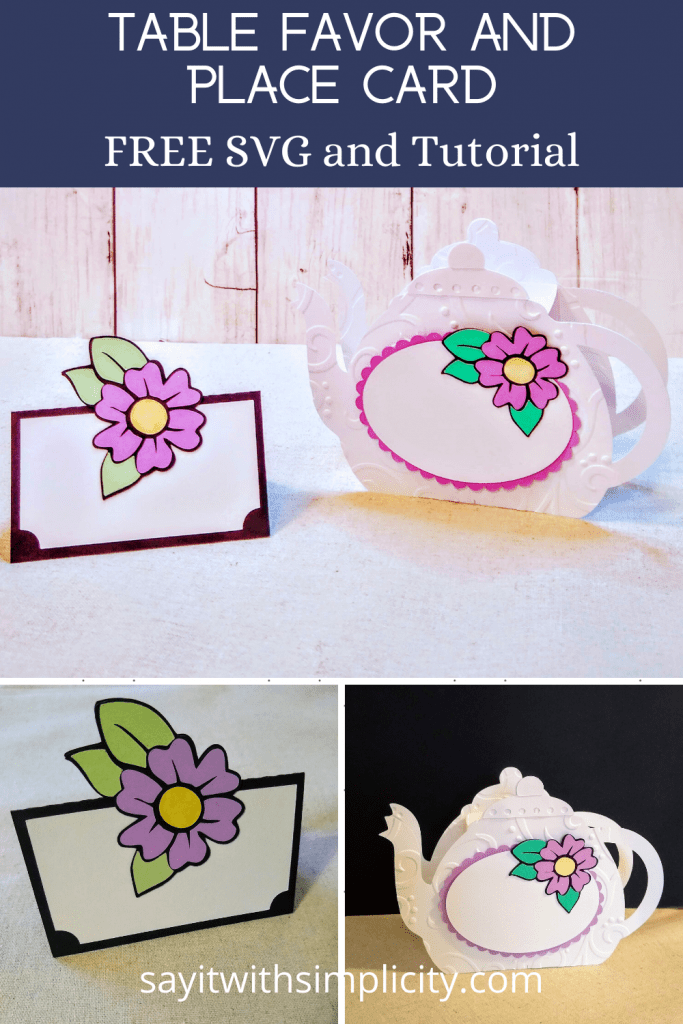
Place Card DIY and Teapot Table Favor
Spring is fast approaching and I thought it would be lovely to create a pretty pop-up place card for a spring tea. But you can’t have tea without a teapot right? Join me for this place card DIY and Teapot Table favor made with Silhouette Cameo.
So I also created a cute teapot that is a kind of combination card and table decoration. This little duo would be beautiful for a Mother-Daughter banquet or another spring banquet or function.
The neat thing about this project is that it is so simple and inexpensive to make. All you need is some card stock, adhesive, your Silhouette Cameo, and a couple of great SVG files that I have in my FREE SVG LIBRARY.
I’ve created a video about how I created my own cut file for the place card. I also have a step by step tutorial and SVG file for the teapot. I’m excited to share these projects with you. This post contains some affiliate links for your convenience. This means that if you make a purchase after clicking a link I will earn a small commission and it won’t cost you a penny more. Read my full disclosure here. As an Amazon Associate, I earn from qualifying purchases.
Quick links to materials and information in this post
Materials
As mentioned earlier the materials are very simple for this project. If you are a paper crafter, you may already have what you need for making your place card and teapot table favor. For your convenience, I’ve included links to some of my favorite products below.
Card Stock
For white card stock, I really love the 100 lb cardstock. This works well as the base for handcrafted cards as well as other projects.
Quick Silhouette Cameo Tip
Whatever project you are making with your Silhouette Cameo, be sure to test cut your materials first. Use scraps or do a smaller cut job. I sometimes find that various cardstocks may need different cut settings. You certainly don’t want to try cutting a whole sheet of images only to find out that you haven’t cut all the way through.
**As an Amazon Affiliate, I earn from qualifying purchases.
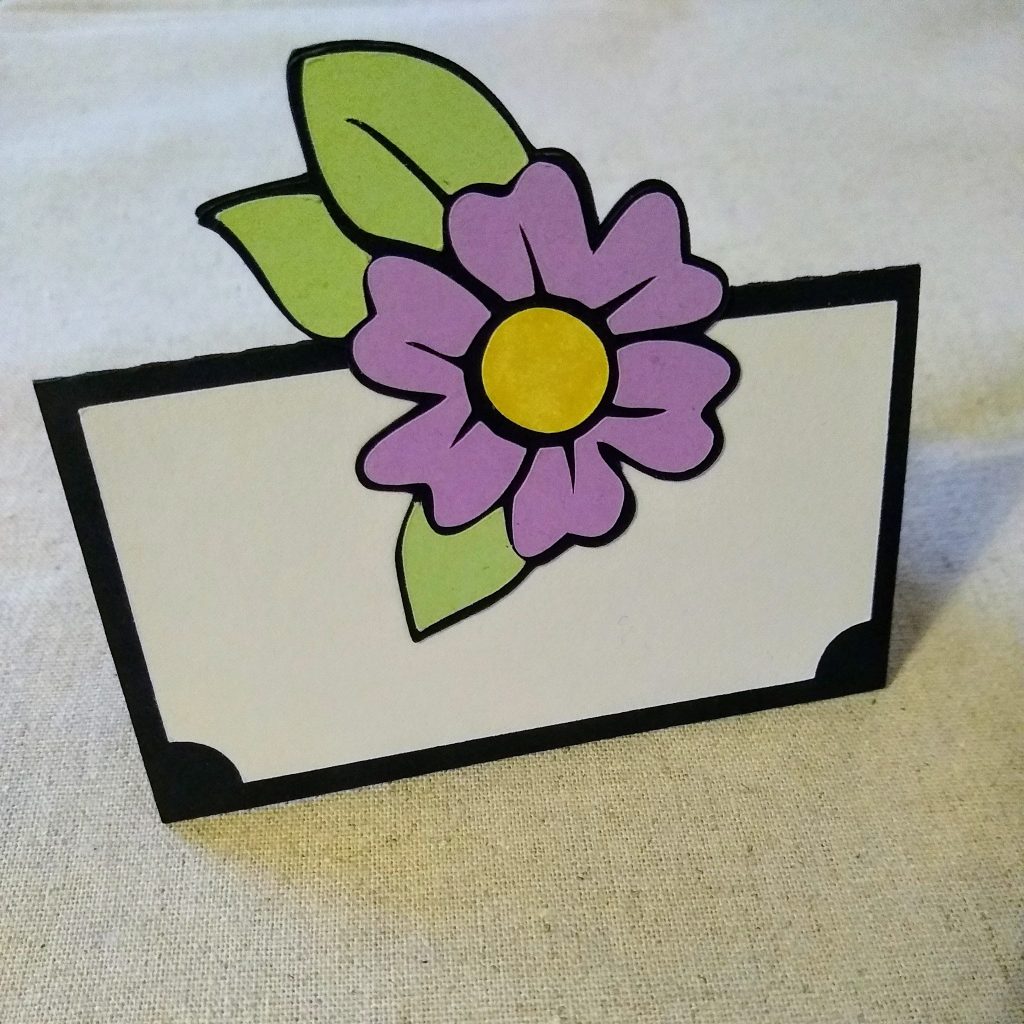
For my place card, I used black cardstock for my background. I really feel like black backgrounds make colors pop. It’s a personal preference, I know. But I love the elegant touch it adds.
Most of the card stock that I purchase is the Core’dinations brand. I’ve also found that the Park Lane from Joann works well with the Cameo. You can find a pack of pastel colors HERE.
Adhesive
A good adhesive is very important when creating your papercrafts. You want to use something that will hold up without warping your card.
For the larger place card elements, you could use a tape runner. I highly recommend a glue pen or other precision placement adhesive for the small elements. My favorite is Art Glitter Glue. It actually dries clear and comes with a fine metal tip for getting into those small places.
The Art Glitter Glue also works very well for adhering your teapot table favor and doesn’t cause the cardstock to warp.
YouTube Videos
I’ve created a couple of YouTube videos that are useful for this project. One is how to make your cut file using the flower SVG that I used for my project. However, this technique would work with other images as well.
In the video, I use the break path function to create the pop-up. I also created a scoreline to make your place cards easy to fold without having to manually score the. This can be done in whatever version of the Silhouette Studio that you have. You can do this in the standard edition of your software.
You can find the video for creating the place card cut file on my YouTube Channel.
For the teapot table favor, I’ve used a scalloped oval. The SVG cut file for this project does include the scalloped oval. However, if you would like to learn how to make your own scalloped circles and ovals in Silhouette Studio you can find that video below.
Where to Find Your SVG Files
Flower SVG File
I’ve created an SVG library on the blog. You will find the flower SVG used in this tutorial in the Free SVG Library. Just check the Paper Crafts section or go here for the teapot. You will also use the flower in the teapot file for creating the place card.
I’ve been posting links to new free images on a weekly basis. Be sure to stop back as the SVG library grows!
Tutorial for Place Card
If you download your layered flower image from the Free SVG Library and follow along with the video tutorial to make your place card, all you’ll need to do is assemble and fold. It’s really as easy as that.
I’m sharing a couple of my Quick Tips for assembling your place cards. Continue reading below for the teapot tutorial.
Quick Tips for Assembling Place Cards
The pieces for the flowers are quite small. In order to assemble them with the correct orientation, I chose to leave my small pieces on the mat until I was ready to use them.
The Silhouette Tools Bundle includes a pick-me-up tool that works great for placement on your card background. I usually loosen my image pieces, then use the pick-up tool when adding the glue and placing it on the background.
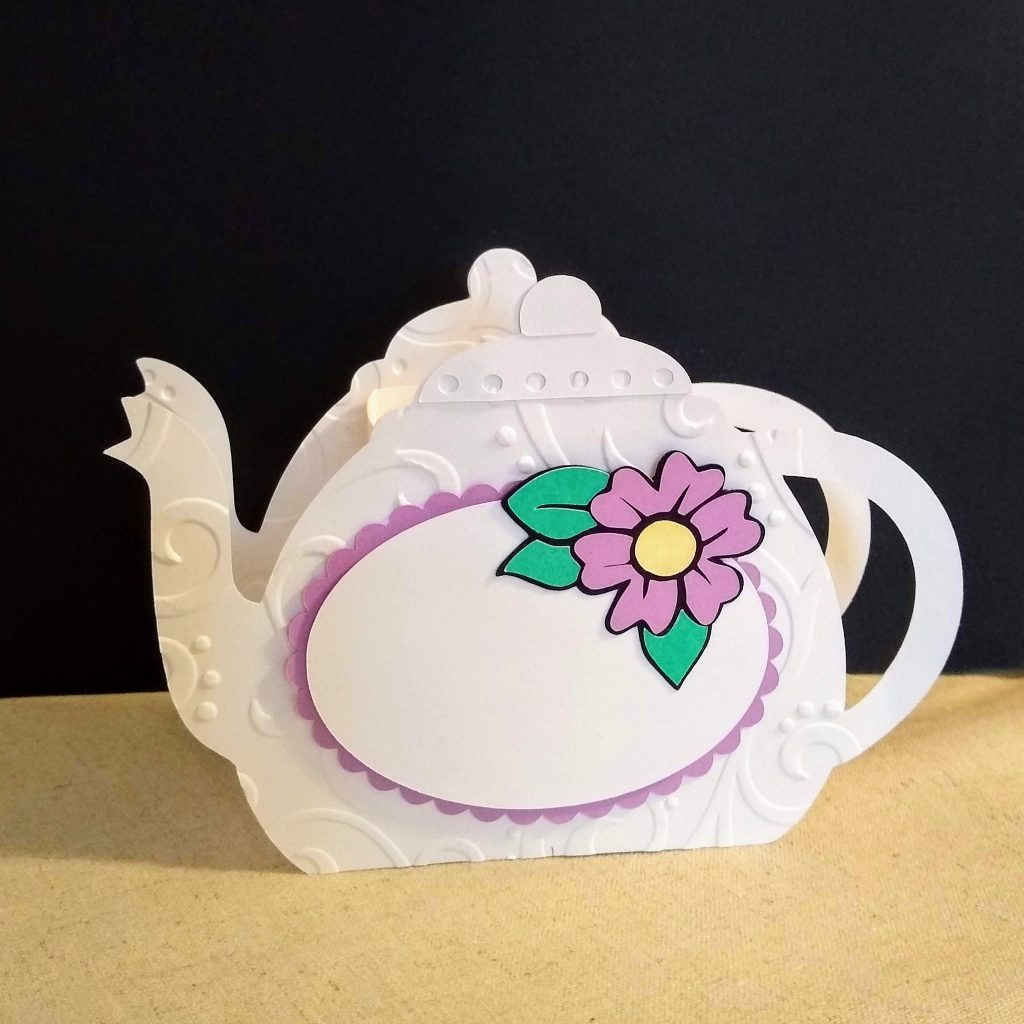
Teapot Tutorial
The teapot table favor is super easy to put together. It is basically a box with the teapot sides added.
If you emboss your pieces, be sure to make them mirror images of each other.
Assembling the Box for your Teapot Table Favor
So your box is all cut out and you are ready to put your teapot together. You should have some score lines.
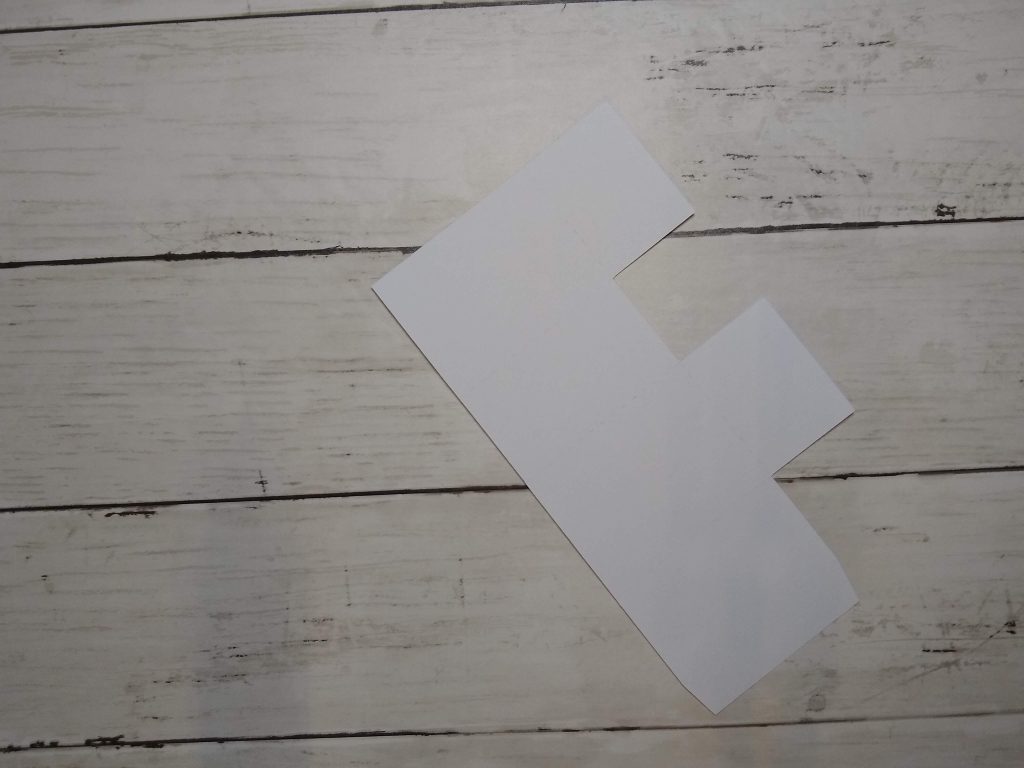
Fold along all your score lines.
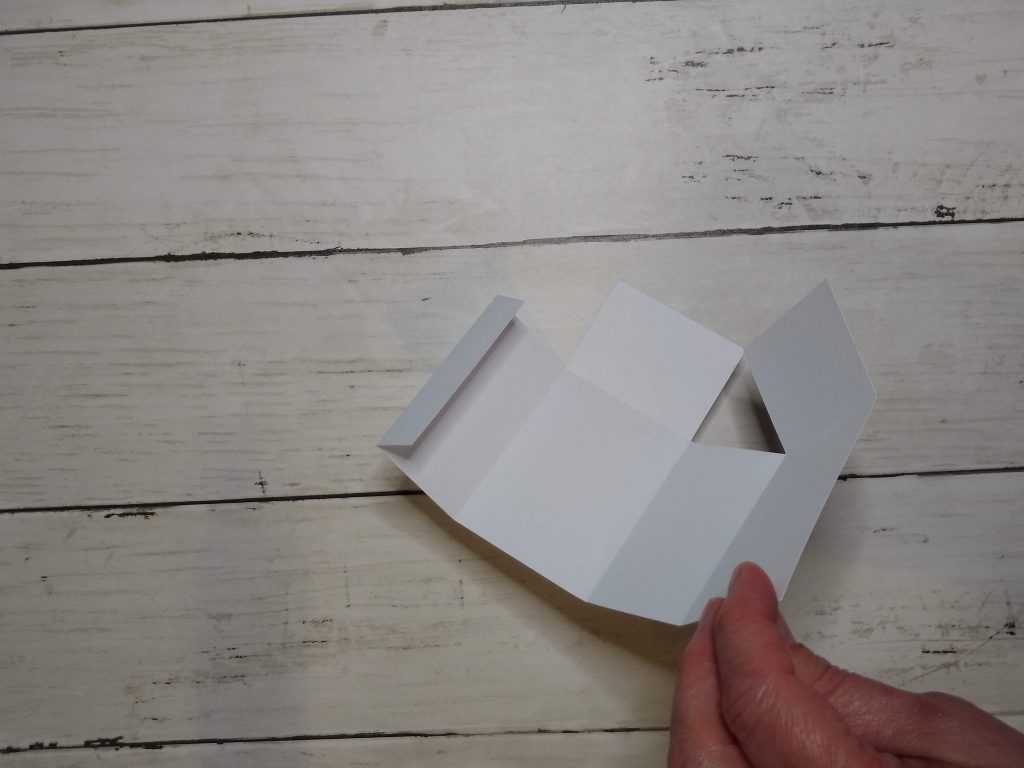
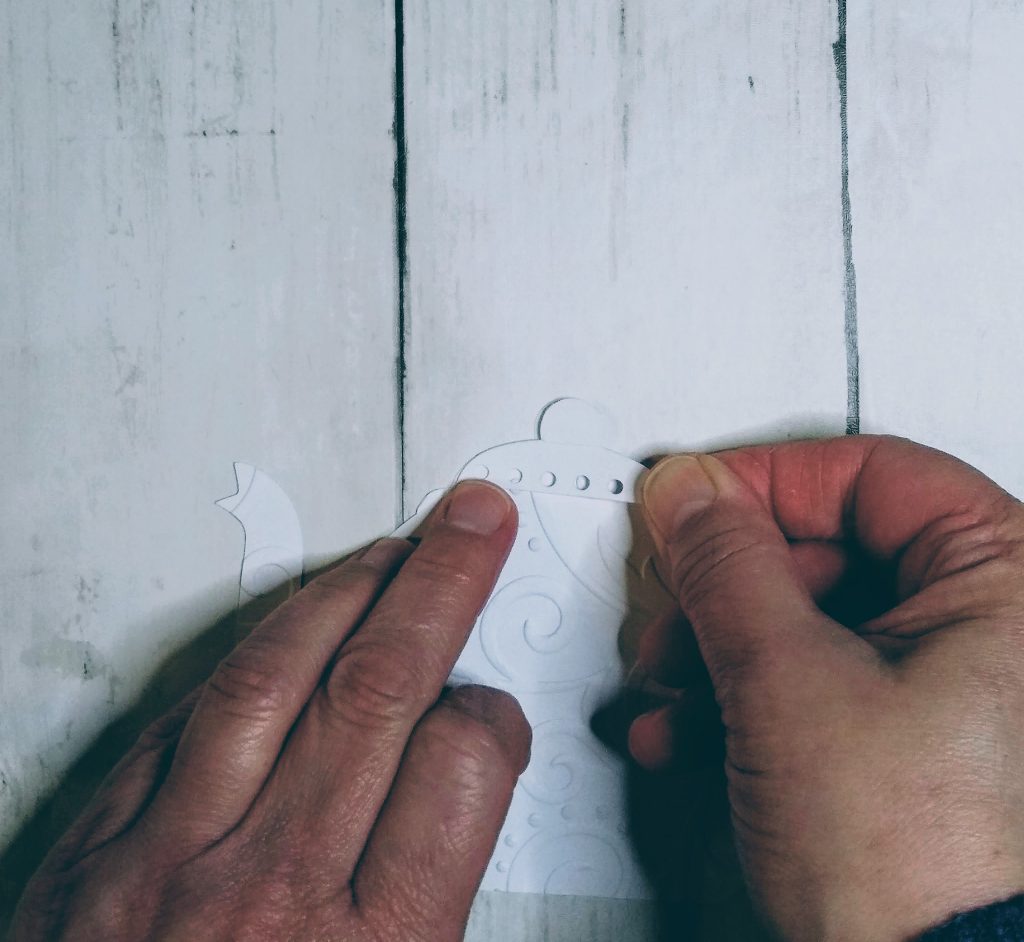
I glued the two bottom flaps first. In my opinion, this is the easiest way to do it. But use your adhesive and add enough at the edges to secure your flaps.
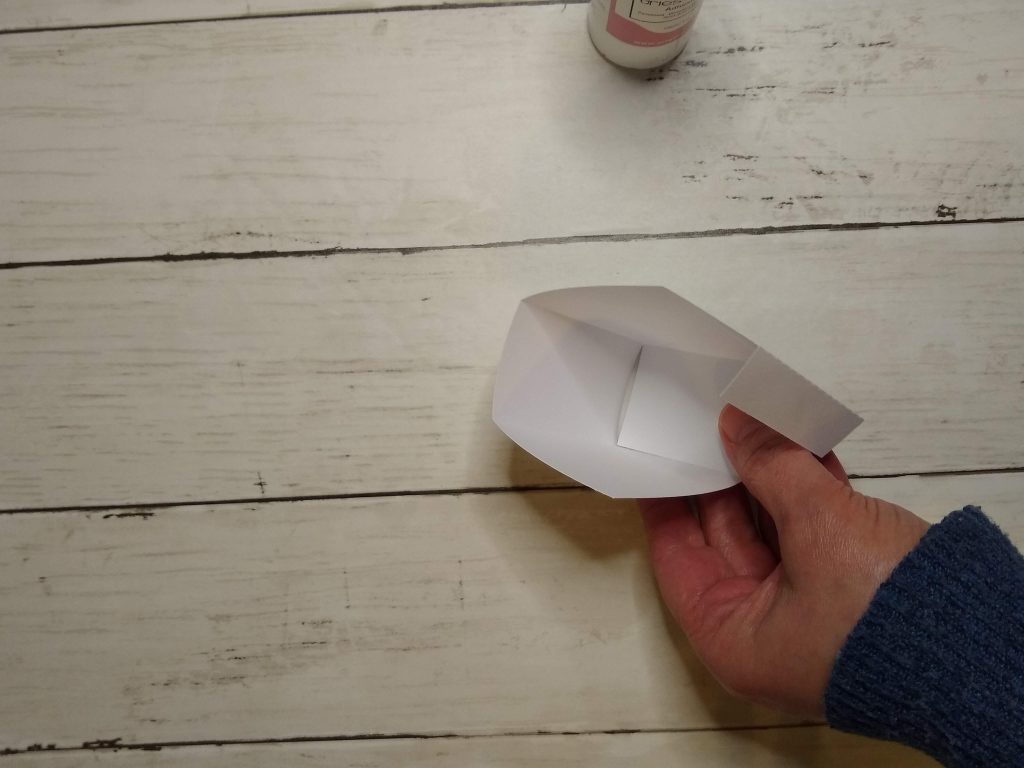
Now glue and tuck in your side flap.
Your box portion is complete. Wasn’t that easy!
Assembling the Teapot
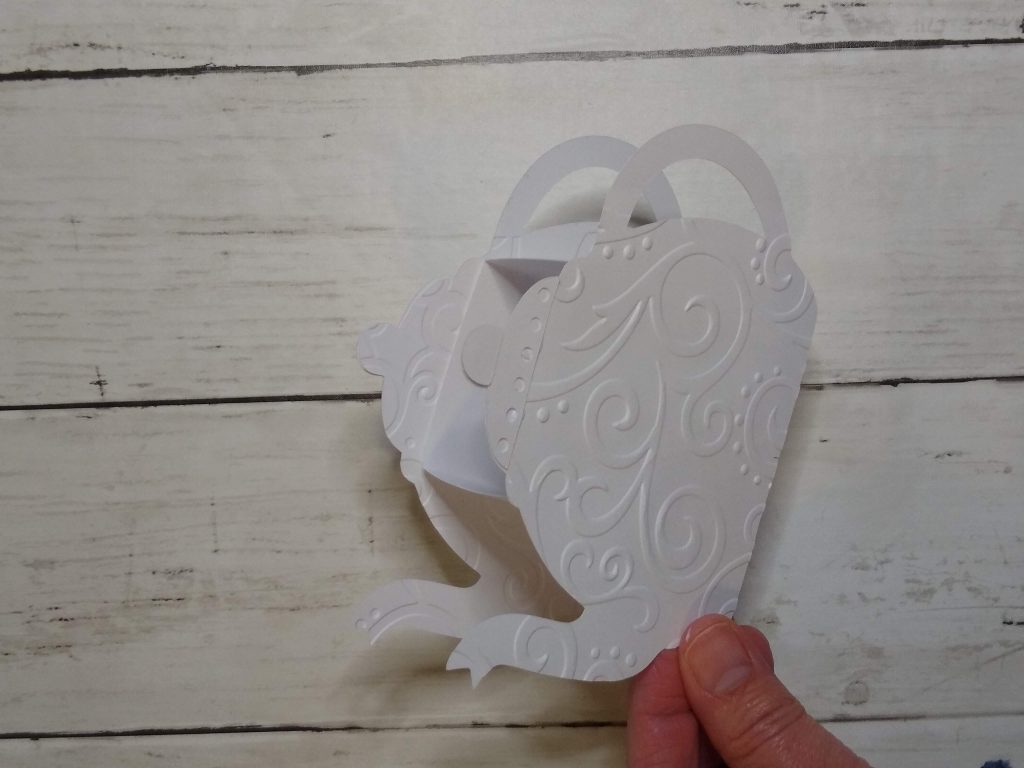
I used a Darice embossing folder to emboss my teapot using my Cuttlebug. This embossing folder is the Scroll Background Embossing Folder. I’ve used this folder on MANY projects. It’s definitely my favorite.
It’s not absolutely necessary to emboss, but I really do love the way it turns out with the embossing.
In the cut file, I created a little lid and knob for my teapot. My teapot was all white, but I think it just adds a little dimension to the project.
Embossing Quick Tip for This Project
Be sure that you emboss the teapot sides opposite each other so that you have the raised effect on both sides.
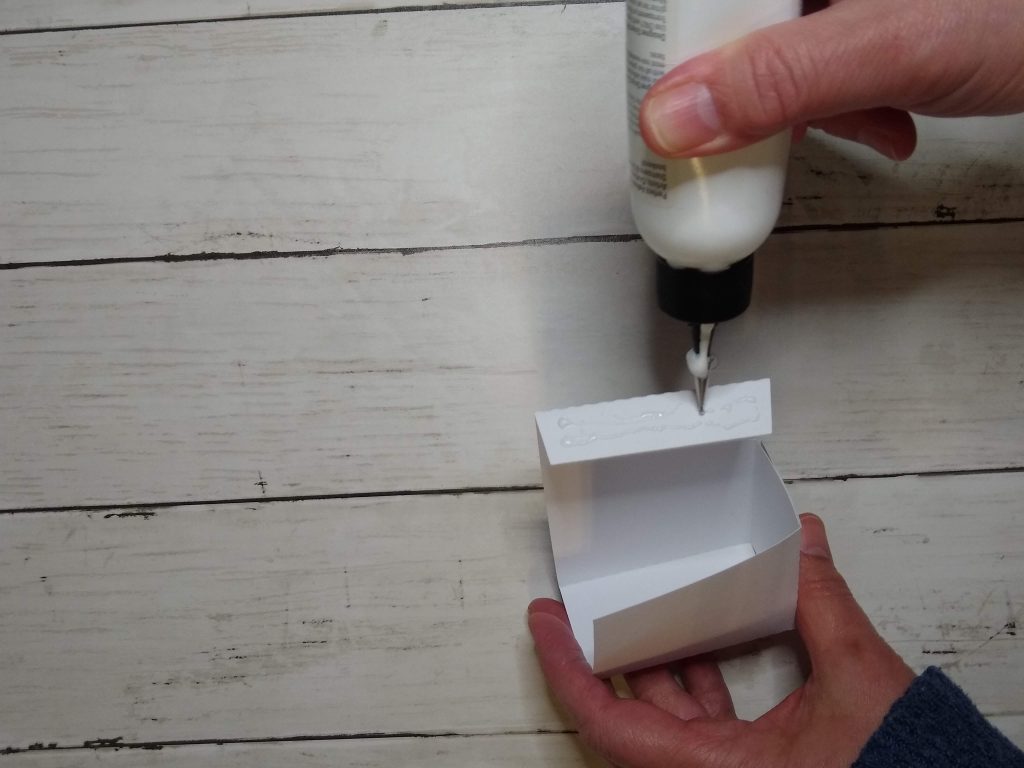
Glue the teapot sides to the box using your Art Glitter Glue or another favorite adhesive.
Assemble your oval cutout on top of the scalloped oval. Adhere to your layered flower image.
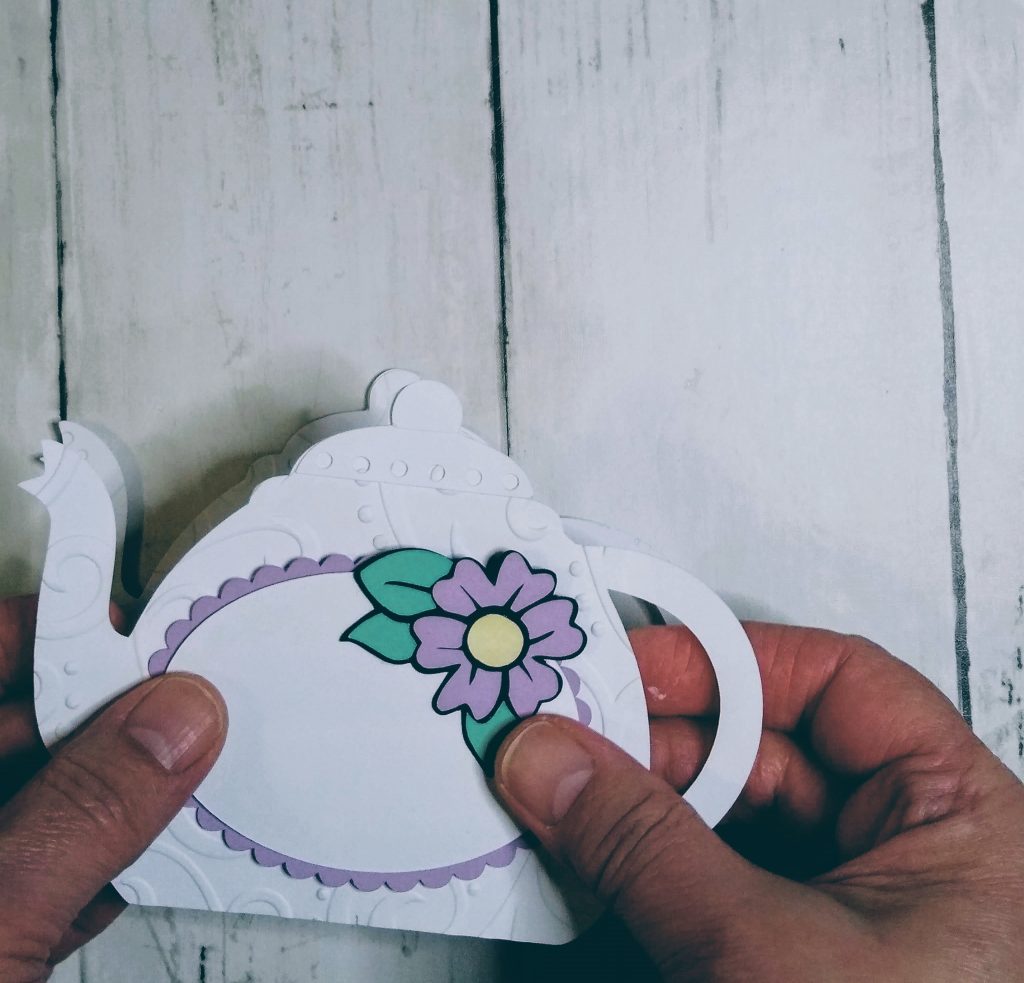
Your Place Card DIY and Teapot Table Favor are Complete!

Get your Free SVG File for the Teapot Table Favor
Did you like this project tutorial? I’d love to hear your comments. Be sure to leave one in the comments box below.
If you make this project be sure to join and post it on my Facebook Crafting Group.
If you would like to share this project on Pinterest, please grab the pin image below! Thanks for stopping by today and happy spring crafting!