Make a Cutting Board Chalkboard
Chalkboard Cutting Board
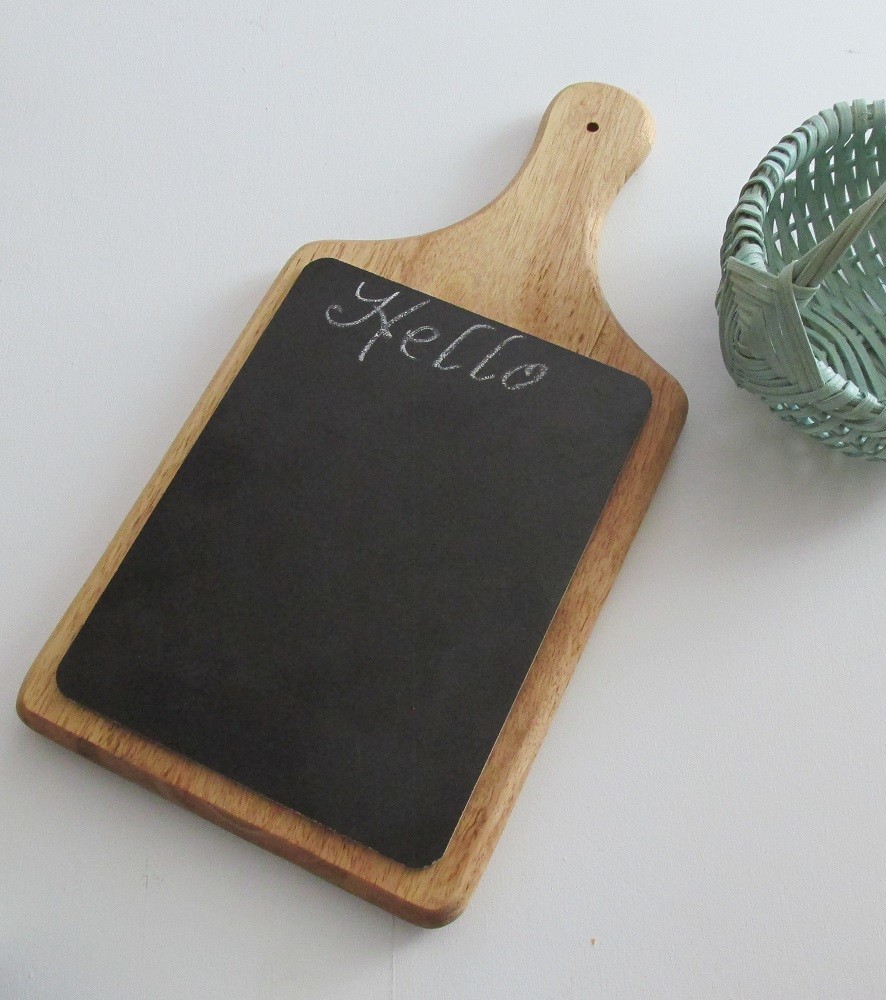
It wasn’t too long ago that I purchased this cutting board at a local thrift store. I love old cutting boards, but my kitchen is small. I don’t have lots of room for a collection of them.
The thrill of finding one for crafting left me thinking about the possibilities. I picked this one up for less than a dollar when our thrift store had mark- downs on housewares.
I was thinking about using it for making a stand for my Kindle Fire, since I often like using it to view recipes I find online.
The cutting board itself was a little bit on the rough side, and I wasn’t sure I wanted to use it for food without lots sanding and a food safe finish.
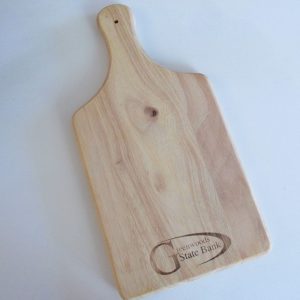
There was also the problem of it being stamped with a bank logo.
If it had been simply on the surface it would have been easily removed. But it was as if it was branded into the wood.
I tried sanding it, but it was going to take some REAL effort to remove.
Then I thought about making a chalkboard using chalkboard paint, but the logo seemed deep enough that I thought it might show.
Plus there was the whole issue of the wood being kind of rough.
Dollar Tree Chalkboard
As I was browsing through Dollar Tree one day, I stumbled across these little chalkboards. Part of me wanted to grab a whole pile. They would be fun for the grand kids. I might still go back to see if they have them, but for now I just had one.
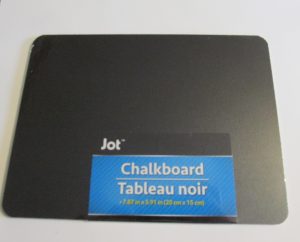
It fit perfectly on my cutting board.
I used a spray stain that I use with some of my basketry projects to darken the cutting board. It’s called Weaver’s Stain and it dries really fast, so as long as I had it, I decided to go ahead with it.
But you could also use a water based stain, or even an oil based stain if you let it dry thoroughly before gluing on your chalkboard.
Gluing the Chalkboard
Initially I thought I’d use hot glue. Doesn’t every crafter grab their hot glue gun for projects like this?
I glued the chalkboard on to the cutting board using hot glue but I wasn’t happy with the results. I gave it a little tug, and was able to pull it off.
What I tried next was a little Titebond Premium wood glue. I put a generous amount of glue on and adhered it to the board.
Then I plopped on a heavy book and a heavy book end, and let things sit for about 45 minutes while I did some other things around the house.
Perfect solution! The chalk board is adhered and it looks amazing!
Thanks for stopping by Thrifty Thursday on Say It With Simplicity. Have a wonderful day!