DIY Flower Market Sign with Cricut Explore
Happy Monday! Do you like galvanized metal signs? I love the rustic look that a handmade sign adds to a space. Today I wanted to share this “Fresh Flower Market” sign that I made using a purchased blank from Walmart, and adhesive vinyl cut with my Cricut Explore.
I have a friend that I work with on a community service project to teach gardening to local youth. During the winter months, we work on expanding their knowledge and skills in the classroom. She puts many hours of work into preparing these classes and I really enjoy working with her. Creating a gift for her was at the top of my “to do” list.
American Farmhouse magazine can be a great source of inspiration for decorating projects. I believe it was in the last issue, there was a “Fresh Flower Market” sign in one of the photos. I decided to run with that idea but wanted to come up with something of my very own.
I was originally thinking about a wood sign, but then one day while I was shopping at Walmart, I spied these galvanized metal sign blanks. Yep! It would work perfectly for this project.
For this project, you’ll need
- Galvanized metal sign blank
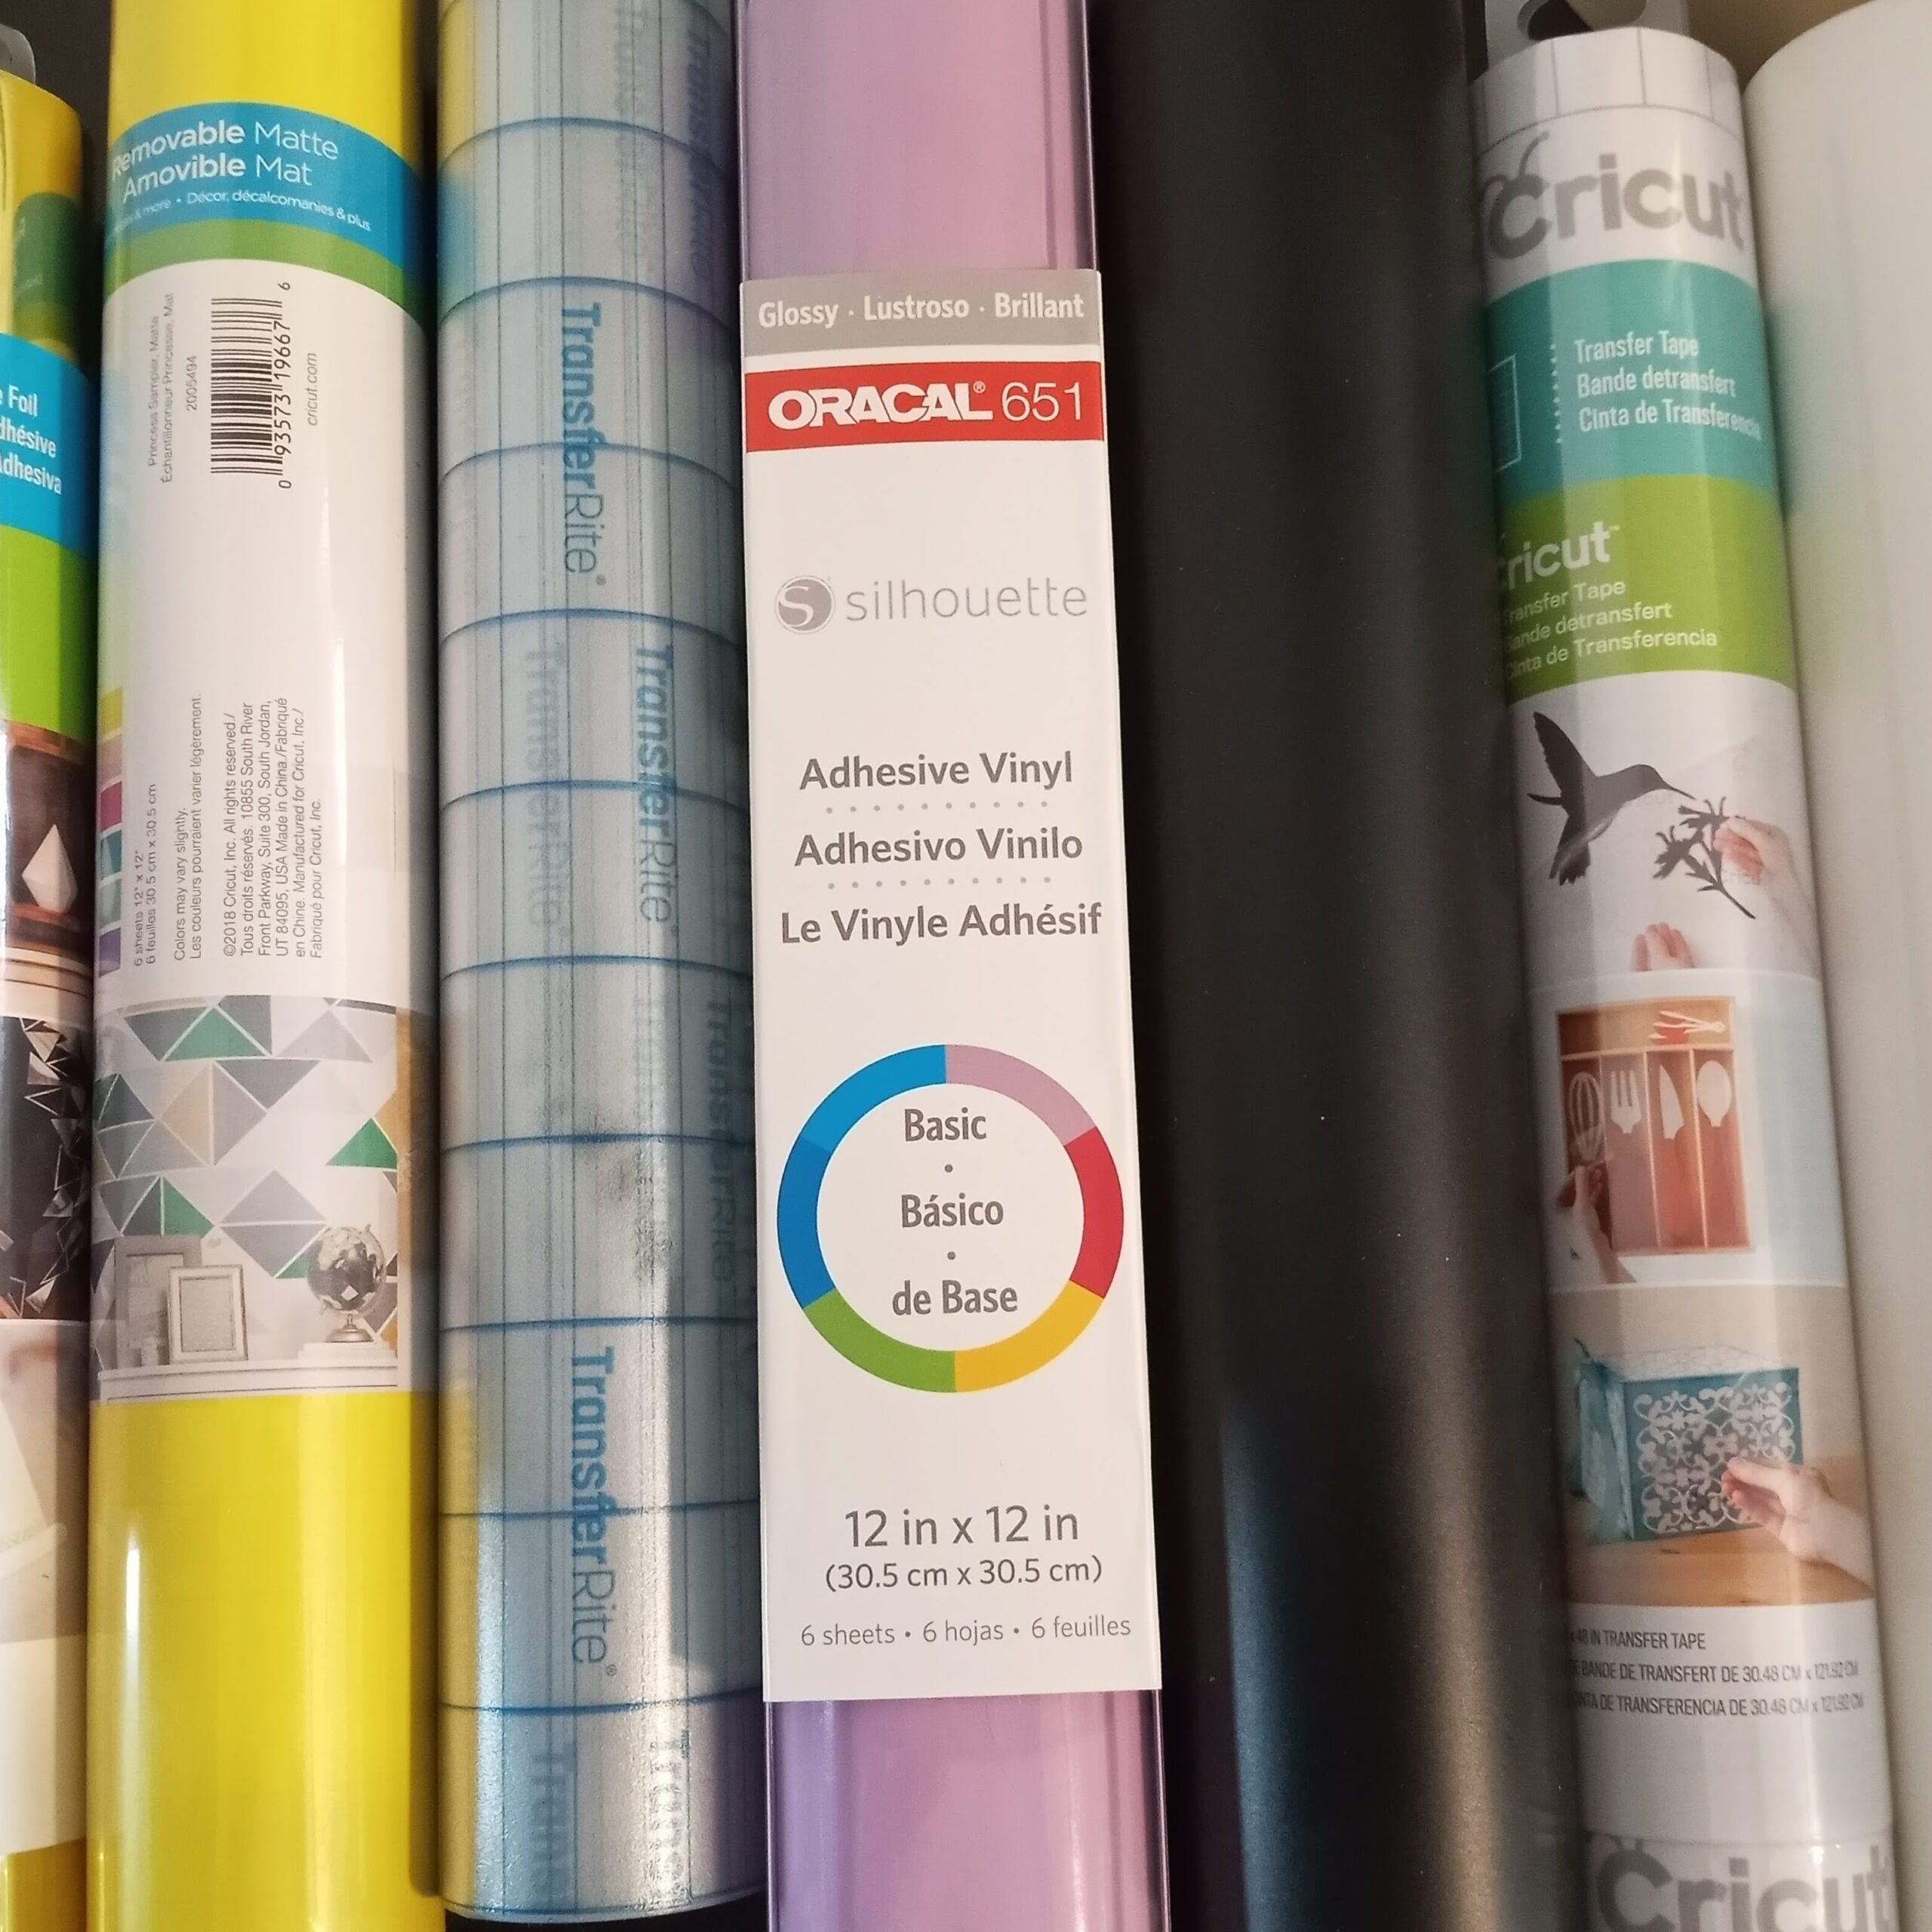
- Cricut Permanent Premium Vinyl (or vinyl of your choice)
- Transfer Tape
- Scissors, Weeding Tools, and other items you need for this type of project
- Your Cricut or another cutting machine
- Fresh Flower Market Sign Design from my Etsy Shop
Instructions for Cutting the Design
- Upload your design to Cricut Design Space
- Resize your design as needed. The sign blank was 12″x 12″ at the tips of the edge. I used 9 1/2″ x 9 1/2″ for my cut size.
- I made a weeding box for my design that was about 10″ x 10″ to make weeding my vinyl project easier.
- Use your fine point blade
- Place vinyl, liner side down on a standard grip mat
- To choose your custom settings for this project, set the dial to “Custom” and go to Browse all materials>Premium Vinyl-Permanent
- Load your mat into the machine and cut
Applying Vinyl
Next, you’re ready to weed your design.
I leave the design on the mat to weed. It keeps it laying flat and makes it so much easier.
Be sure your sign blank is clean. I used a little rubbing alcohol to clean the sign and let it dry thoroughly.
Gently lay transfer tape over your design, starting in the center and working your way out. For this vinyl, I used Duck Brand Peel and stick clear laminating material. It gives just the right amount of stick to pick up your design and transfer it to your sign blank.
In addition to having the weeding box, the sign had the points along the edge making lining up the design an absolute breeze. If you’re new to cutting vinyl, Expressions Vinyl has a great video on YouTube for doing the weeding box in Cricut Design Space.
Now you can burnish down the vinyl and lift the transfer tape going over parts of the design with your burnishing tool as necessary.
Finished!
My friend loved her sign and hung it in her home right away and I loved making it. I hope I inspired you to create something special for your home and family. Maybe you have a gift idea in mind for someone special. Don’t be afraid to give it a try.
Thanks for stopping and we’ll see you next time. Take Care!